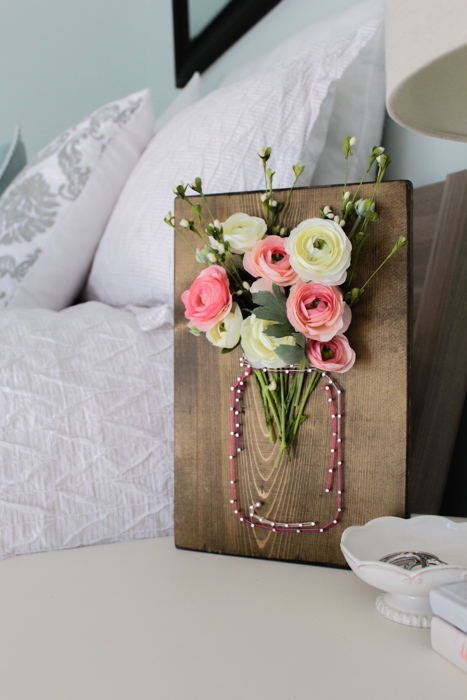
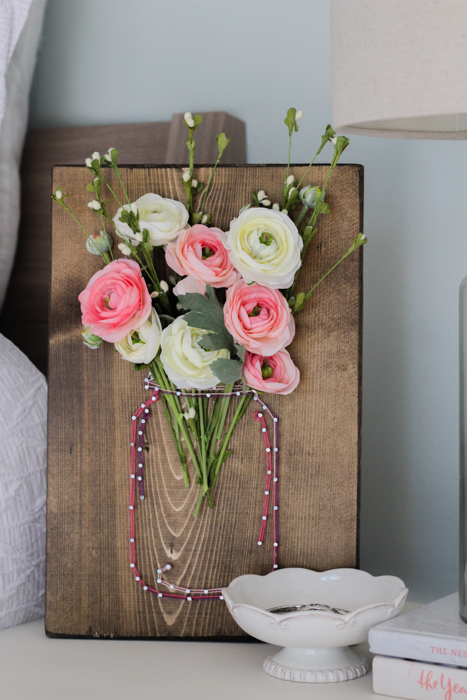
Spring is in full swing and brightening up your home décor is a must to help kick the winter blues away. All over Pinterest we’re starting to see more flowers, especially when it comes to all things home. Here at HSN we’re combining string art and faux florals to bring you a mason jar full of flowers that will instantly add a touch of spring to your home.
Thankfully, within this tutorial, we’ll be showing you the easiest and quickest way to create this mason jar string art. With just a little bit of your time, and some of my favorite items from HSN, you’ll have this seasonal craft ready to display in your home in no time.
Here’s what you’ll need:
9 in. x 14 in. board, stained
Mason Jar Outline for String Art
Painter’s tape
Wire nails (#18 x ¾ in.)
Hammer
Yarn
Assortment of faux flowers
Scissors
Optional: staple gun
Instructions for the Mason Jar String Art:
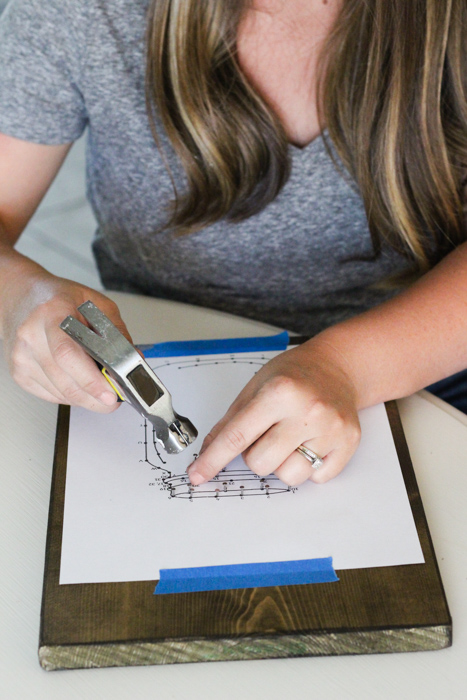
Step 1: Begin by taping the mason jar template to the wooden board. Make sure it’s centered and low enough to leave room to add flowers at the top.
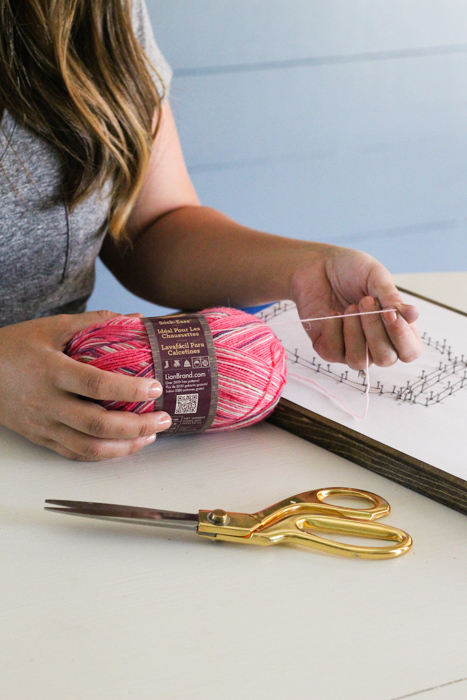
Step 2: Using the hammer, lightly tap each nail into every dot you see on the template. You’ll hammer each nail into the wood halfway or a little more depending on the thickness of the wooden piece you’re using.
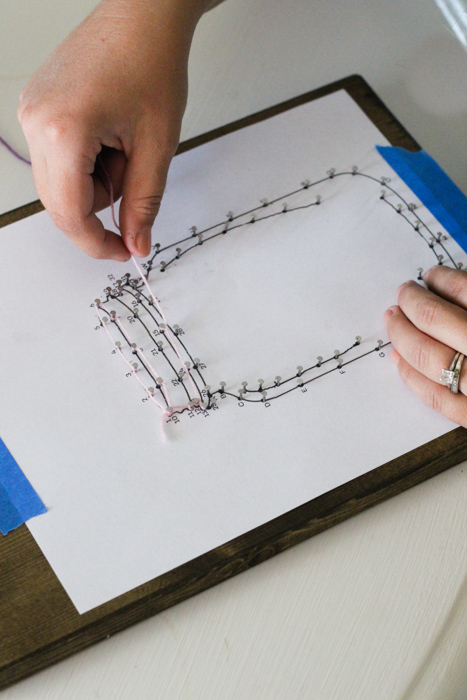
Step 3: It’s time to start stringing the design using the yarn. You’ll notice that every dot has a coordinating number. Starting with dot number one on the lid, tie a knot around the nail. You’ll then wrap the yarn around each nail going in numerical order until you finish stringing the lid. Finish at dot #34 by tying a knot and trimming the excess yarn.
Repeat this process with the body of the mason jar starting with dot A and ending with dot X. Don’t forget about each line found on the inside of the mason jar.
Tip: Some of the nails have more than one corresponding number. Therefore, some of the nails will be used 2-3 times to help achieve the finished look of a mason jar.
Step 4: Carefully tear away the paper template to reveal your string art mason jar.
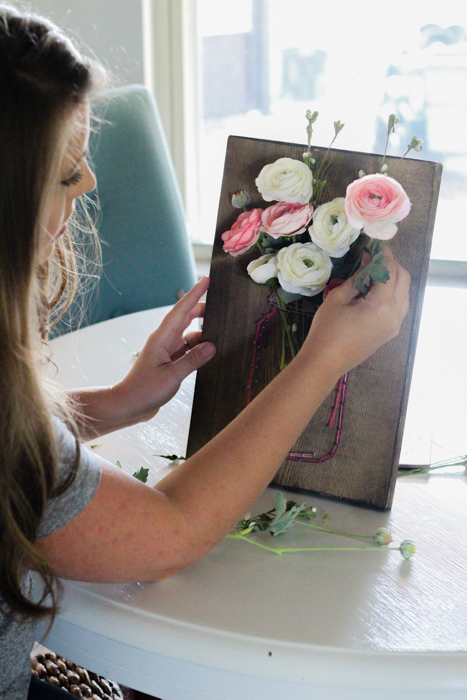
Step 5: You’re now ready to arrange your faux flowers. Cut each flower to your desired length and slide them between the nails and underneath the yarn starting at the top of the jar. Continue until you’re pleased with the look of your flower arrangement.
The string and nails should be enough to hold your flowers into place. Just in case you want to secure them a little more, use a staple gun on the stems of the flowers underneath the petals. Keep in mind, you won’t be able to change out your flowers if you do use the staple gun.