


I was beyond thrilled when I received my first Crafter’s Companion Edgeables Die-Cutting Kit in the mail recently. You see, I love to create custom items but I’ve never tried creating my own cards to give to those closest to me.
I’m always the type to give friends and family something extra special so they know how much I appreciate them. This Crafter’s Companion Kit is the perfect subscription box that will allow me to do just that. It expands my creativity as I give a gift with a custom card even if I am a beginner card maker.
What’s even more amazing, is that this kit provides everything you need to get started right away. That’s exactly what I did and I’m showing you what I created and how. Are you ready to start creating custom cards of your own?
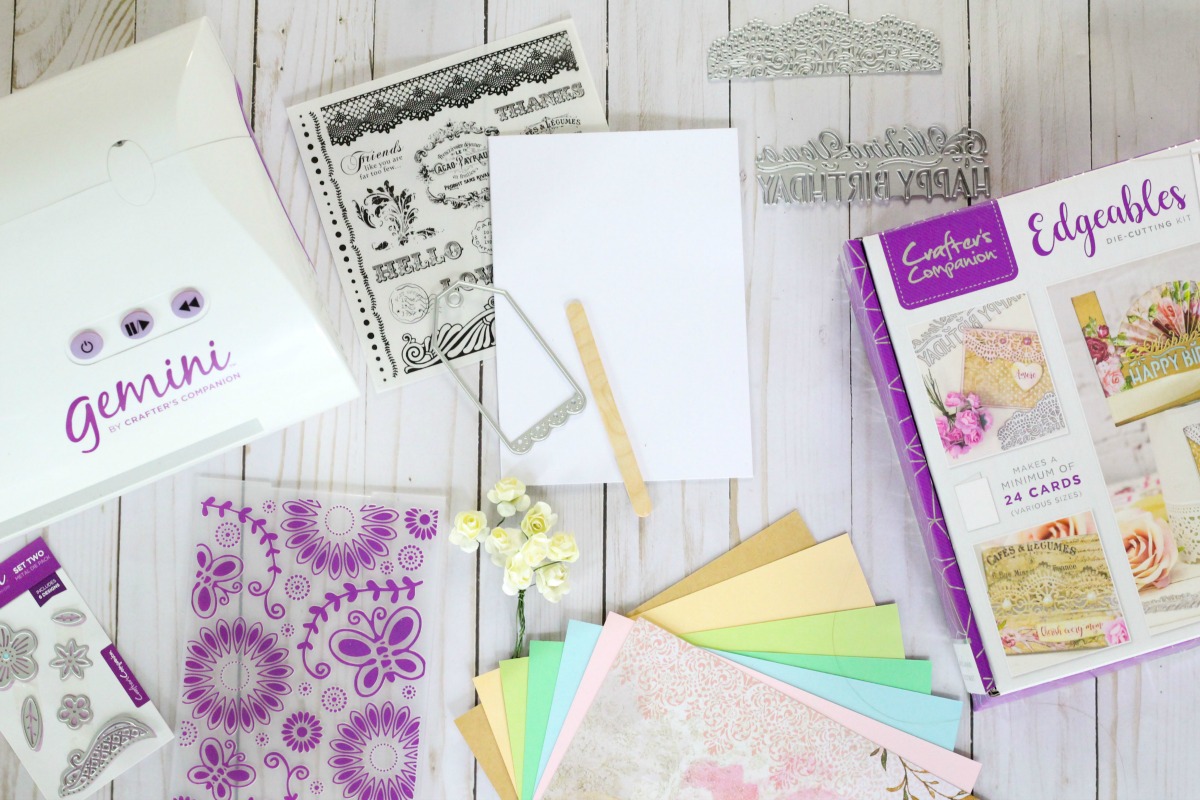
Here’s what you’ll need:
Crafter’s Companion Kit #1- Edge’ables Die-Cutting Kit
Crafter’s Companion Gemini Die-Cutter and Embosser
Adhesive Tape Runners
Getting started
Place all your materials from the Crafter’s Companion kit out on the table to see your options. From there, think of the occasion you’re making the card for and start to visualize what you want to design.
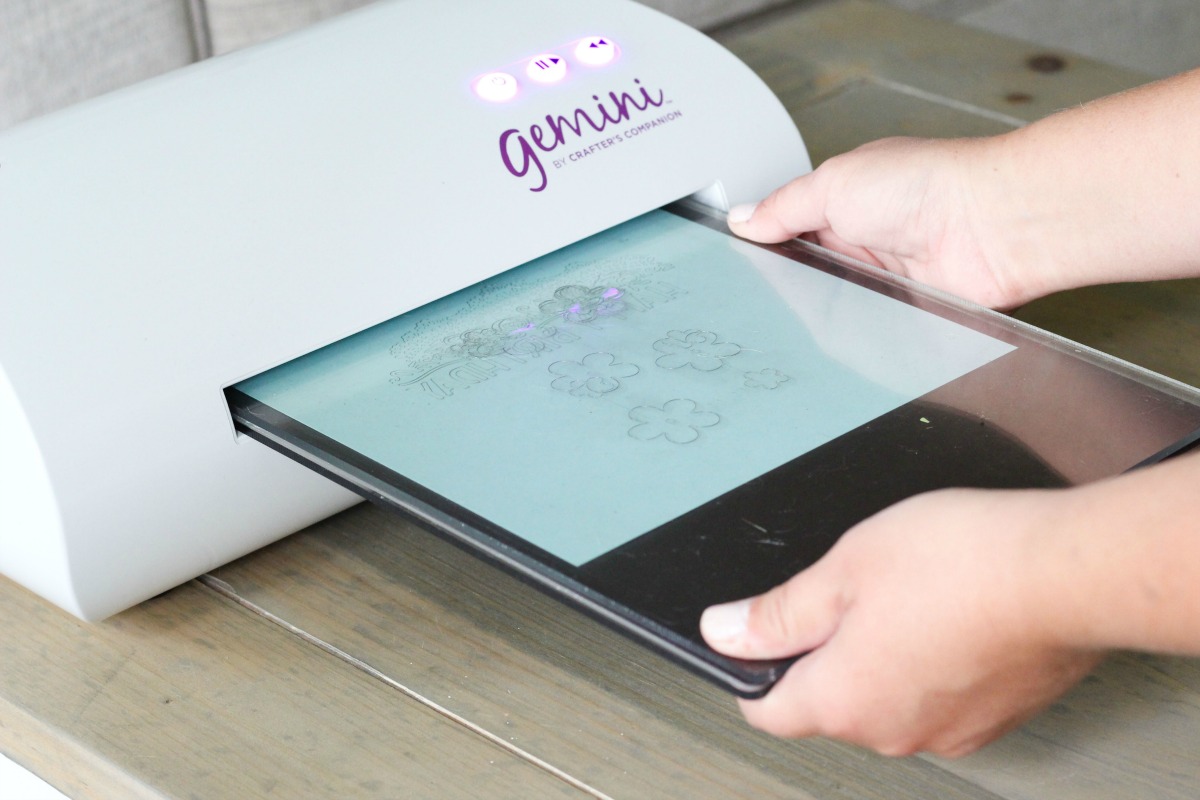
Once you’ve decided on a design it’s time to create! I’ll show you a few features I used on my card to help give you a jump start. Also, make sure to have your Gemini ready to go. This is an amazing tool and a must have when creating your cards. You’ll be amazed at how quiet the Gemini is and how quickly it creates pieces of art.
Embossing
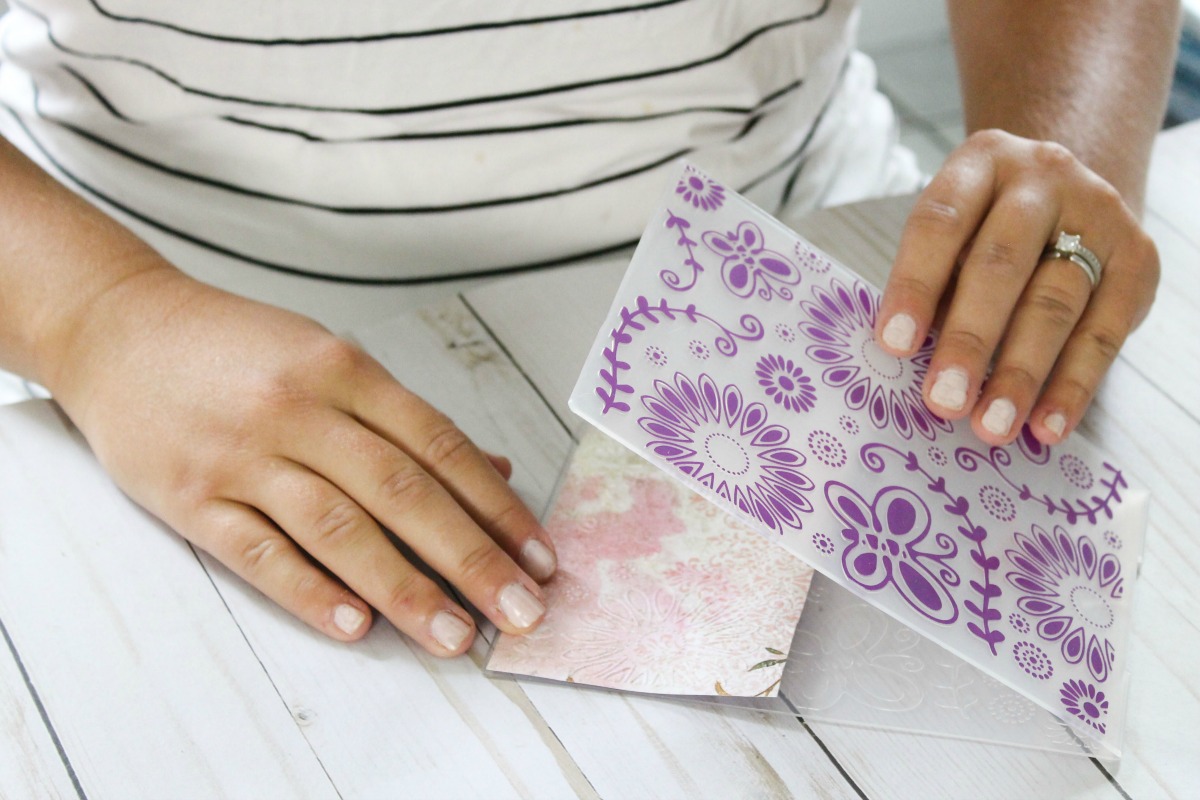
The very first piece I placed on my card was a portion of patterned paper that I embossed by running it through the Gemini. You can also try this by placing a piece of paper in an embossing mat. You’ll then place the mat between two clear cutting plates and run it through the machine. You’ll have an embossed piece of paper in seconds!
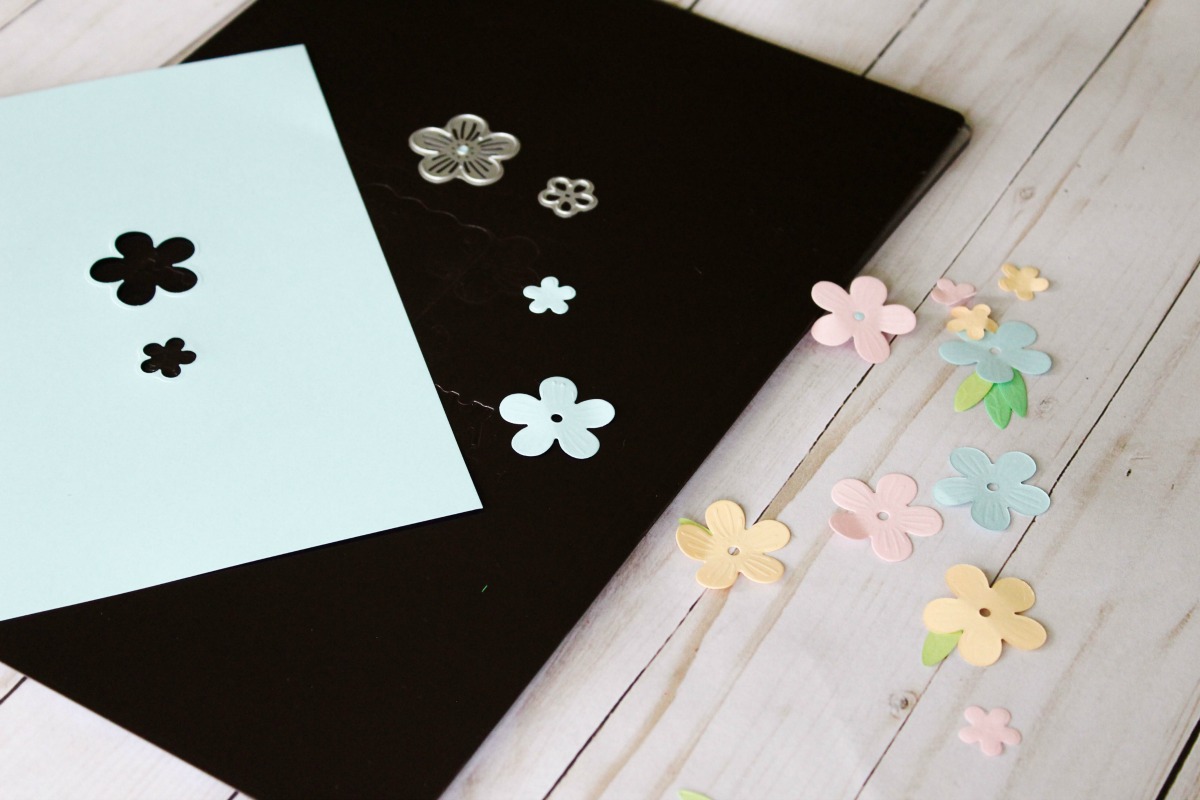
Die-Cutting
I used several steel dies to create cutouts for my custom birthday card. If you’ll be using these yourself, here’s exactly how you’ll successfully cut out the pieces. Referring to the image below, place the sheets and materials in the following order to successfully create die cuts.
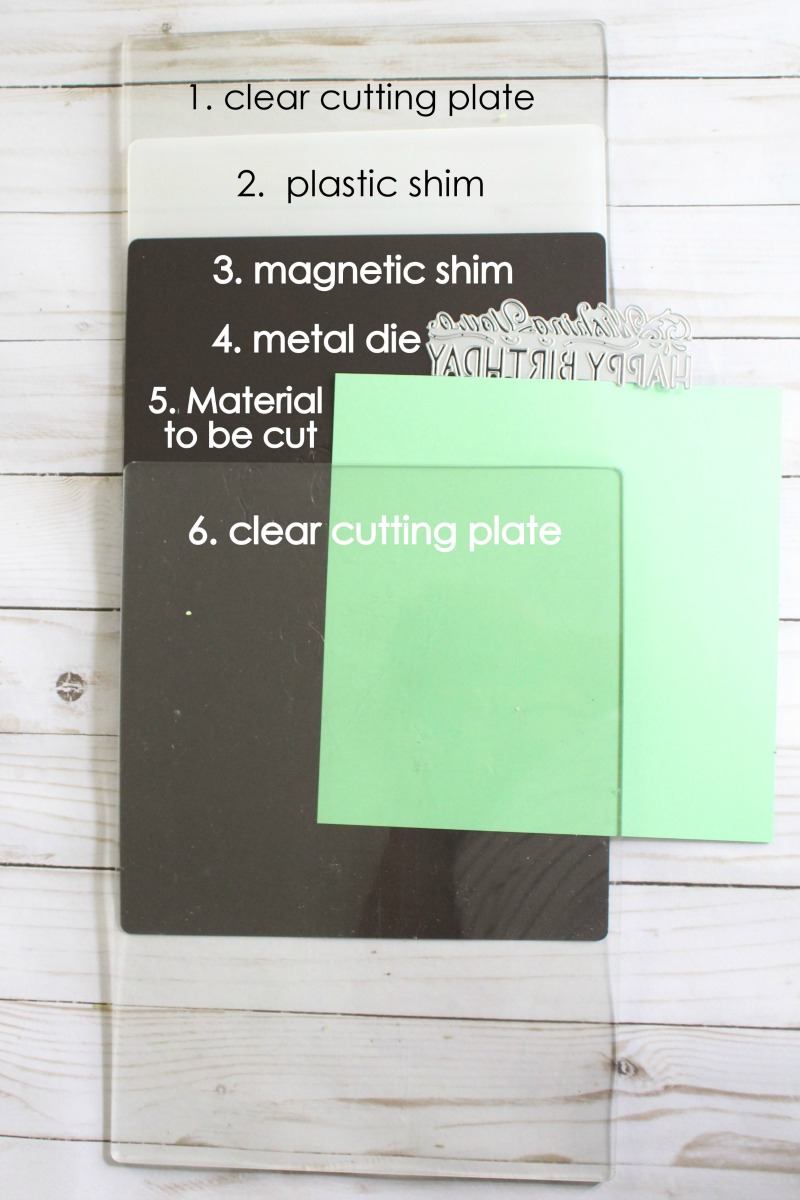
Run the materials through the Gemini and you’ll have instant design pieces to place on your card.
Additional Features
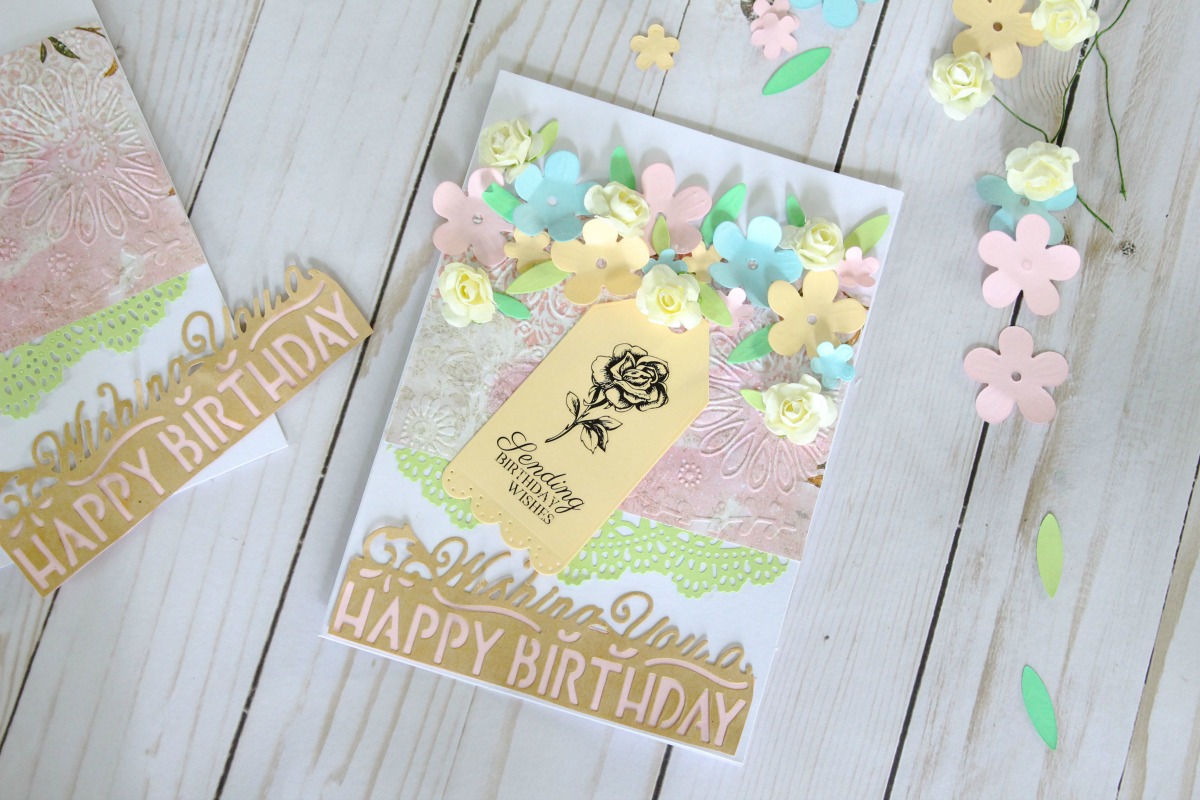
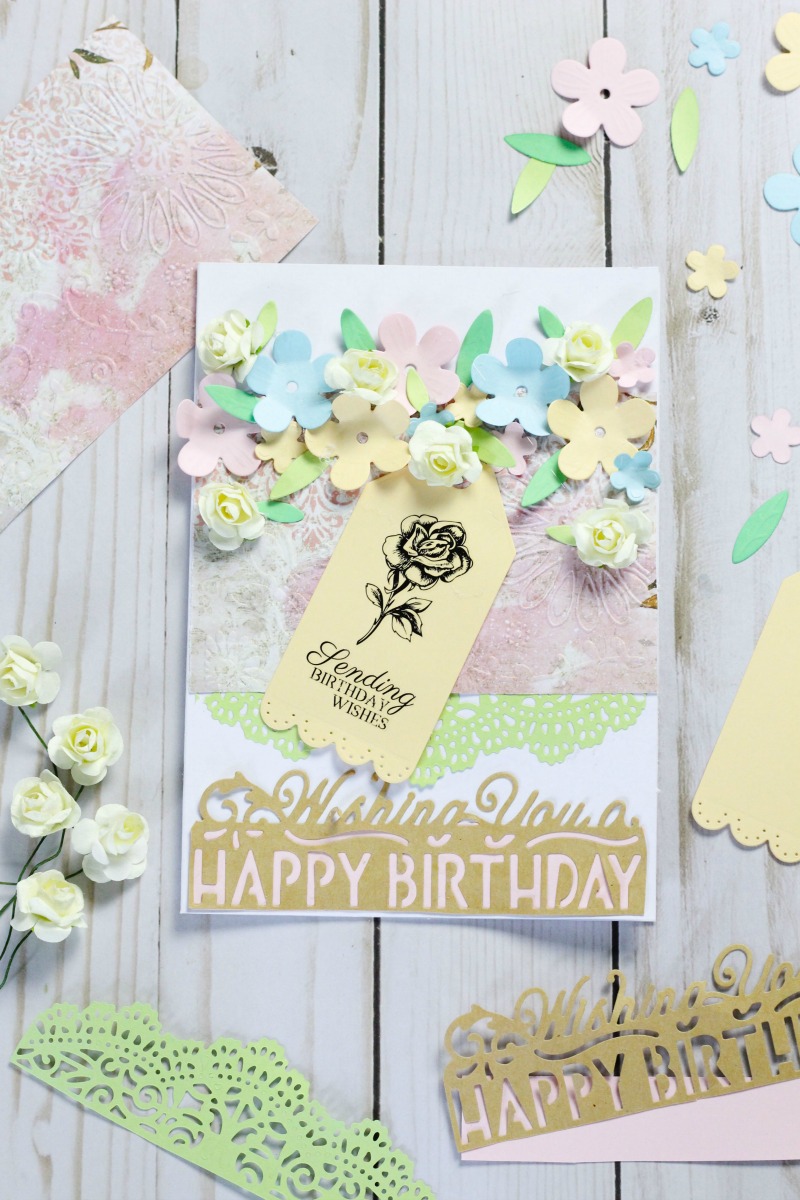
For the birthday tag on the front, I placed a transfer image on the tag and gently rubbed it to adhere. As for the 3D flowers from the Crafter’s Companion kit, a little bit of adhesive tape did the trick.
Learn more about the Crafter’s Companion subscription box here.
Great kit! I have made cards from mine. Too bad there’s no way to upload a photo to my comments.