Not only is it officially spring, but we’re still celebrating National Craft Month where it’s the perfect reason to learn how to craft something new. One of my favorite ways to incorporate spring within my home décor is with fresh flowers. It’s such a gorgeous way to bring the outdoors in. At times though, it can be hard to maintain the rotation of fresh flowers all season.
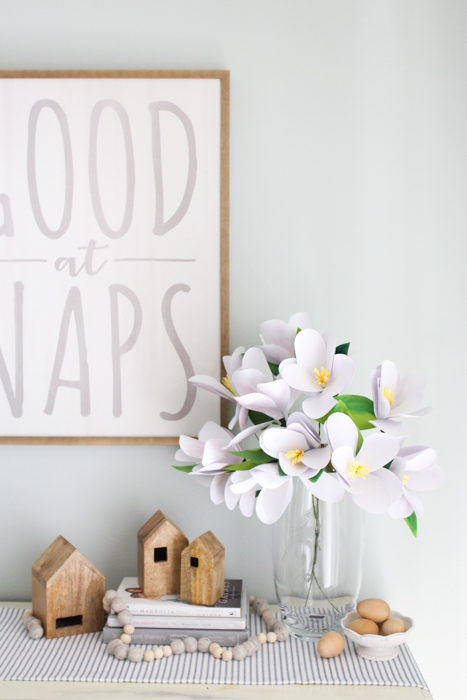
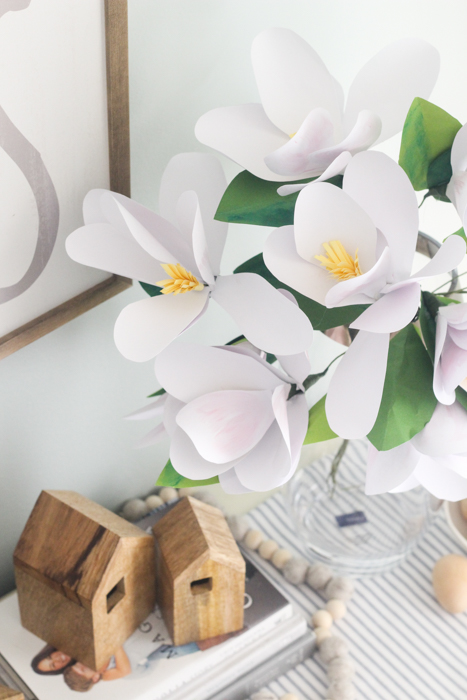
This tutorial will show you how to create stunning paper magnolias that will last far beyond the spring season. Plus, when you display the magnolias in a Mikasa Serenity Platinum-Rimmed Teardrop Glass Vase, it creates spring home décor that you’ll want to leave out all year long.
Here’s what you’ll need:
- Green, white, and yellow cardstock or scrapbook paper
- Scissors
- Hot glue gun and glue sticks
- Acrylic Paint
- Vicki Boutin Gesso, Glaze, and Matte Acrylic Gel Kit
- Vicki Boutin Try Me Mixed Media Bundle
- One-Stroke Brush Set
- Floral wire
- Floral tape
- Crafter’s Companion Sheena Paint Fusion Bundle
- Mikasa Serenity Platinum-Rimmed Teardrop Glass Vase
Instructions for the Paper Magnolia Flowers:
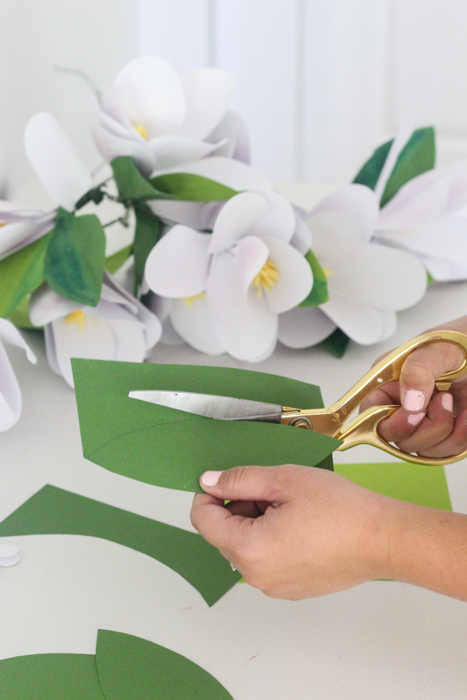
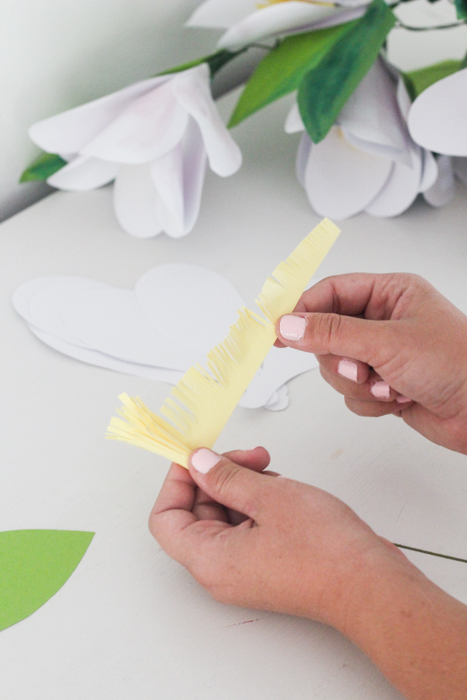
Step 1: Trace and cut out your leaves, petals, and stamens. You can do this free hand or do a quick internet search (Magnolia Flower Template) to help guide you. You’ll need 1-2 leaves, 8 petals, and 1 stamen per magnolia. Don’t forget to cut fringes along the slanted edge of the stamen cutout.
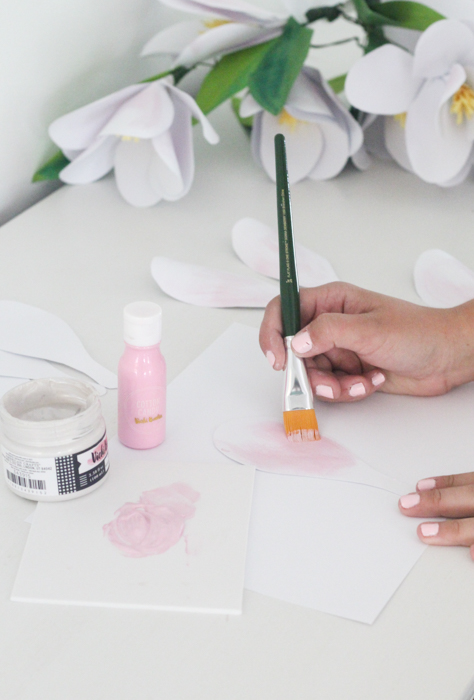
Step 2: Before we start assembling the flowers, let’s add some texture to the petals and leaves that will help create a realistic look.
First, add a shimmery light pink color to the back of each magnolia petal. We’ll do this by mixing the iridescent glaze with a drop or two of the acrylic paint. Using a paint brush, apply the mixture with light strokes working from the bottom of the petal up. Leave a little white at the top.
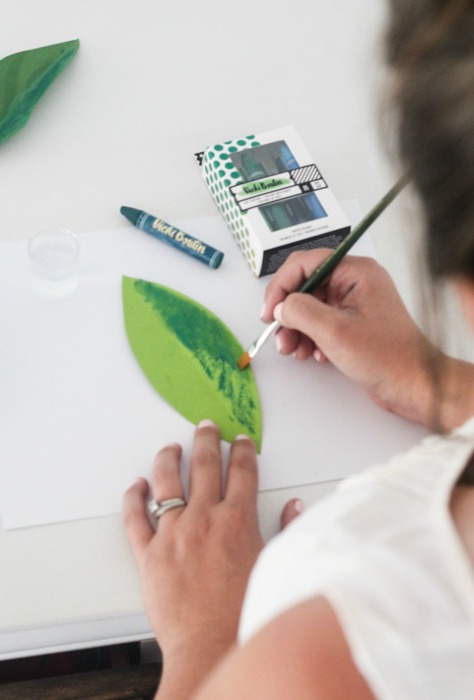
Next, we’re going add some color to the leaves using Vicki Boutin Art Crayons and a little bit of water. Using the dark green crayon, color one half of the leaf and create a watercolor look by applying water with a paint brush. By blending the crayon marks with water, you’ll create a silky, smooth finish on each leaf.
Once you’re done applying the paint and the cutouts are dry, curl the edges of the petals using the rounded part of the paint brush and fold the leaves in half to create a crease down the middle.
Step 3: While the petals and leaves dry, create the stamen by attaching the end of a floral wire to the wide end of the stamen cutout using hot glue. Wrap the stamen around the wire piece and secure with a small piece of tape.
Step 4: Using hot glue, attach the petals around the stamen with the shimmery pink side facing outwards.
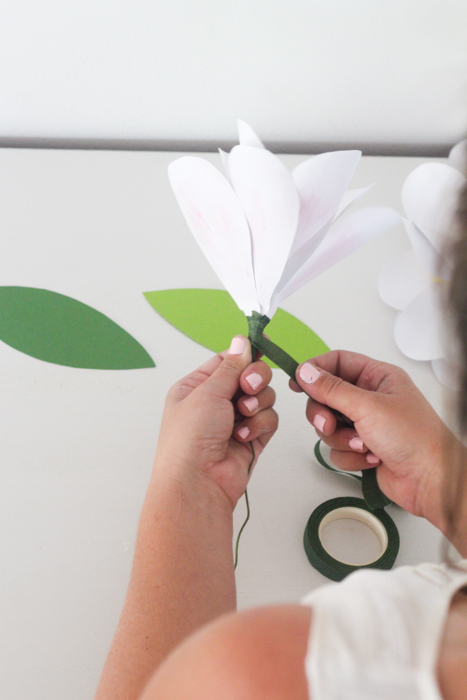
Step 5: Once you’ve glued all the petals, wrap the bottom of the petals with floral tape for a finished look.
Step 6: Attach one to two leaves to complete the magnolia flower.
Now that you’ve completed your first magnolia, create as many as you’d like to fill your Mikasa Serenity Platinum-Rimmed Teardrop Glass Vase. The metallic platinum banding on the rim beautifully ties in with the shimmer of the magnolia petals.

Place your new spring home décor on your foyer table, in your guest bedroom, or anywhere you want to add a spring touch that’s here to stay. You’ll be able to enjoy this spring flower display for years to come!