


Want a quick way to add a little style and texture to your bathroom, or maybe even switch out the towels for blankets and update your living room? Try this really inexpensive and easy DIY Ladder Towel Rack!
It will add beautiful layering and natural texture to your space. Take it a step further and stain or paint for any color or look you want.
If you have a good quality drill it can all be done in a couple hours for under $10! How’s that for a DIY home project?

Go to your local home improvement store and grab:
- (3) 2”x2”x8’ boards (they should run between 1.50-2.50 each)
- (10) 2” screws
If you don’t have a saw to cut the wood to length then ask your home improvement store to help, they should cut it for you.
Out of your three pieces of wood, you will need two pieces cut to 60” and 5 pieces cut to 16” (these will be the rungs, or steps)
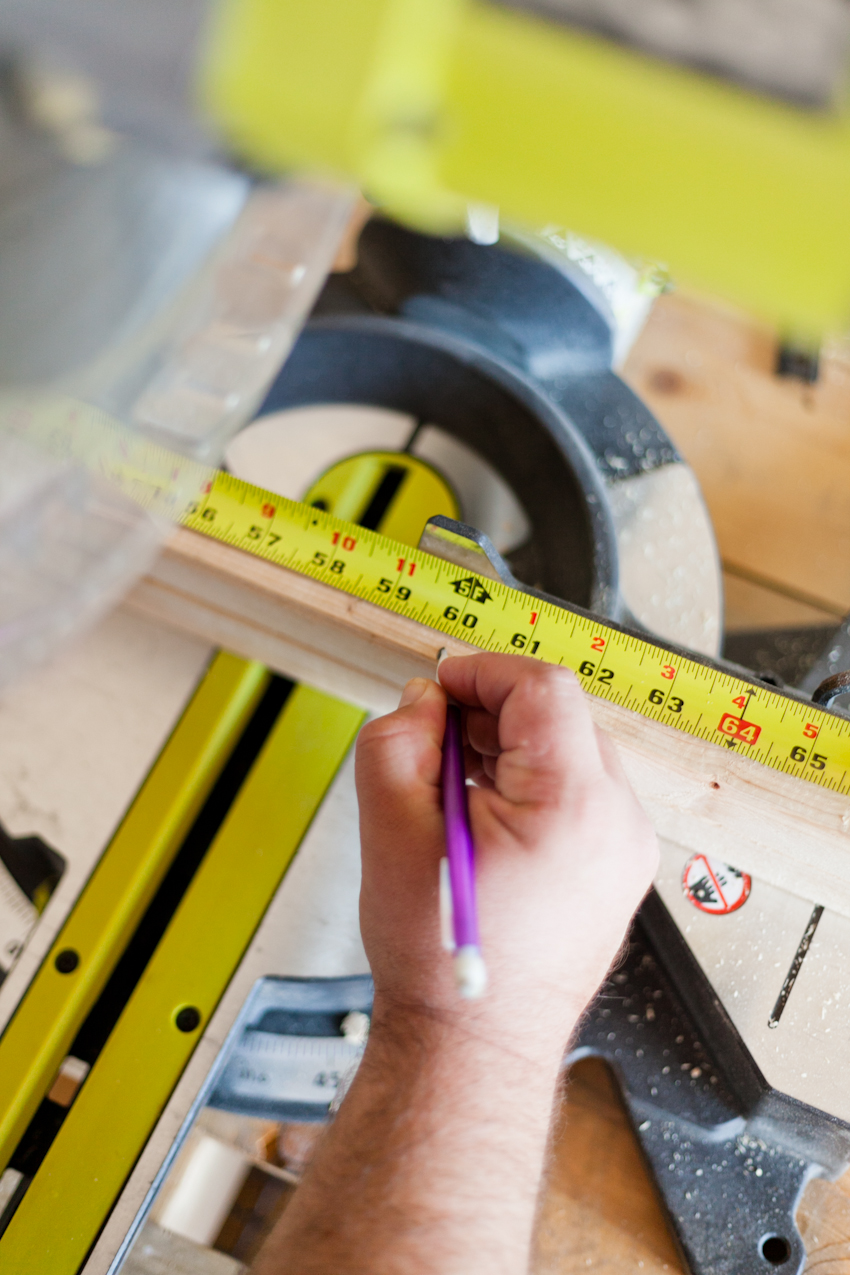
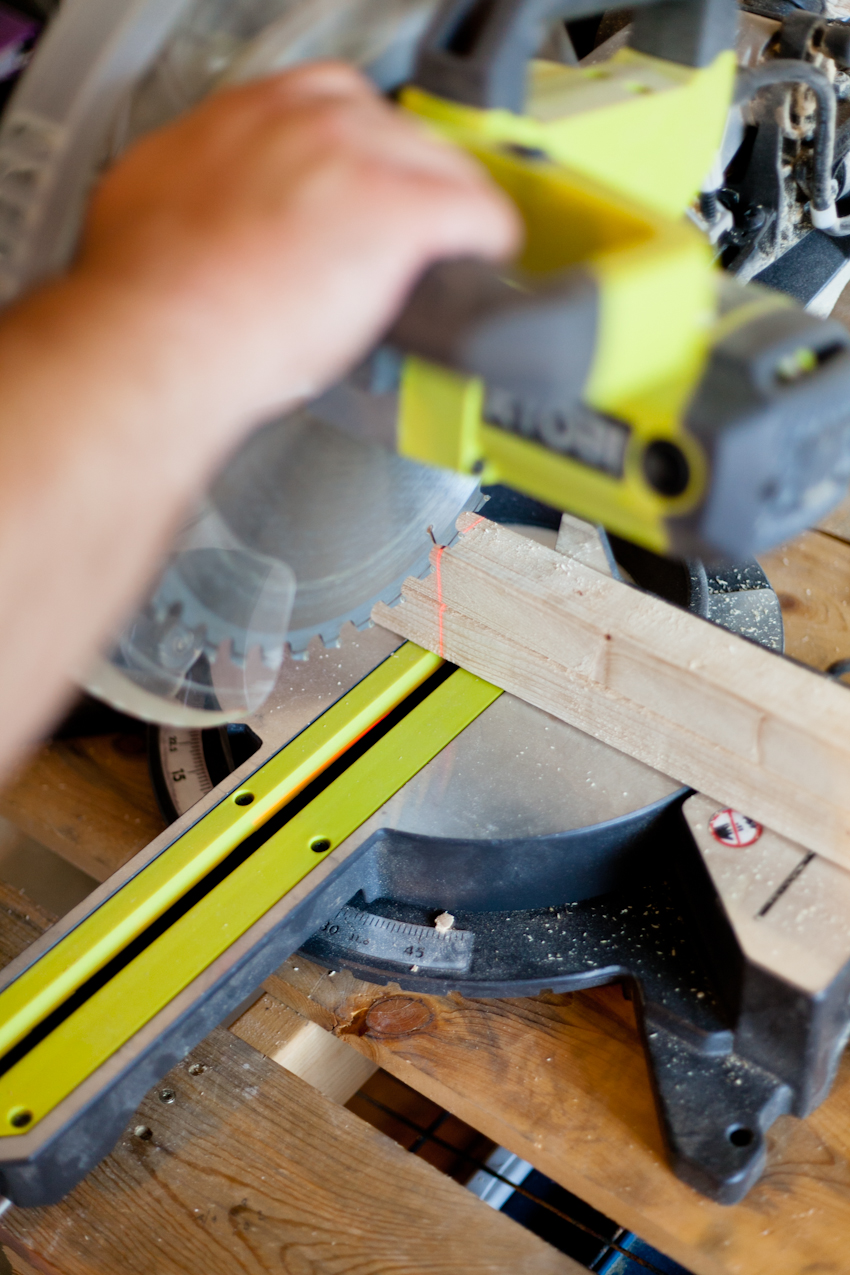
Once cut, measure equal distance from top and bottom for your rungs. We measured at 5” from each end to the top and bottom rung.
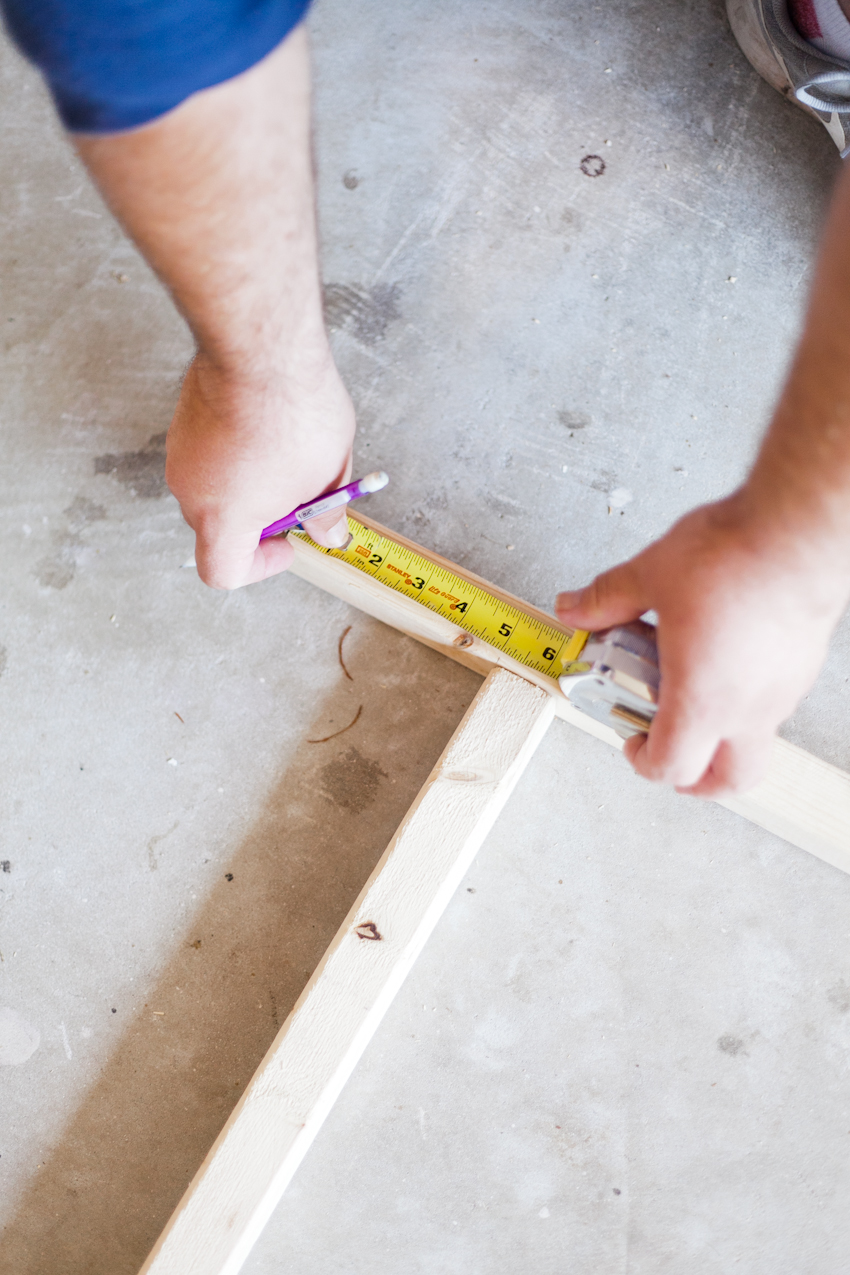
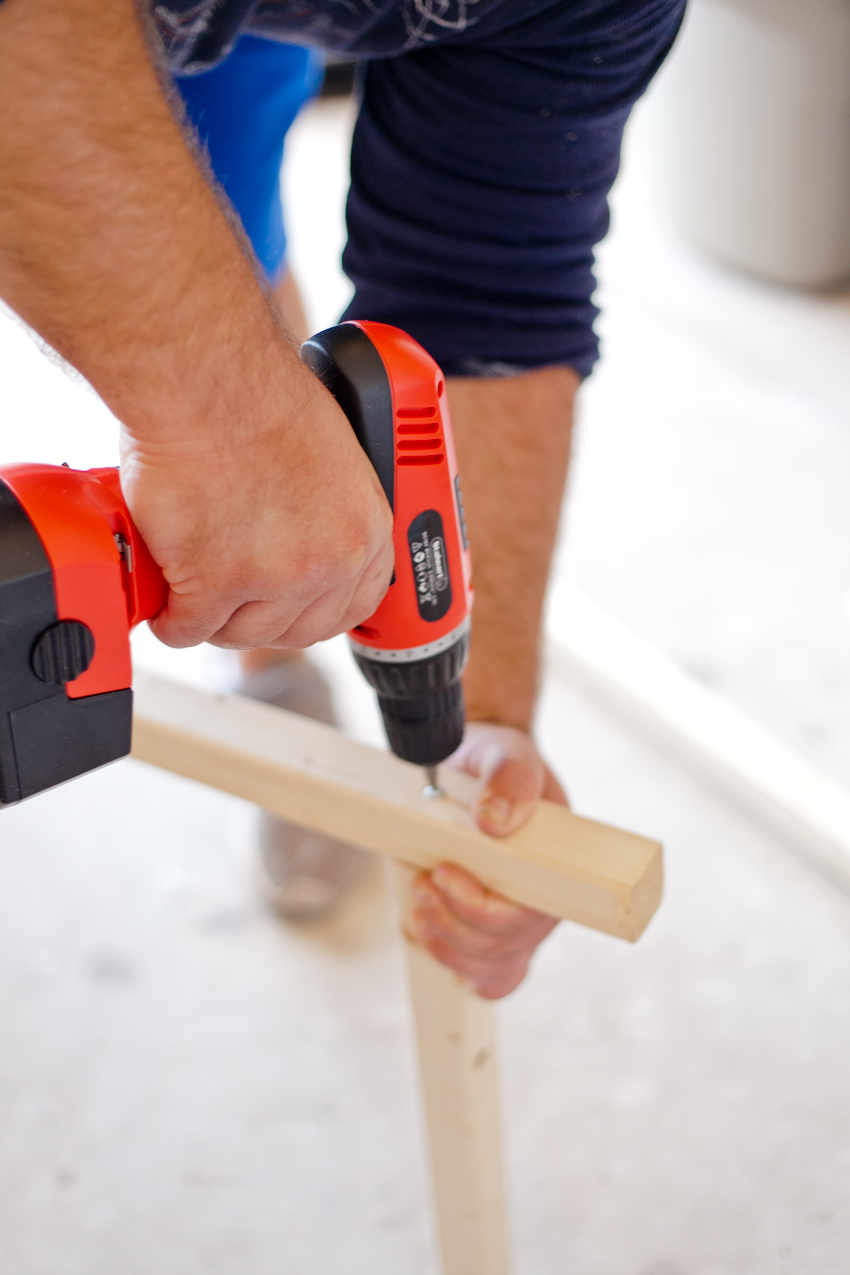
Then screw each of these end pieces on with one screw on each side of the rung. (Optional… for more strength, I used a wood glue when I attached the wood pieces together before adding the screws.)
From these end rungs, measure half way to locate middle rung. Then do the same again between the end and middle to locate the two remaining rungs and attach them at equal distances.
Within a few minutes your towel rack is ready to use… or ready to stain or paint.
Either way you can feel satisfied having Done It Yourself!
For this project, we used the 78-piece 18-Volt Cordless Drill Set. It comes with case and multiple bits for pretty much any use around the house. Bonus, it has a flash light as well! The kit is great for household jobs, but the case also makes it easy to grab and go wherever needed.
