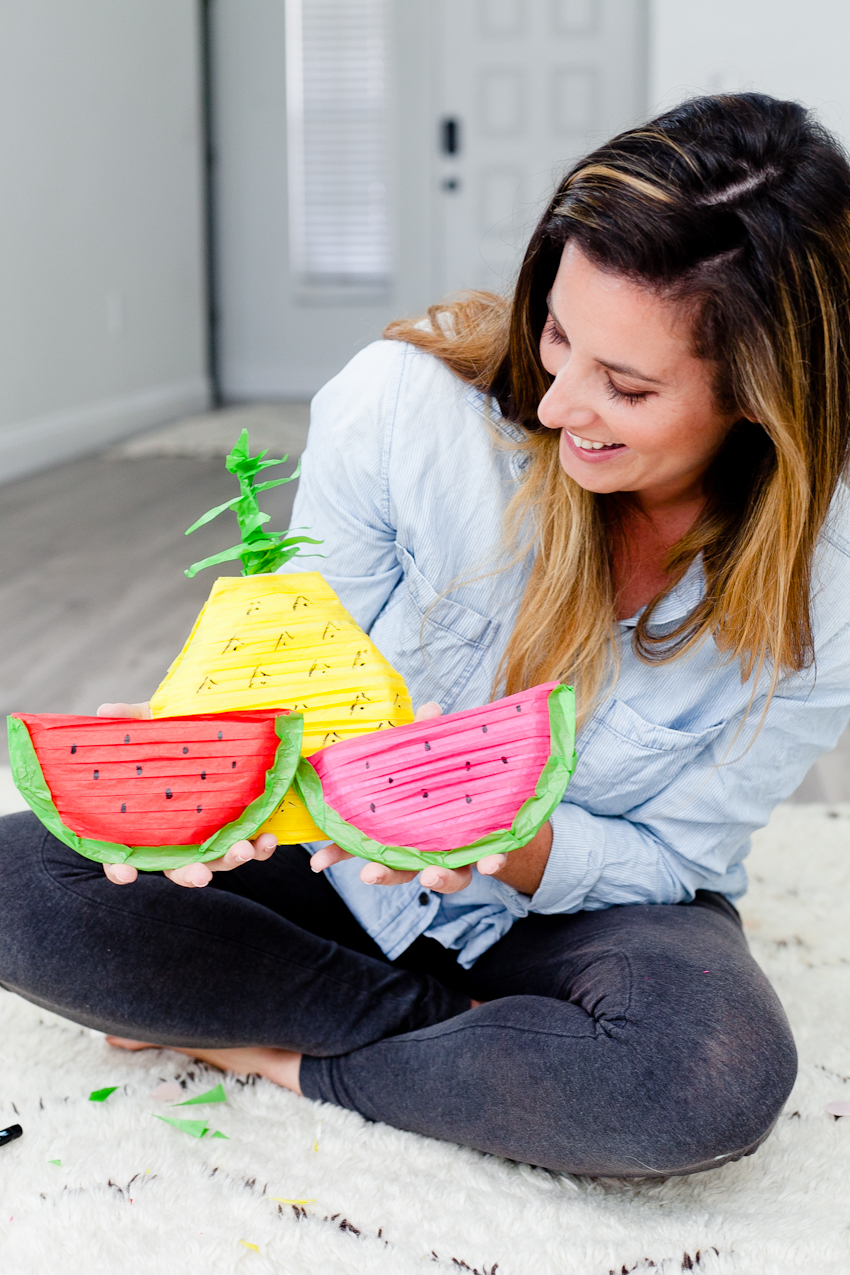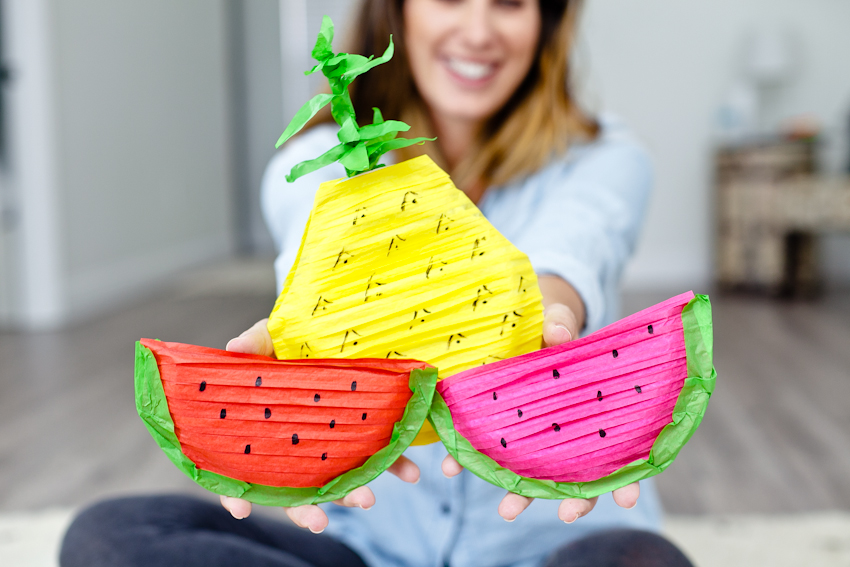
We’re seeing fruit pop up on everything this summer, from prints to dresses, popsicles and home decor! If you are looking for a fun, colorful and easy DIY for your next summer party or get together look no further… these adorable fruit piñatas are the perfect party favor, decor and unique touch to give your next summer party the pizazz it deserves… and keep it on trend and Instagram-worthy at the same time!
Pineapple Mini Piñata
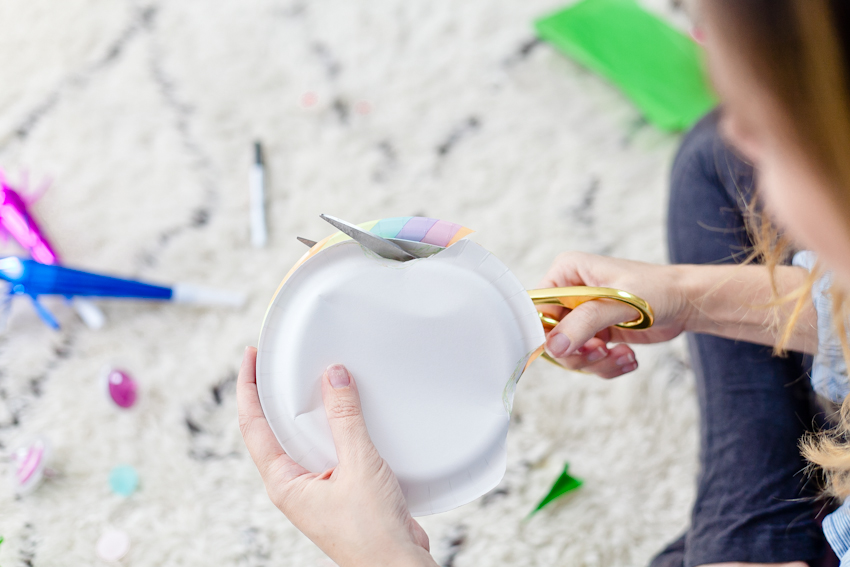
1. Hold two dessert size paper plates together and cut out sections of the top to slightly mimic a pineapple shape.
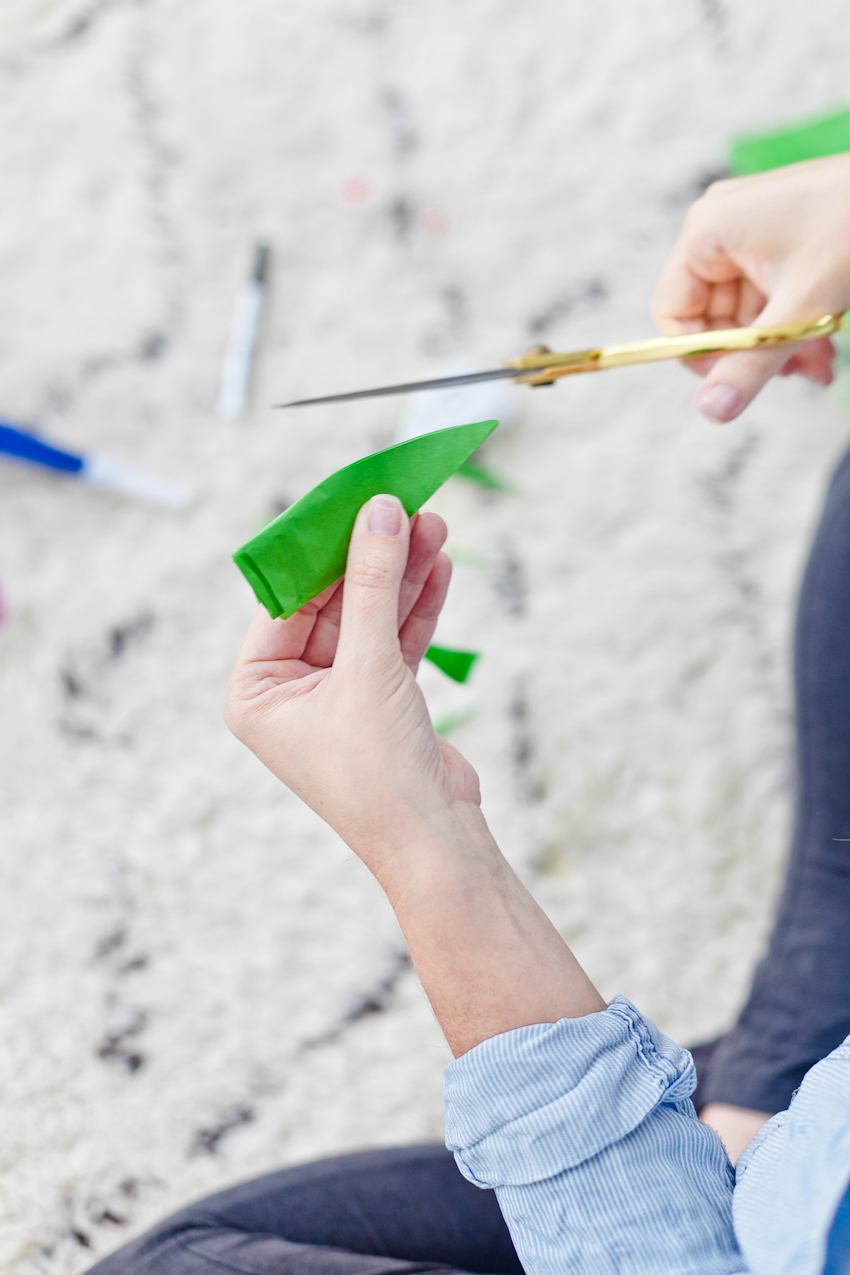
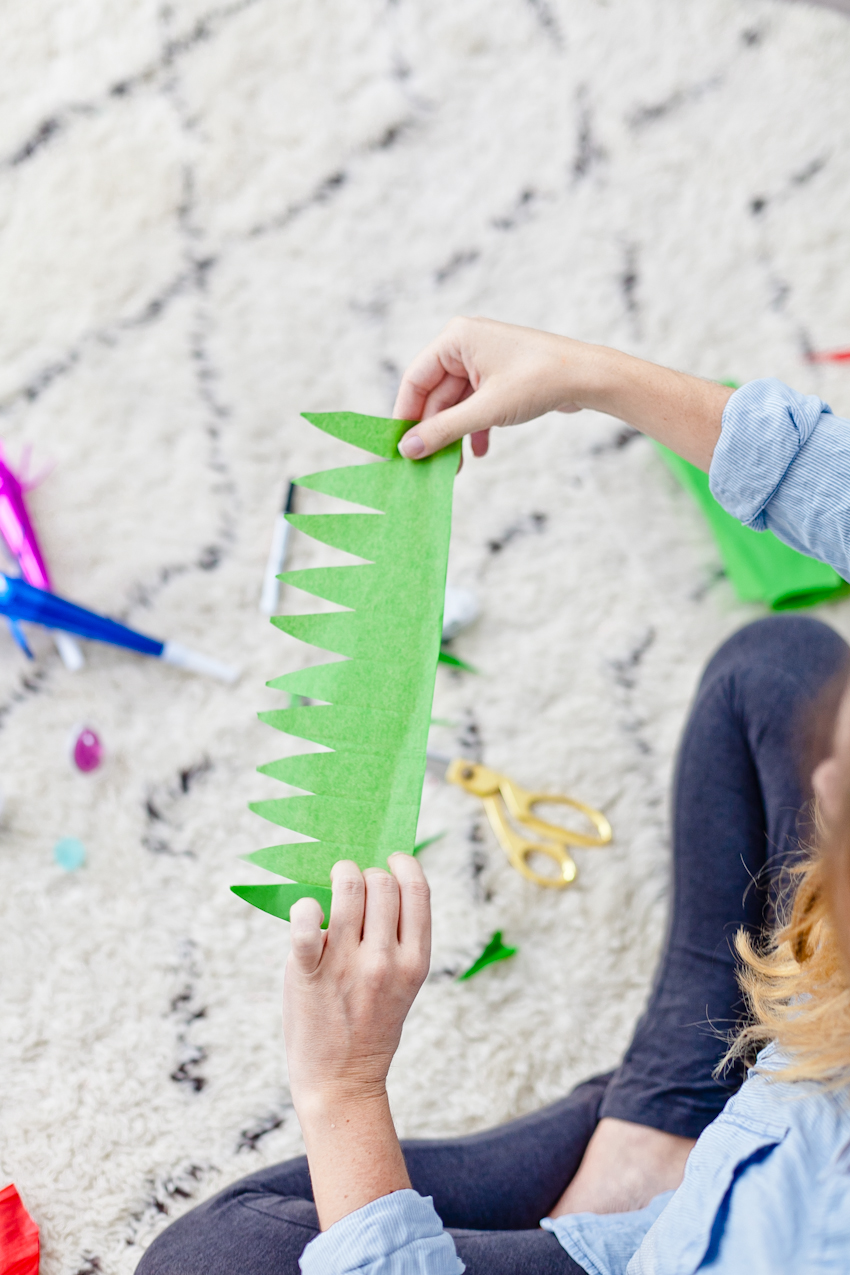
2. Using green tissue paper, cut a 4” long strip of paper and fold along the 4” edge to create a 1” folded piece. Cut the top into a leaf shape and unfold. Then cut the long strip in half and begin to tightly roll one of the pieces. Once it’s rolled, use glue tape to adhere it to the second piece of green tissue paper, what we want to create is levels of the greenery at the top of the pineapple, so I glued my rolled piece to where the leaf shape started on the second piece. Continue to roll tightly until you reach the end and hold together at the bottom with a piece of tape. From here you can unfold the “leaves” to create the top of the pineapple.

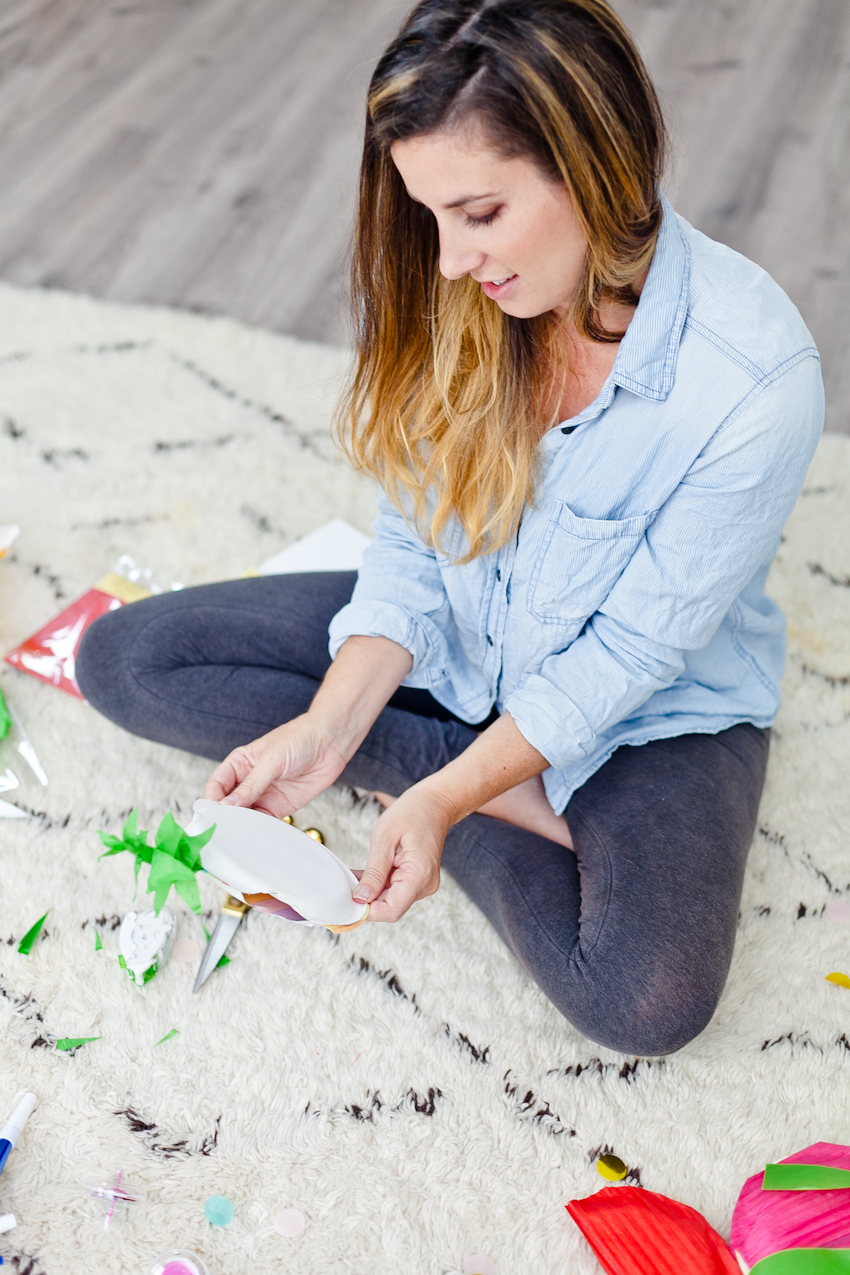
3. Glue the two plates together using glue tape, with the greenery glued in between the plates at the top.
4. Fill with candy, small favors, confetti or whatever you’d like inside using the cutout area.

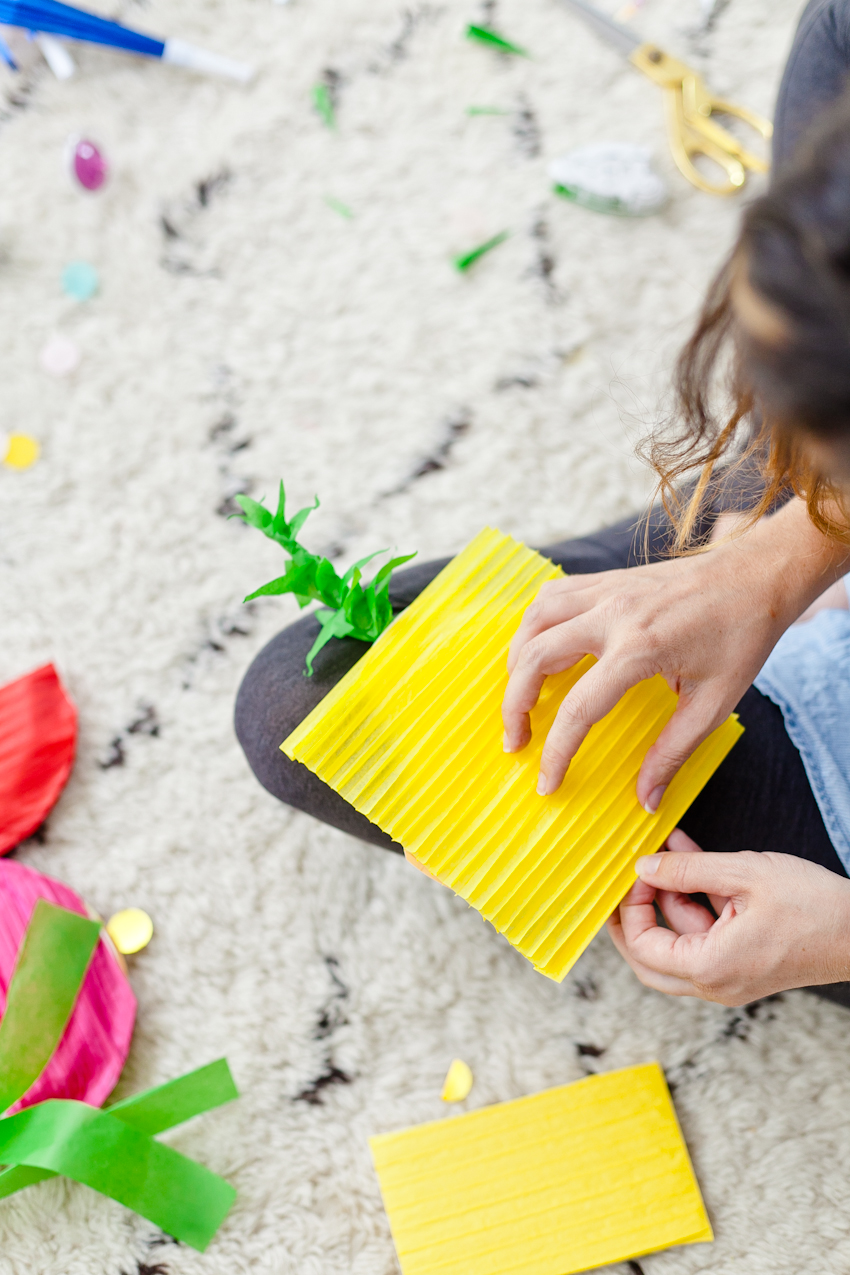
5. Cut a 1/4″ strip (along one of the lines) of a yellow honeycomb paper pad. This makes making a piñata SO easy since you’re not having to fringe strips of tissue paper.
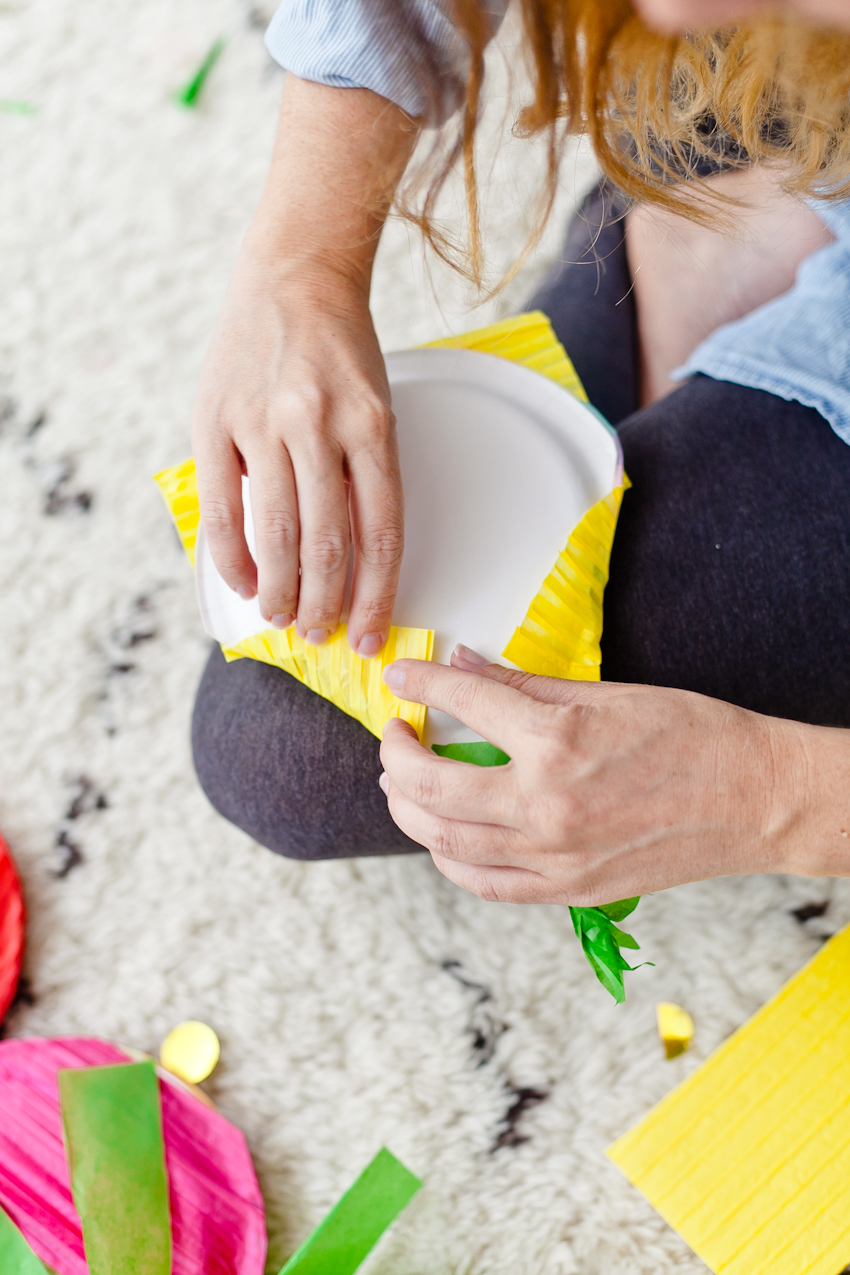
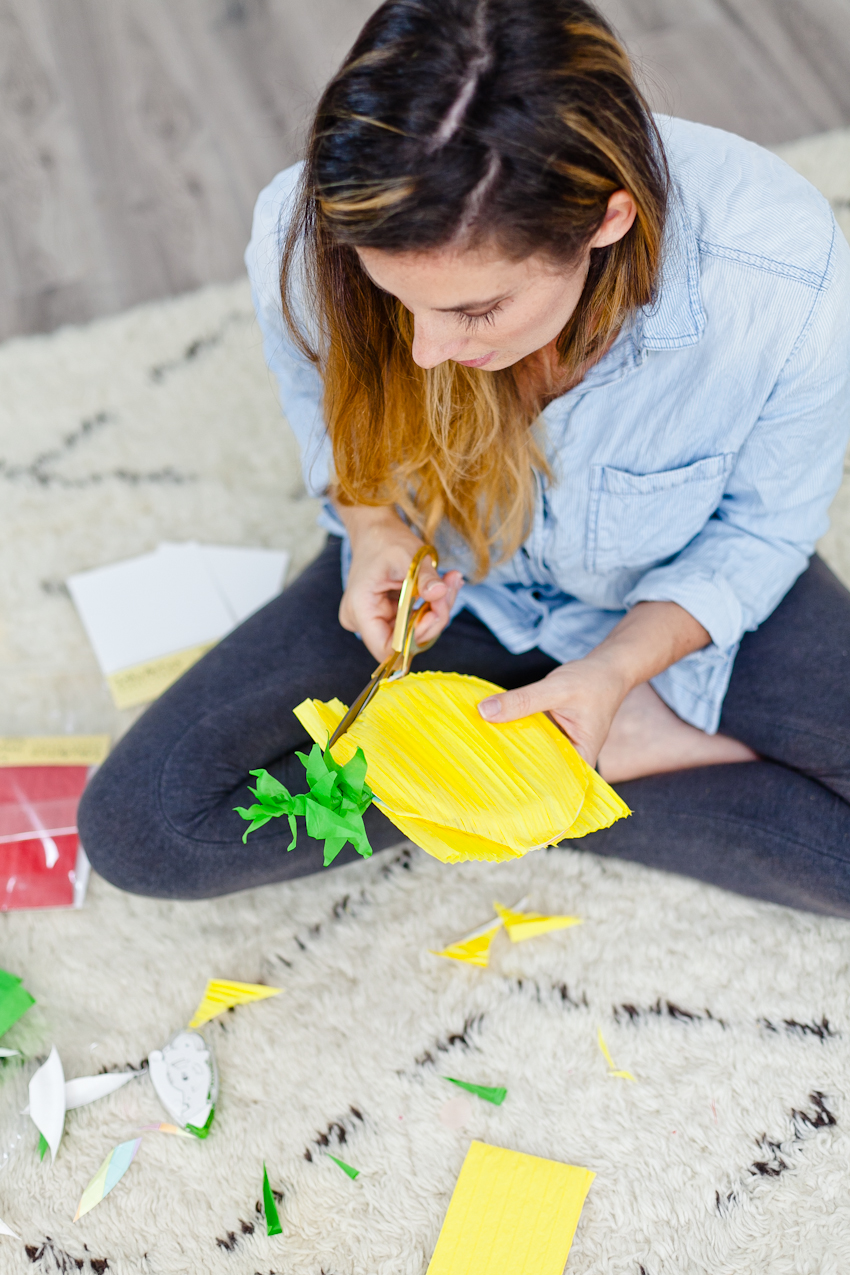
6. Run a strip of glue tape all along the outer edge of the piñata, on the front and just around the cutout area of the back. Starting along the top edge, adhere the bottom edge of your cut honeycomb paper to the curved edge and make sure the glue grabs all the way down the piñata. Where the cutouts are at the top edge of the piñata, fold the front piece of yellow honeycomb paper over and glue along the back edge. Repeat along the backside, just don’t fold the edge of the paper over the cutout area. Trim the excess with scissors.
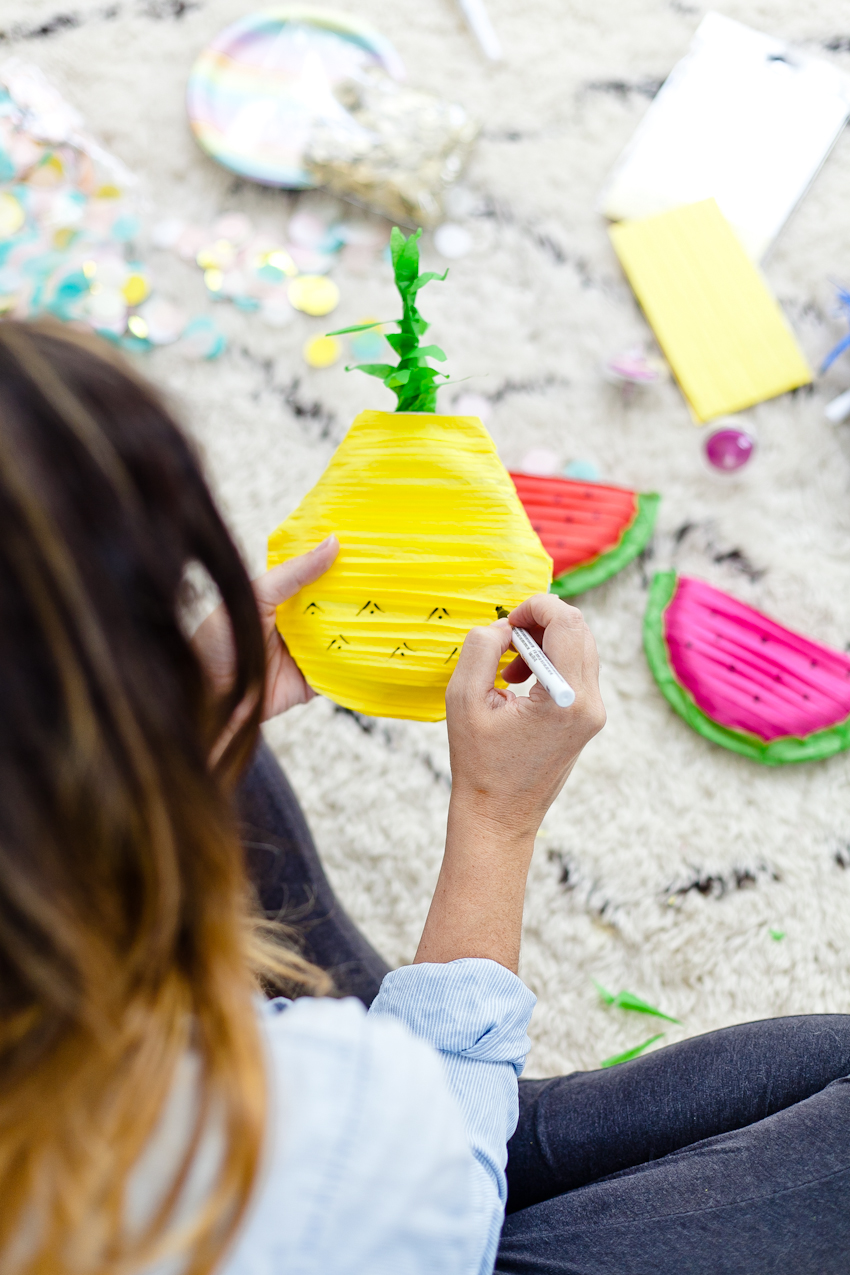
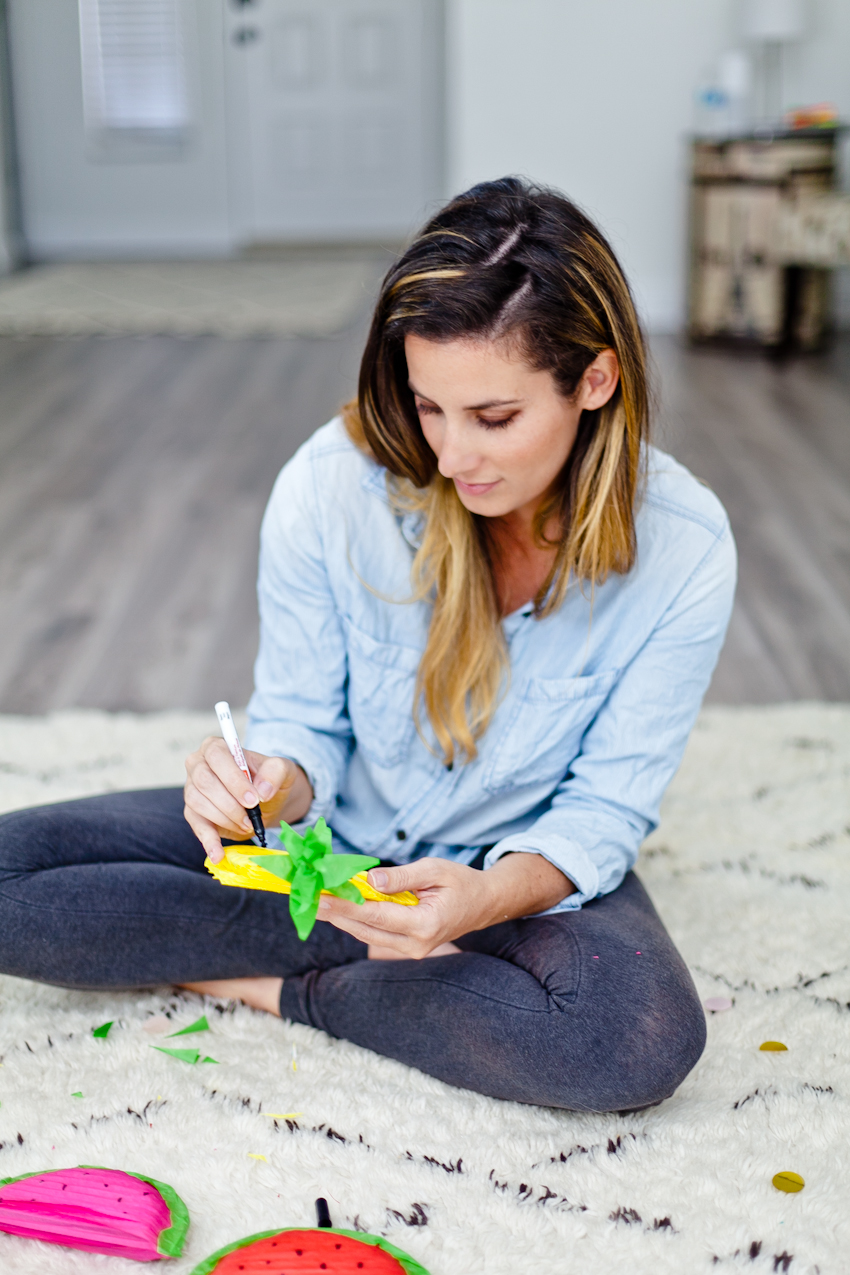
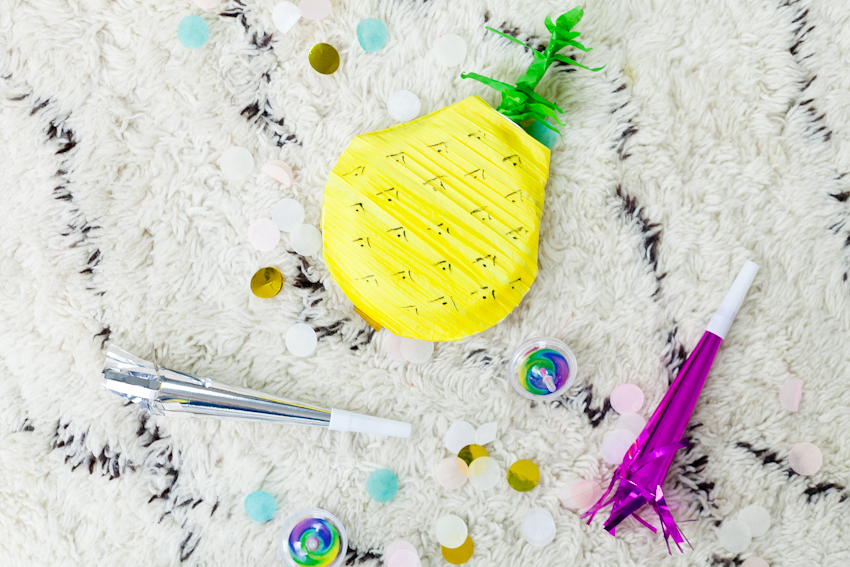
7. Use a paint pen to draw a dot and two lines above each dot in an almost triangle shape to slightly mimic the pattern on a pineapple.
Watermelon Mini Piñata
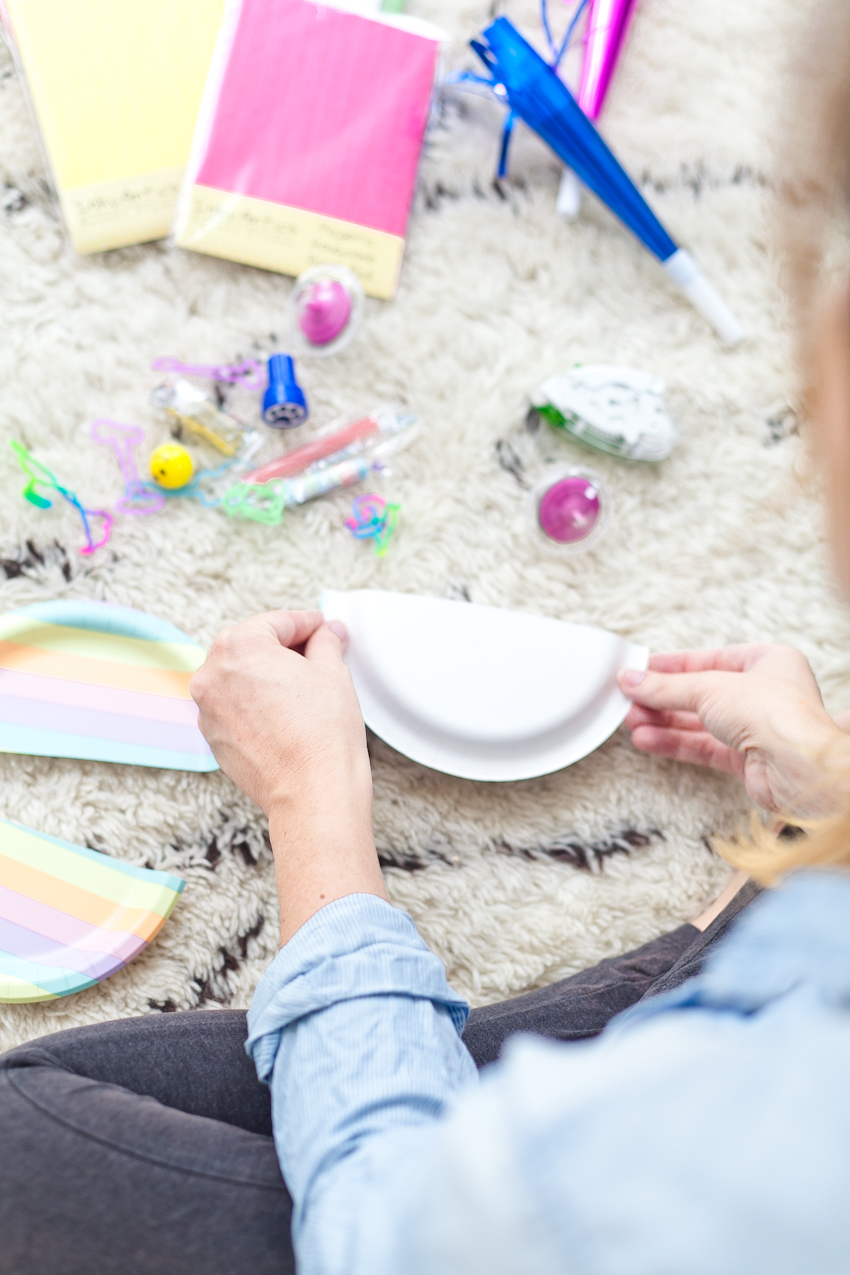
1. Cut dessert size paper plate in half with scissors.
2. Glue halves together using glue tape.
3. Fill with candy, small favors, confetti or whatever you’d like inside.
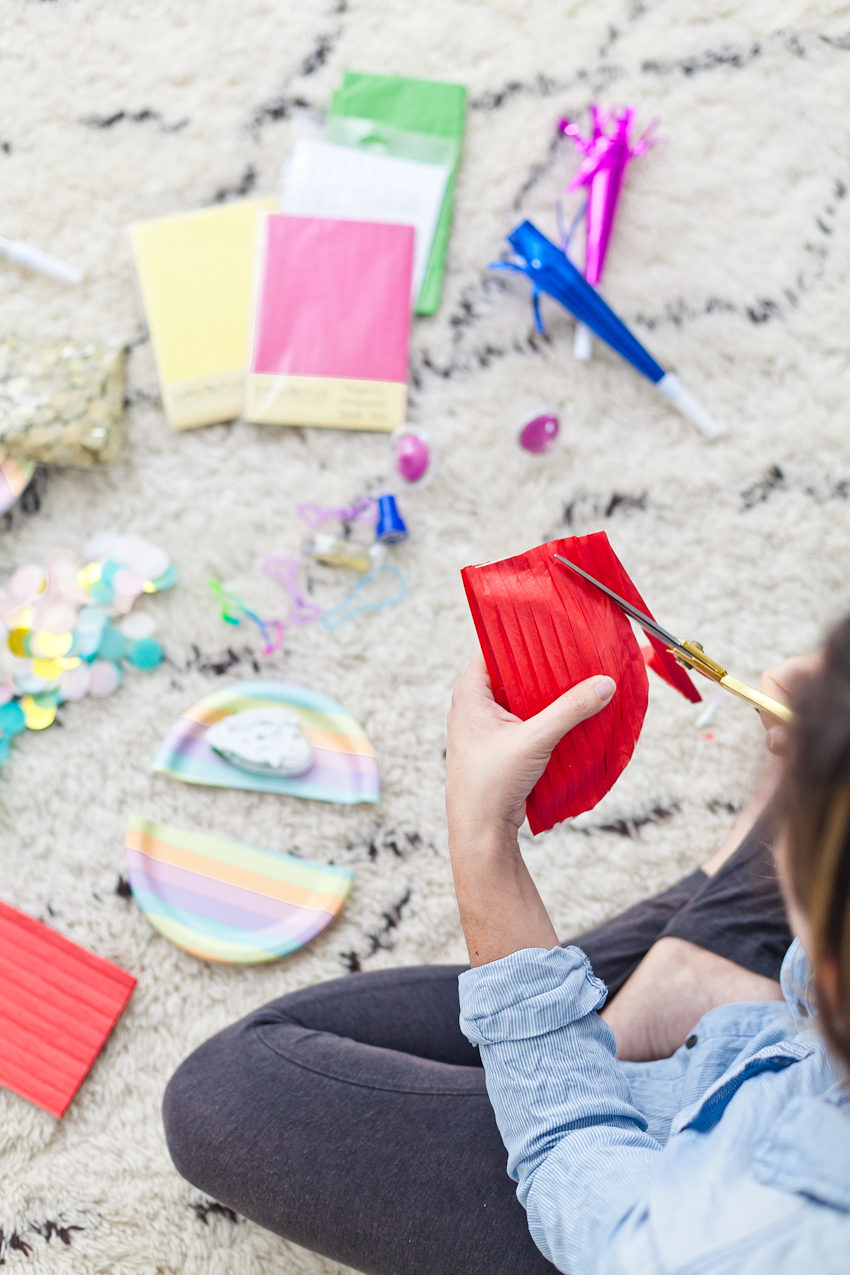
4. Cut a 1/4″ strip (along one of the lines) of the honeycomb paper pad. This makes making a piñata SO easy since you’re not having to fringe strips of tissue paper.
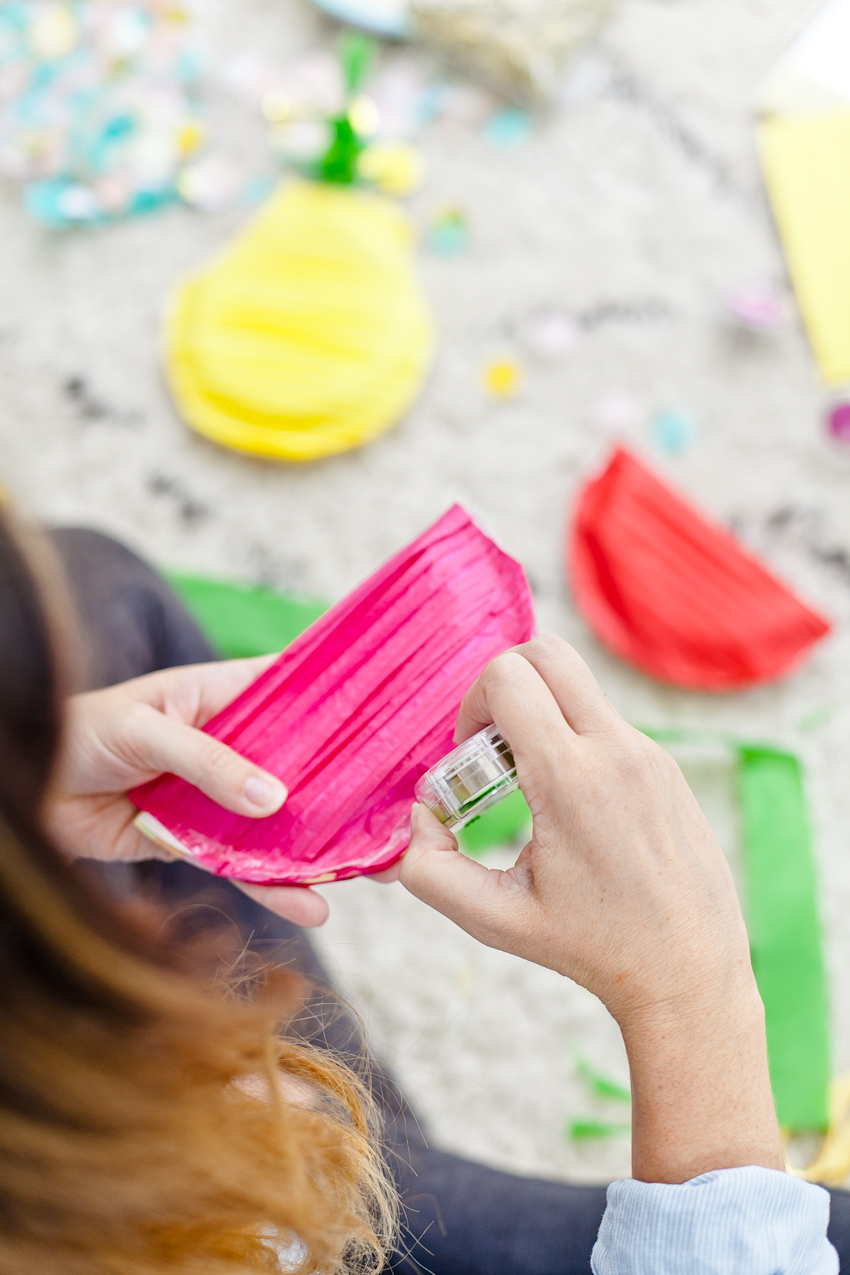

5. Run a strip of glue tape along the curved edge of the piñata, on both front and back. Starting along the bottom curved edge, adhere the bottom edge of your cut honeycomb paper to the curved edge and make sure the glue grabs all the way around the piñata, over the top and down the other side. Trim the excess with scissors.
6. Cut a 1″ strip of green tissue paper and wrap around curved edge of piñata. Adhere with glue tape, gathering and smoothing as needed.
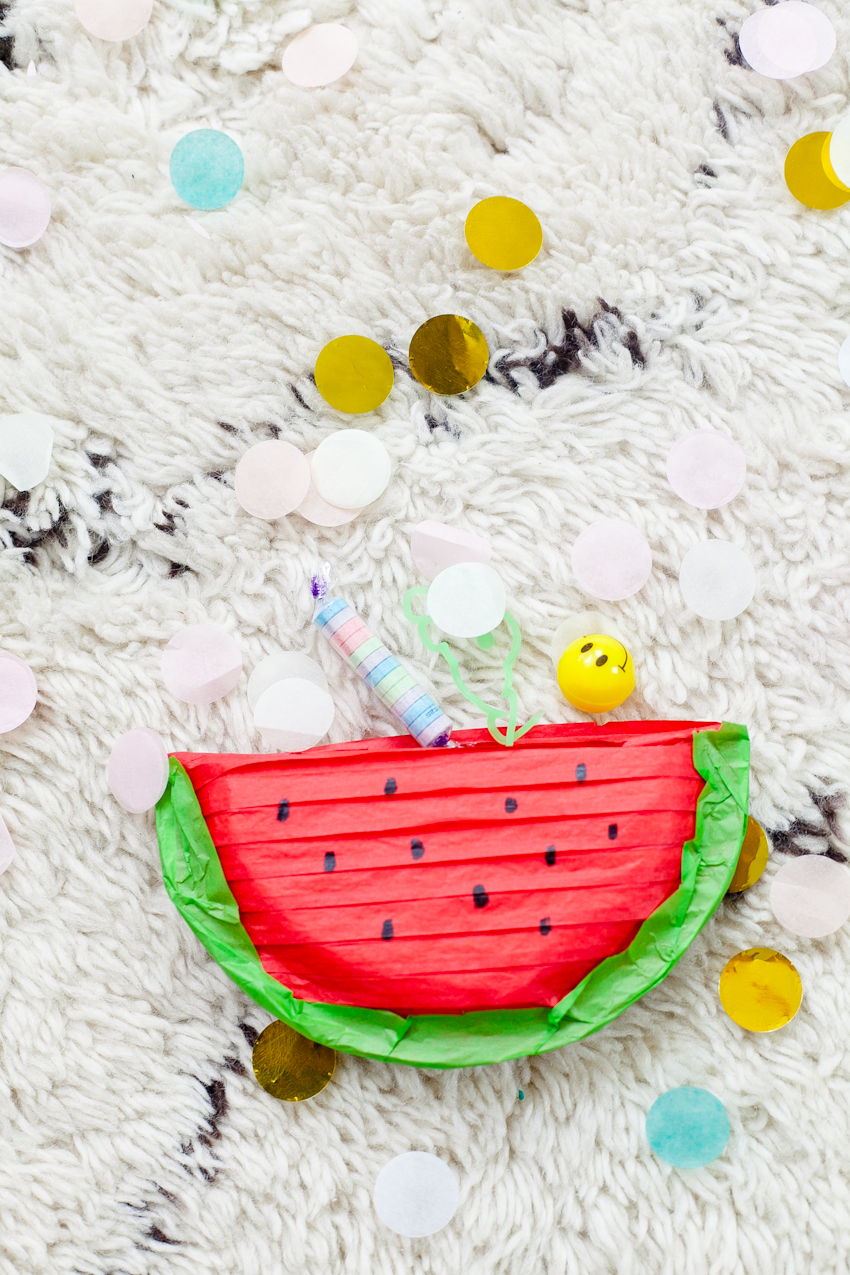
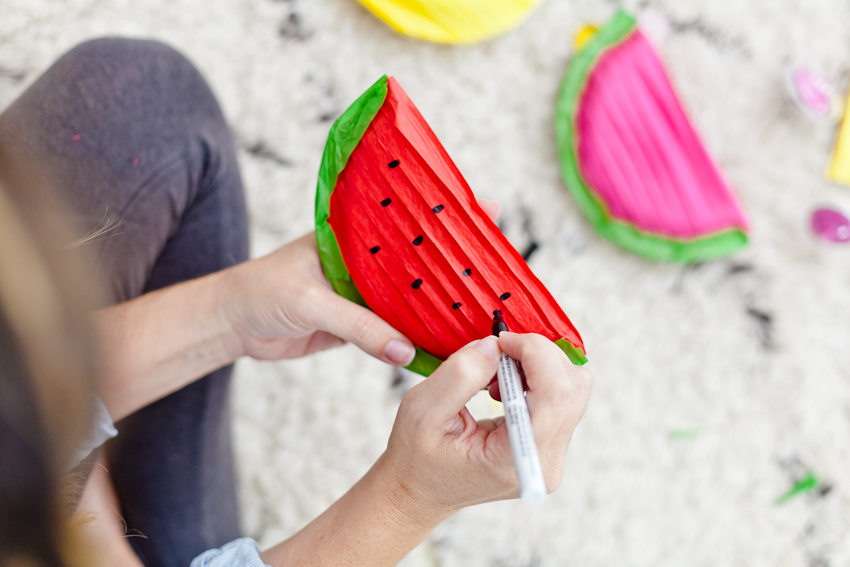
7. Use a paint pen to draw seed shapes randomly on the front side of piñata.