Materials:
- Cricut Maker™ Machine
- Cricut® 12×12 LightGrip Cutting Mat
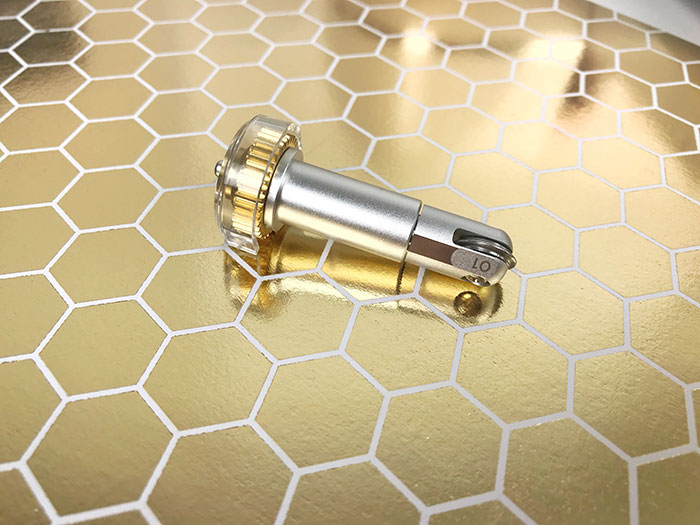
- Cricut® Scoring Wheel, Single
- Cricut® Premium Fine Point Blade
- Cricut® Tools Scraper
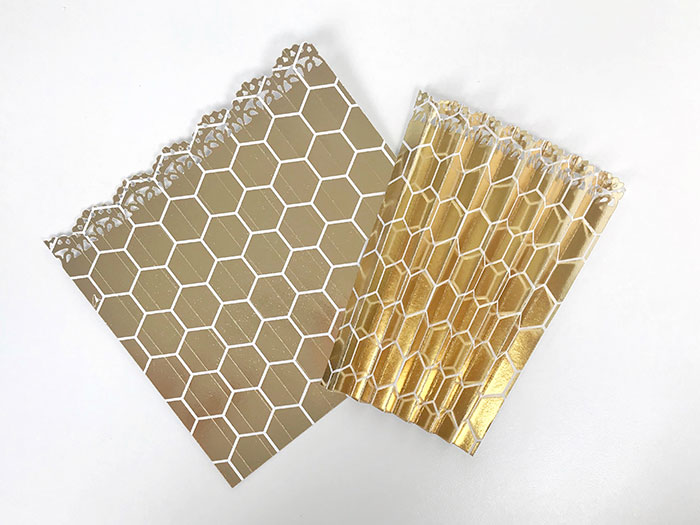
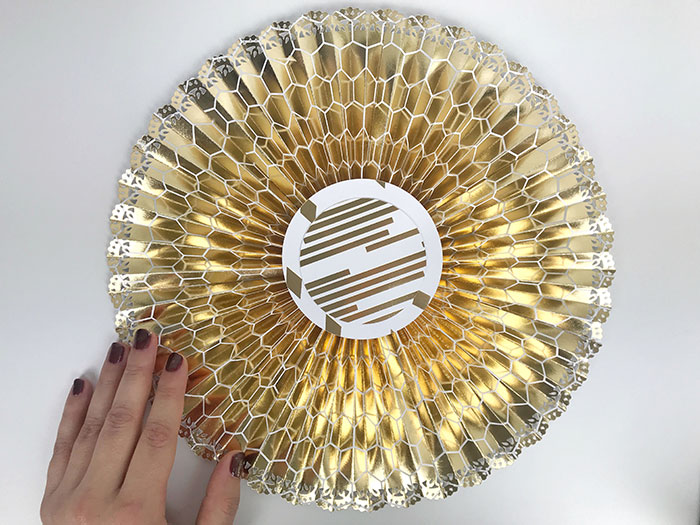
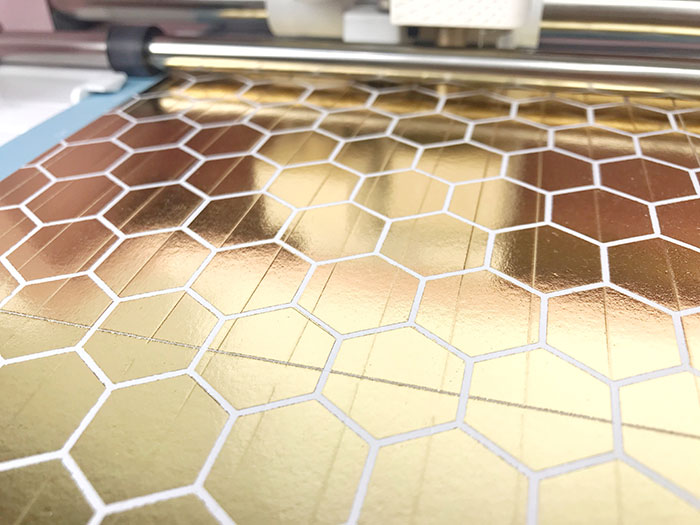
- Cricut® Foil Embossed Paper, Gold/ White
- Hot Glue
Canvas Link: https://design.cricut.com/#/design/113301075
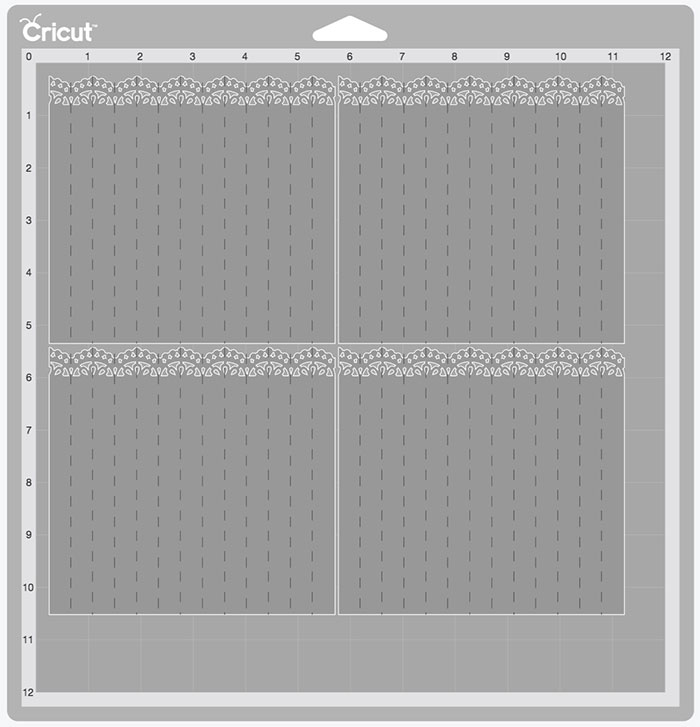
Cut Your Materials
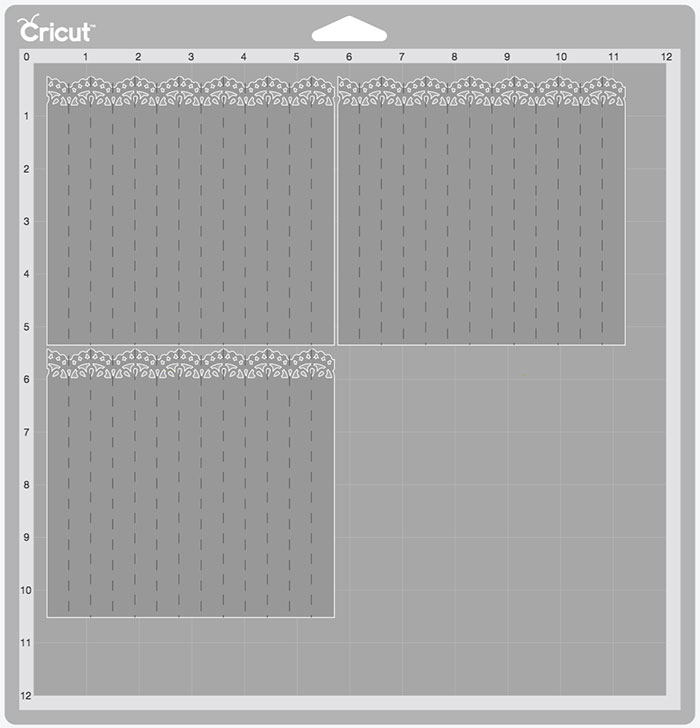
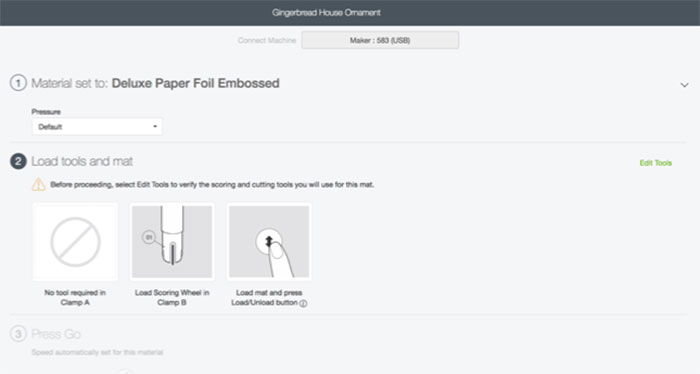
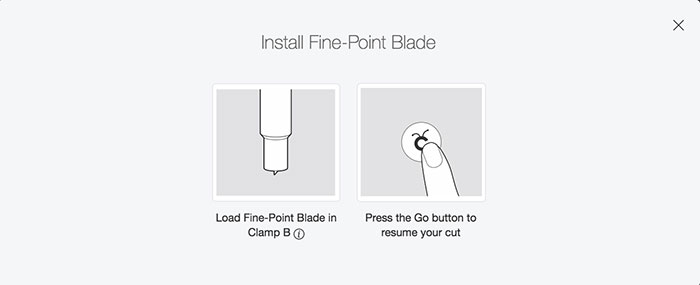
Step 1: Cut rosette pieces out of Foil Embossed Paper (2 12×12” same pattern)
- Set material to Deluxe Paper Foil Embossed
- Design space will prompt you to change from the Scoring Wheel to blade
- Clean mat with scraper

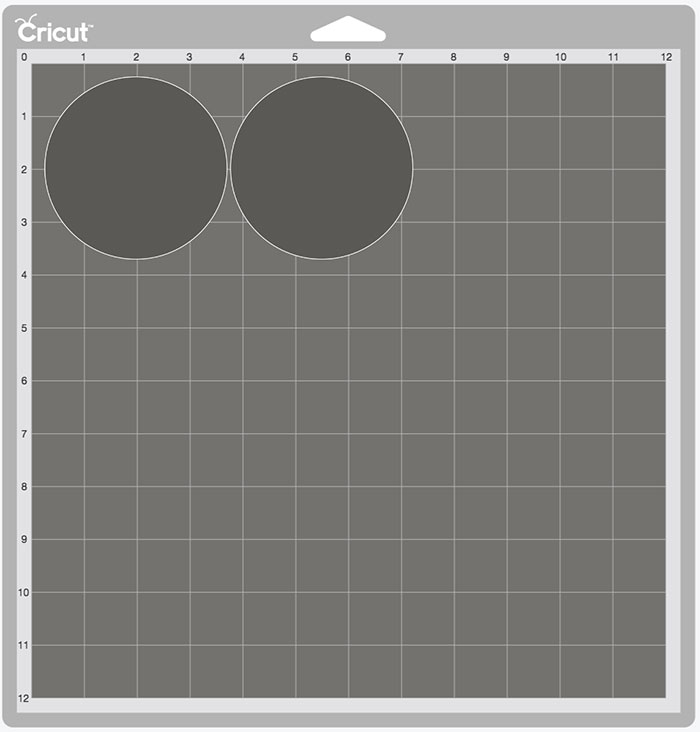
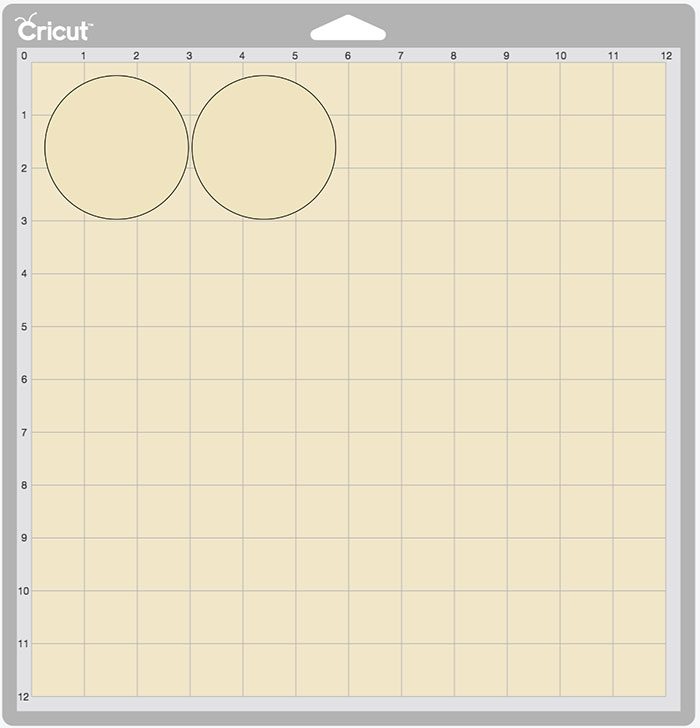
Step Two: Cut circles out of two complementing patterns
Assemble Your Craft
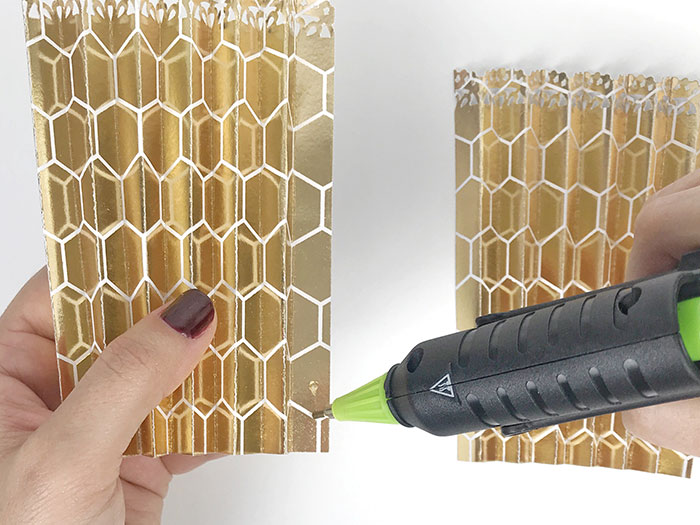
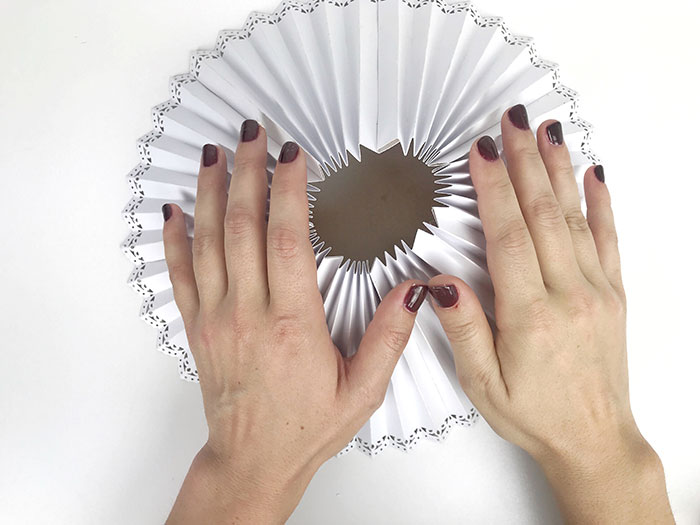
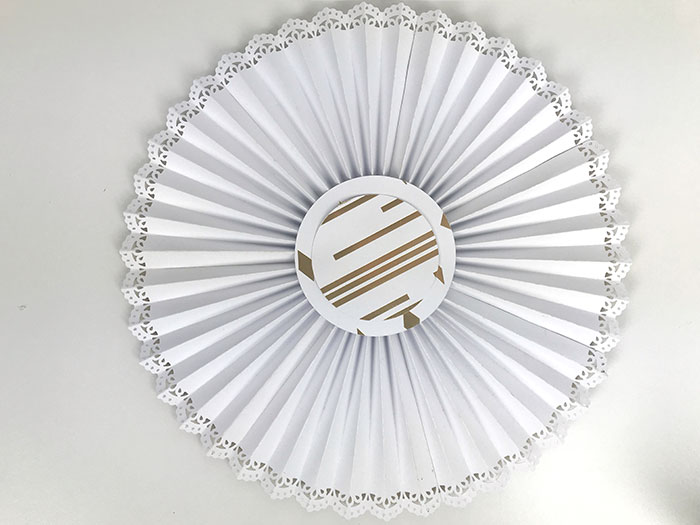
- Fold mountains and valleys using the score lines.
- Fold every piece the exact same way
- Glue pieces together
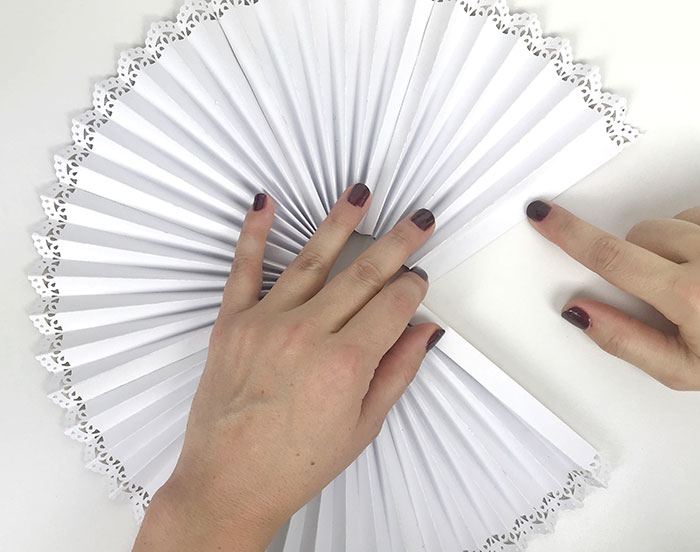
- When you get to the last piece, flip over to identify where they will attach together
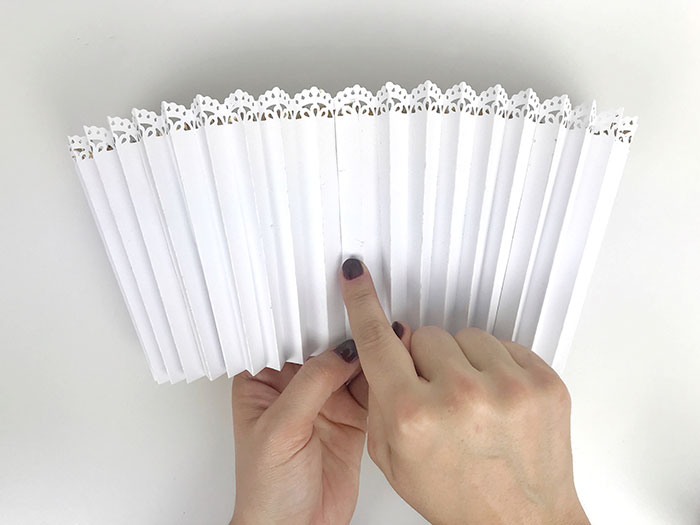
- Lay it flat and bring to pieces together to glue (tip: it’ll look like a big cupcake liner).
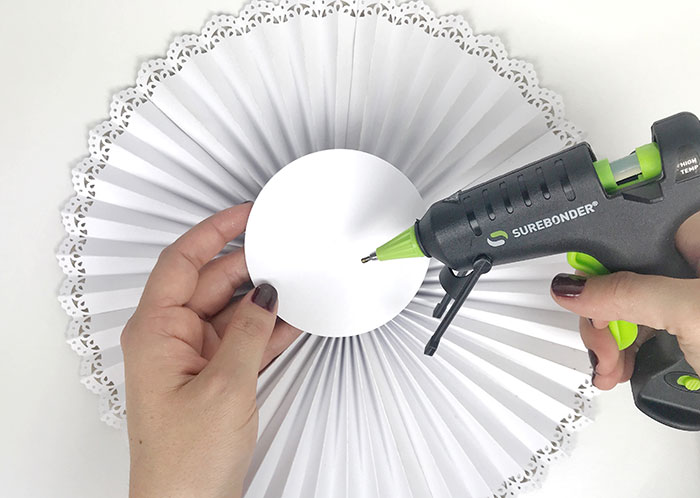
- After the glue is dry, press the rosette flat
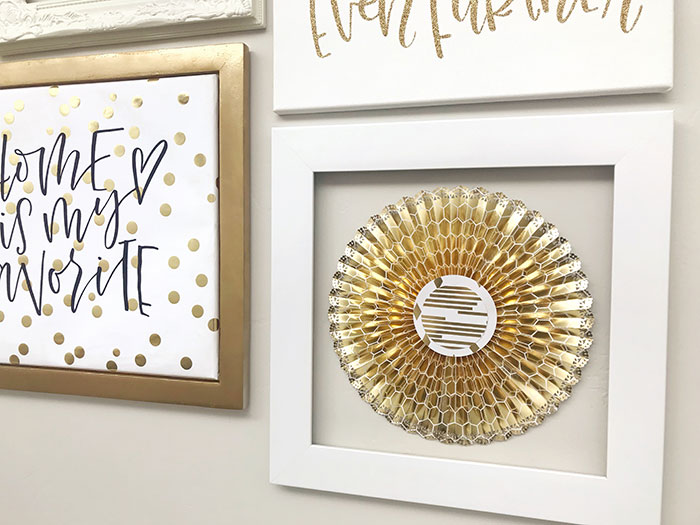
- While still holding it, grab a large circle and glue it on. Note—this is the back—so it does not need to be perfect
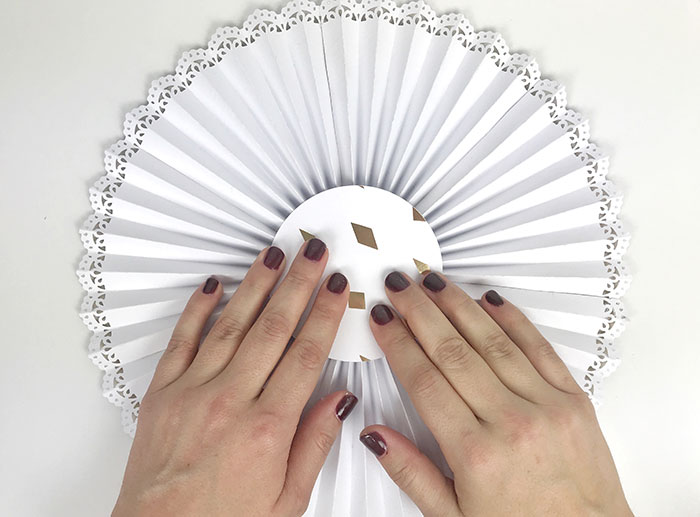
- Flip it over to glue on the front circles (The final diameter is about 11 inches. It’ll fluctuate depending on how tight you hold it while you glue. )
- You can add the second circle to the back if you’d like
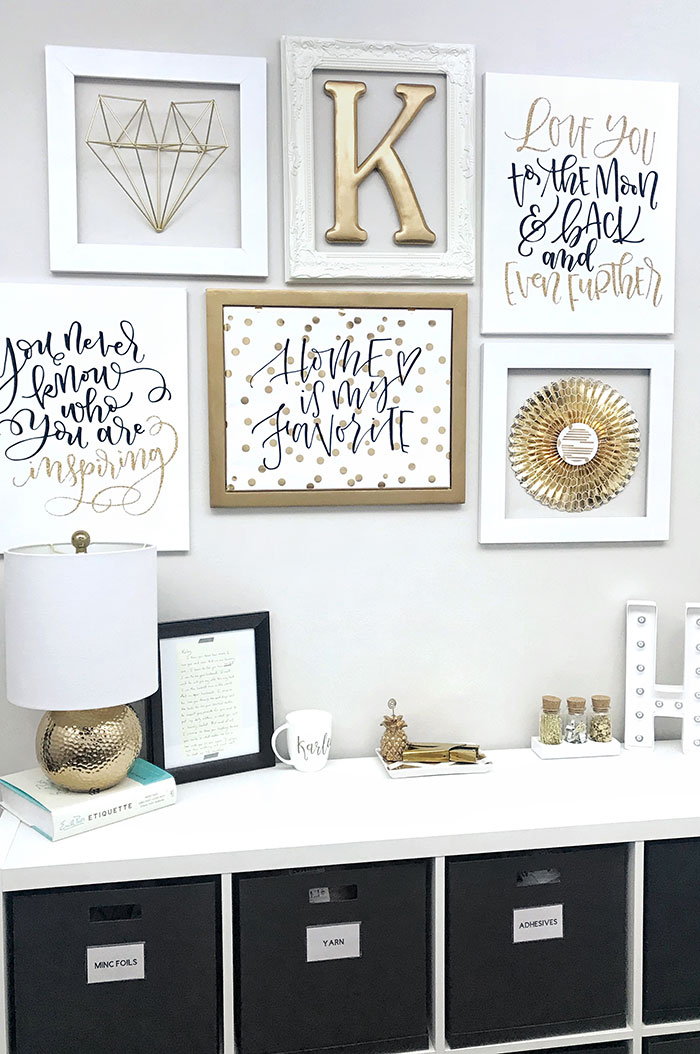
Use it for party décor or home décor!