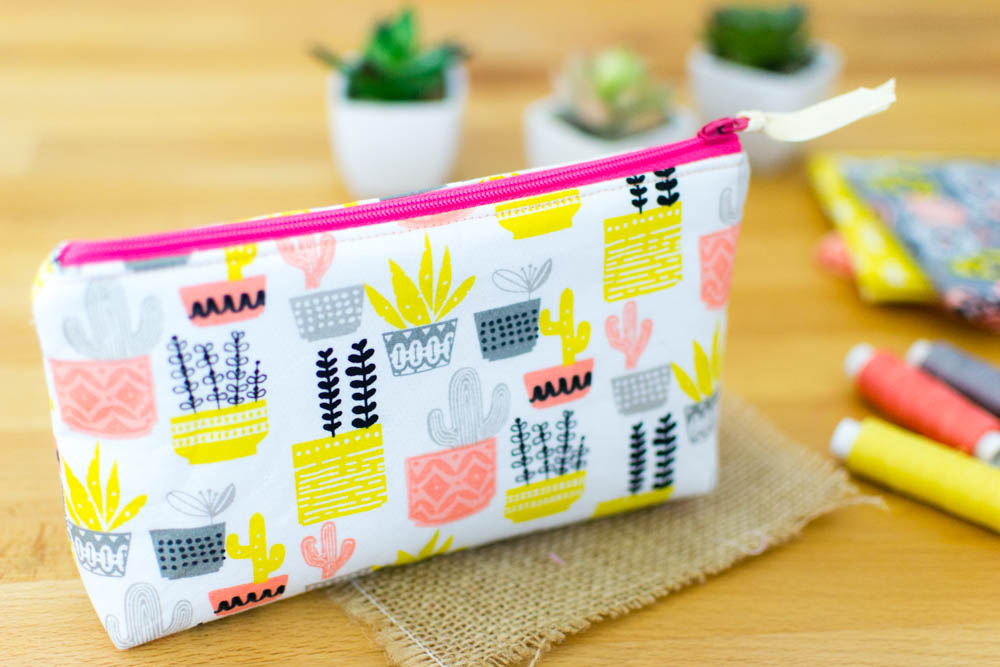
Sew your next cosmetic pouch in no time at all! This easy tutorial will get you hooked on sewing and making cute little zipper bags for yourself and all your friends. Basic skills are all you need to make this sweet project. Visit our sewing page for all of your project needs!
I’ll show you how to add structure to your pouch with fusible fleece interfacing plus the easiest zipper installation possible.
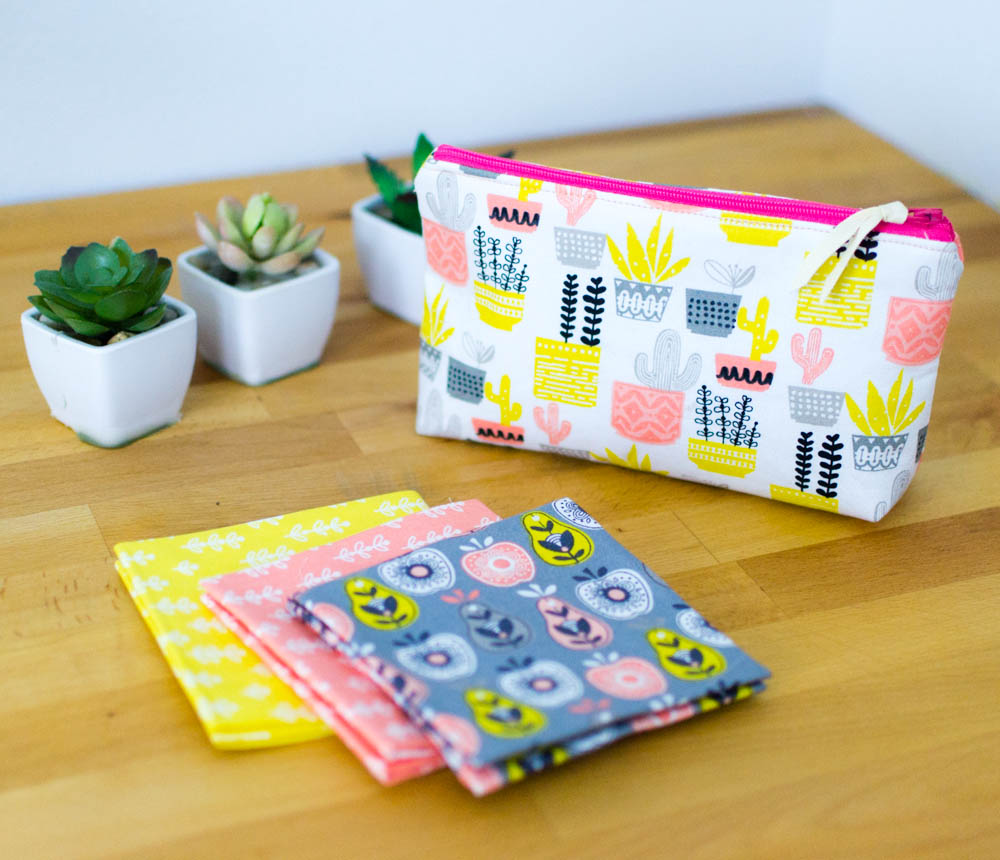
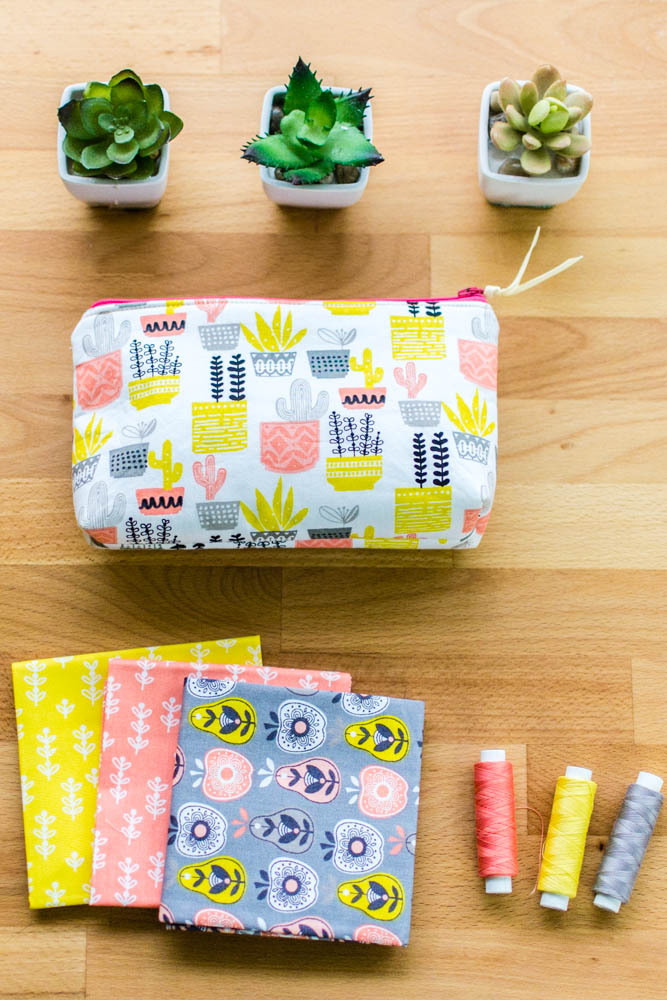
Customize your bag by choosing coordinating fat quarters from a new fabric collection.
Let’s get started!
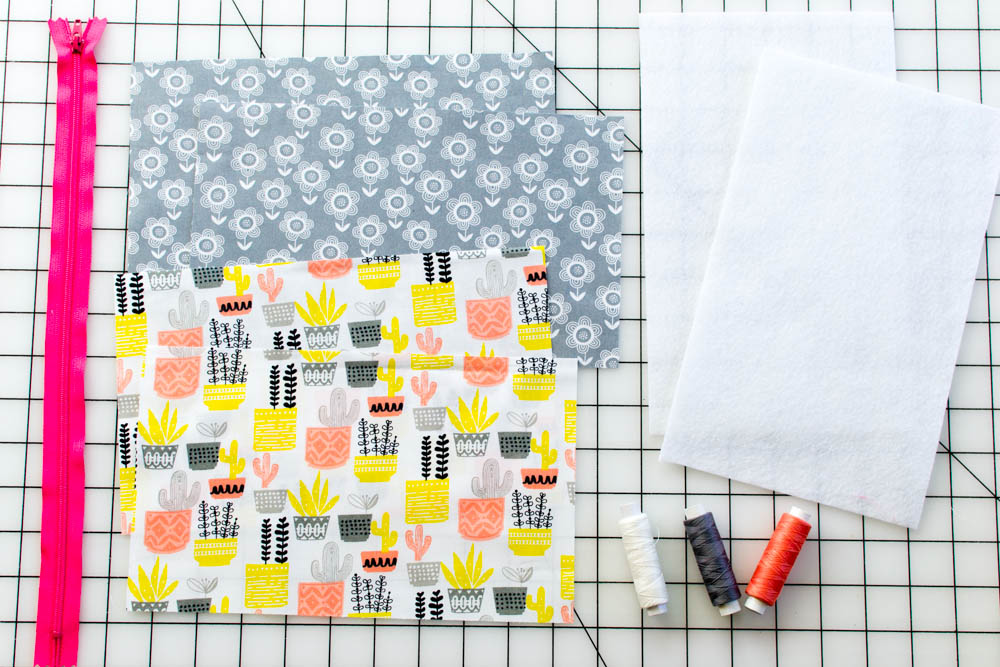
Supplies:
- 2 fat quarters of fabric (one for the exterior and 1 for the lining)
- 1/4 yard of fusible fleece interfacing
- thread
- Janome sewing machine
- cutting tools
- a fabric pen or pencil for marking
- 5’’ piece of narrow ribbon
- 10″ or longer zipper
Preparation:
1. Cut 2 rectangles 6’’ x 10’’ from each of your materials: exterior fabric, lining fabric, and fusible fleece.
2. Follow the manufacturer’s instructions to fuse the fusible fleece to the wrong side of the exterior fabric.
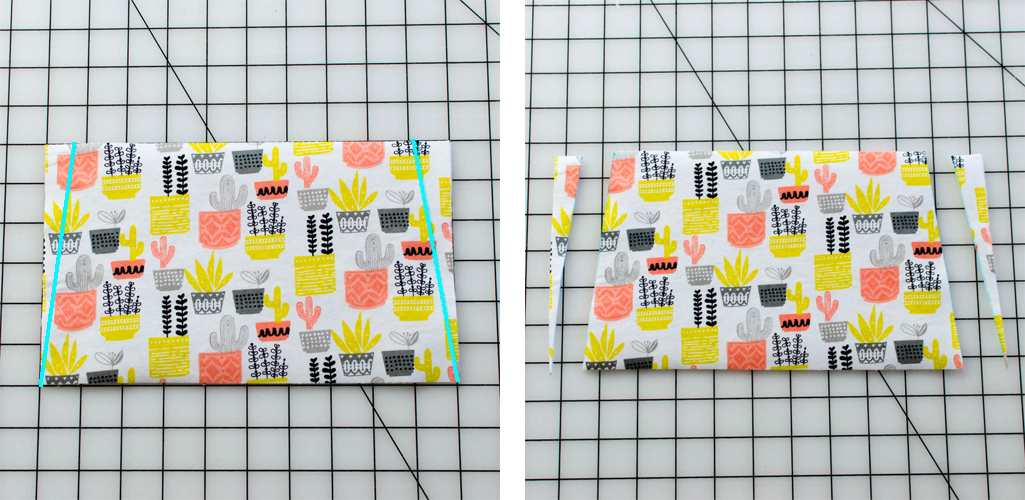
3. Mark the top edge of one of the rectangles 1’’ away from each corner. Then draw a line that connects the mark with the lower corner on that side. Trim away the triangle along the line and you drew using scissors or a rotary cutter and ruler.
Repeat this step to cut all of the rectangles to the shape shown above.

Sew in the Zipper
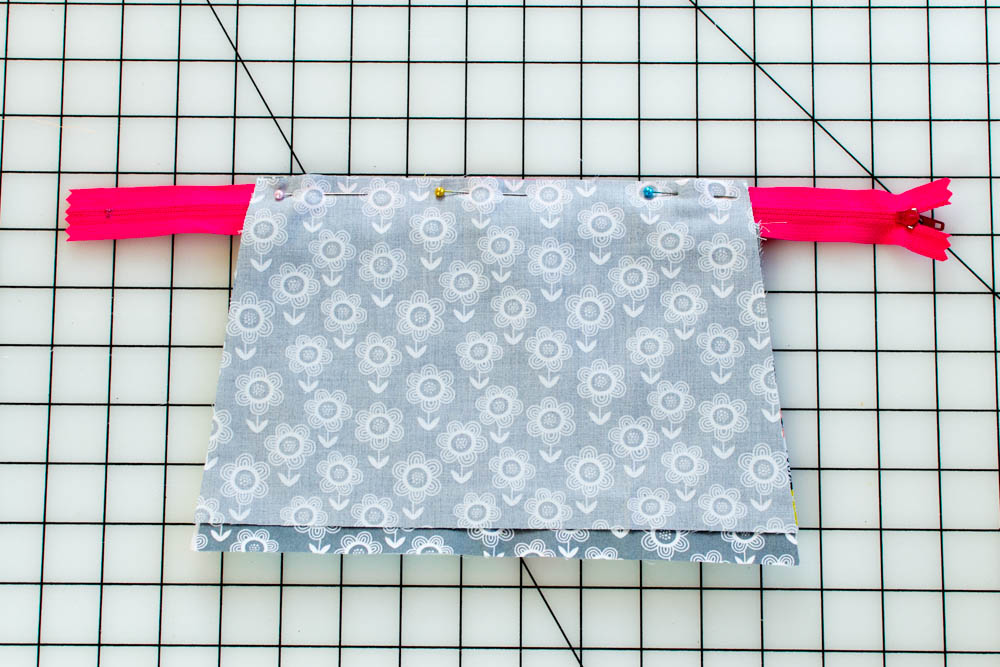
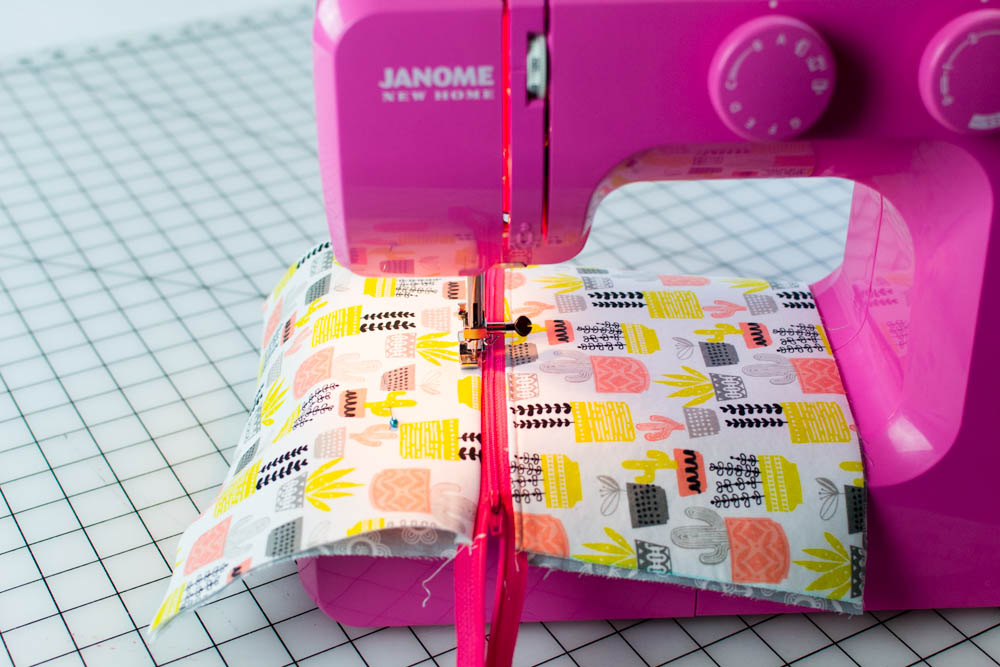
1. Lay one of the exterior pieces on your workspace and center the zipper face down along the top edge.
2. Place a lining piece on top, lining up the top edge with the top edge of the exterior piece (with the zipper sandwiched in between). Pin all 3 layers in place.
3. Install the zipper foot on your sewing machine and sew across the top edge with a 1/4’’ seam allowance.
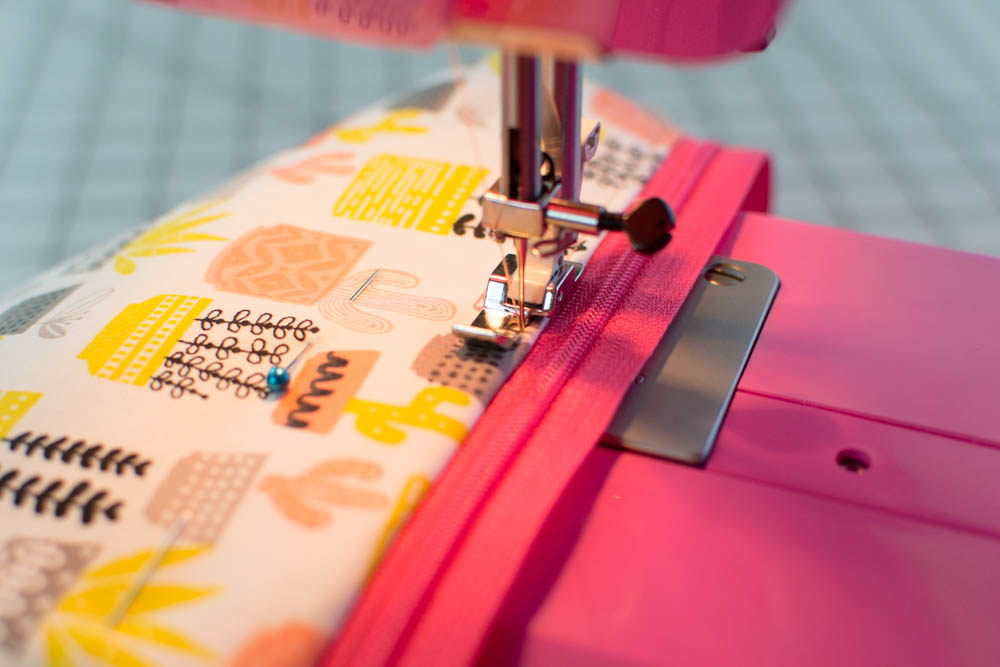
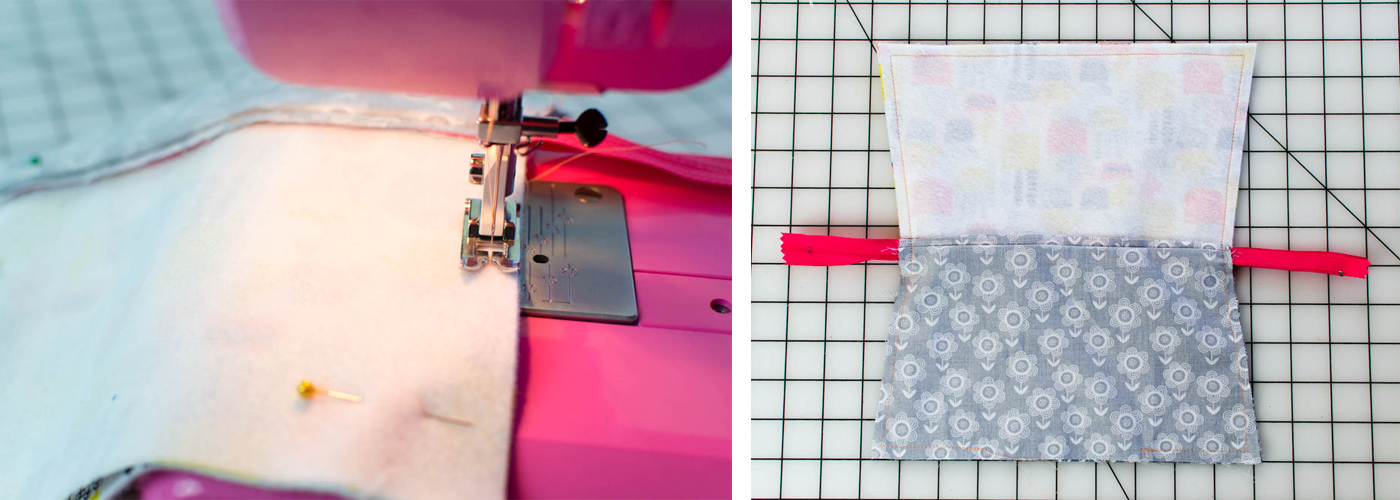
4. Open the fabrics and fold them away from the zipper with the wrong sides together. Press the fold carefully so you don’t melt the zipper. Topstitch along the edge 1/8’’ away from the fold.

Now we’ll sew the other side of the zipper. The process is the same even though it looks a little different with one side of the zipper already sewn.
5. Center the zipper face down against the remaining exterior pouch piece with the zipper edge lined up with the top edge of the pouch piece. Make sure that this side of the pouch is centered with the other side of the pouch.
6. Place the lining piece on top and pin.
7. Sew across the top edge, press, and topstitch the same as before.
Sew the Sides and Bottom Edges Together
1. Re-fold the pouch, placing the lining pieces together and the pouch exteriors together. Pin all the way around.
Tip: Push the zipper teeth toward the exterior.
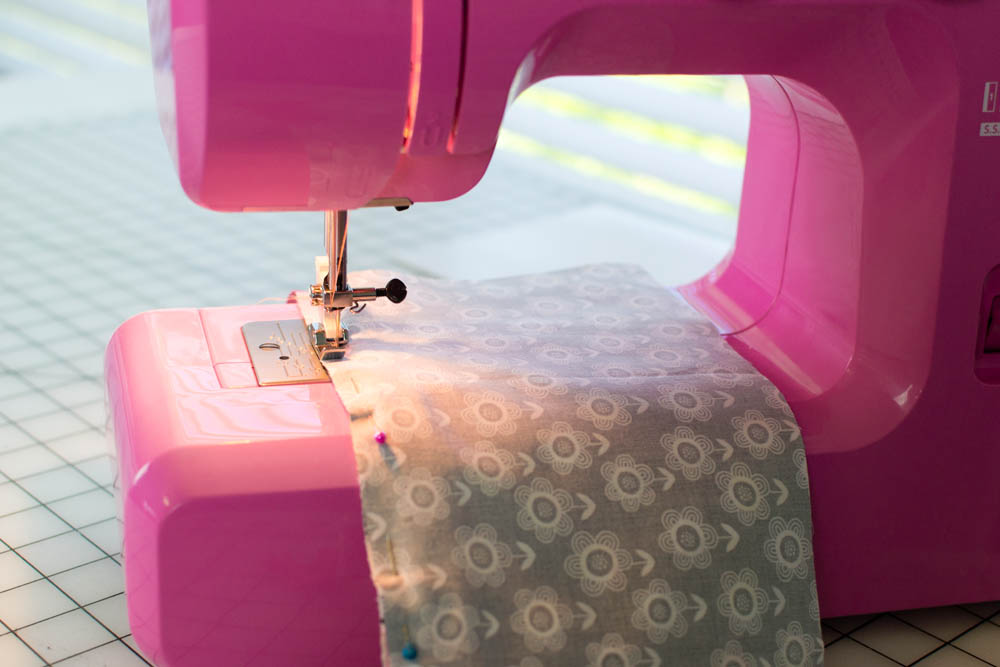
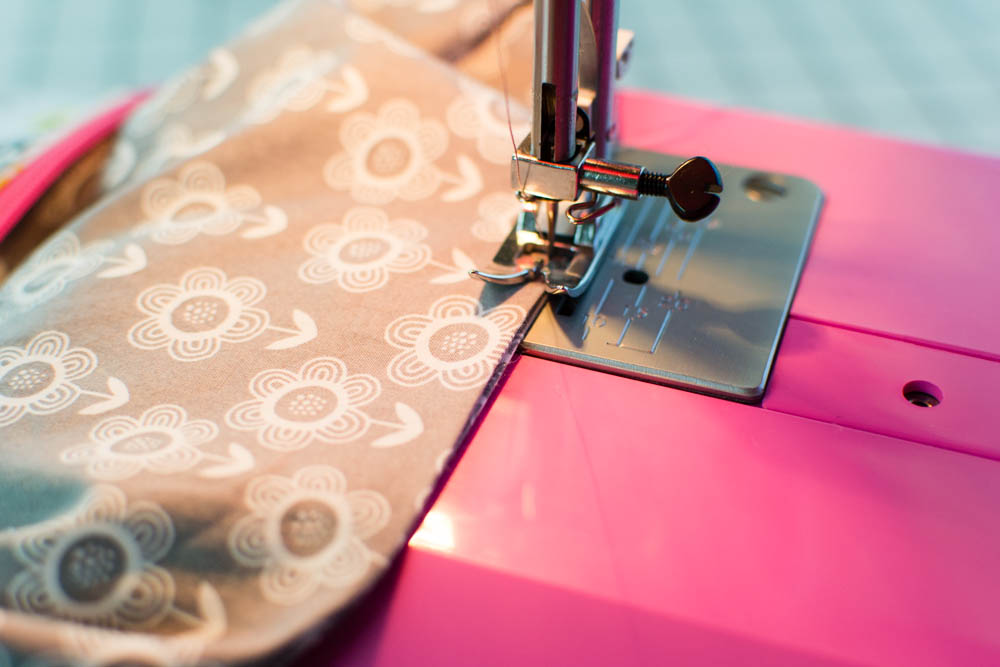
2. Sew all the way around the pouch, stopping and starting on the long edge of the lining so you can leave 4’’ open to turn the pouch right side out.
3. Cut away the extra zipper tape. Press the seams open.
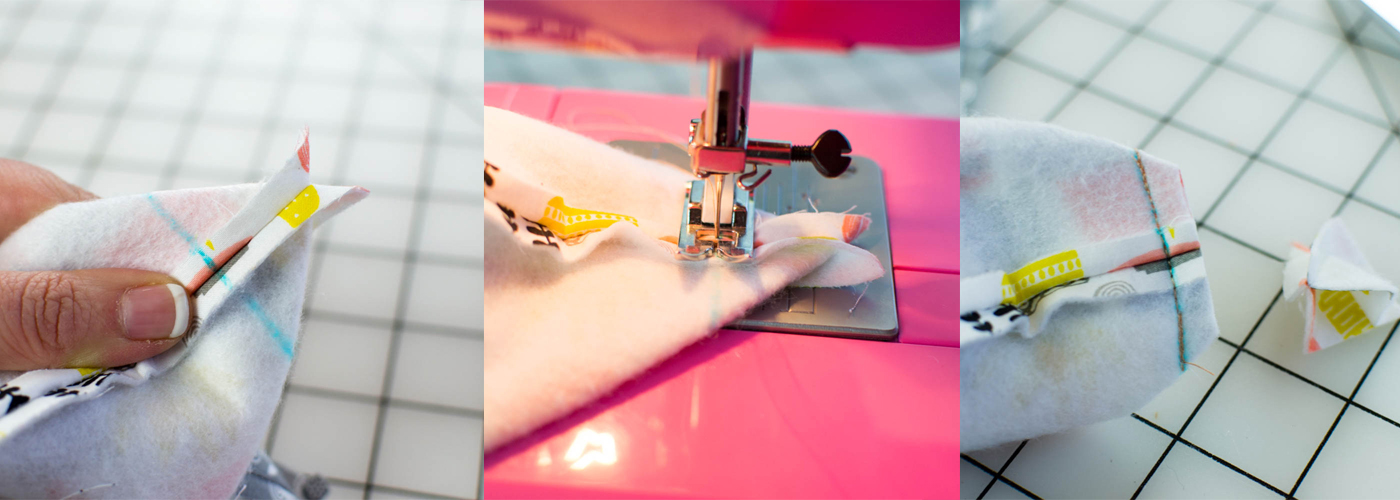
Box the Corners
1. Before you turn the pouch right side out, flatten one of the corners so that the bottom edge lies against the side edge with the seams lined up. Draw a line across the corner that is about 1 1/2’’ long and 1’’ away from the tip.
2. Sew across the line. Trim away the corner 1/4’’ past your stitching.
Repeat steps 1 and 2 to box all 4 corners (2 on the lining and 2 on the exterior).
Finishing:
1. Turn the pouch right side out through the opening in the lining.
2. Press the edges at the opening to the inside. Sew the opening closed either by hand or with your sewing machine, sewing close to the edge.
3. Push the lining inside the pouch.
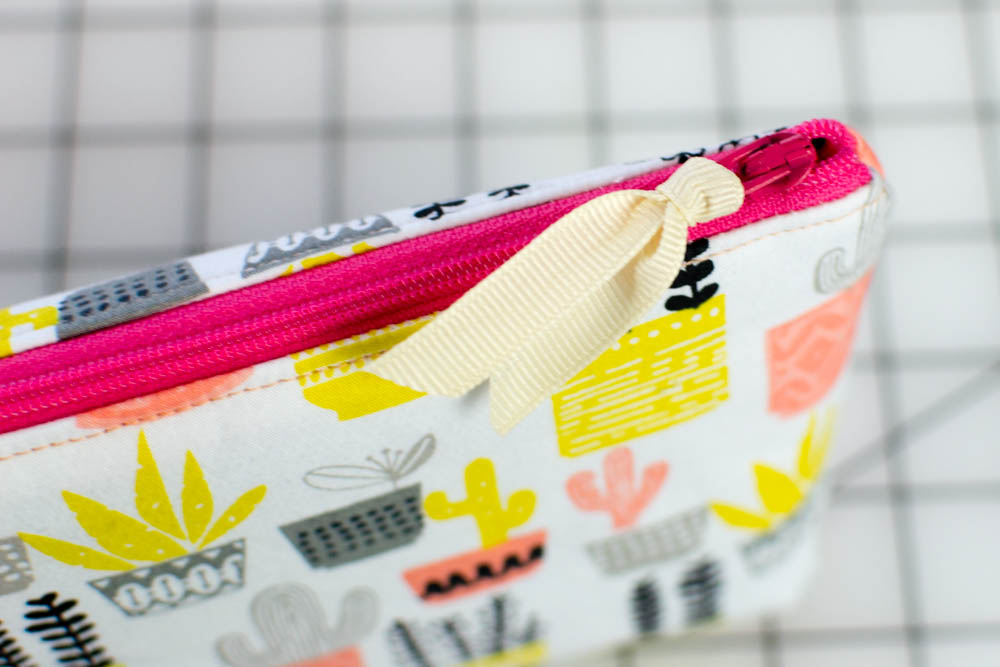
4. To make a nice little ribbon embellishment, fold the 5’’ piece of ribbon in half and push the both ends through the hole on the zipper pull. Without pulling the ribbon all the way through, thread the ribbon ends back through the loop and pull tight.
Fill your new cosmetic pouch with everything you need to stay beautiful on the go!