


The Cricut Maker opens so many doors when it comes to crafting and even now with fabric. I can’t sew though, so when it comes to crafting with fabric, I have to get a little creative. Sewing lessons may just be my next life goal.
I digress, we wanted to do some fun DIY mini stockings to use in decorating around the house for the holidays, and thankfully, with a few simple steps, this non-sewer had a fabric craft ready to go!
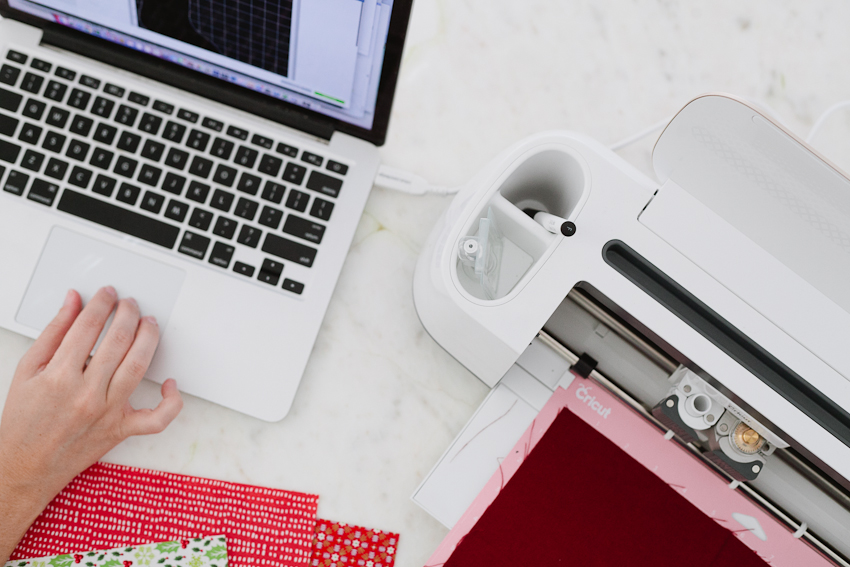
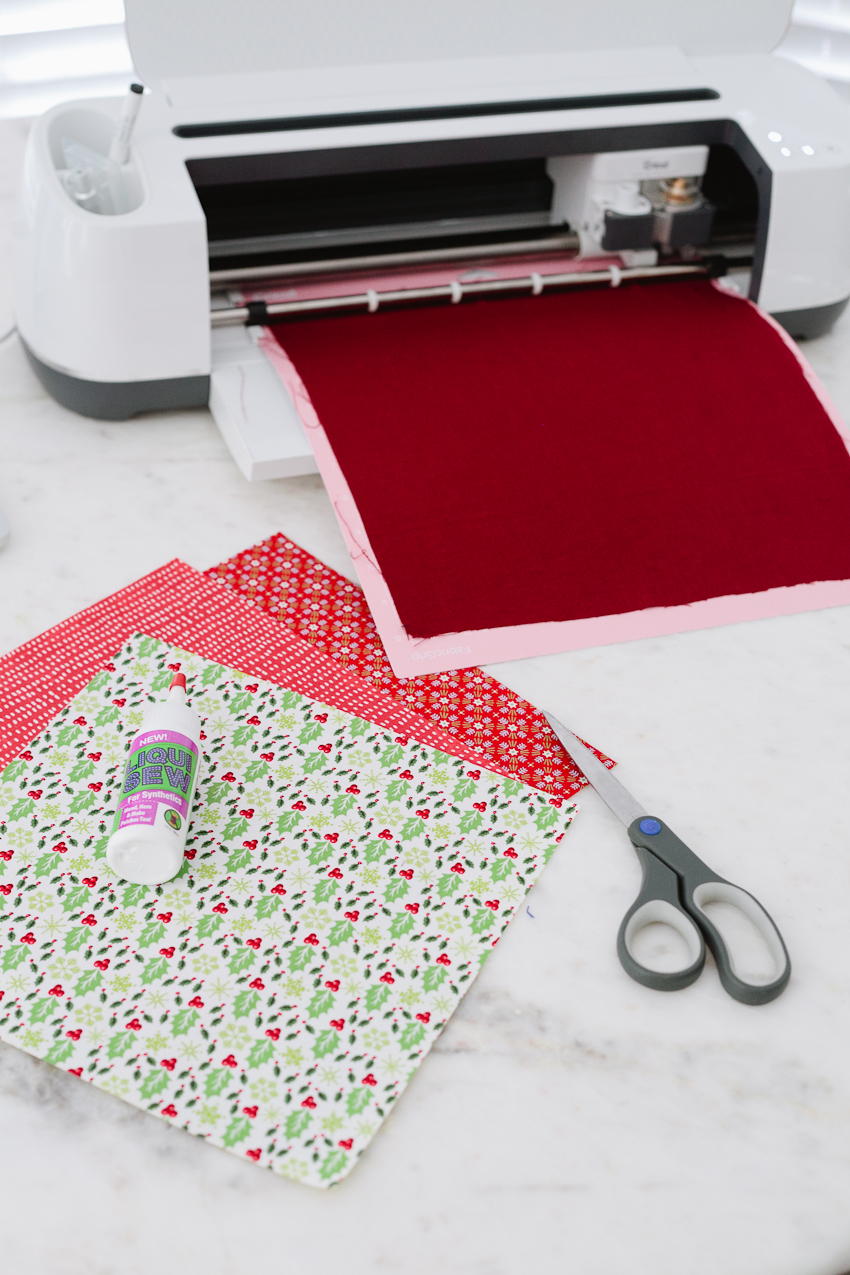
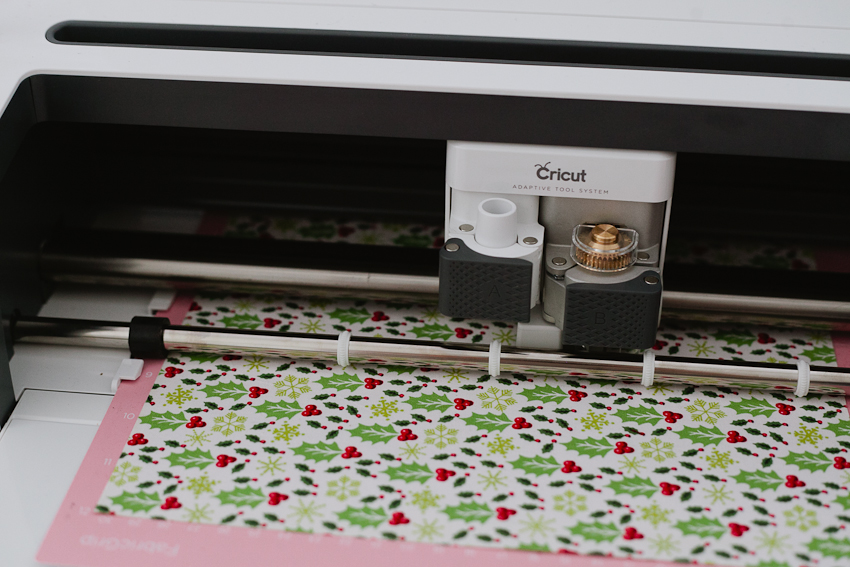
The first step is to just load the stocking shape we want in the Cricut Design Space software (I found one online easily). Once it is ready, apply the fabric we want to use onto the fabric (pink) cutting mat, smooth it out and it’s ready to load it into Cricut. Hit the button and sit back and relax as you wait for your precise cuts, every time.
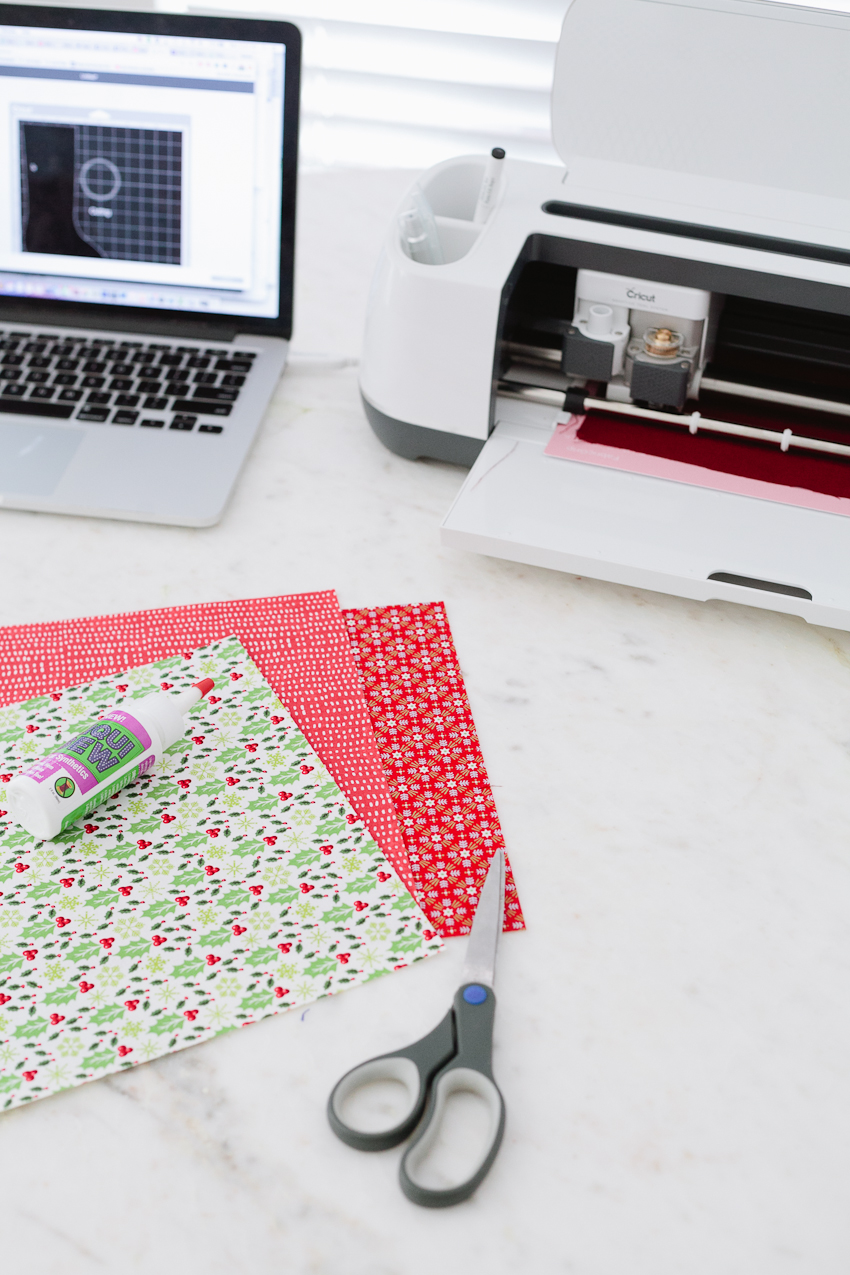
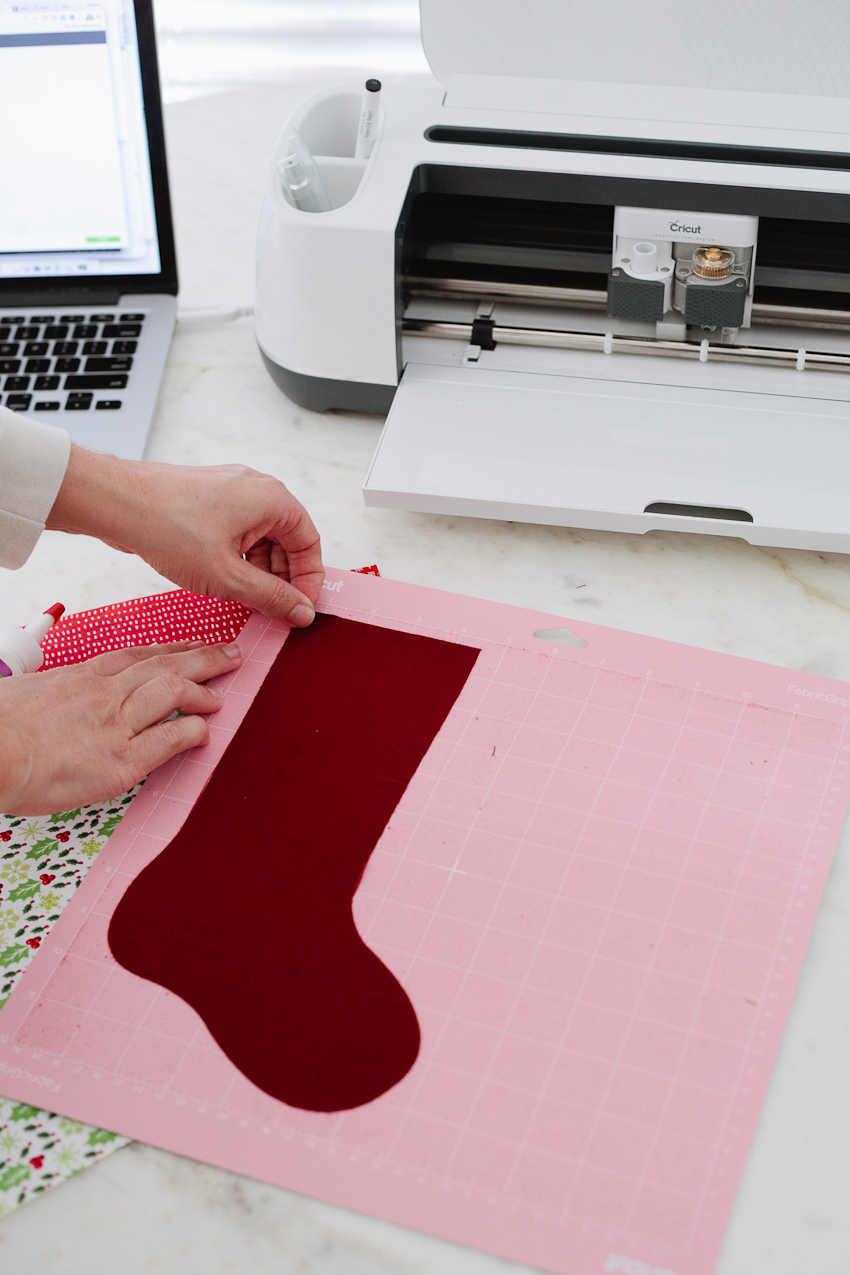
To create one stocking, we’ll need two cut stocking shapes. Once the first one is done, remove fabric and place new fabric on the cutting mat and then back to software and repeat.
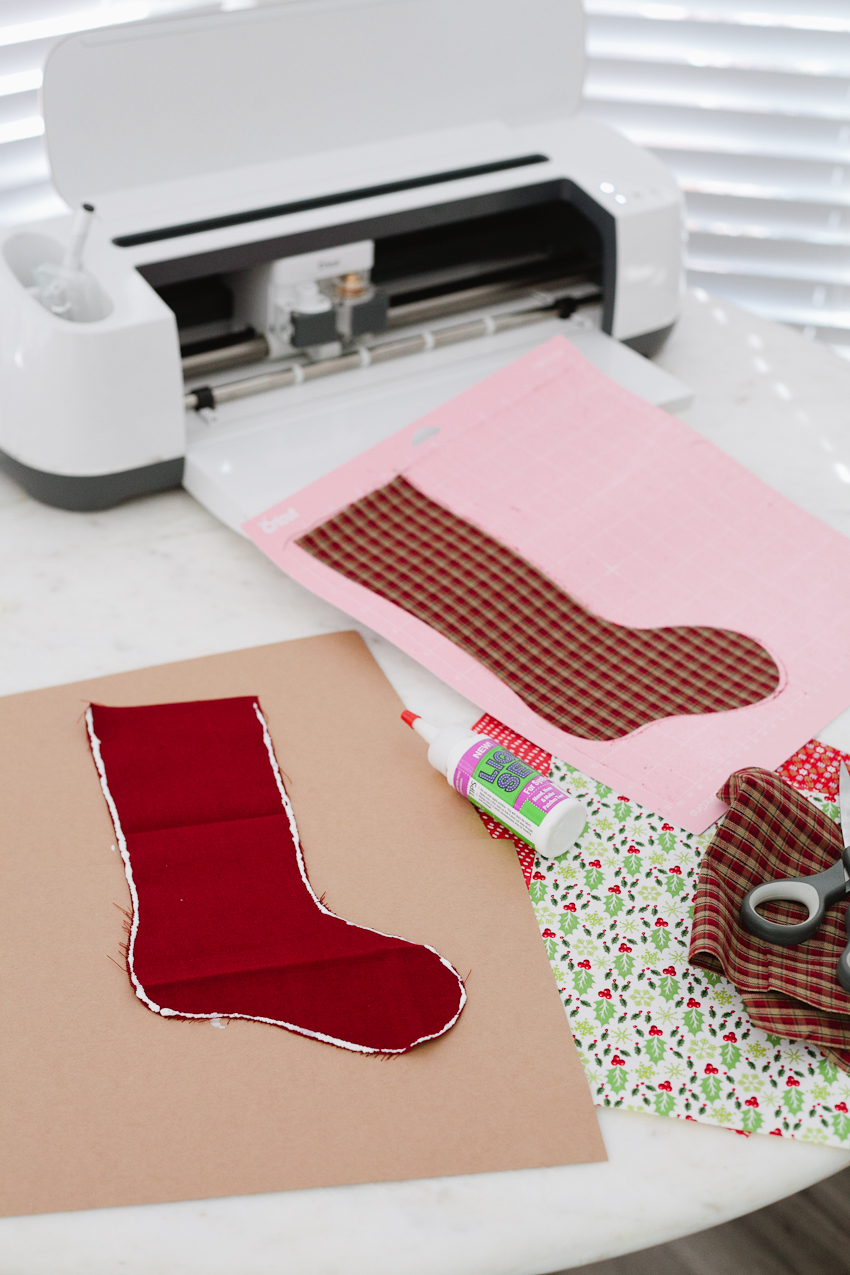
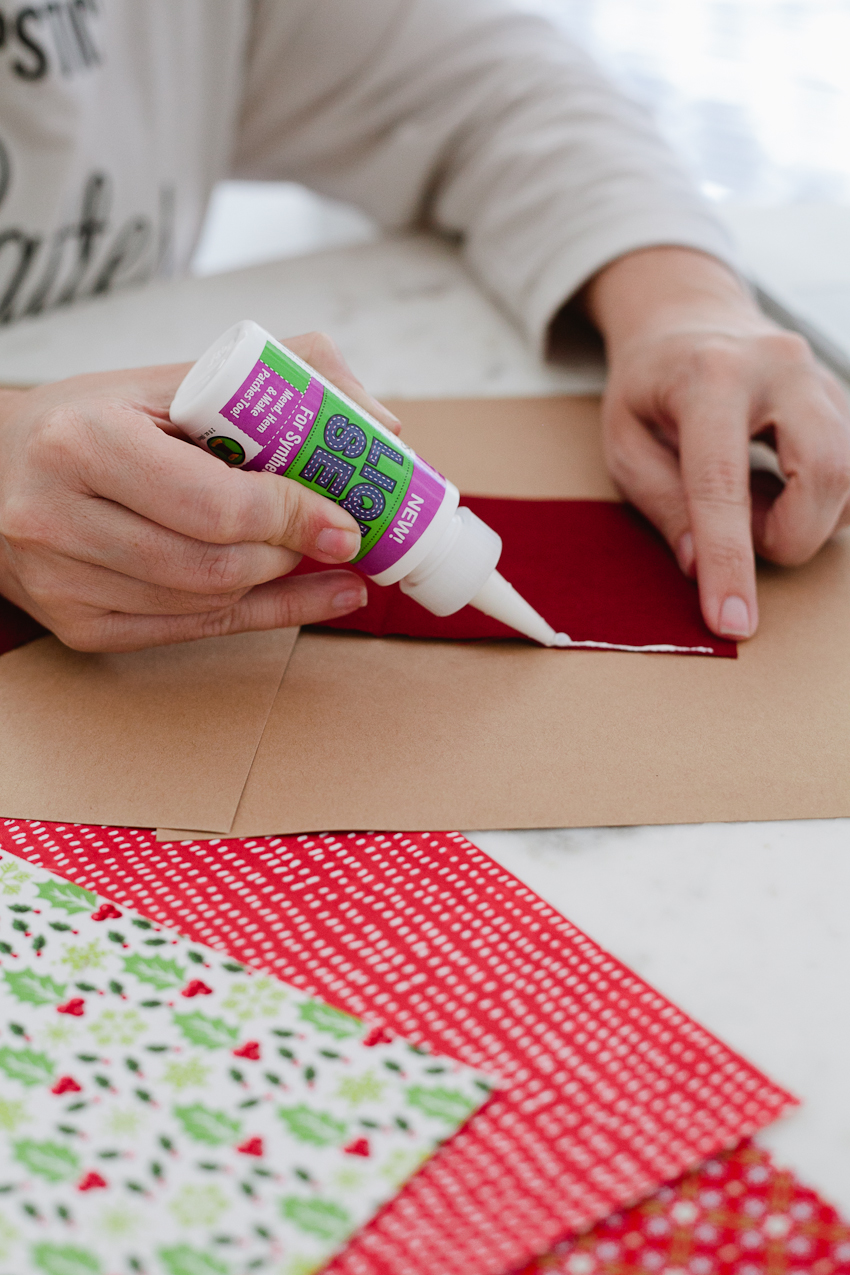
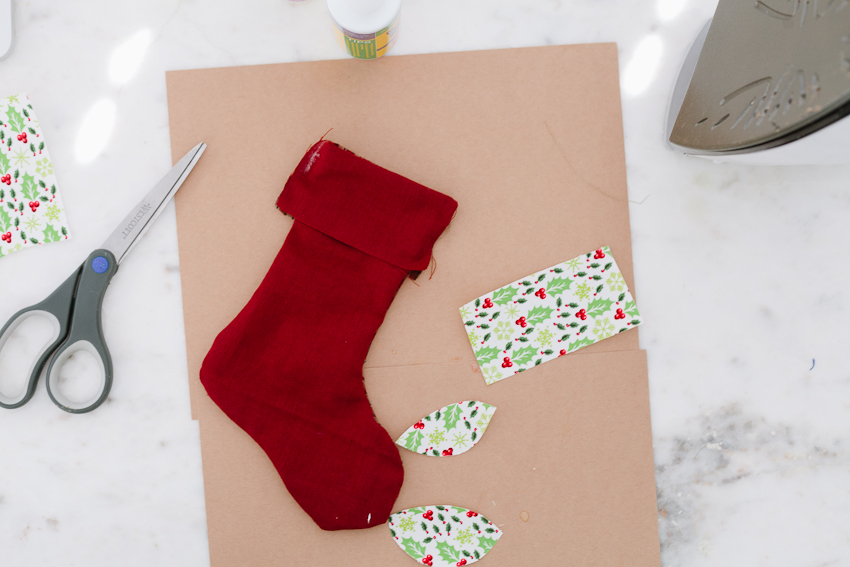
Make sure the shapes are facing inside-out and apply no-sew glue to the outside edge. We’re going to give it some time to set and then press the two cut pieces together. While we wait about 20-30 minutes for the glue to dry, it’s time to print another stocking shape, this time onto iron-on fabric. We’ll use it as a piece to cut out accents to iron onto the stocking.

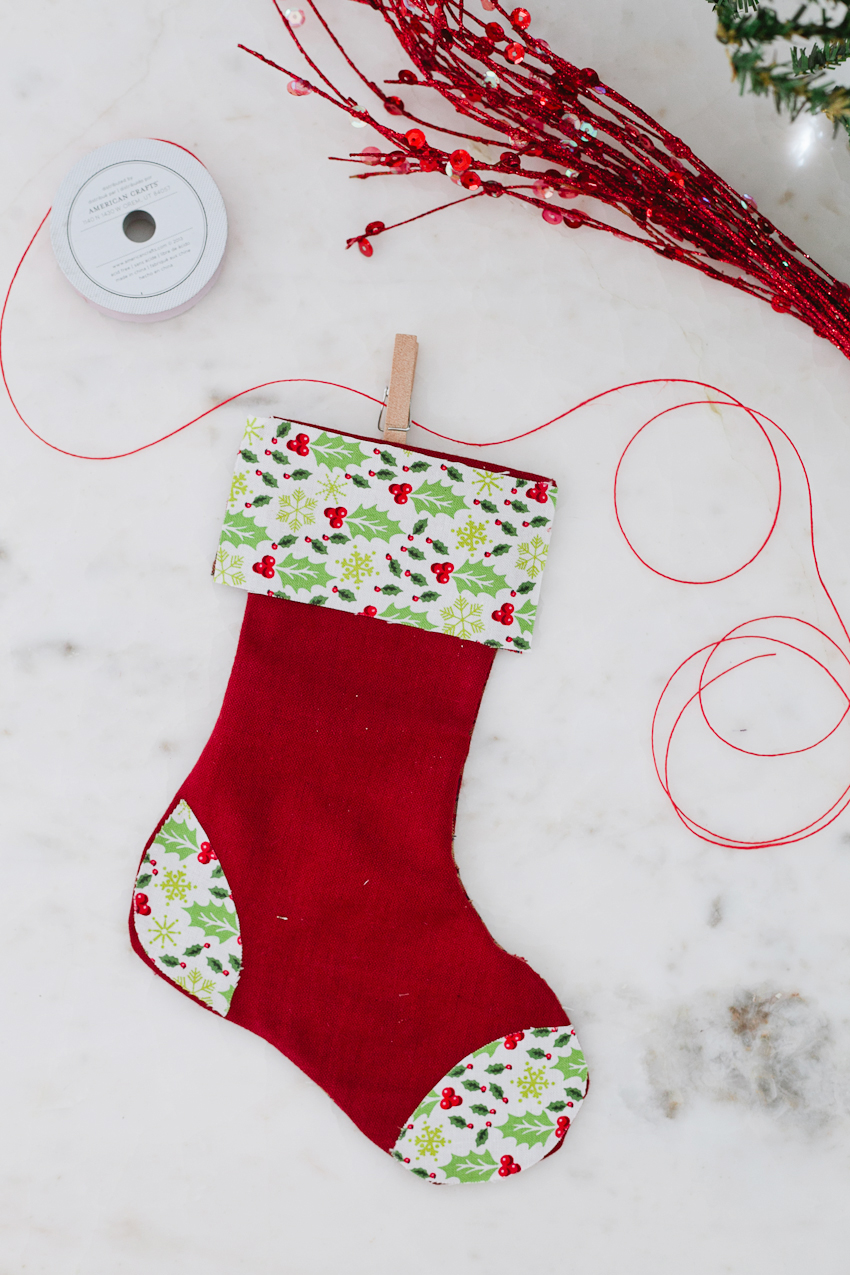
When the glue holding our stocking together is dry, it can be flipped right-side out. For mine, I folded the top edge down before applying the iron-on accents.
It’s the perfect mini stocking for our decor! It would be adorable to make a few and string them along some twine together!