Reading has always been important to me, and passing that desire for learning and reading down to my kids is something I’ve always wanted! One thing I’ve learned in the process is to make it fun… and that makes them always want to get involved!
Want in on a little reading motivation? Make a fun, crafty bookmark and you’ll be wanting to read just so you can use it! And it worked just as well for the kiddos too. They all got in on this craft with me, made their own and couldn’t wait to get those books open.

DIY Corner Bookmarks
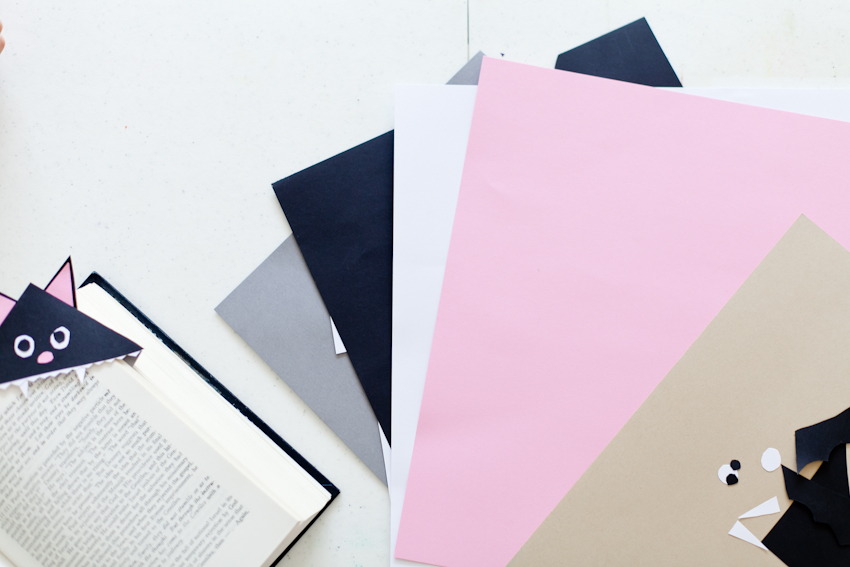
Supplies:
- Scissors
- Plain envelopes
- Glue/tape
- Craft paper
- Your favorite book, of course!

Directions:
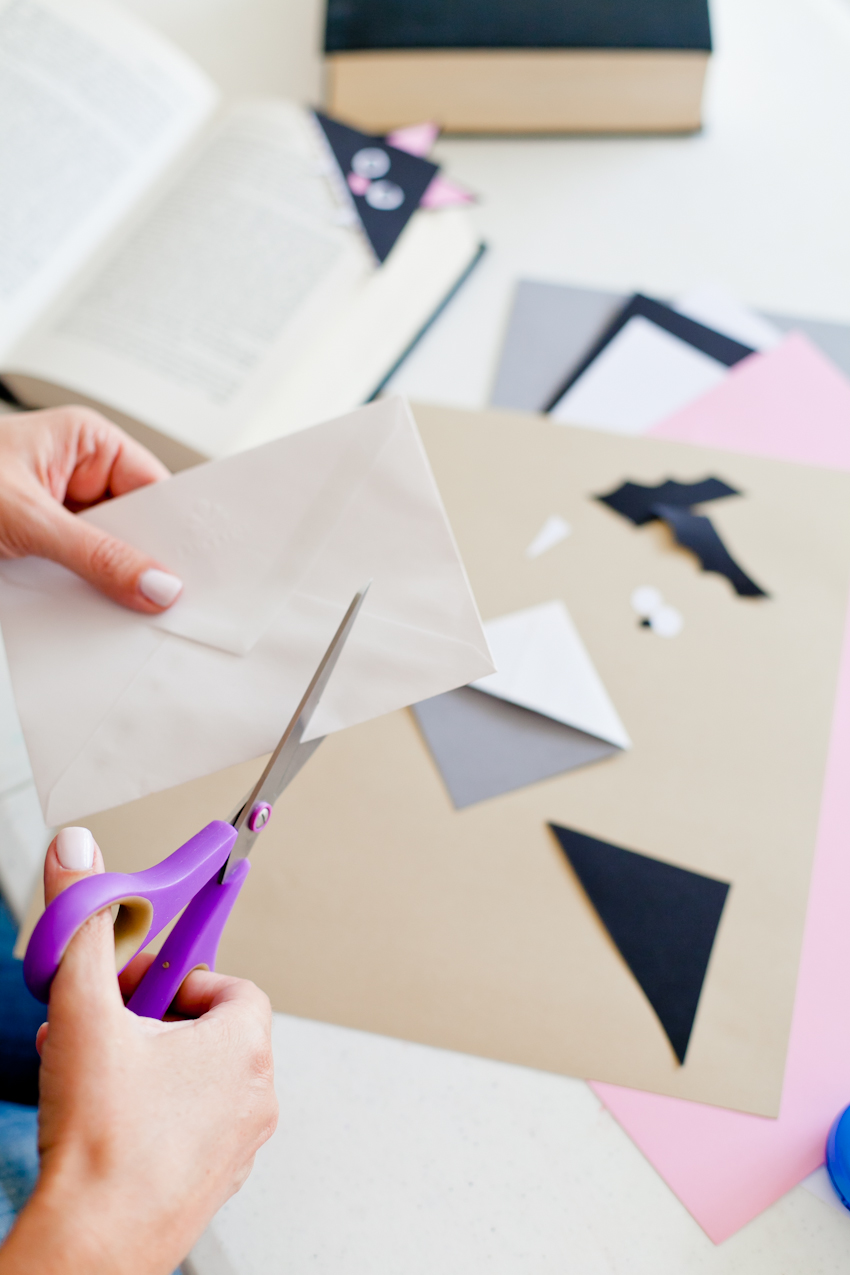
1. To start, trace a square on the bottom corner of a plain envelope and cut on the diagonal to make a triangle.
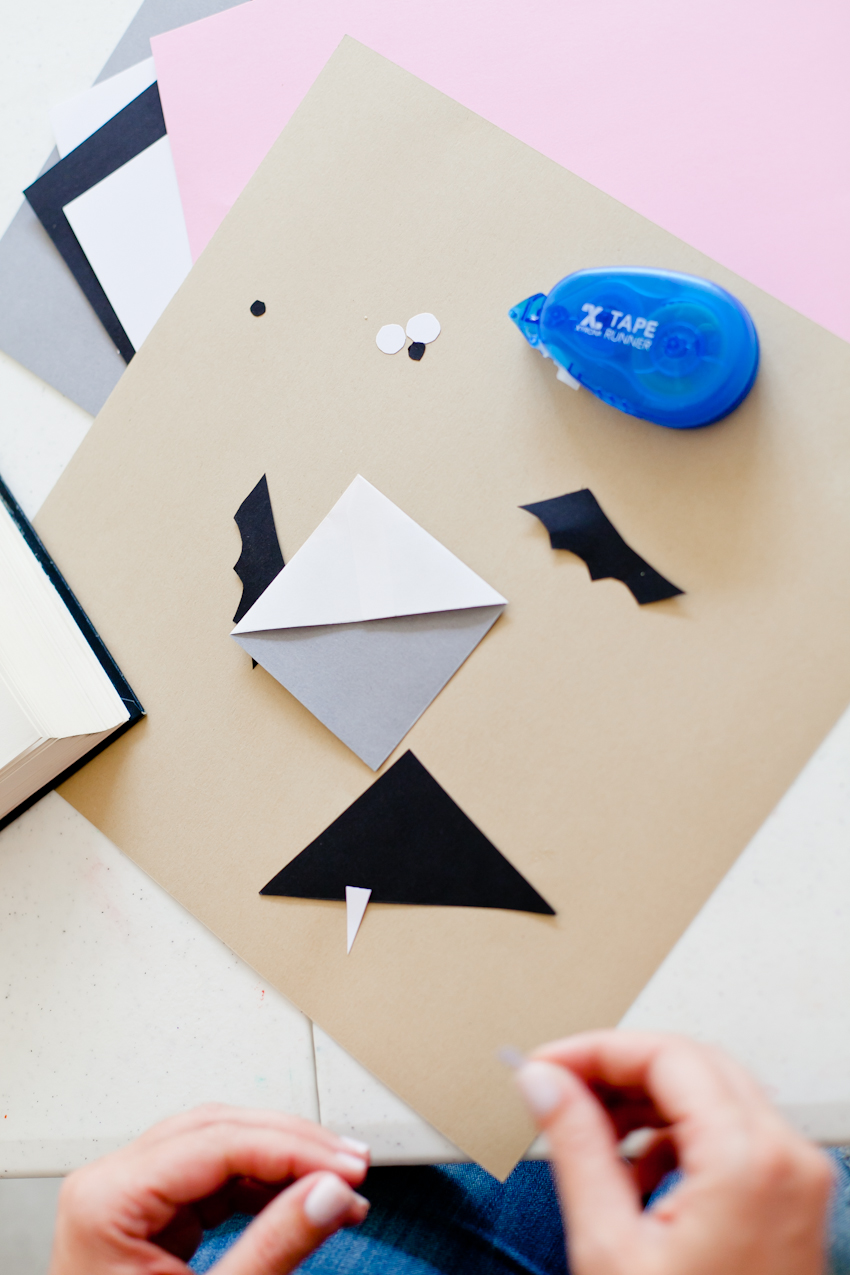
2. Next, with craft paper in color of choice, cut another triangle the same size as well as a piece the size of your original square. (I used a post-it note to trace for a consistent square.)
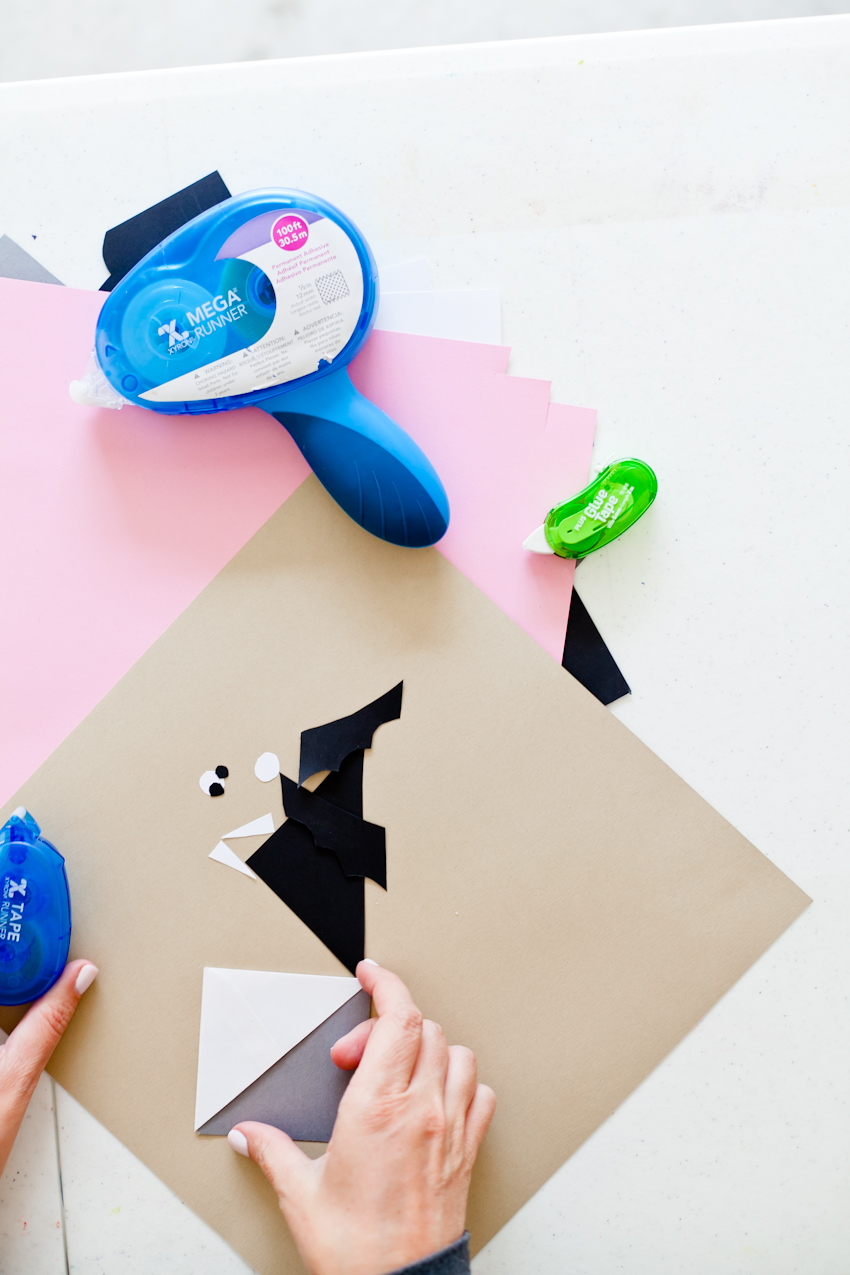
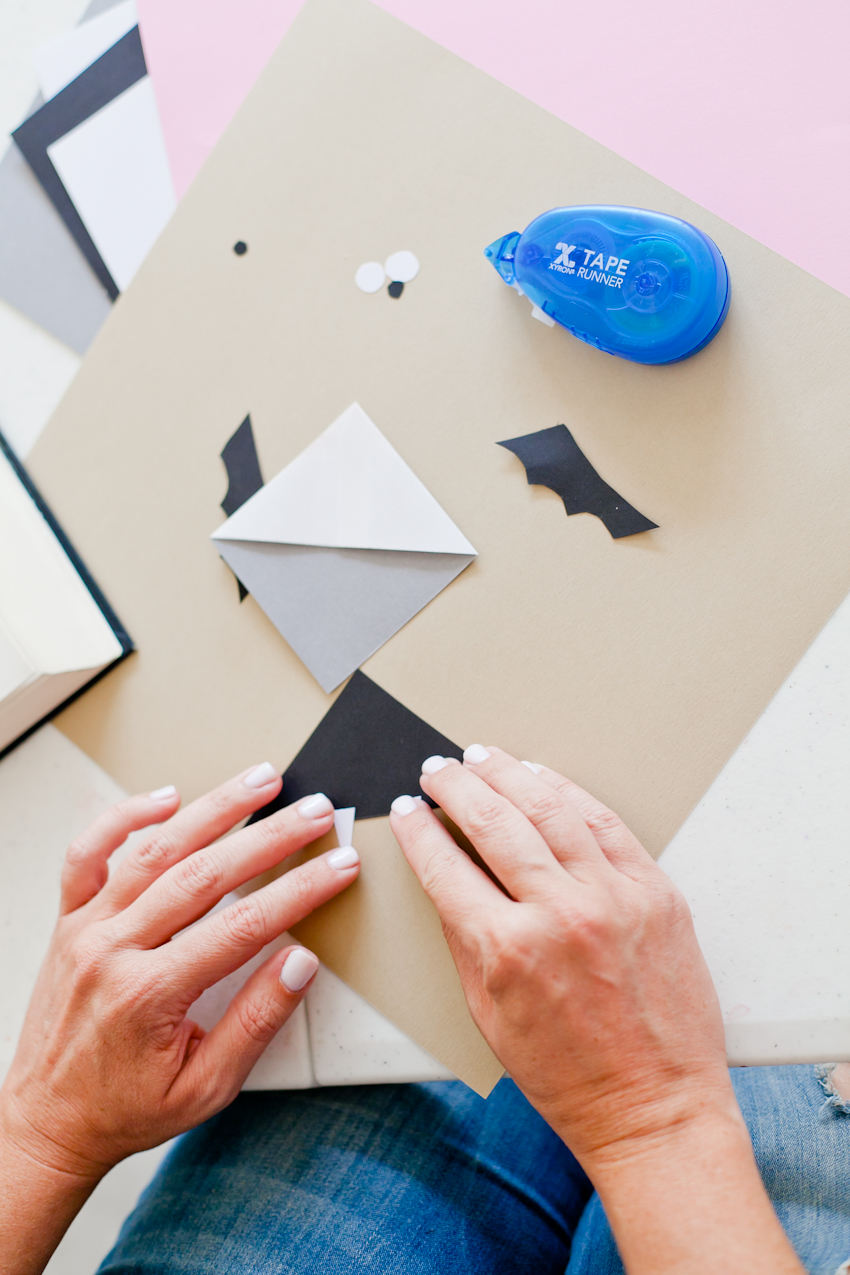
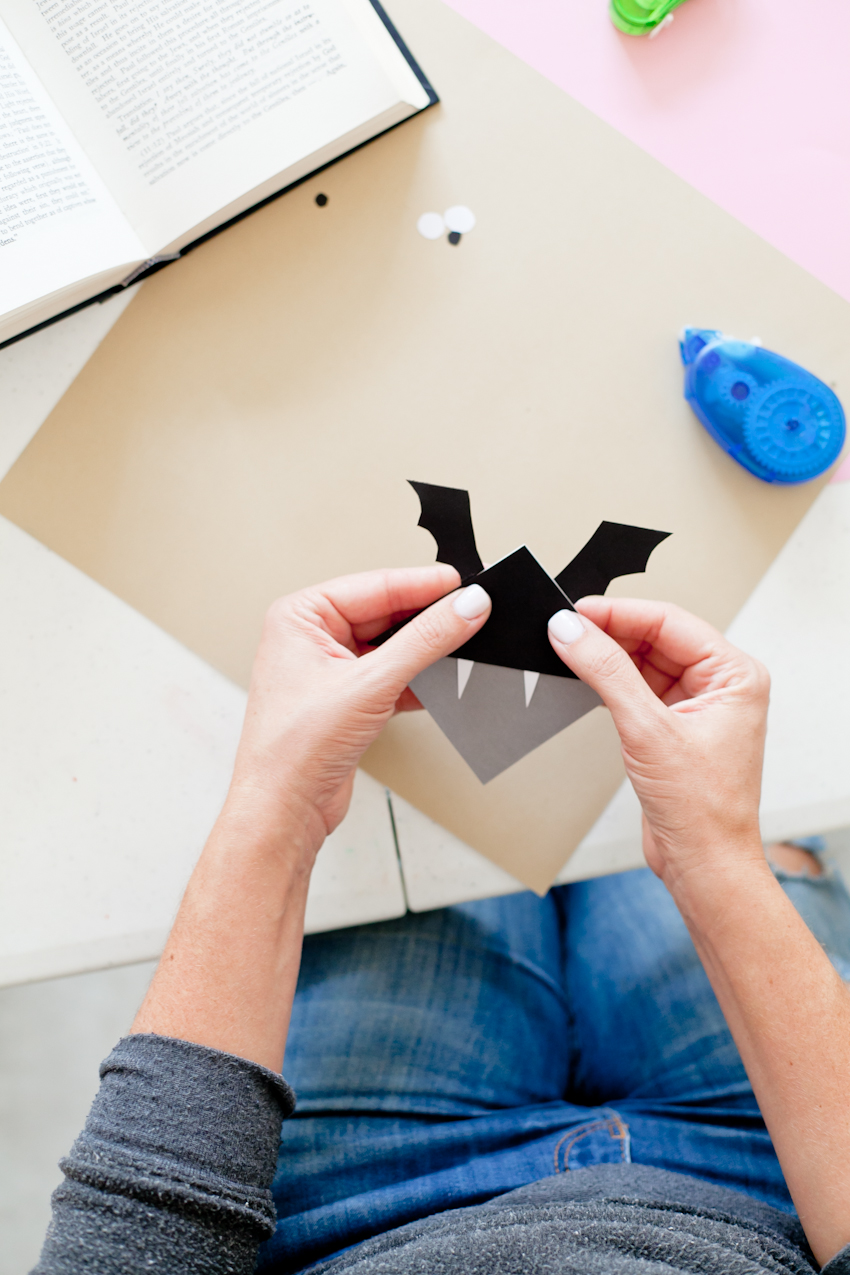
3. Using scissors I cut out the rest of the shapes from other craft paper colors to create wings, eyes, teeth, fangs and more.
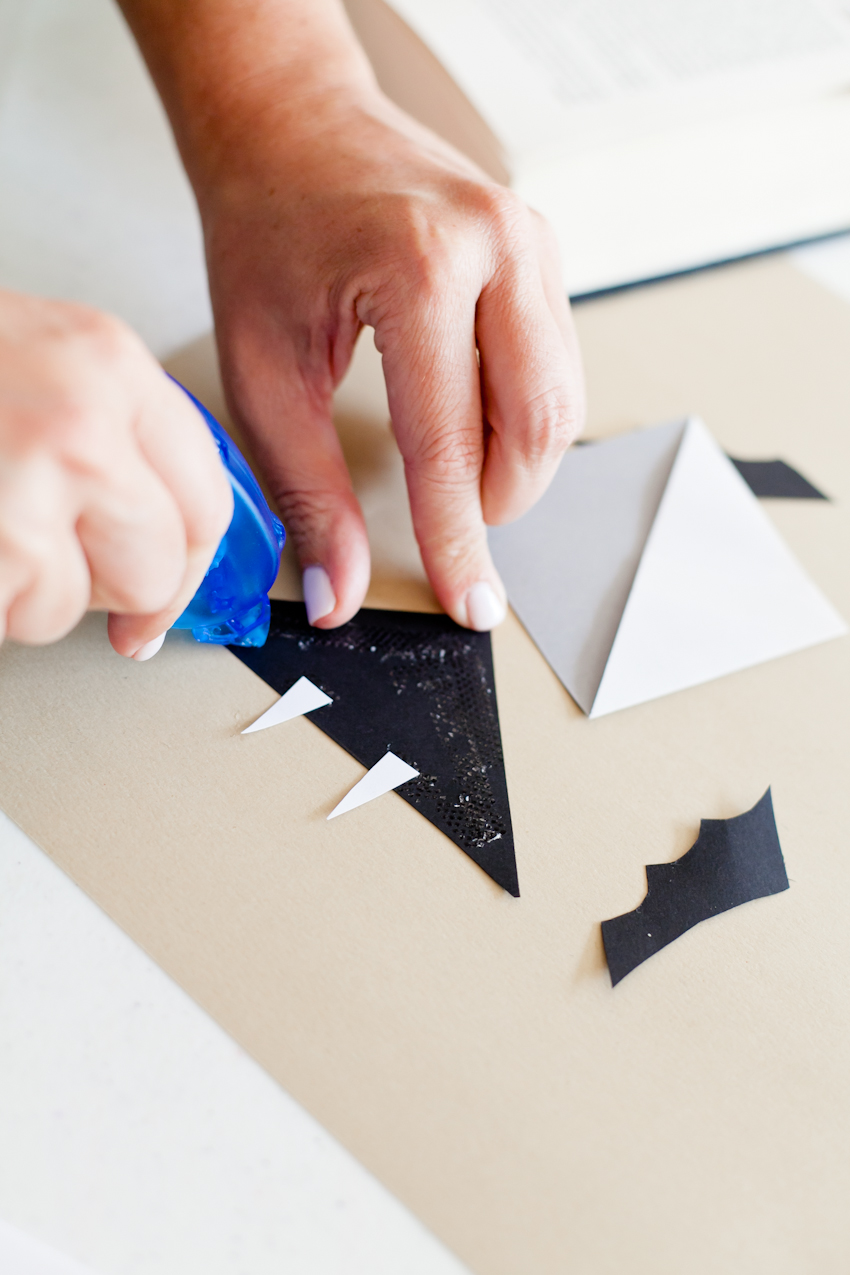
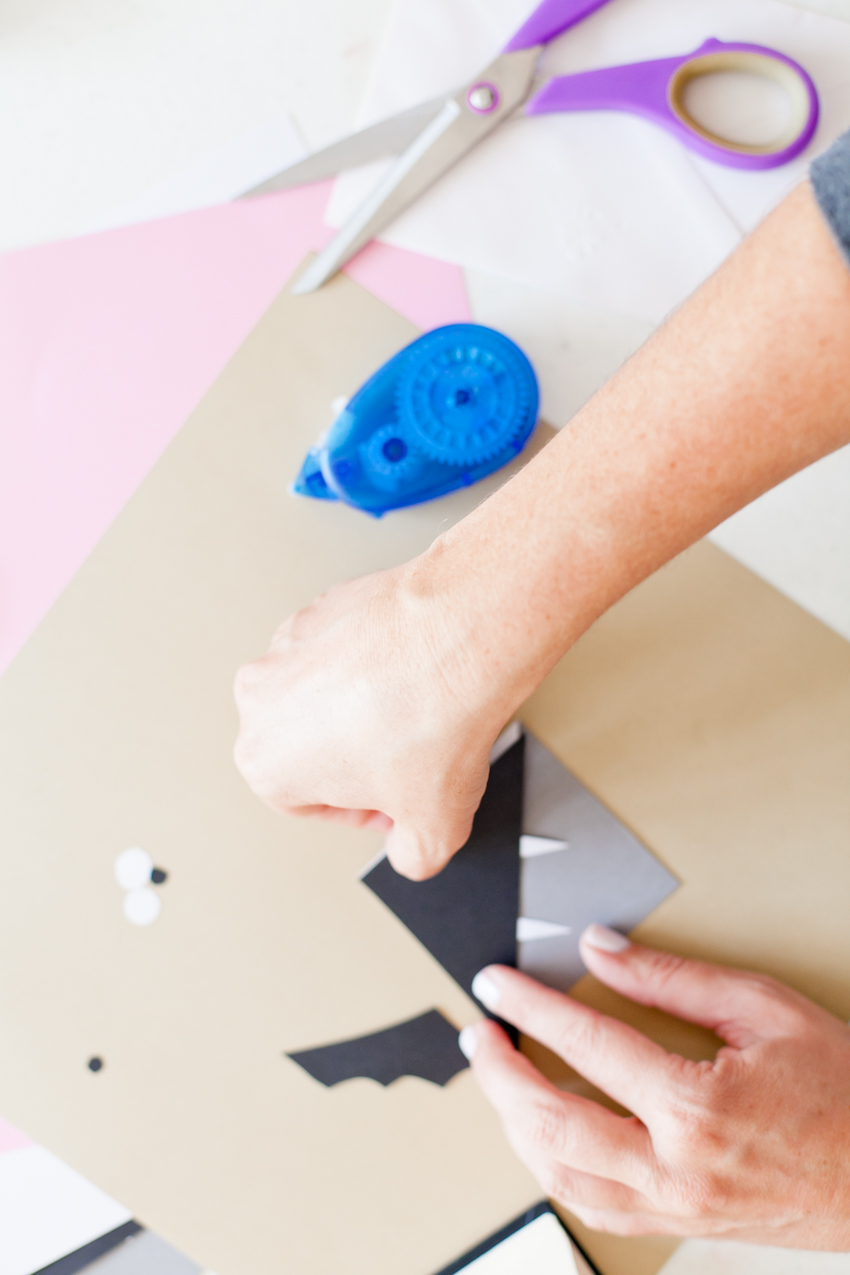
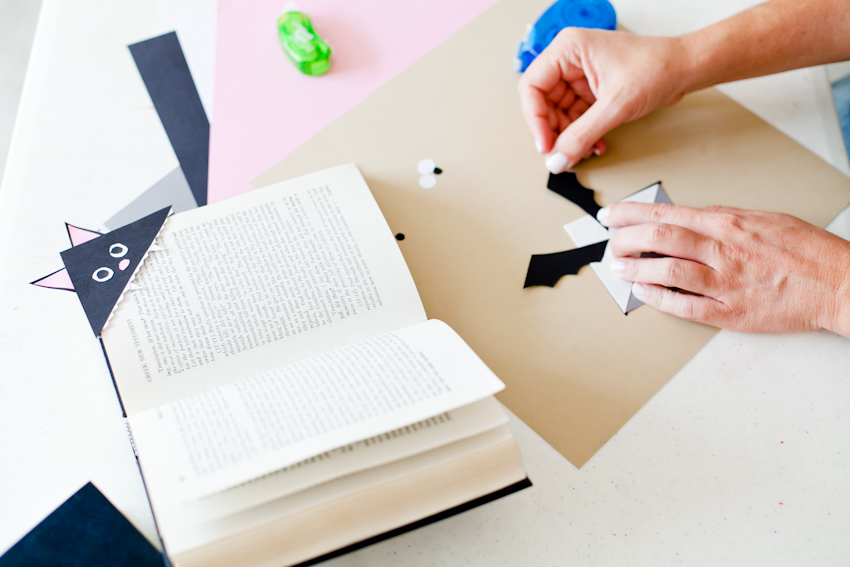
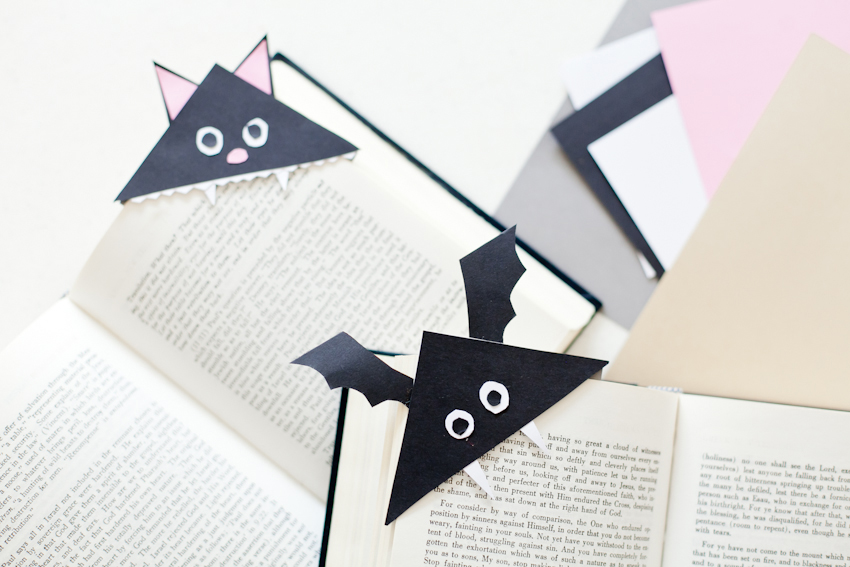
4. With glue tape it all came together easily!! I used a couple tracks of glue on the square to adhere to the inside back of the envelope (you want to keep this triangle pocket open because that is what slides over the corner of your book pages to create the bookmark). Then I used the tape to adhere the triangle to the front of the envelope pocket. Next it was just assembling the rest of the shapes to create a cute little Halloween cat and bat!

Such a seasonally fun craft project that will keep our noses in the books! My kids decided to follow suit with a few of their own creations as well, making a shark and a monkey with a few other craft paper colors.