


Who doesn’t like embroidered items? Whether it’s a monogram or a cute design, embroidery just seems to add that extra ”punch” to a regular item. However, learning how to embroider by hand, can be both frustrating and time-consuming.
Enter, the Project Runway Embroidery and Sewing Machine by Brother!
The Project Runway Embroidery and Sewing Machine by Brother is the best of both worlds! This is because the sewing machine can be used for your regular sewing and be turned into your own personal embroidery machine. When using the machine to embroider, you have complete control over how you want to embroider your designs. This includes the size of the design, the placement of your design, seeing a preview of your thread colors, and more.
In a nutshell, this machine makes you look like an embroidery pro!
Today, I am going to show you how to use both the sewing and embroidery functions on this machine, to create your own custom drawstring bag. This drawstring bag is easy to make and can be a great addition to any gift set. For this project, I decided to go with a spa theme and filled my bag up with bath salts. However, you could fill your bag up with candy, jewelry, or gift cards!

Supplies
Project Runway Embroidery and Sewing Machine by Brother
4’’x4’’ hoop (that comes with the Brother Embroidery and Sewing Machine)
Crafter’s Companion Threaders Fat Quarter Bundle – Fox in the Woods
Crafter’s Companion Threader’s 6-pack Thread Box – Cottage Garden
Lightweight water- soluble stabilizer
Drawstring Cord
Trim/Ribbon/Fabric for casing
Sewing Pins
Scissors
Prepping for Embroidery
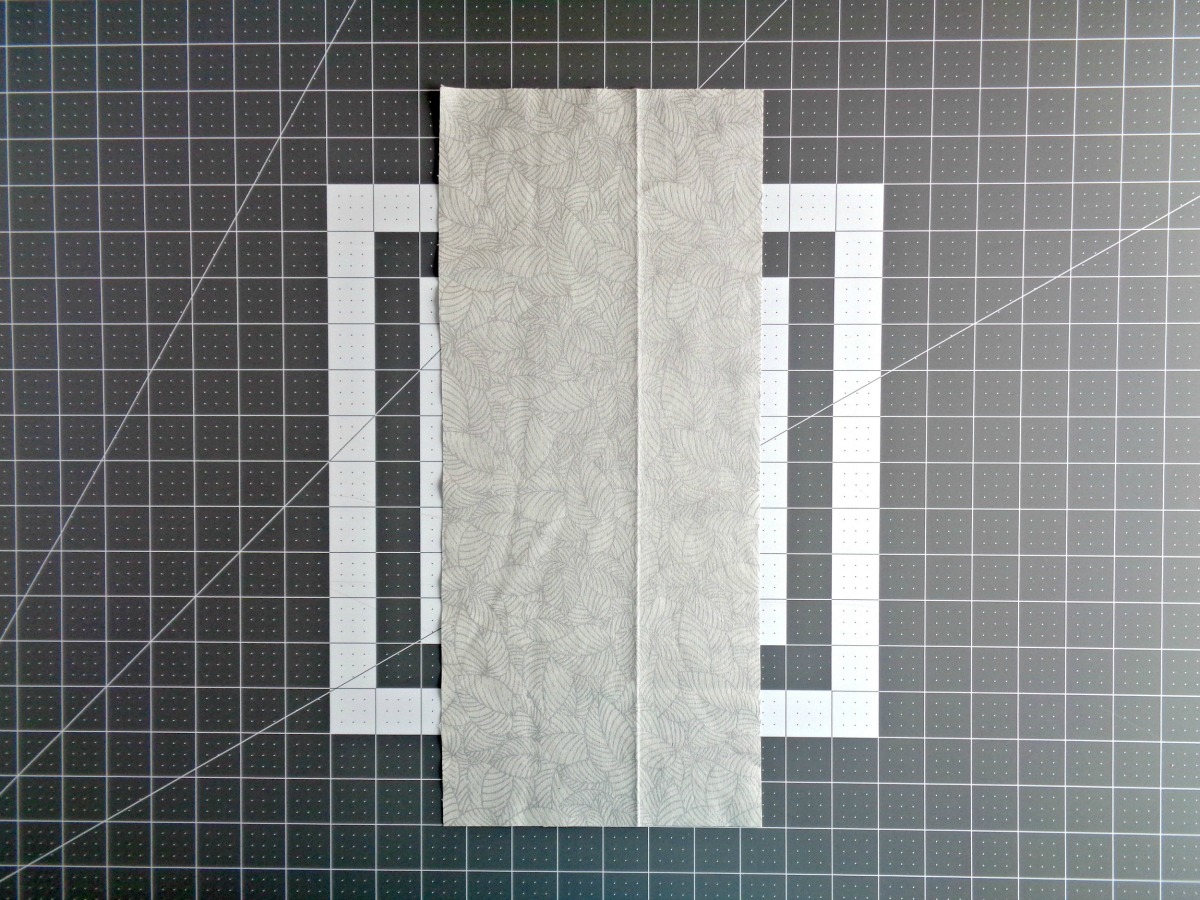
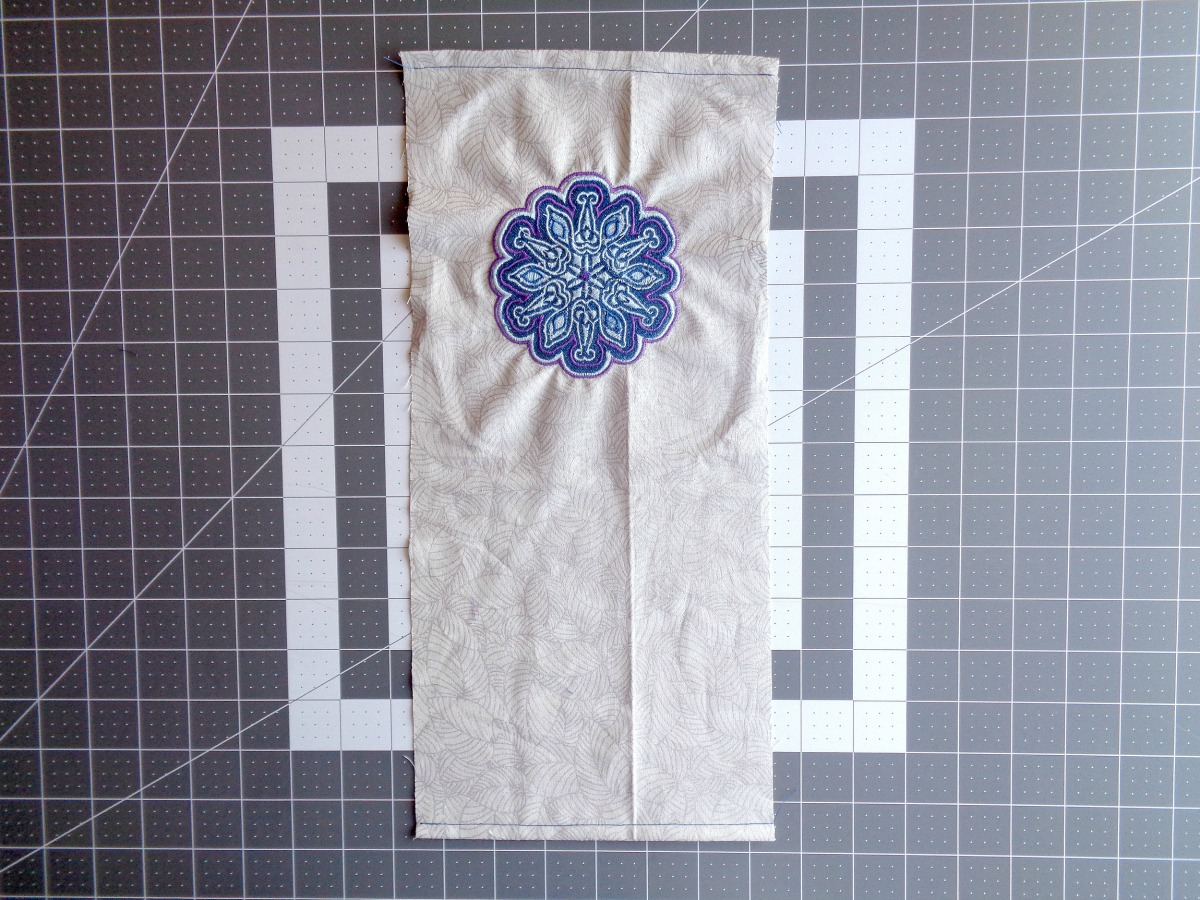
1. Cut your fabric to be 7 inches x 16 inches and iron it (I used the light grey fabric from Crafter’s Companion Threaders Fat Quarter Bundle – Fox in the Woods).
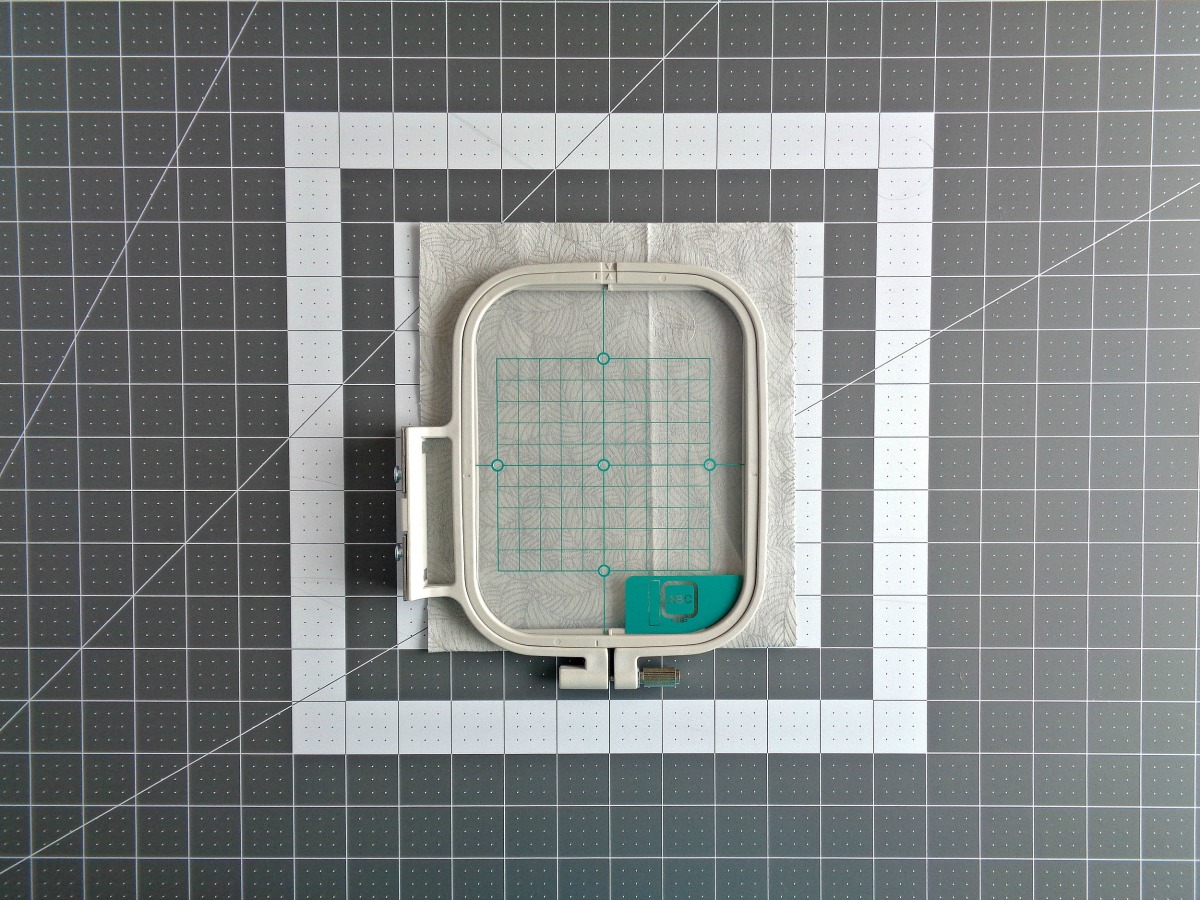
2. Grab your embroidery hoop and determine where you want your design to be and make a small mark with a fabric marking tool.
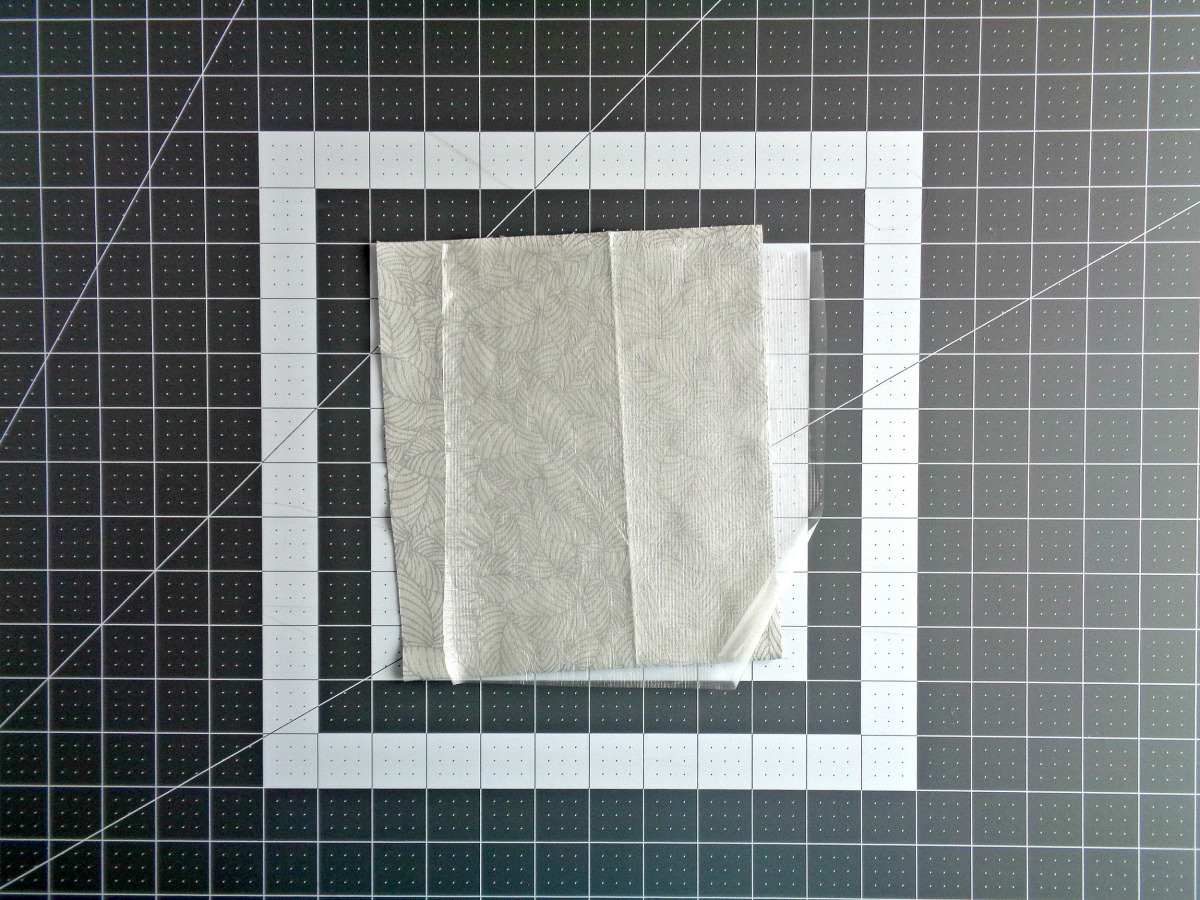
3. Cut a piece of stabilizer that will fit the top portion of your bag (I cut a piece that was 7 inches x 8 inches). Then follow the instructions for your stabilizer and apply it to your fabric.
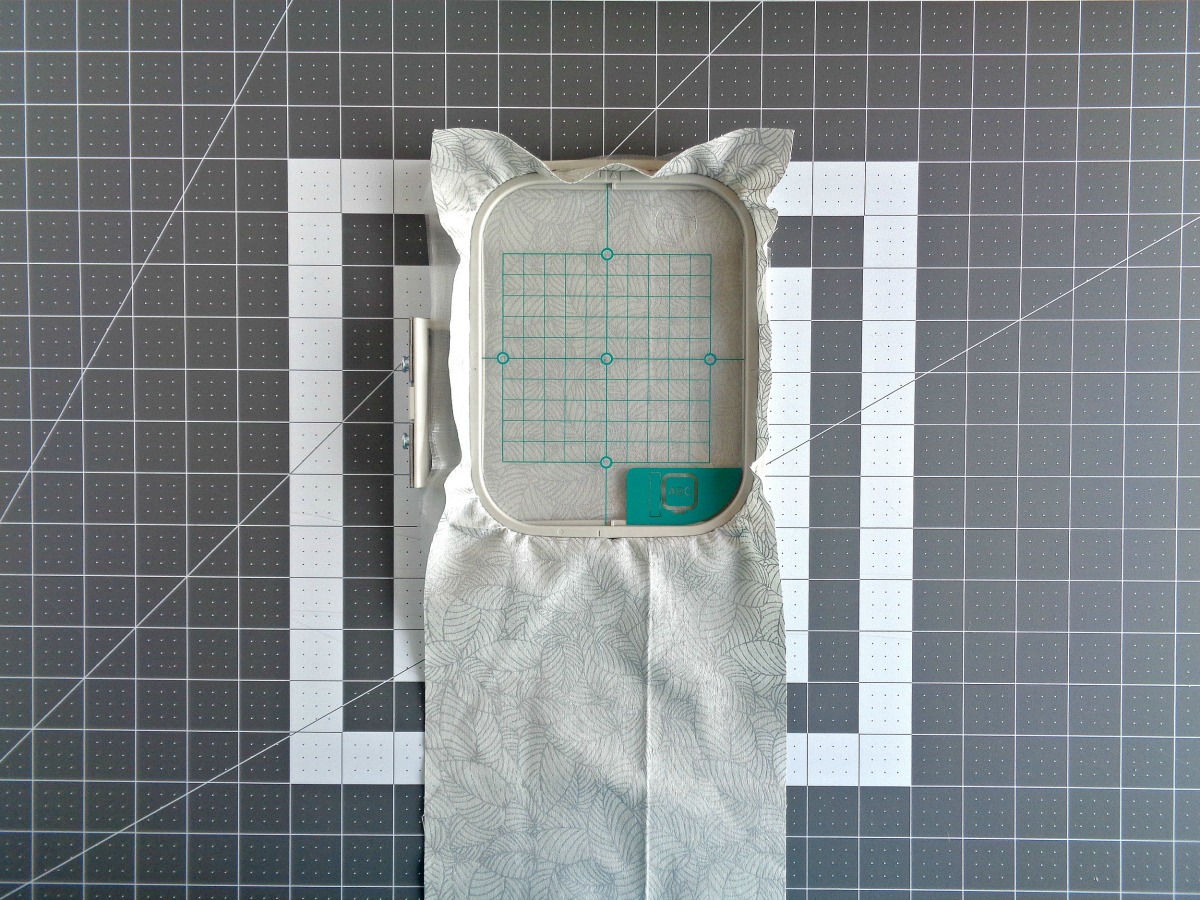
4. Place your fabric in the 4’’x4’’ hoop. When doing this, your fabric should be on top and the stabilizer should be underneath.
Embroidery Instructions
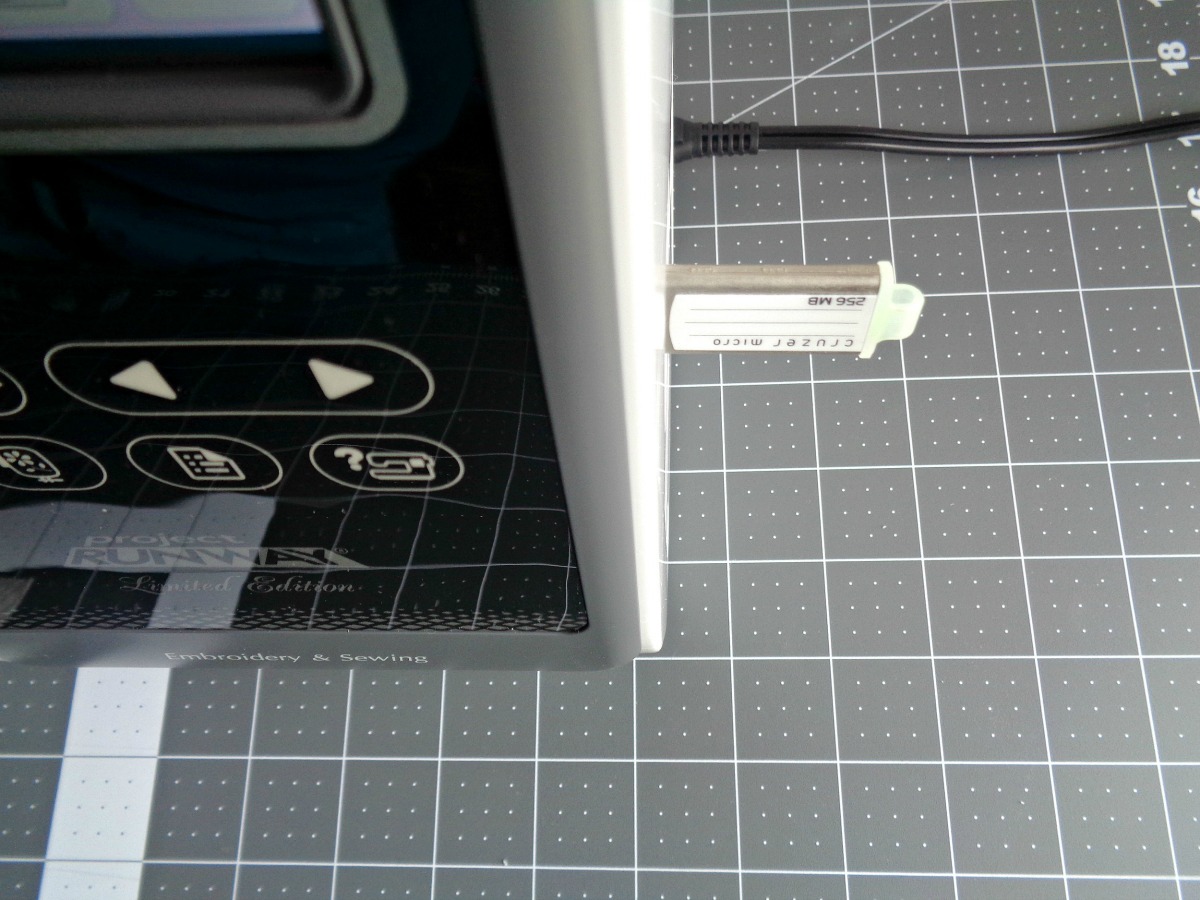
After downloading the 2500 Embroidery Design Collection, choose a design that you like and save it to a USB flash drive. For this project, I used SSP044.pes in the Seasons folder.
5. Once you have saved your chosen design on a USB flash drive, insert the flash drive into your embroidery machine.
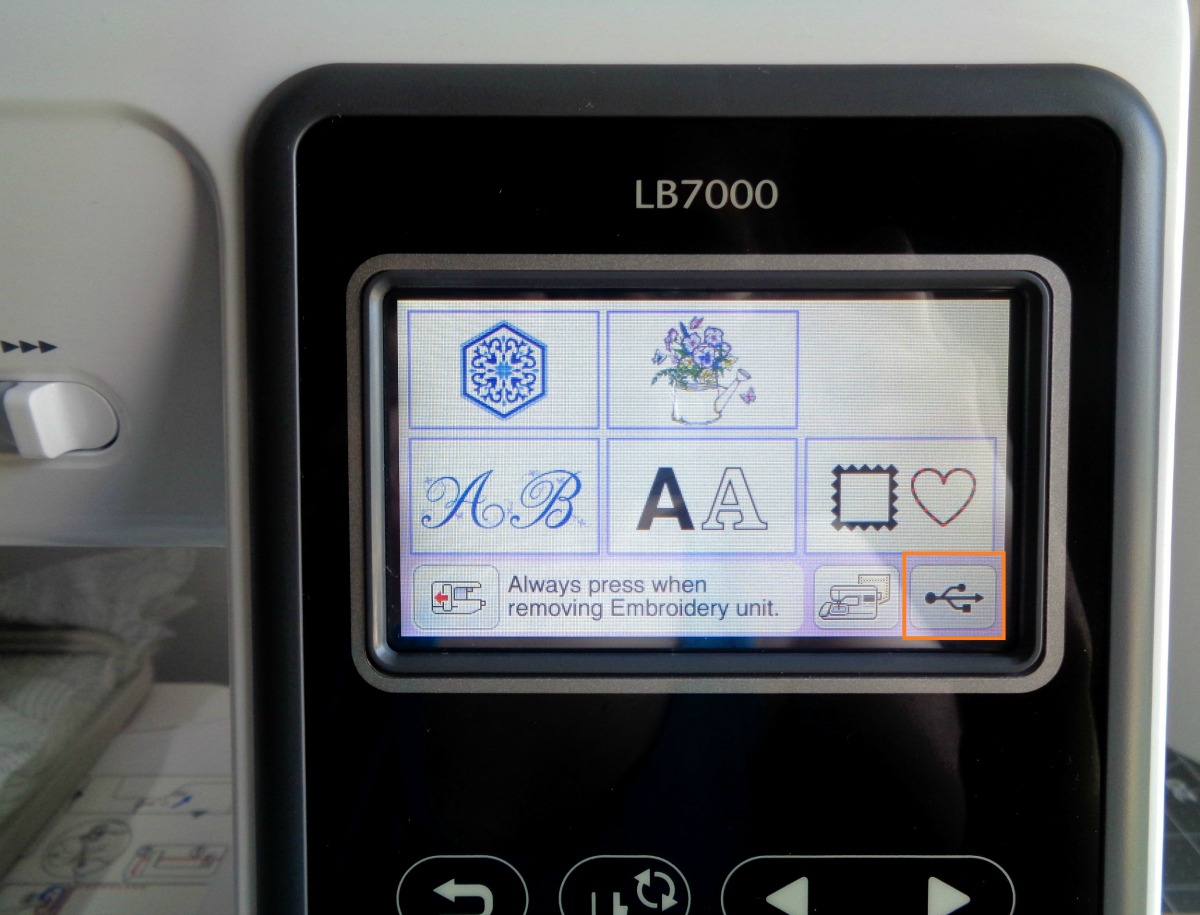
6. After inserting the flash drive, select the USB icon on the main screen, then select your chosen design.
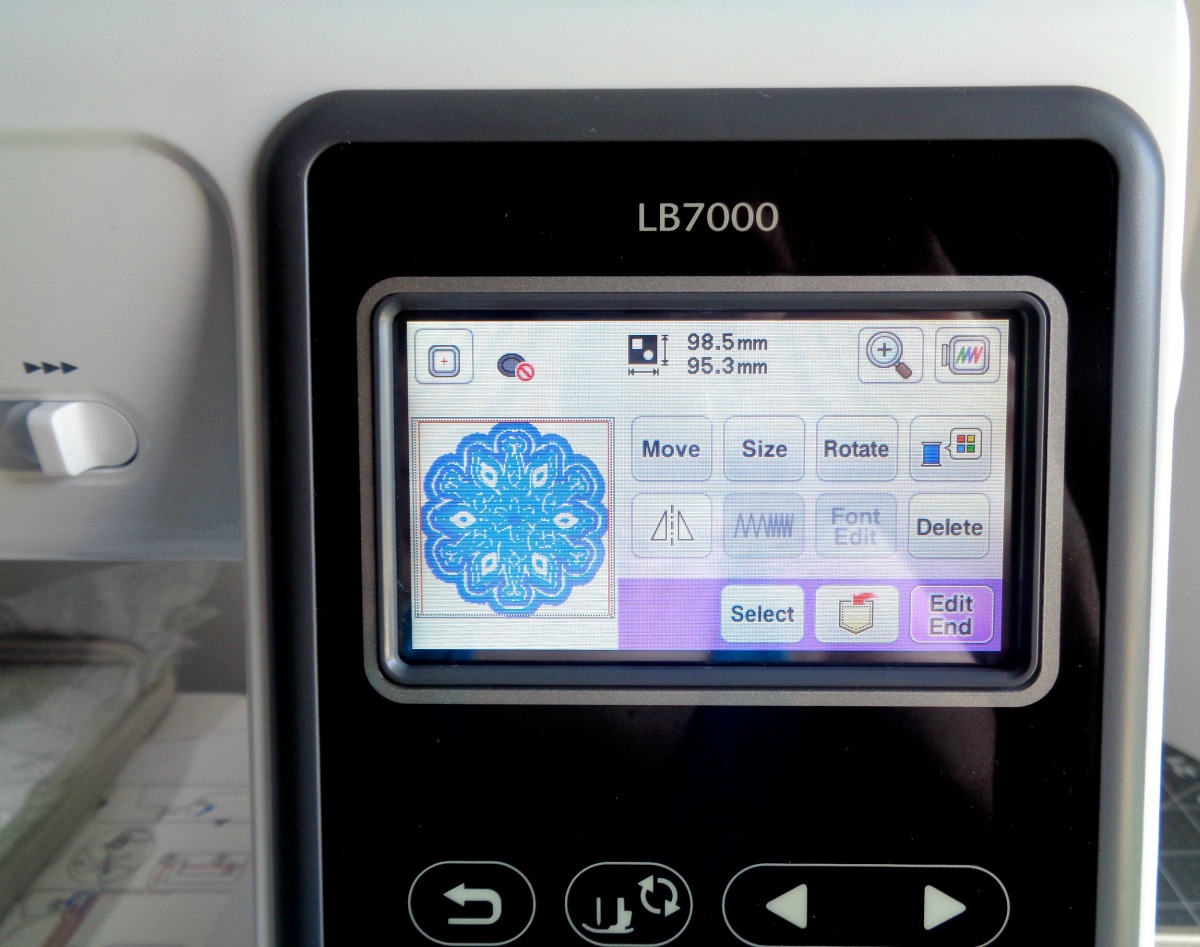
7. Preview your design to make sure it’s center and is the size that you would like.
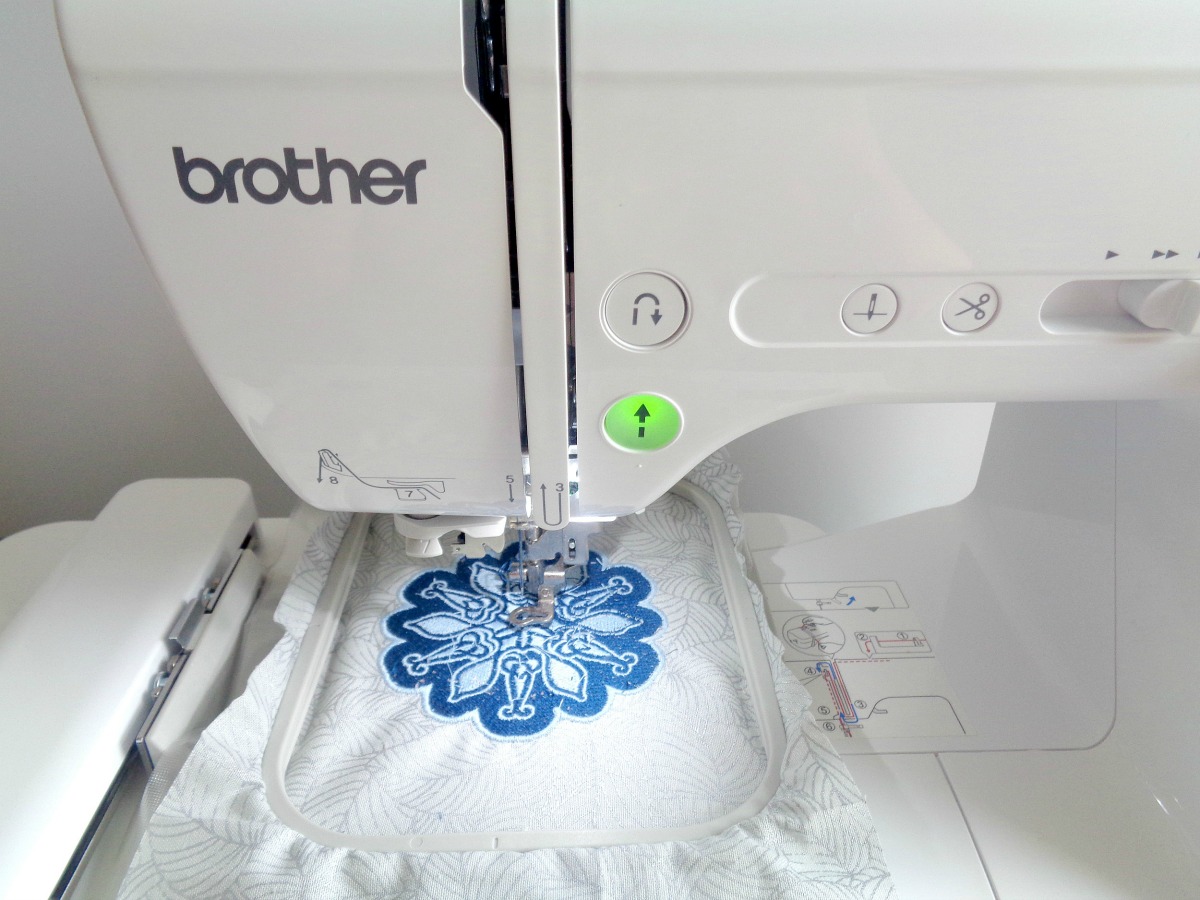
8. Lower your presser foot and touch the ‘’go’’ button. The machine will begin embroidering your chosen design. On the screen, you will see how long it will take to embroider your design and how much time you have left.
Once your design has been embroidered, remove it from the hoop and trim the threads. Then remove all the embroidery features (embroidery unit/foot) and change it back to your regular sewing foot.
Sewing the Bag
9. Press over the ends ¼ of an inch and sew into place.
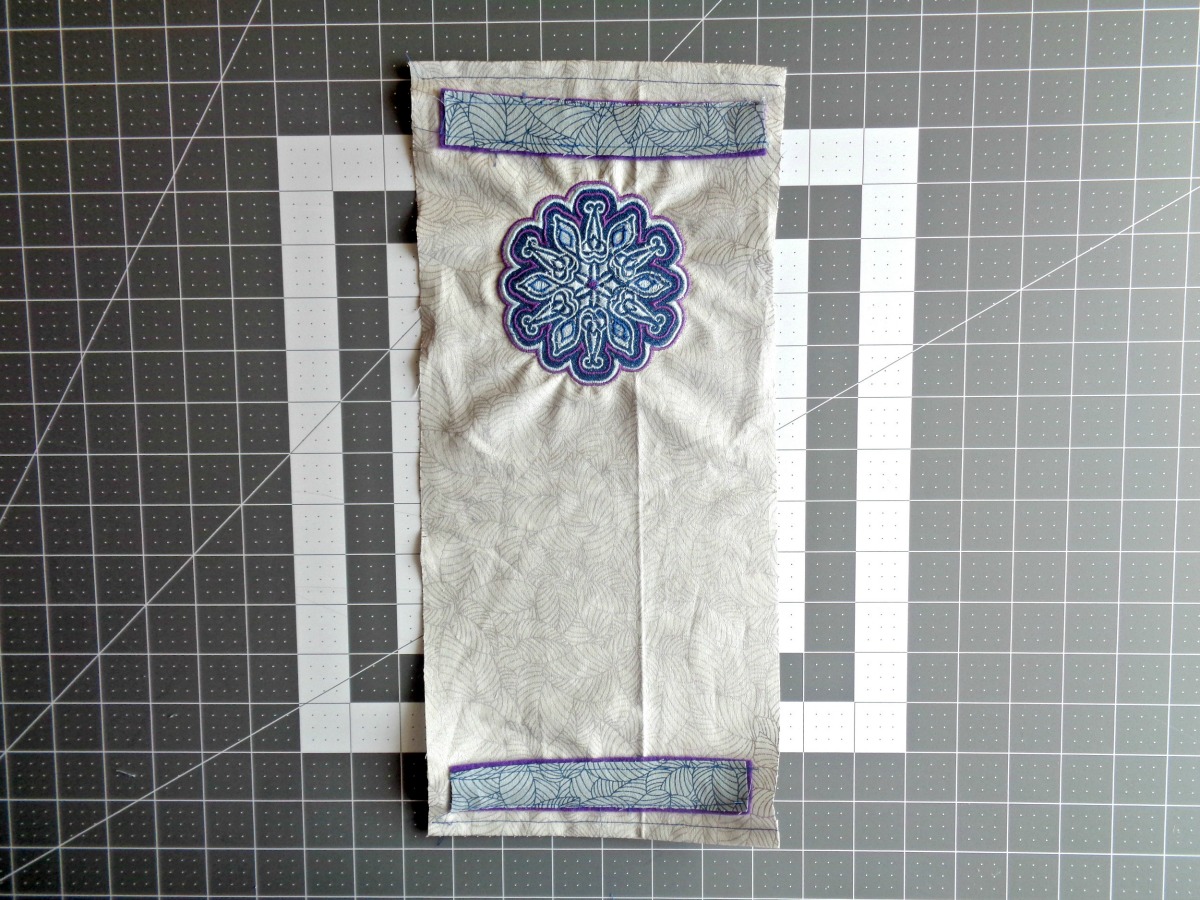
10. Grab your trim and cut it to be 7 inches x 1 inches. Then pin it towards the top of your bag and sew it into place. You will only want to sew the top and bottom of the trim. Also, you will want to repeat this for the back of your bag.
For my trim, I used a combination of the blue fabric from Crafter’s Companion Threaders Fat Quarter Bundle – Fox in the Woods and felt. Since I did a topstitch on the blue cotton fabric, it will fray. Personally, I liked that look, but you could always use fray check on the edges to avoid the fabric from fraying.
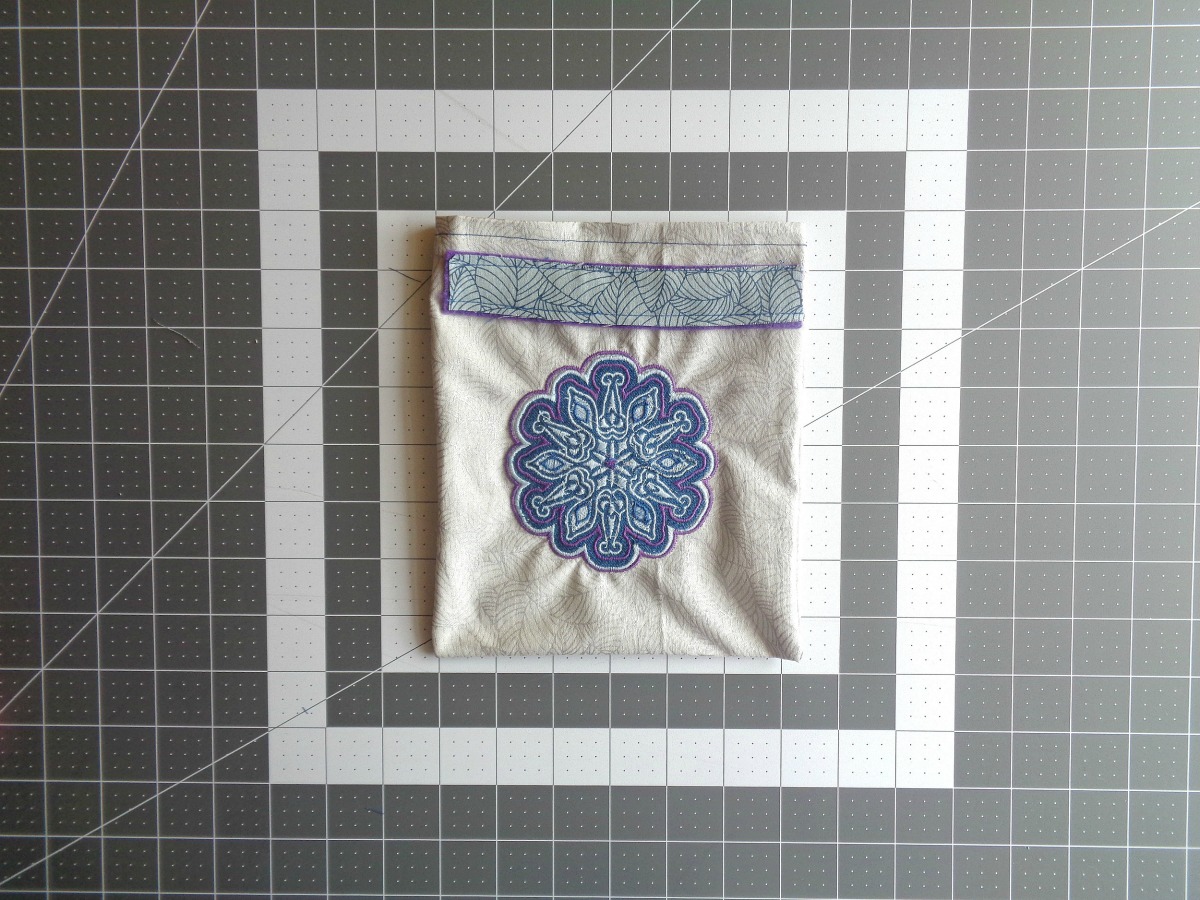
11. Fold your bag so that the right sides are facing together and sew a ½ inch seam allowance down both sides. Then flip your bag right side out.
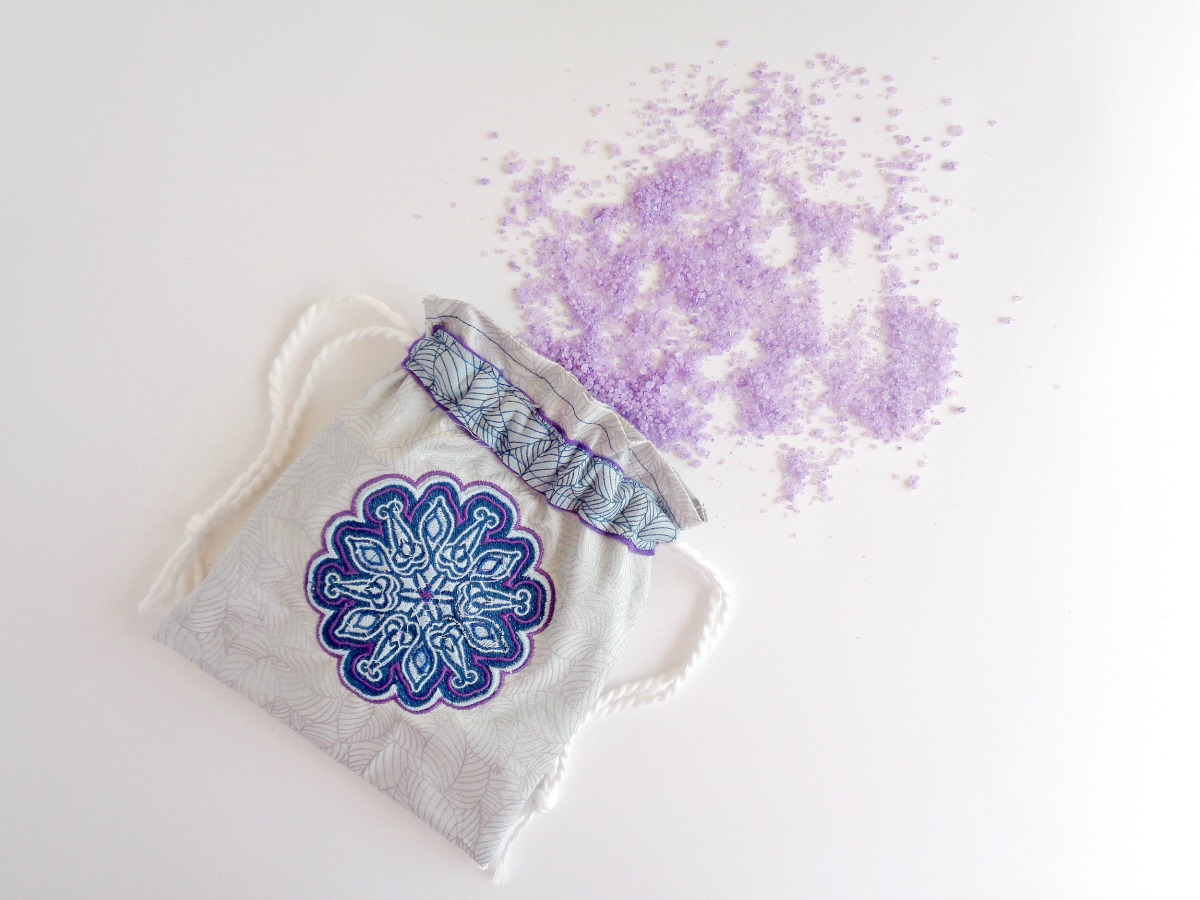
12. Grab your drawstring cording and cut two pieces that are an equal length (my cording was 10 inches). Add a safety pin onto the end of one of your pieces of cording and feed it through the right side of the casing going all the way around, until you have both ends coming out on the same side.
Repeat this with your other piece of cording.
When you have both piece of your cording fed through the casing, gently pull both cords, so they look equal and knot the ends.
Once you have added your drawstrings, you are now ready to fill your bag!
Does this take a computer for software and downloads thank you