


Holiday Wall Hanging by Beth Kingston
Supplies:
- Craft knife/mat
- Chipboard
- Xyron Creative Station with Permanent Adhesive
- Xyron Mega Runner
- Anna Griffin Christmas Papers
- Anna Griffin Christmas Perfect Rosettes
- One sheet white cardstock
- Cricut Maker or Explore Air
- 12×24 Cricut Mat
- Red pompom trim
- Sheer ribbon
- Scissors
- Foam tape/squares

1. Cut two pieces of chipboard to 9×12. Don’t have chipboard on hand? Cereal boxes are a great substitute!
2. Run both chipboard pieces through your Xyron Creative Station. Remove clear film.

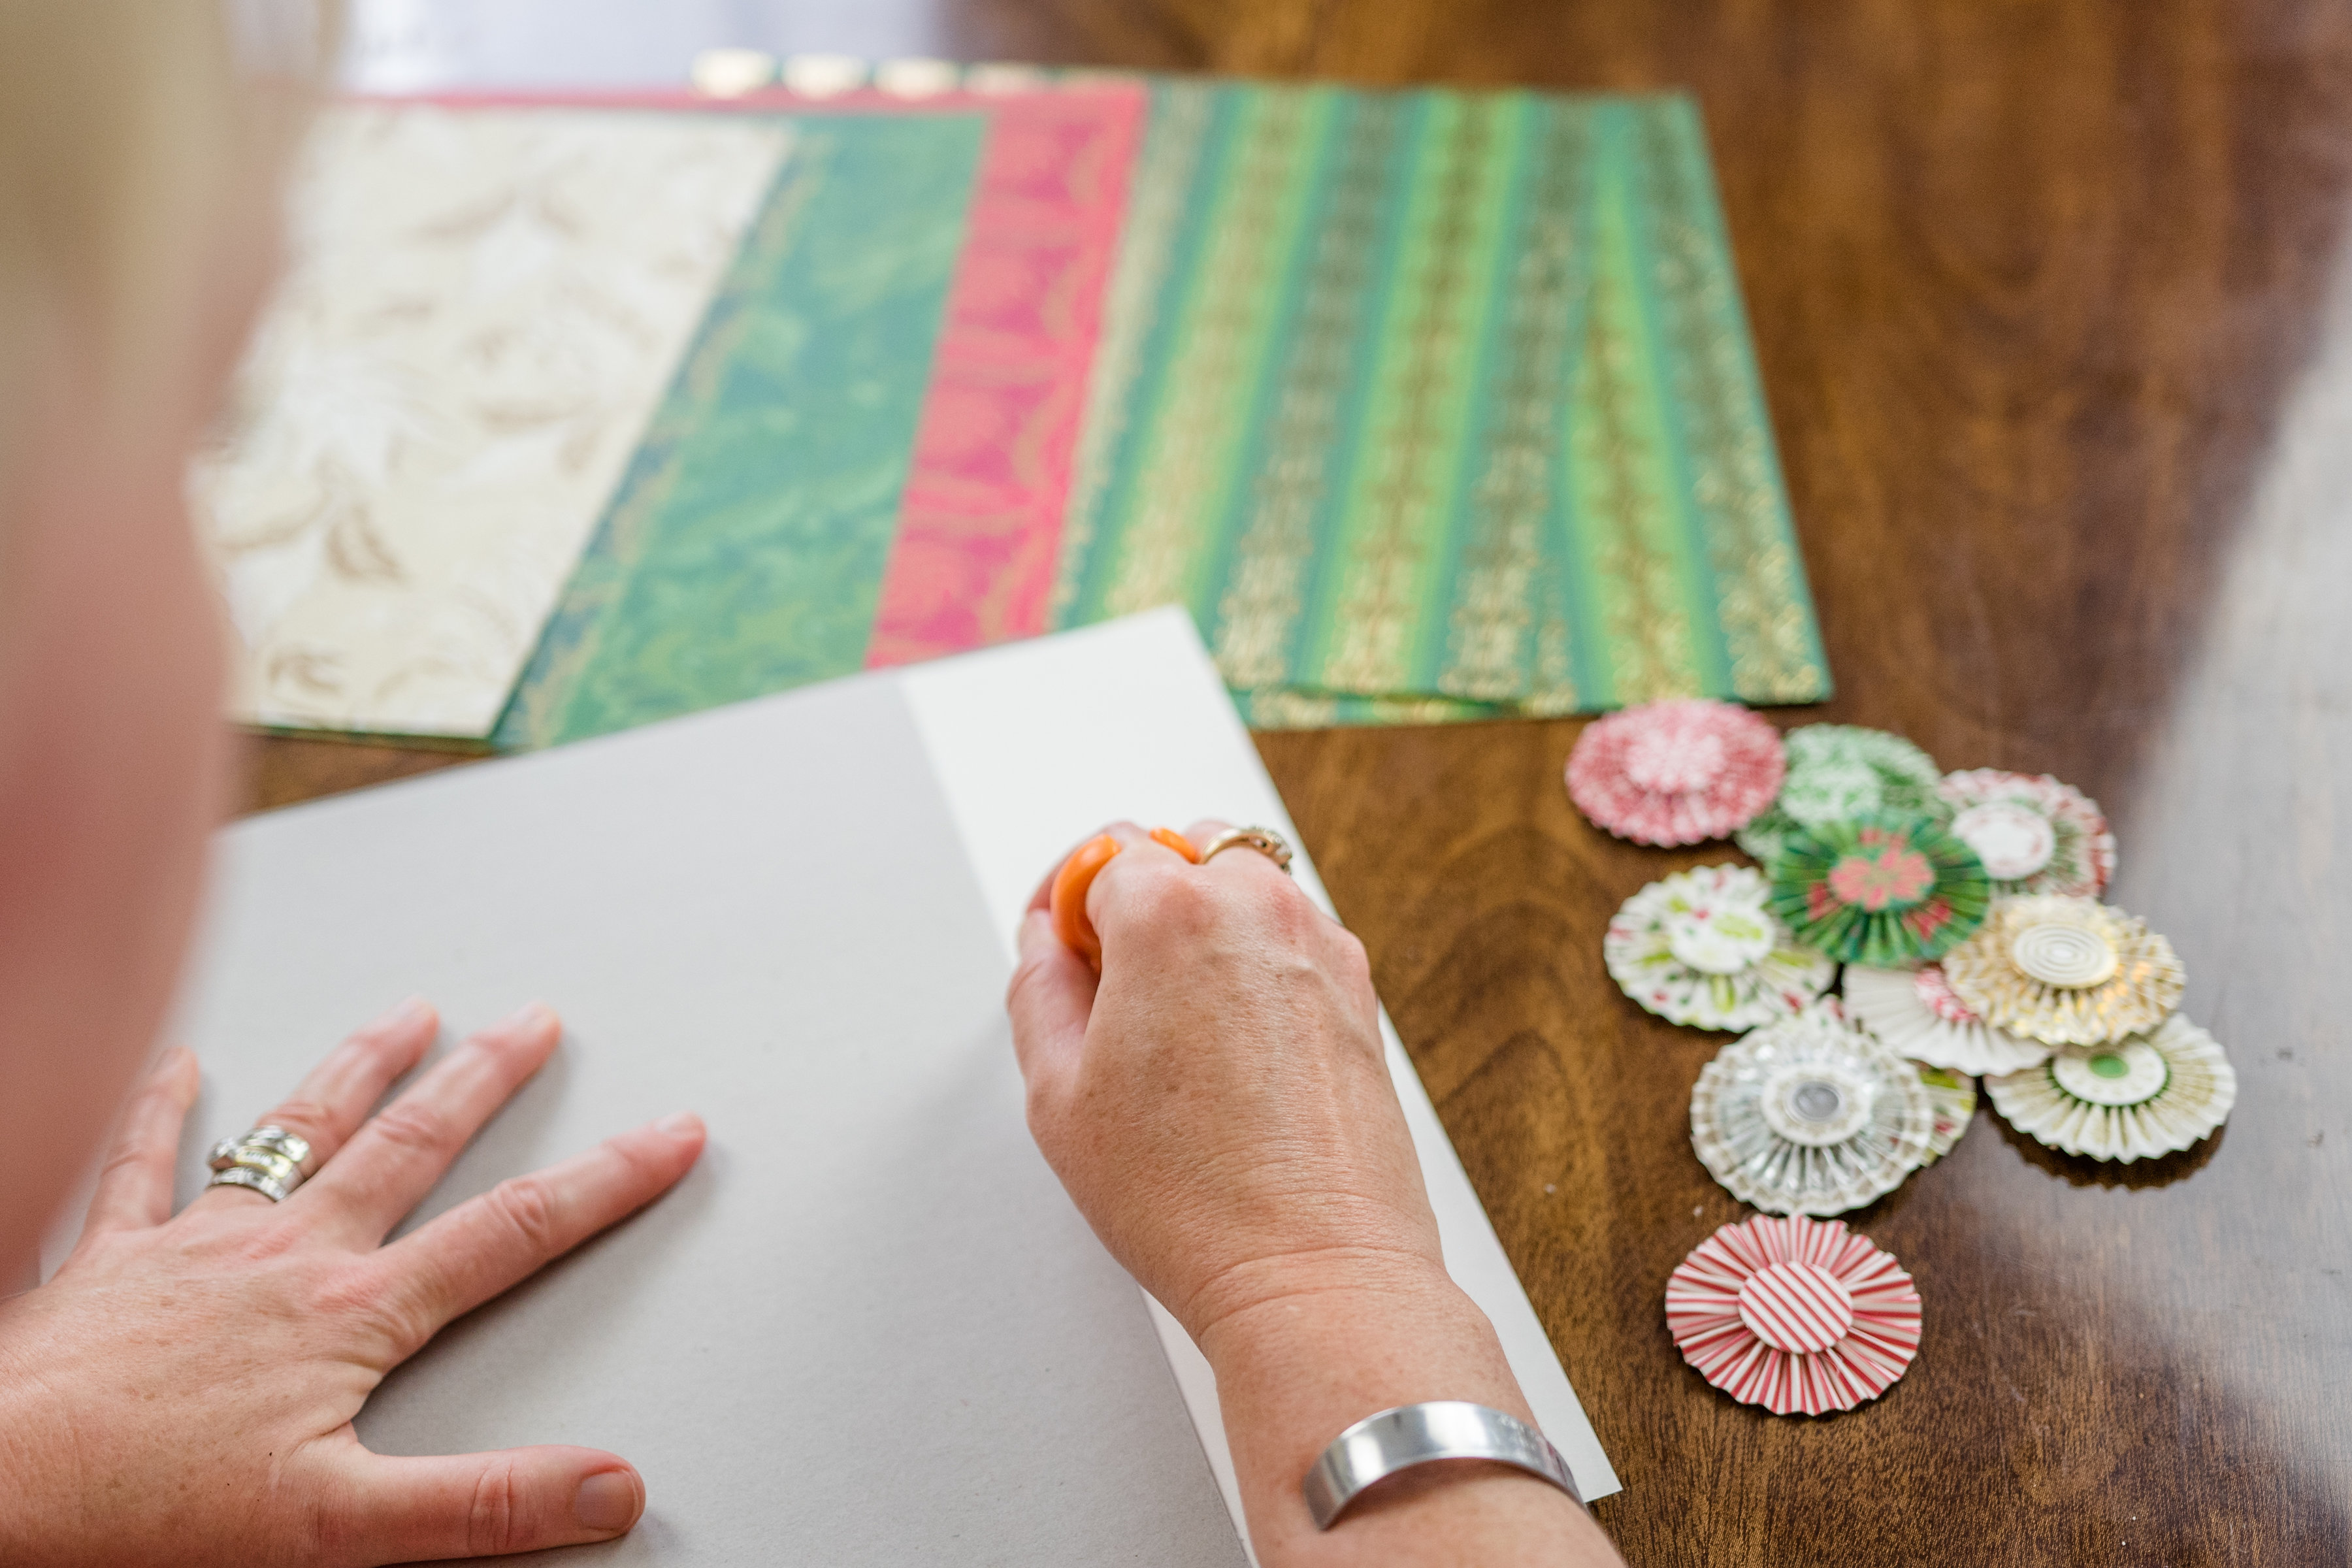
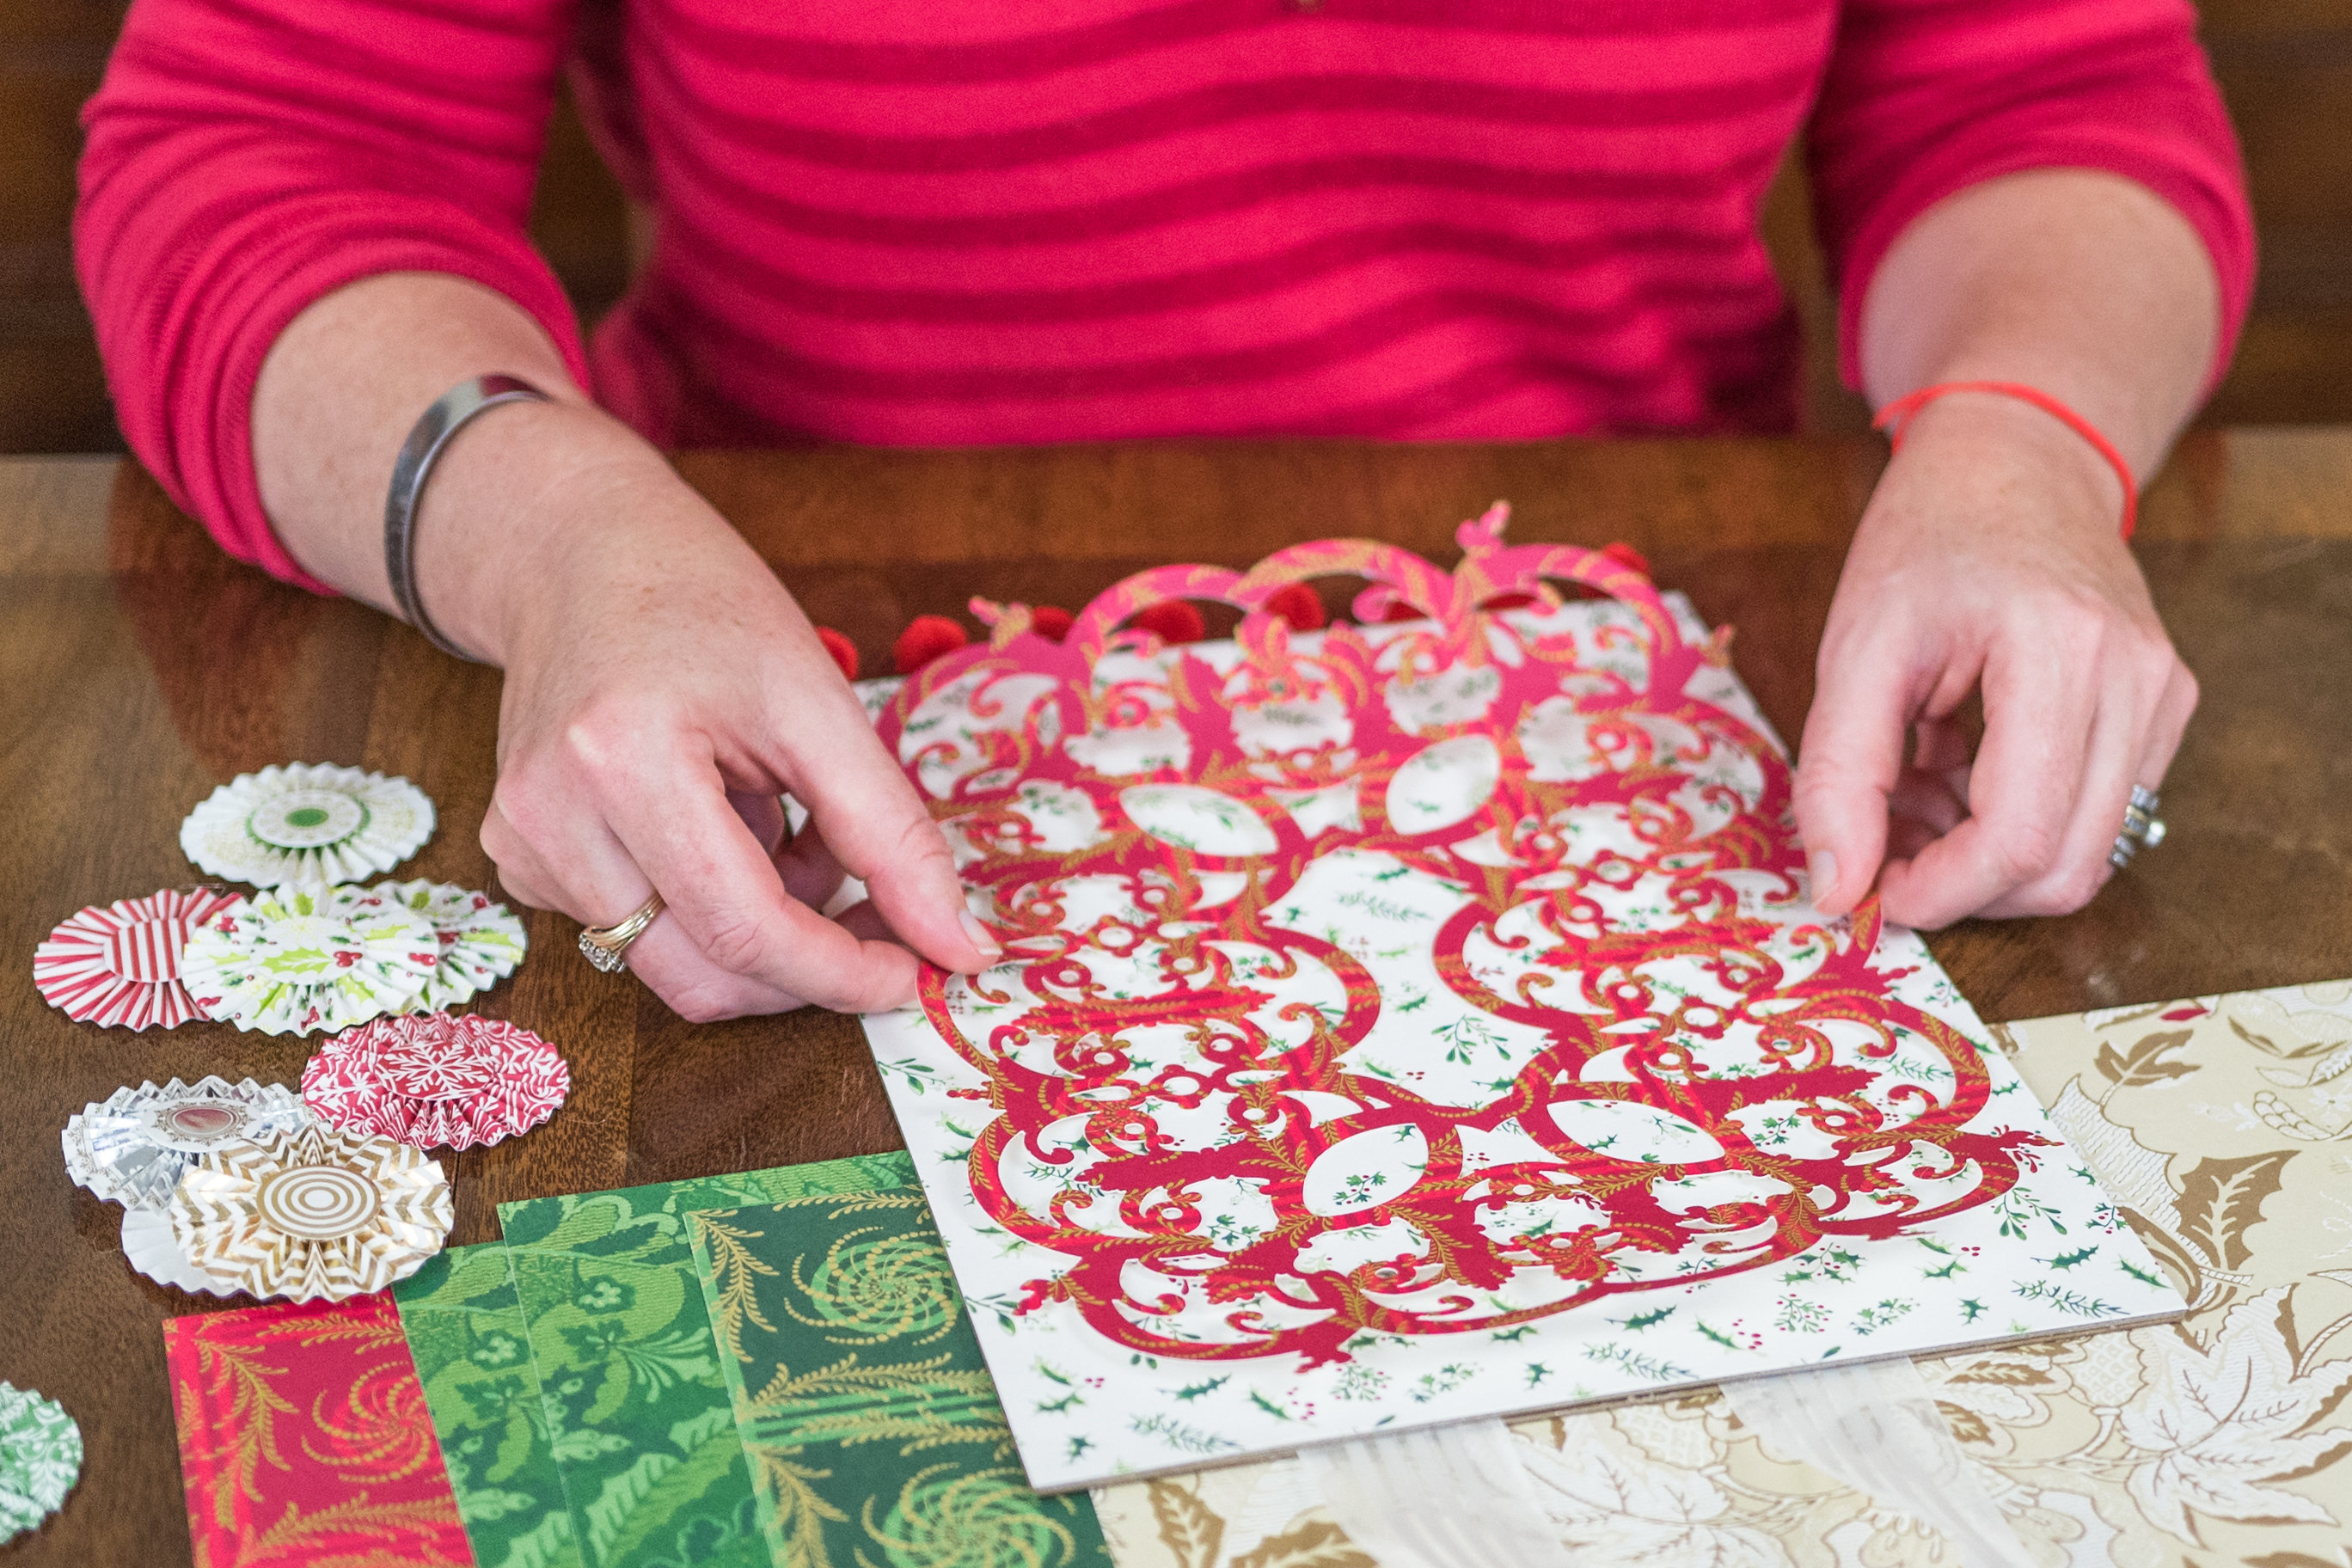
3. Remove one piece of chipboard from backing and lay adhesive side up on your workspace. Place holly patterned paper on chipboard, then flip over and trim excess paper.

4. Remove second piece of chipboard from backing and lay adhesive side up on your workspace. Cut pom pom trim to at least 9” and adhere to bottom of chipboard.

5. Cut sheer ribbon to approx. 15” and attach both ends to top of chipboard.

6. Attach first piece of chipboard (holly paper side up) to second piece of chipboard.

7. Using assorted patterned papers, cut all images from Cricut Design Space.
*Tip: When cutting trees lay 12×12 papers next to each other on 12×24 mat.
8. Run decorative background (patterned side up) through Creative Station and adhere to chipboard.
9. Assemble tree ornament – I used the Creative Station for the solid tree layer and the Mega Runner for the intricate tree layer.
10. Instead of “closing” tree to make an ornament, adhere the open sides to chipboard.
11. Use Mega Runner or foam tape to adhere rosettes to bottom of the project.

12. Fold banner diecut at the score lines.
13. Add foam squares to the center and use Mega Runner to adhere the ends to the project.
14. Use foam tape and the Mega Runner to adhere the banner topper to the project.

