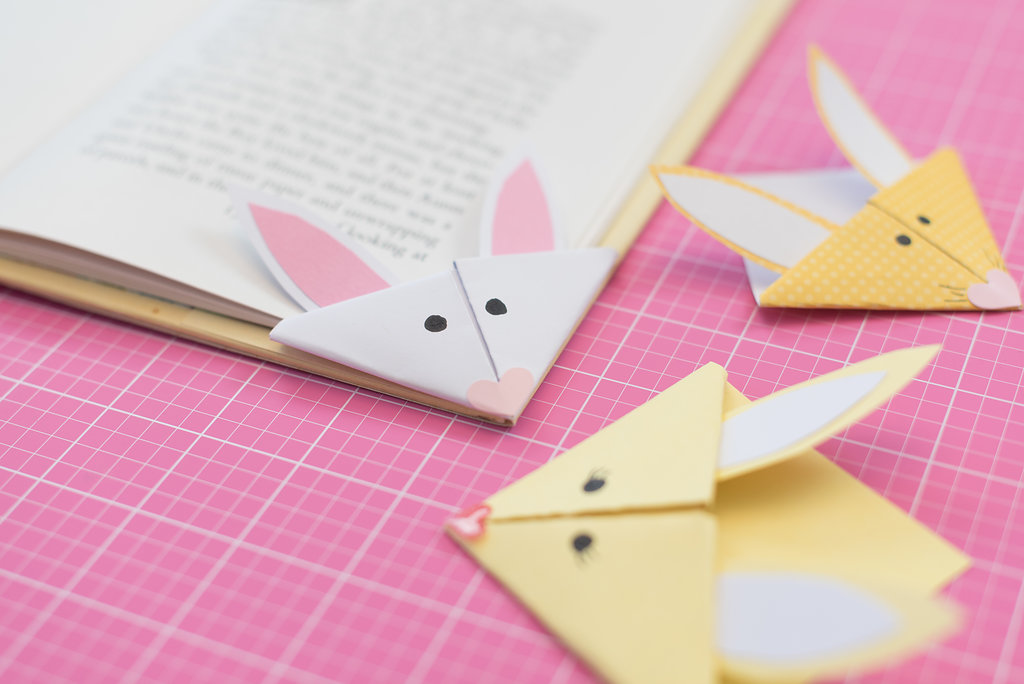
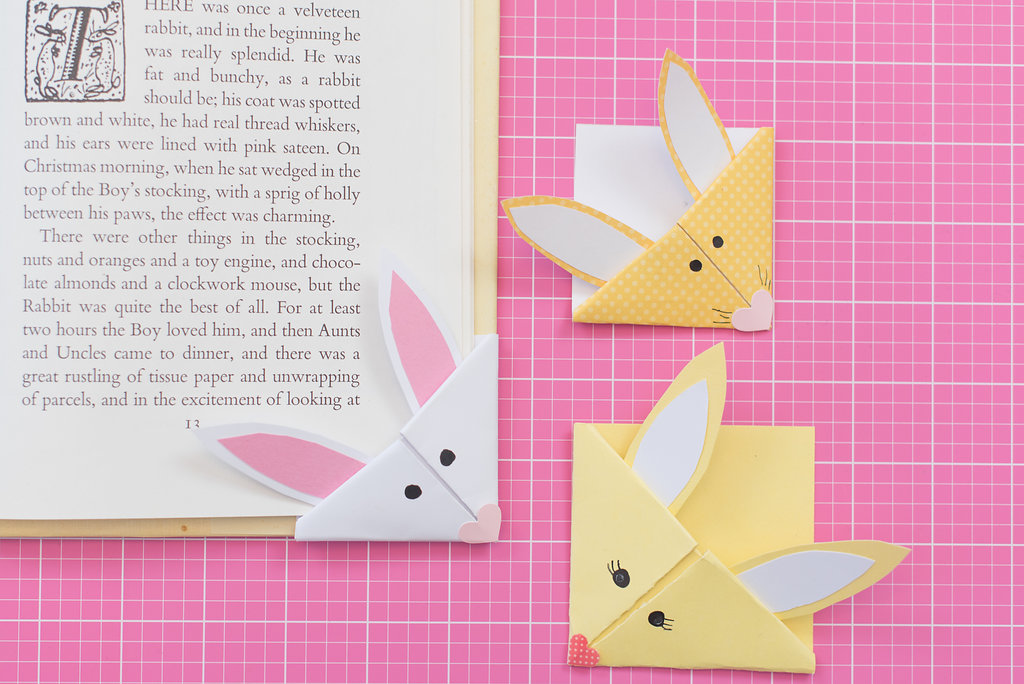
Celebrate the season with this quick and easy bunny bookmark – this would be a great kids craft on Easter morning!
![](https://blogs.hsn.com/wp-content/uploads/sites/3/2018/03/bunny1.jpg)
Materials
Xyron Mega Runner and Sticker Maker with Refills
Core’dinations 12×12 Cardstock Bundle
Instructions
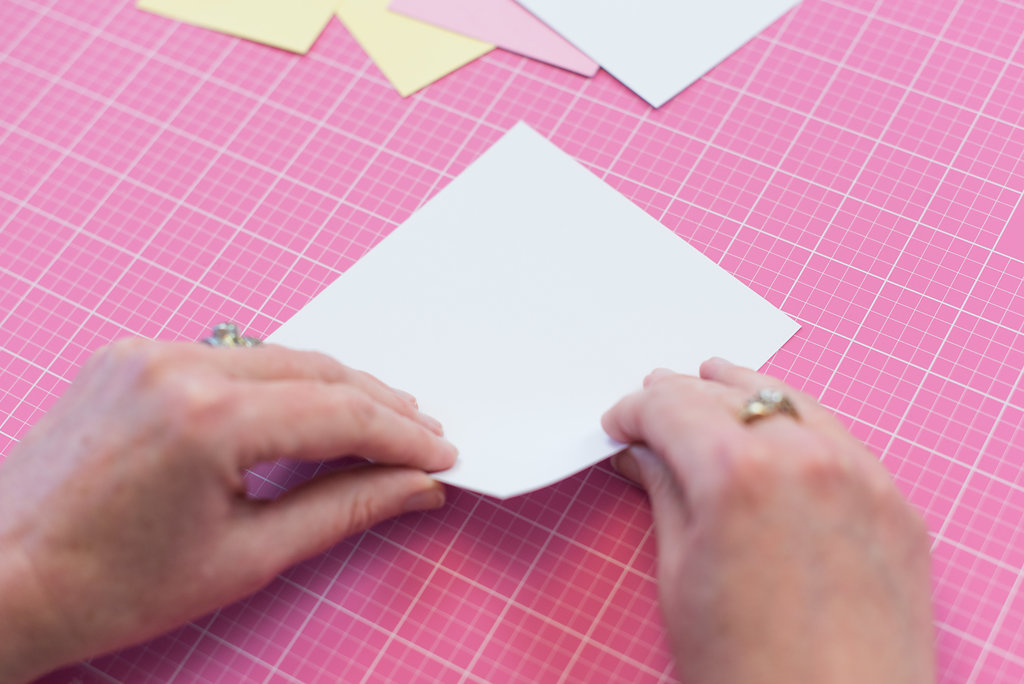
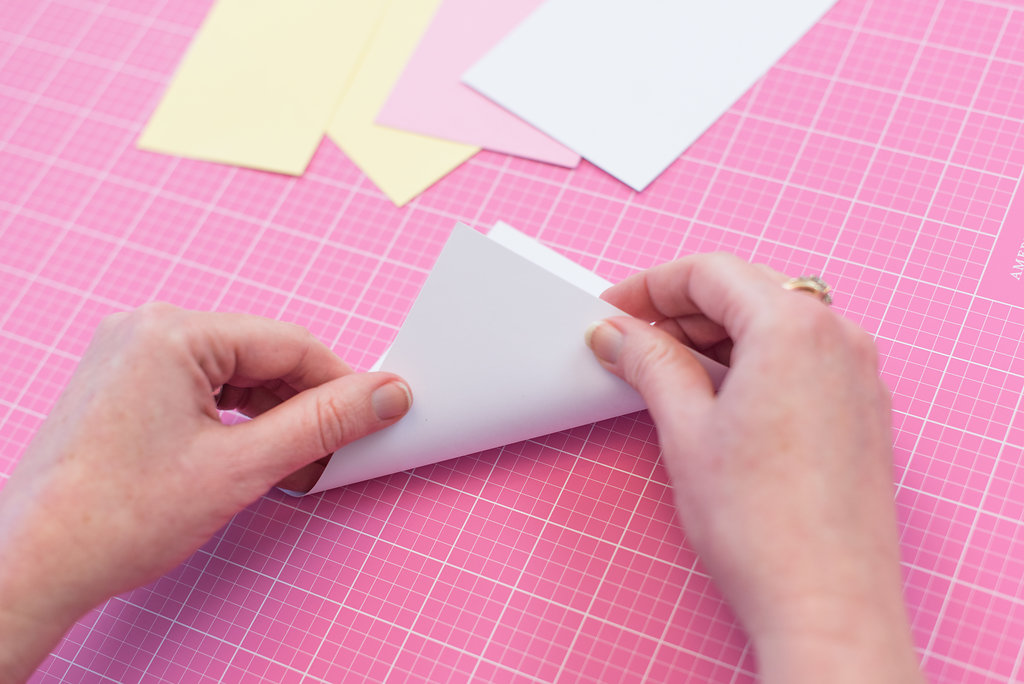
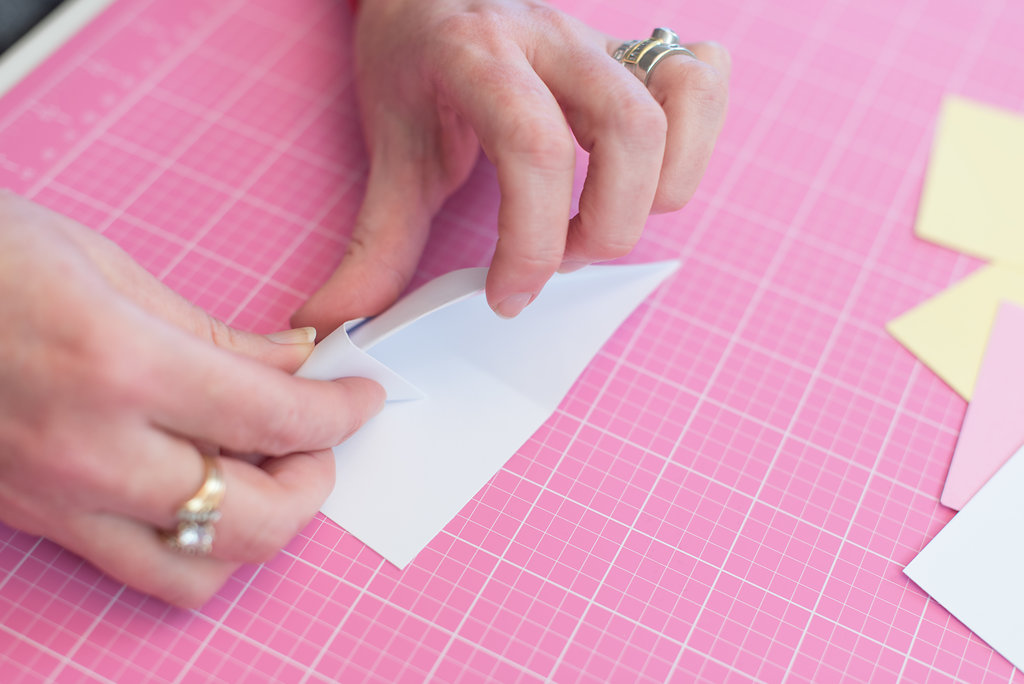
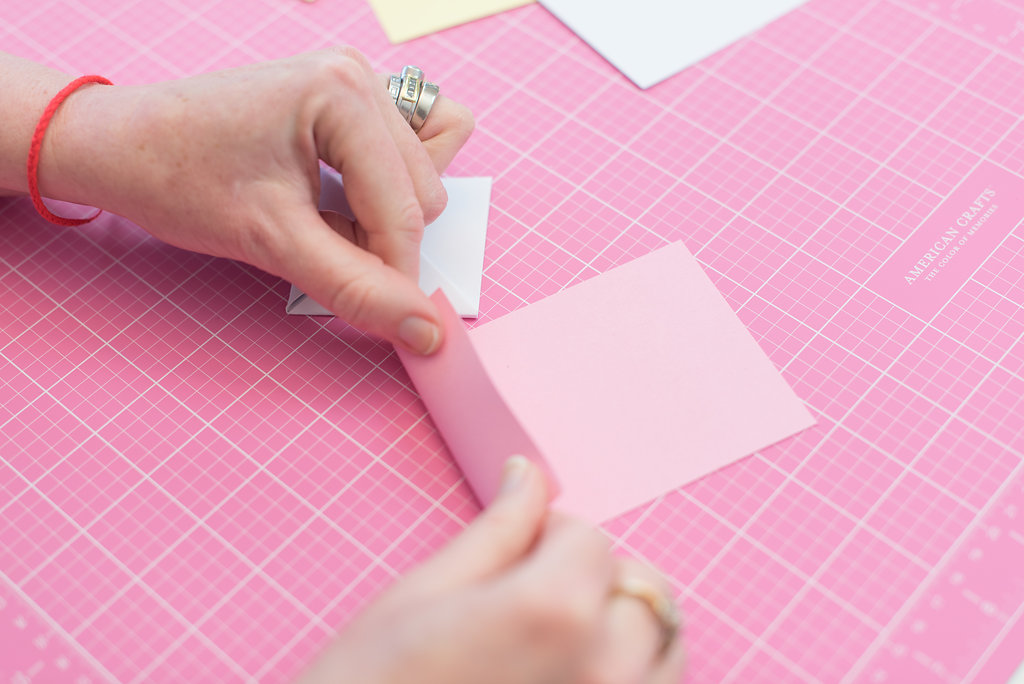
- Cut a piece of white cardstock in to a square. Any size is fine – the large bunny is from a 6×6 square and the smaller bunny is from a 5×5 square. Cut a smaller piece of white cardstock and a small piece of pink cardstock and set them aside.
![](https://blogs.hsn.com/wp-content/uploads/sites/3/2018/03/step1a.jpg)
![](https://blogs.hsn.com/wp-content/uploads/sites/3/2018/03/step1b.jpg)
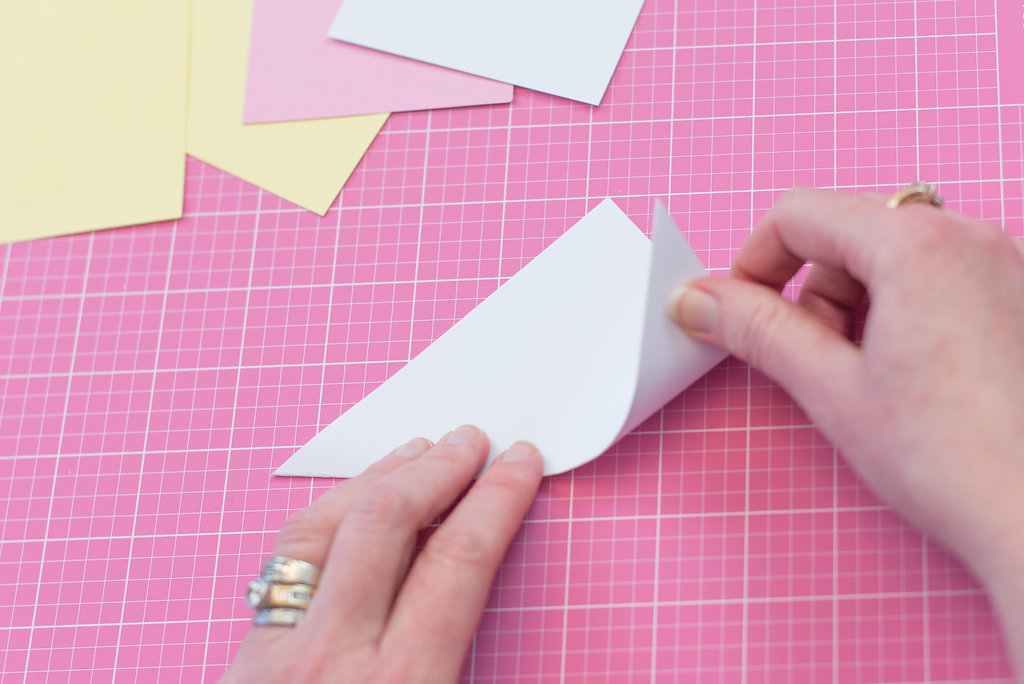
2. Unfold the sides, then fold just the “front” sheet of paper so the tip touches the bottom of the triangle.
![](https://blogs.hsn.com/wp-content/uploads/sites/3/2018/03/step2a.jpg)
![](https://blogs.hsn.com/wp-content/uploads/sites/3/2018/03/step2c.jpg)
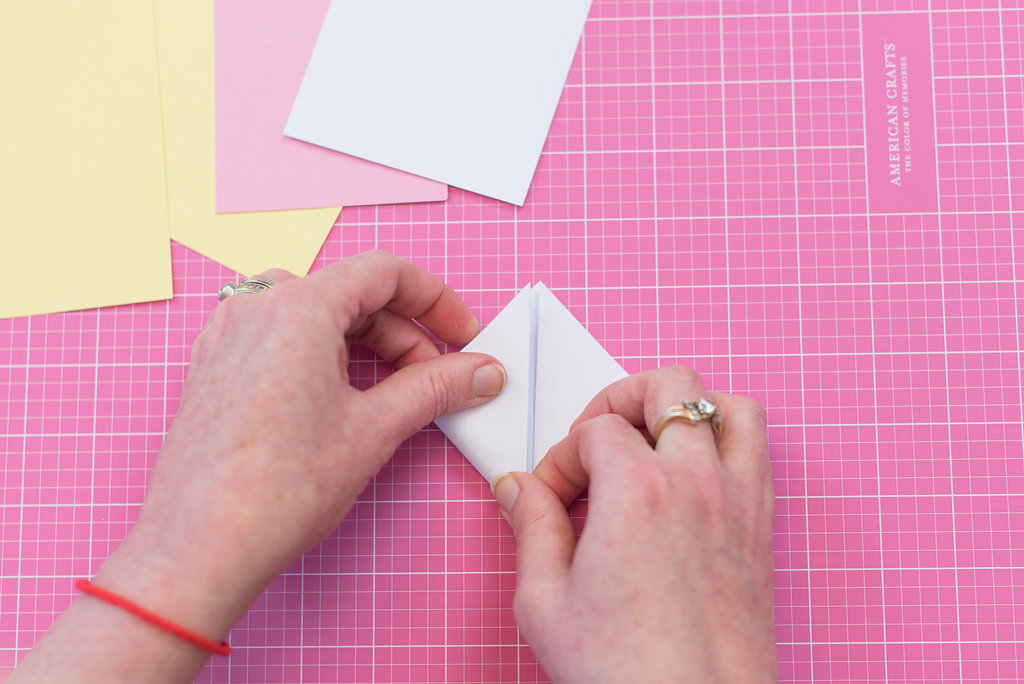
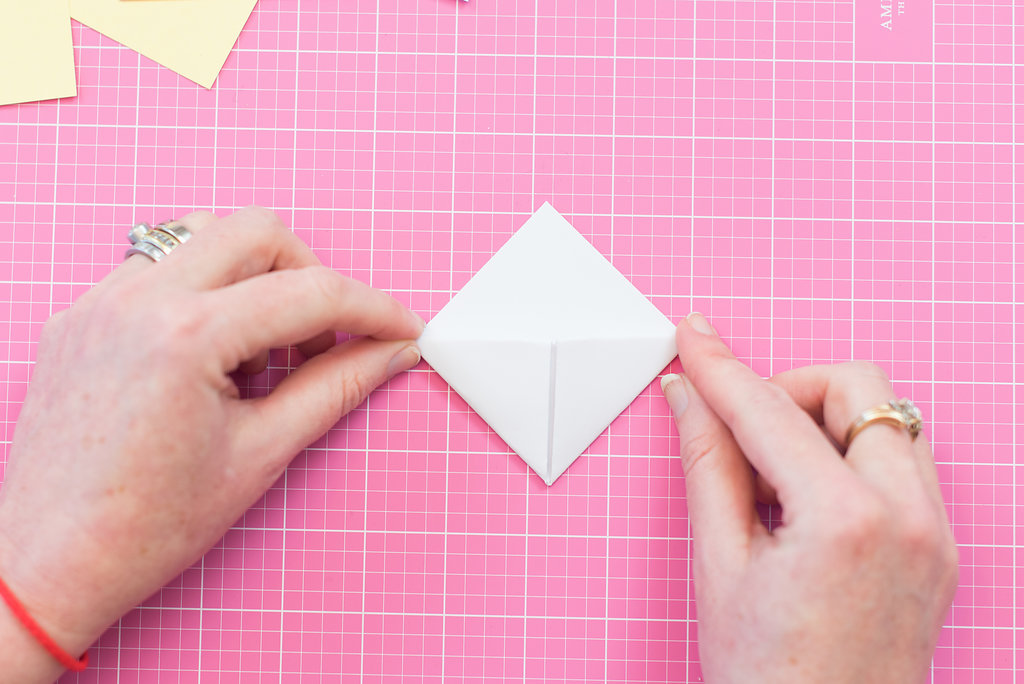
3. Select one side and “tuck it in” to the triangle, making a pocket. Repeat with the other side. Set aside.
![](https://blogs.hsn.com/wp-content/uploads/sites/3/2018/03/step3.jpg)
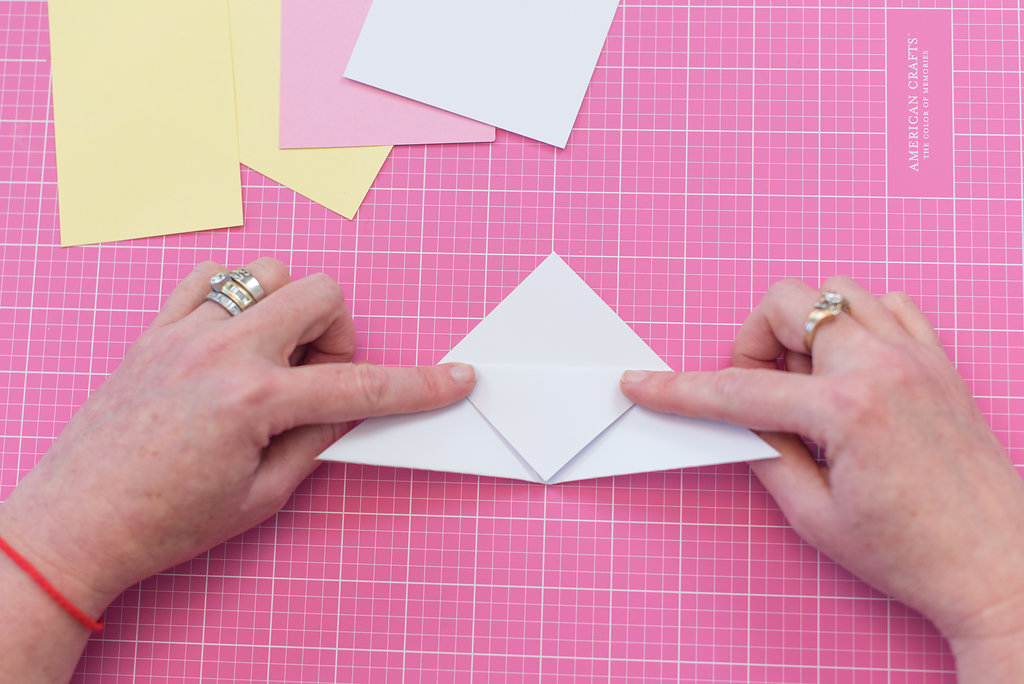
4. Select one side and “tuck it in” to the triangle, making a pocket. Repeat with the other side. Set aside.
![](https://blogs.hsn.com/wp-content/uploads/sites/3/2018/03/step4a.jpg)
![](https://blogs.hsn.com/wp-content/uploads/sites/3/2018/03/step4b.jpg)
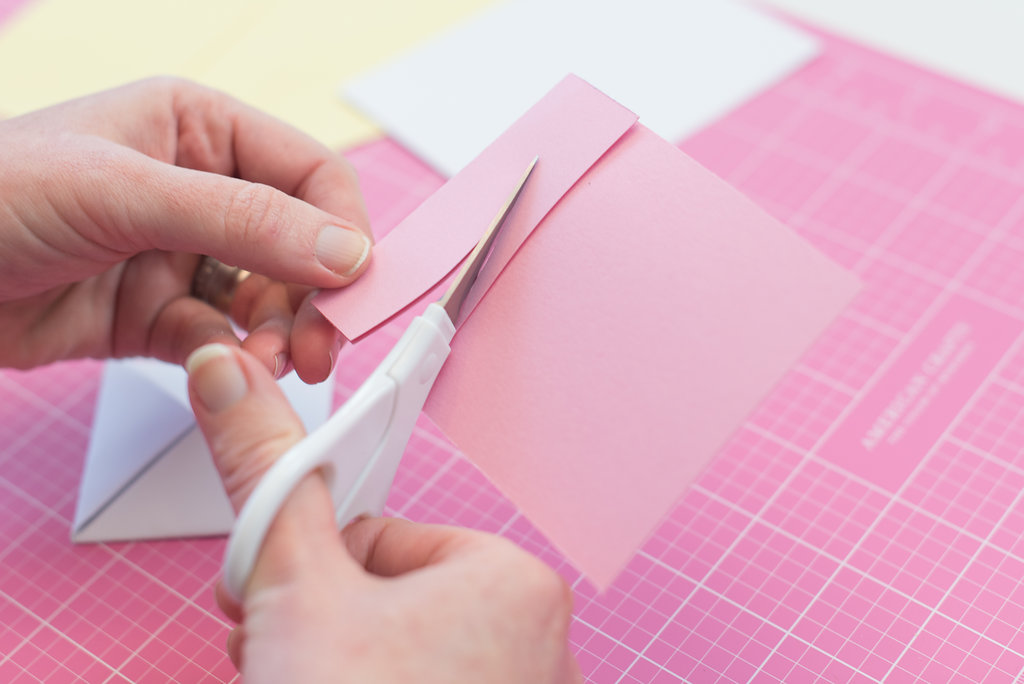
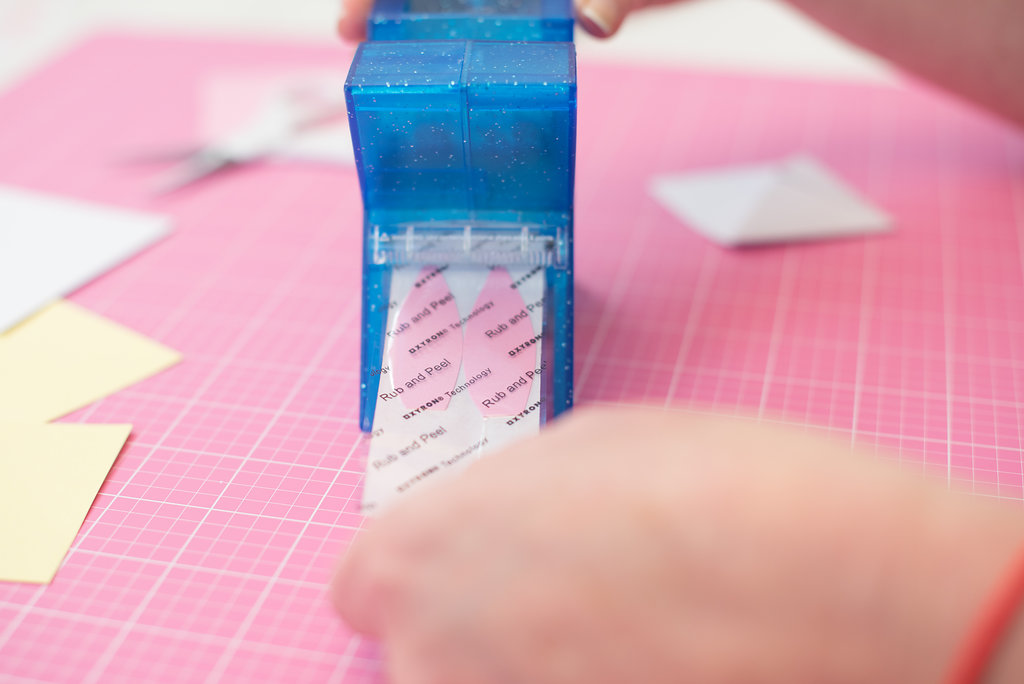
5. Fold pink cardstock and use scissors to cut inside of ears.
![](https://blogs.hsn.com/wp-content/uploads/sites/3/2018/03/step5a.jpg)
![](https://blogs.hsn.com/wp-content/uploads/sites/3/2018/03/step5c.jpg)
6. Run both pieces of cardstock through the Xyron Sticker Maker.
![](https://blogs.hsn.com/wp-content/uploads/sites/3/2018/03/step6.jpg)
7. Fold white cardstock.
![](https://blogs.hsn.com/wp-content/uploads/sites/3/2018/03/step7a.jpg)
![](https://blogs.hsn.com/wp-content/uploads/sites/3/2018/03/step7b.jpg)
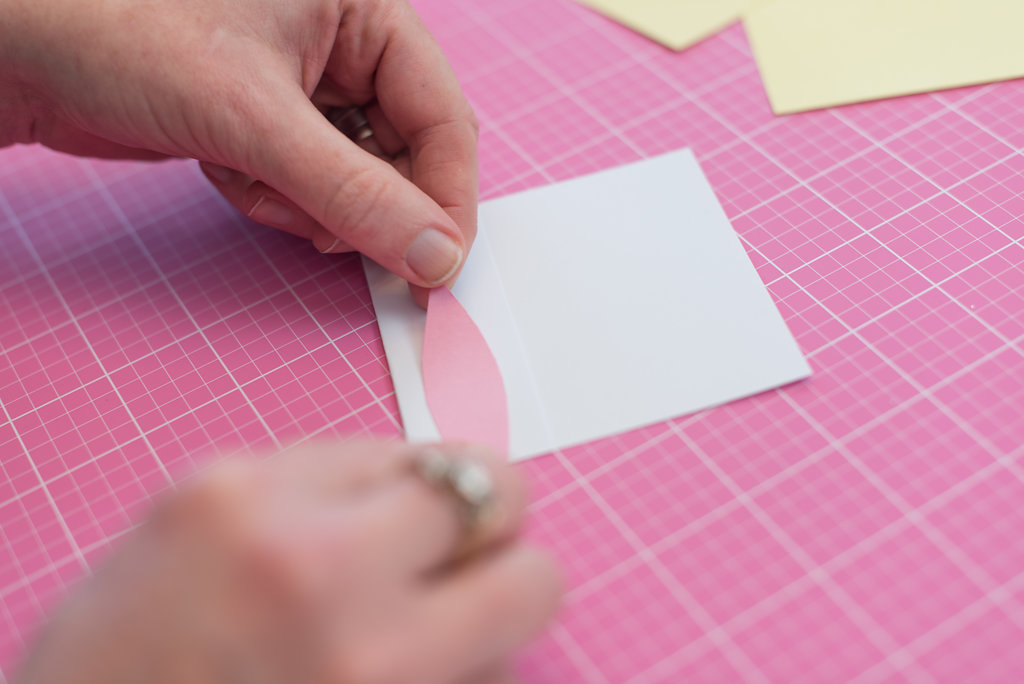
8. Place one of the pink shapes on to the white cardstock and use scissors to cut ear shape.
![](https://blogs.hsn.com/wp-content/uploads/sites/3/2018/03/step8a.jpg)
![](https://blogs.hsn.com/wp-content/uploads/sites/3/2018/03/step8b.jpg)
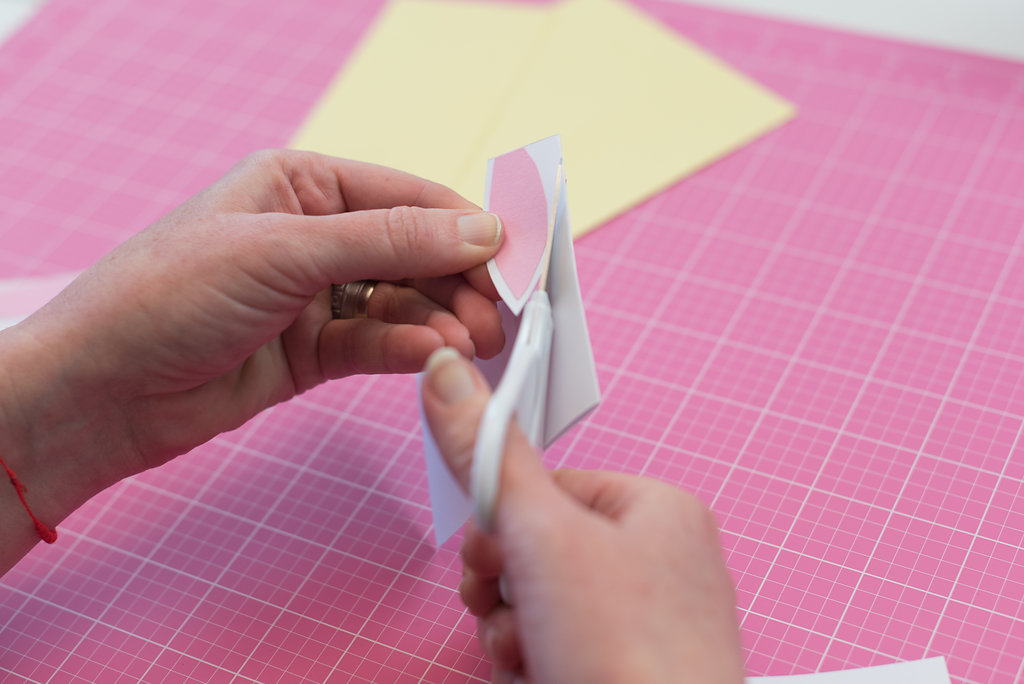
9. Adhere second pink shape to second white shape.
![](https://blogs.hsn.com/wp-content/uploads/sites/3/2018/03/step9.jpg)
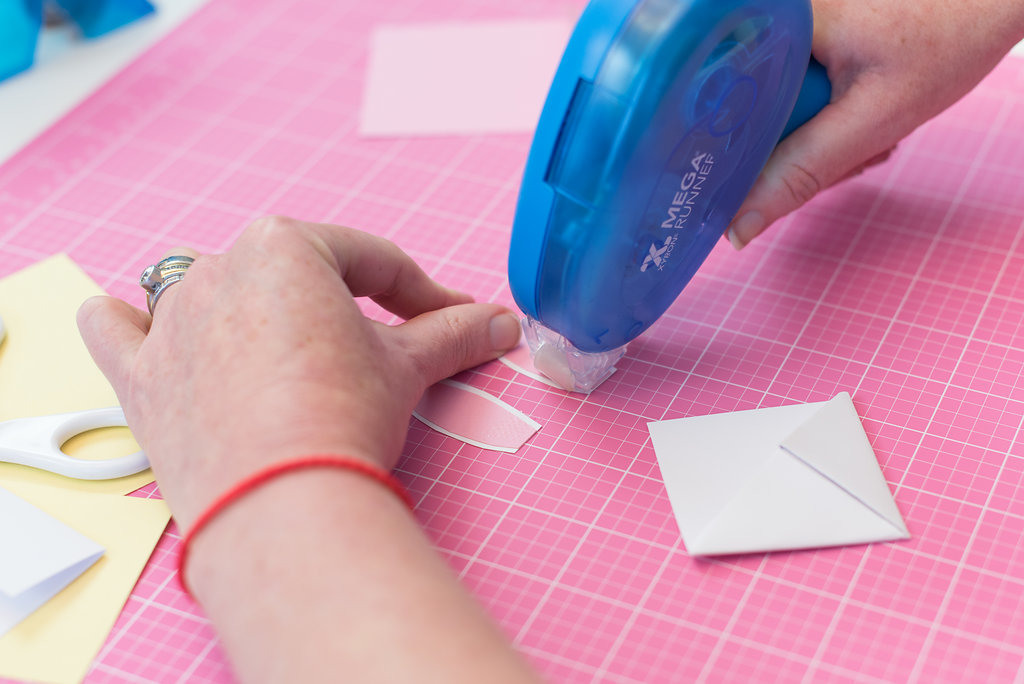
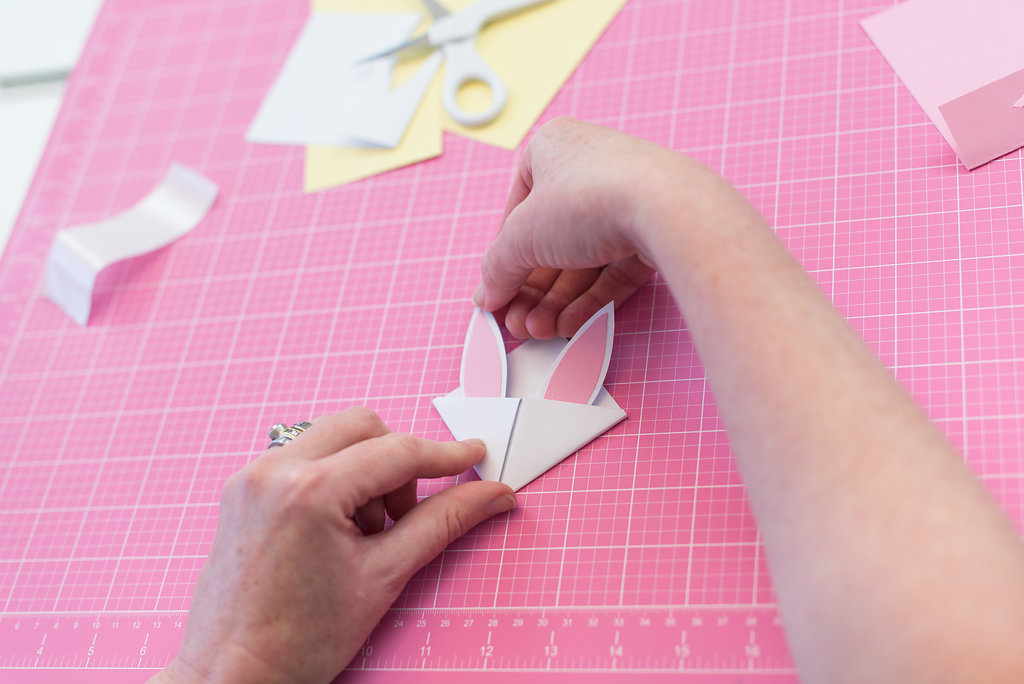
10. Use Xyron Mega Runner to put adhesive on the bottom front of each ear.
![](https://blogs.hsn.com/wp-content/uploads/sites/3/2018/03/step10.jpg)
11. Attach to the inside of the triangle.
![](https://blogs.hsn.com/wp-content/uploads/sites/3/2018/03/step11.jpg)
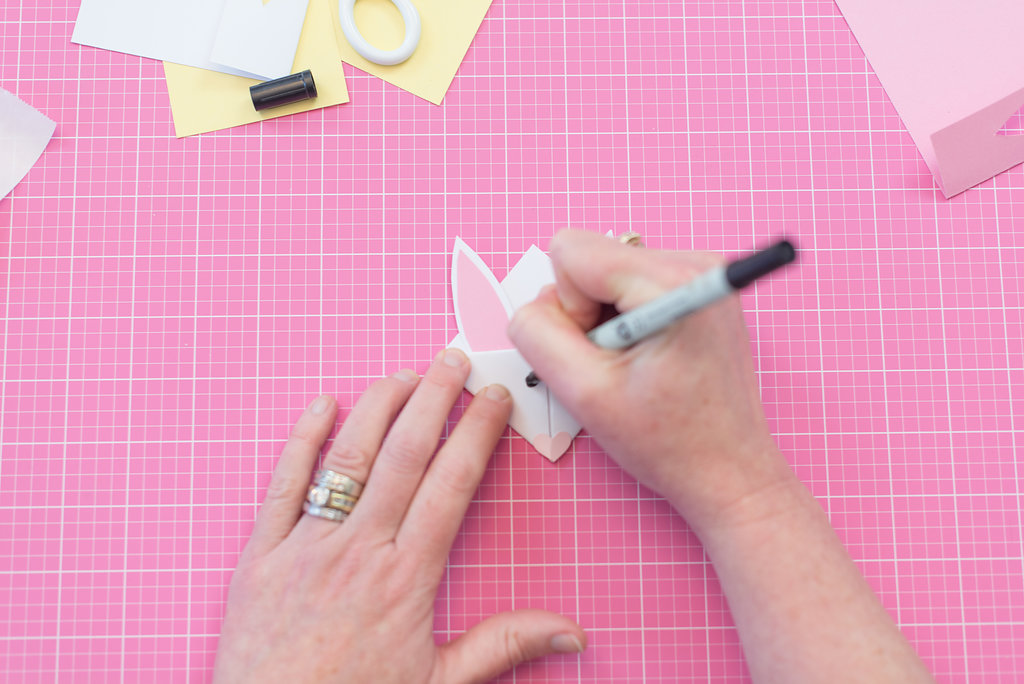
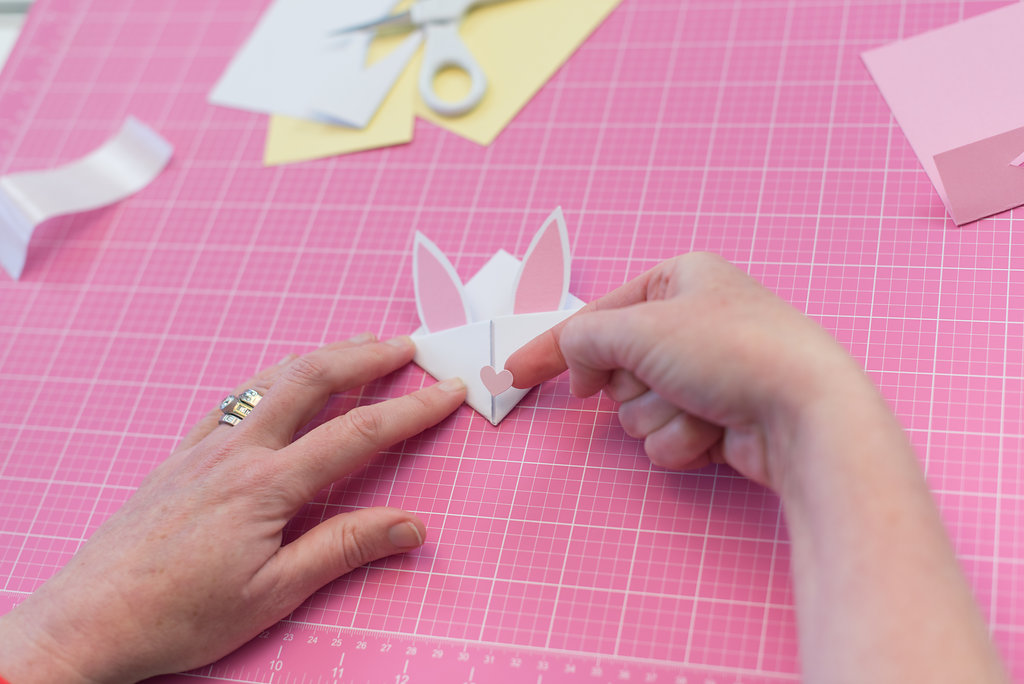
12. Use a pink pen (or a heart sticker!) to create nose.
![](https://blogs.hsn.com/wp-content/uploads/sites/3/2018/03/step12a.jpg)
![](https://blogs.hsn.com/wp-content/uploads/sites/3/2018/03/step12b.jpg)
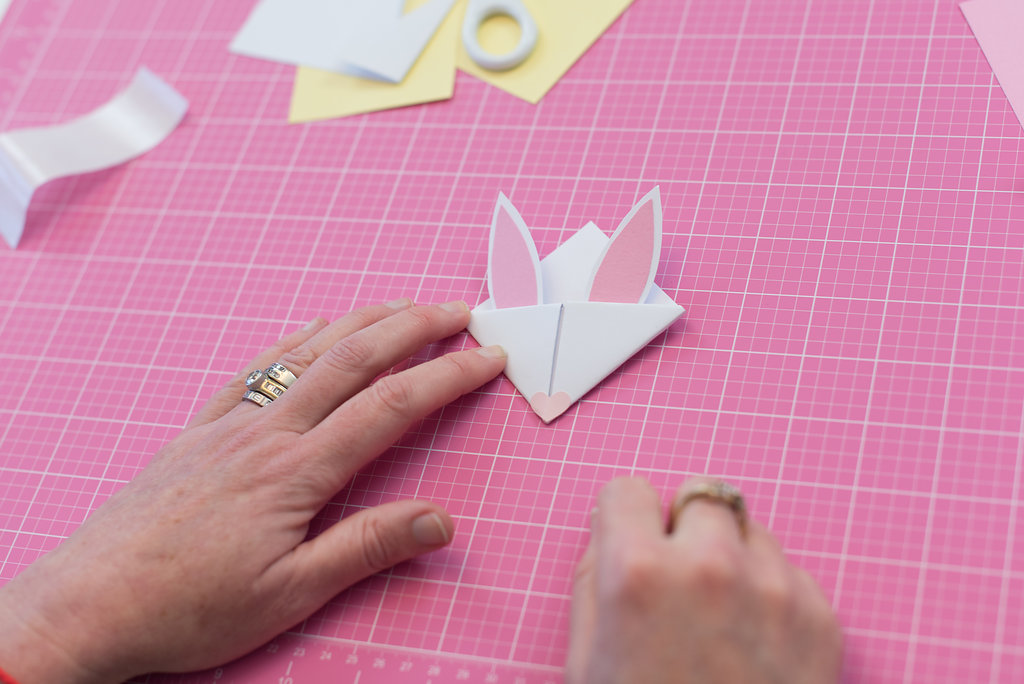
13. Use a black pen to create eyes.
![](https://blogs.hsn.com/wp-content/uploads/sites/3/2018/03/step13.jpg)
![](https://blogs.hsn.com/wp-content/uploads/sites/3/2018/03/bunny2.jpg)