


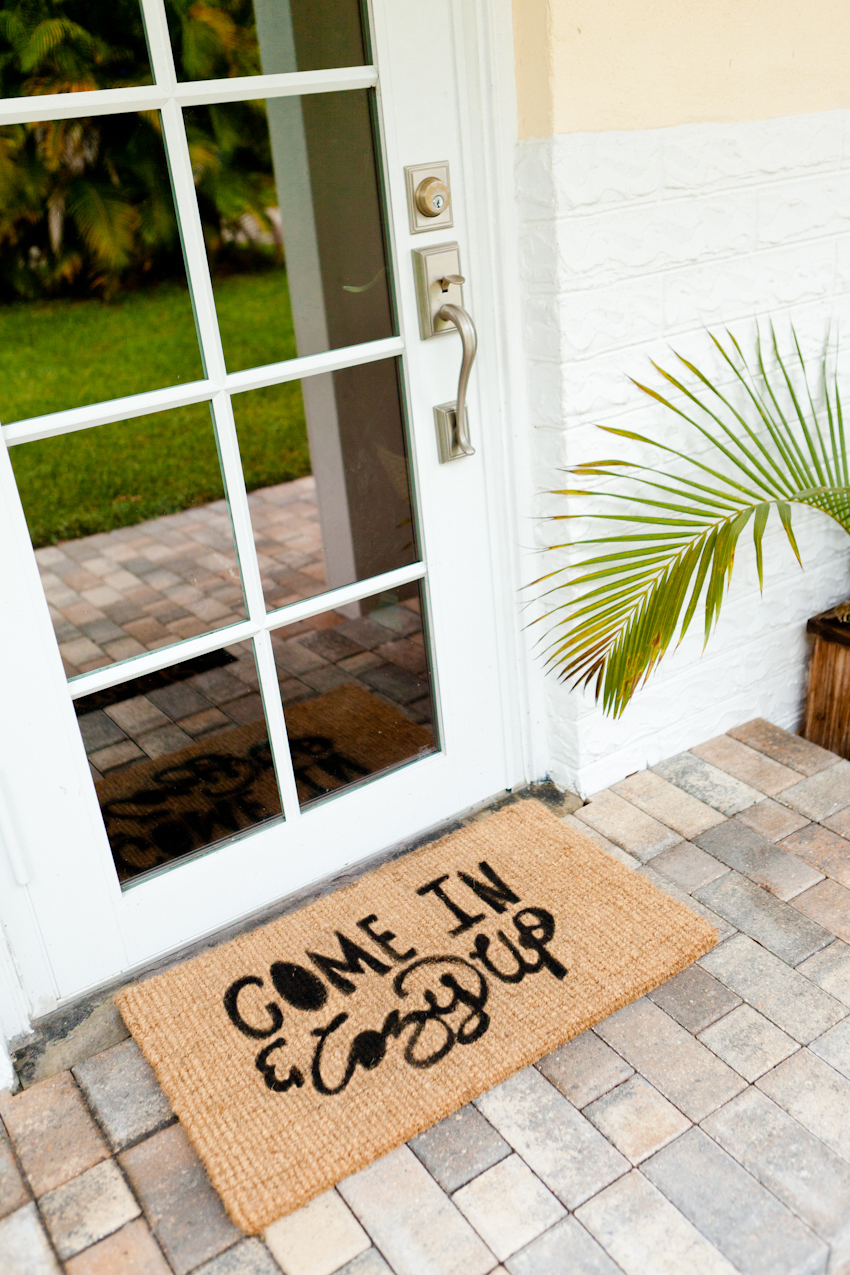
I am a major fan of statement t-shirts, and when it comes to my home, I think my entryway door mat is basically the best place to make a similar fun and quirky statement. With a DIY Door Mat, I set out to create a couple of fun and simple statements that can help dress up my doorway and put a smile on the face of those that enter. A statement piece and a bit of fun all rolled into one! So gather your supplies, because below is the easy rundown of how you can make your own entryway statement as well!
DIY Outdoor Mat
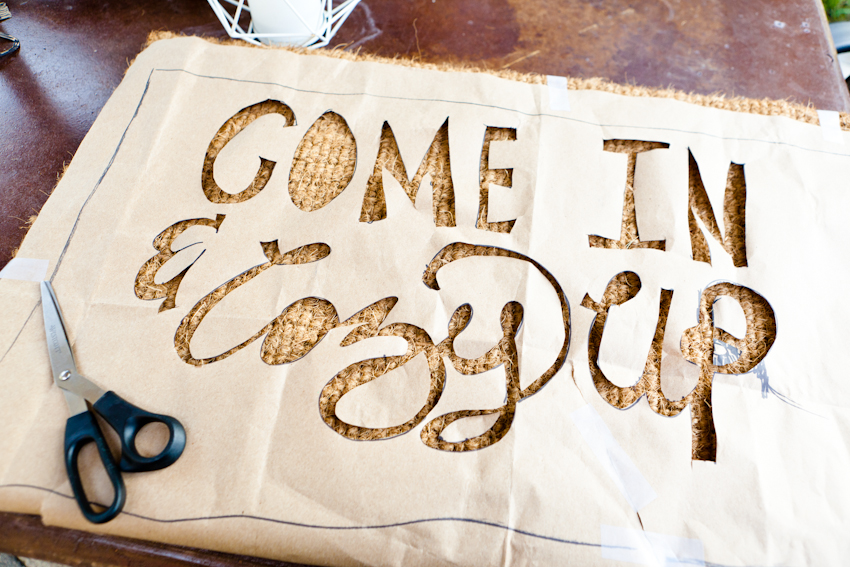
1. Plan out your placement. When it comes to any successful DIY project, for me taking a moment to plan it all out is the key to success. For my two door mat designs, I played with a few different layouts before I landed on the final designs.
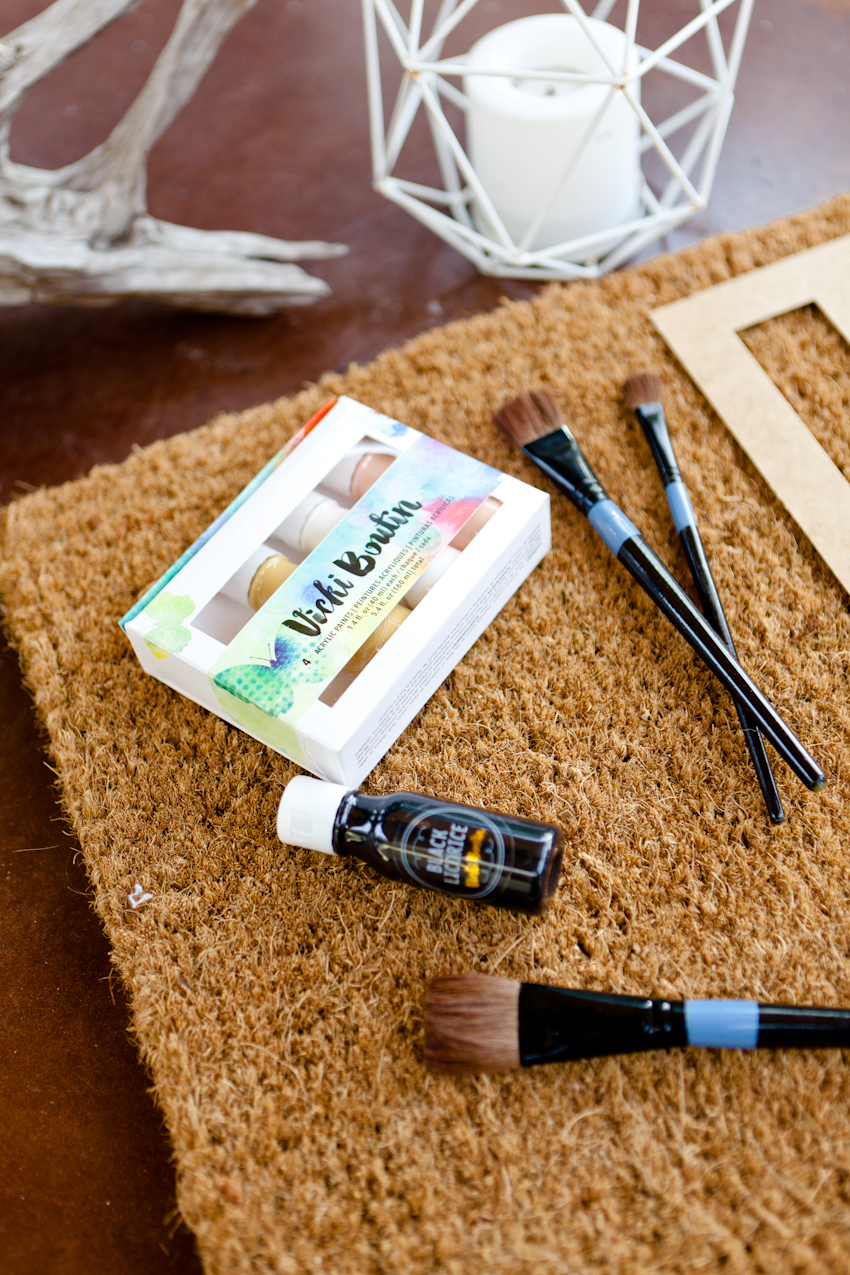
2. Prepare your stencils. I found because the doormat is quite textured it is important to tape your stencils down to keep them from moving and to get the cleanest lines possible.
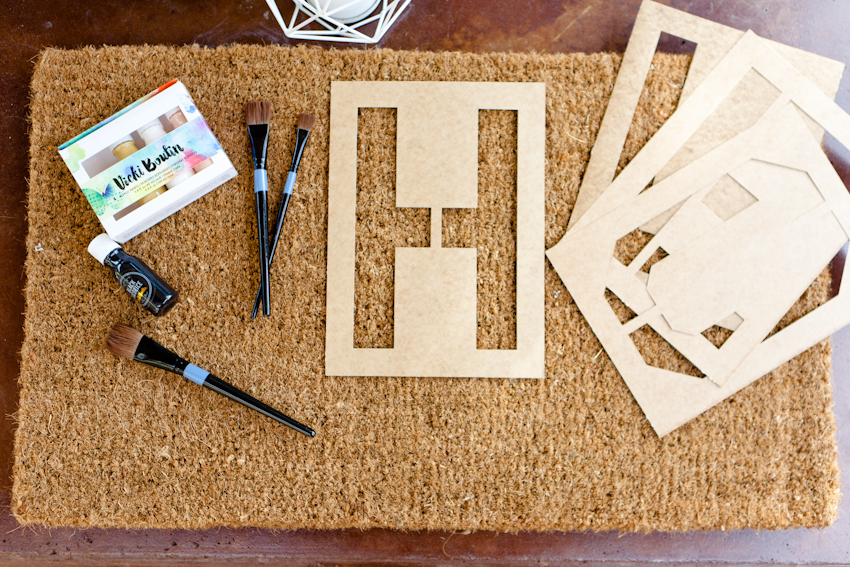
3. Paint your masterpiece. After trying a few different brushes, I found that the denser and shorter the bristles the better. It helped concentrate the paint and kept me from having to do lots and lots of layers.
4. Patiently wait for it to dry. Waiting for paint to dry will always feel like forever, it doesn’t matter if it’s your walls, your nails or your amazing DIY doormat; this step calls for a distraction. I suggest making dinner or watching that show you’ve previously DVR’d.
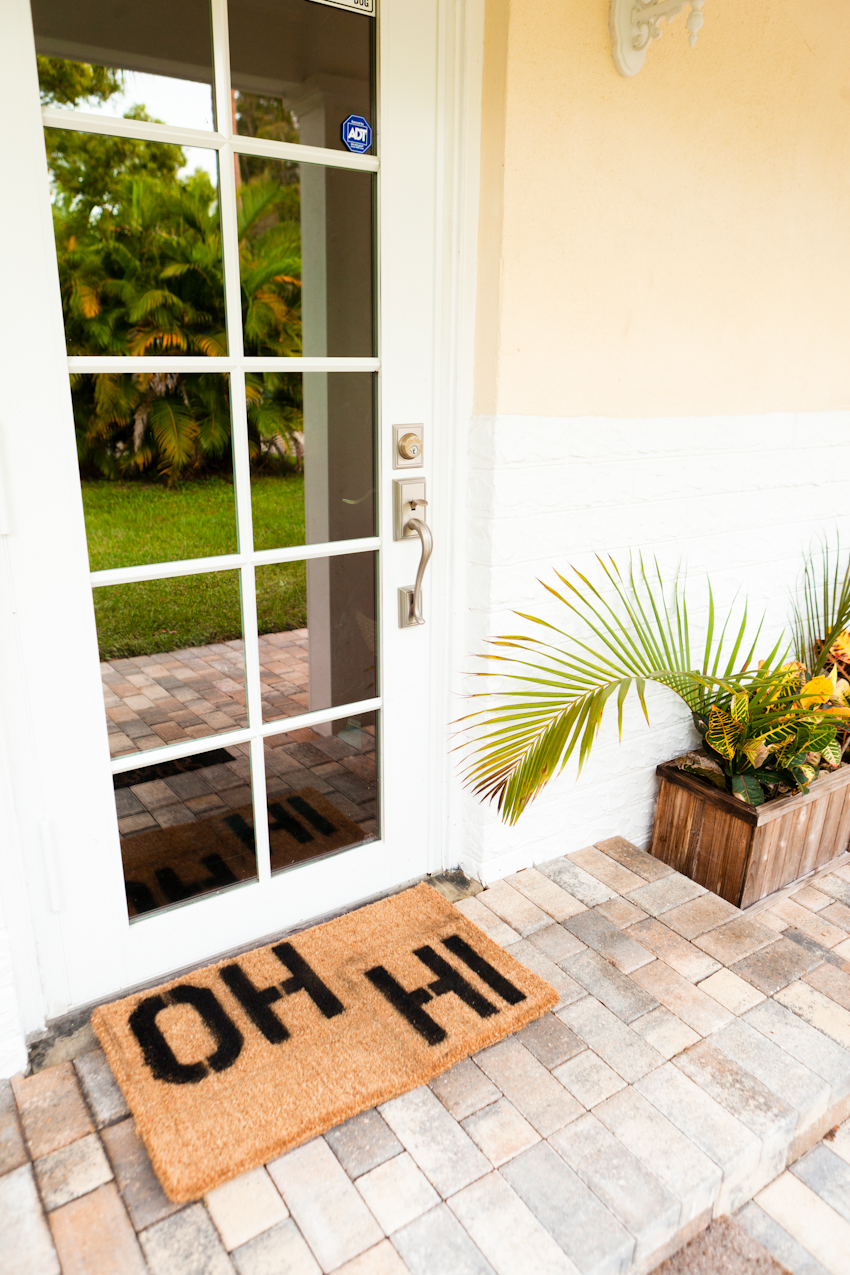
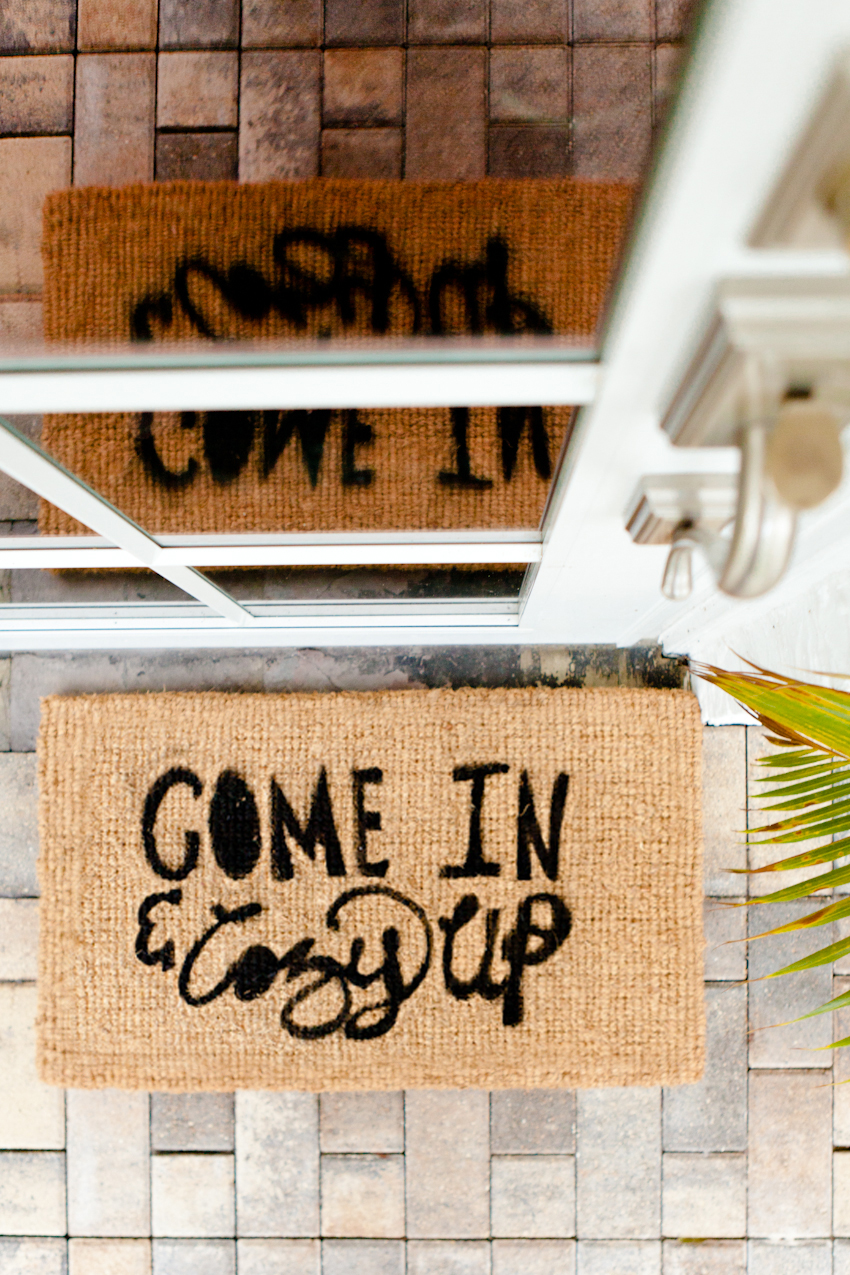
5. Place it in front of your door. Last but not least, place your masterpiece in from of your door and proudly show it off to your guests and neighbors.
As always, if you make your own DIY Door Mat we all want to see it! Tag your photos on social with #ItsFunHere!