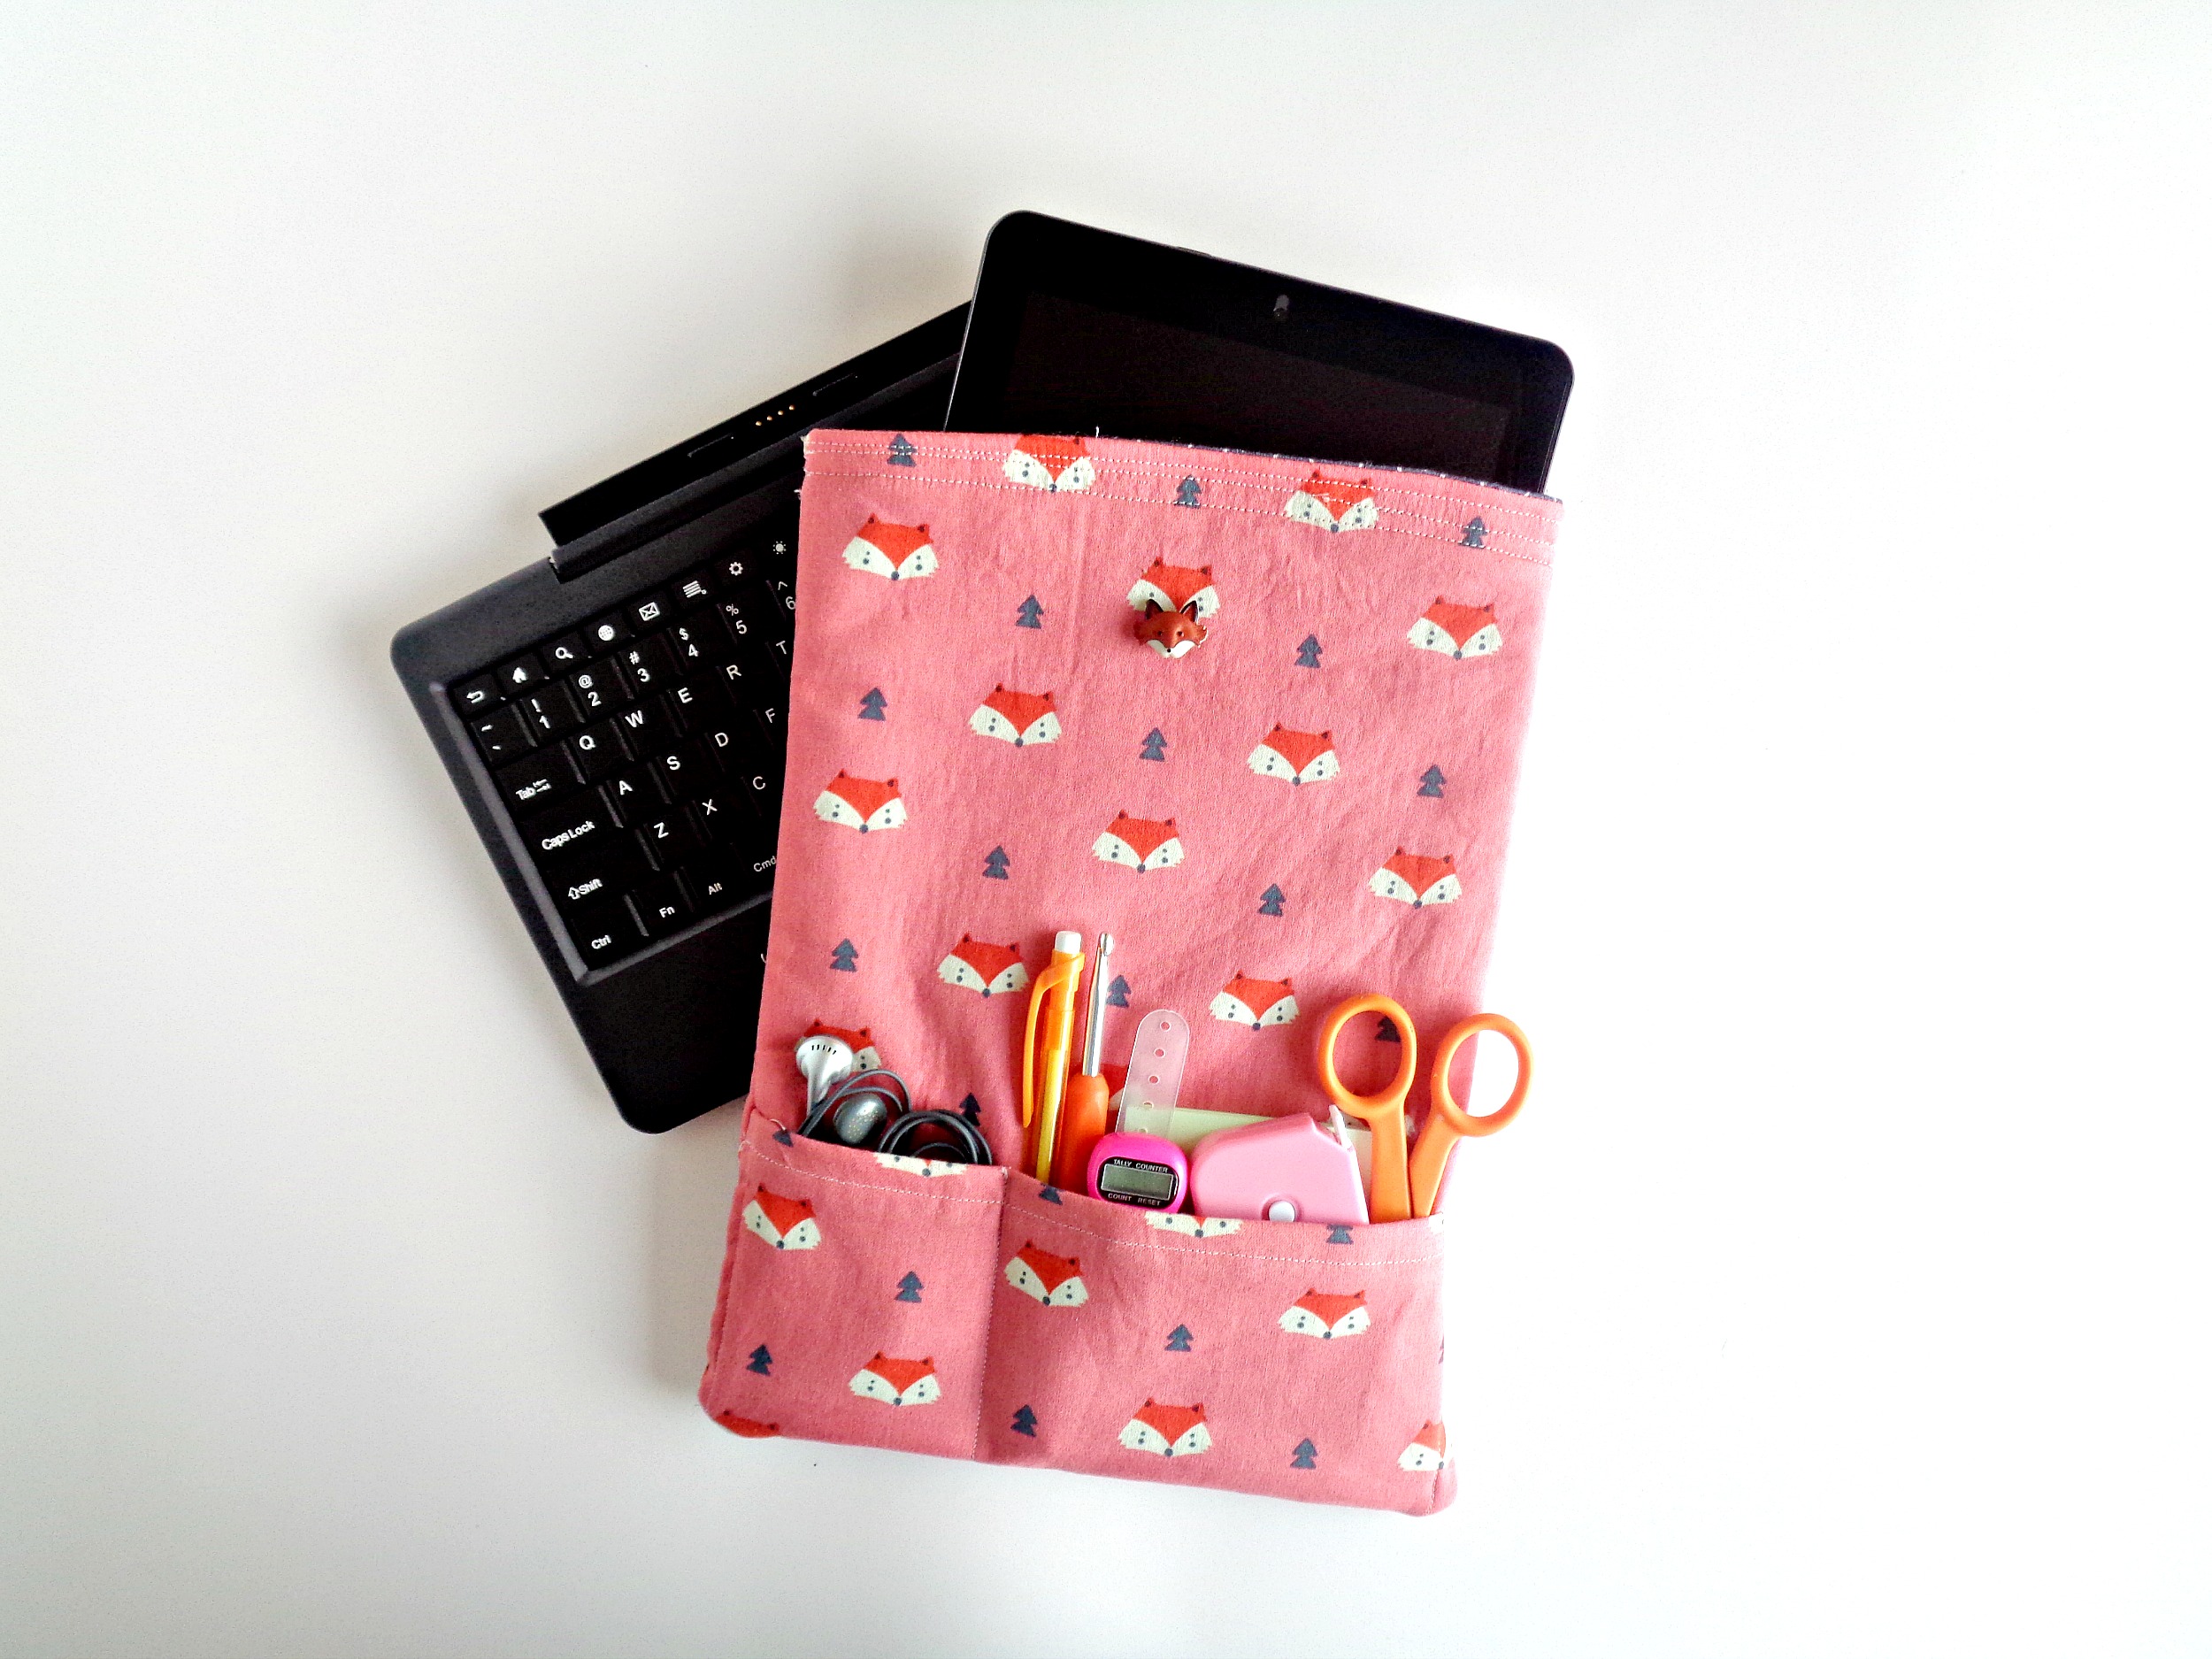
I don’t know about you, but I love my tablet! It’s such a convenient way to check my email, watch DIY videos, and of course shop on HSN. However, if you don’t have a case for your tablet, you may not use it as much as you like.
Tablet cases, in general, can be expensive and not super pretty. So, today, I am going to show you how easy it is to make your own custom tablet case! This tablet case is made from 2 fat quarters of fabric and doesn’t require any special sewing skills. Plus, you can adjust this tutorial slightly to fit the size tablet you own and any accessories that you like to carry with your tablet!
Supplies
Singer Simple 23-Stitch Sewing Machine
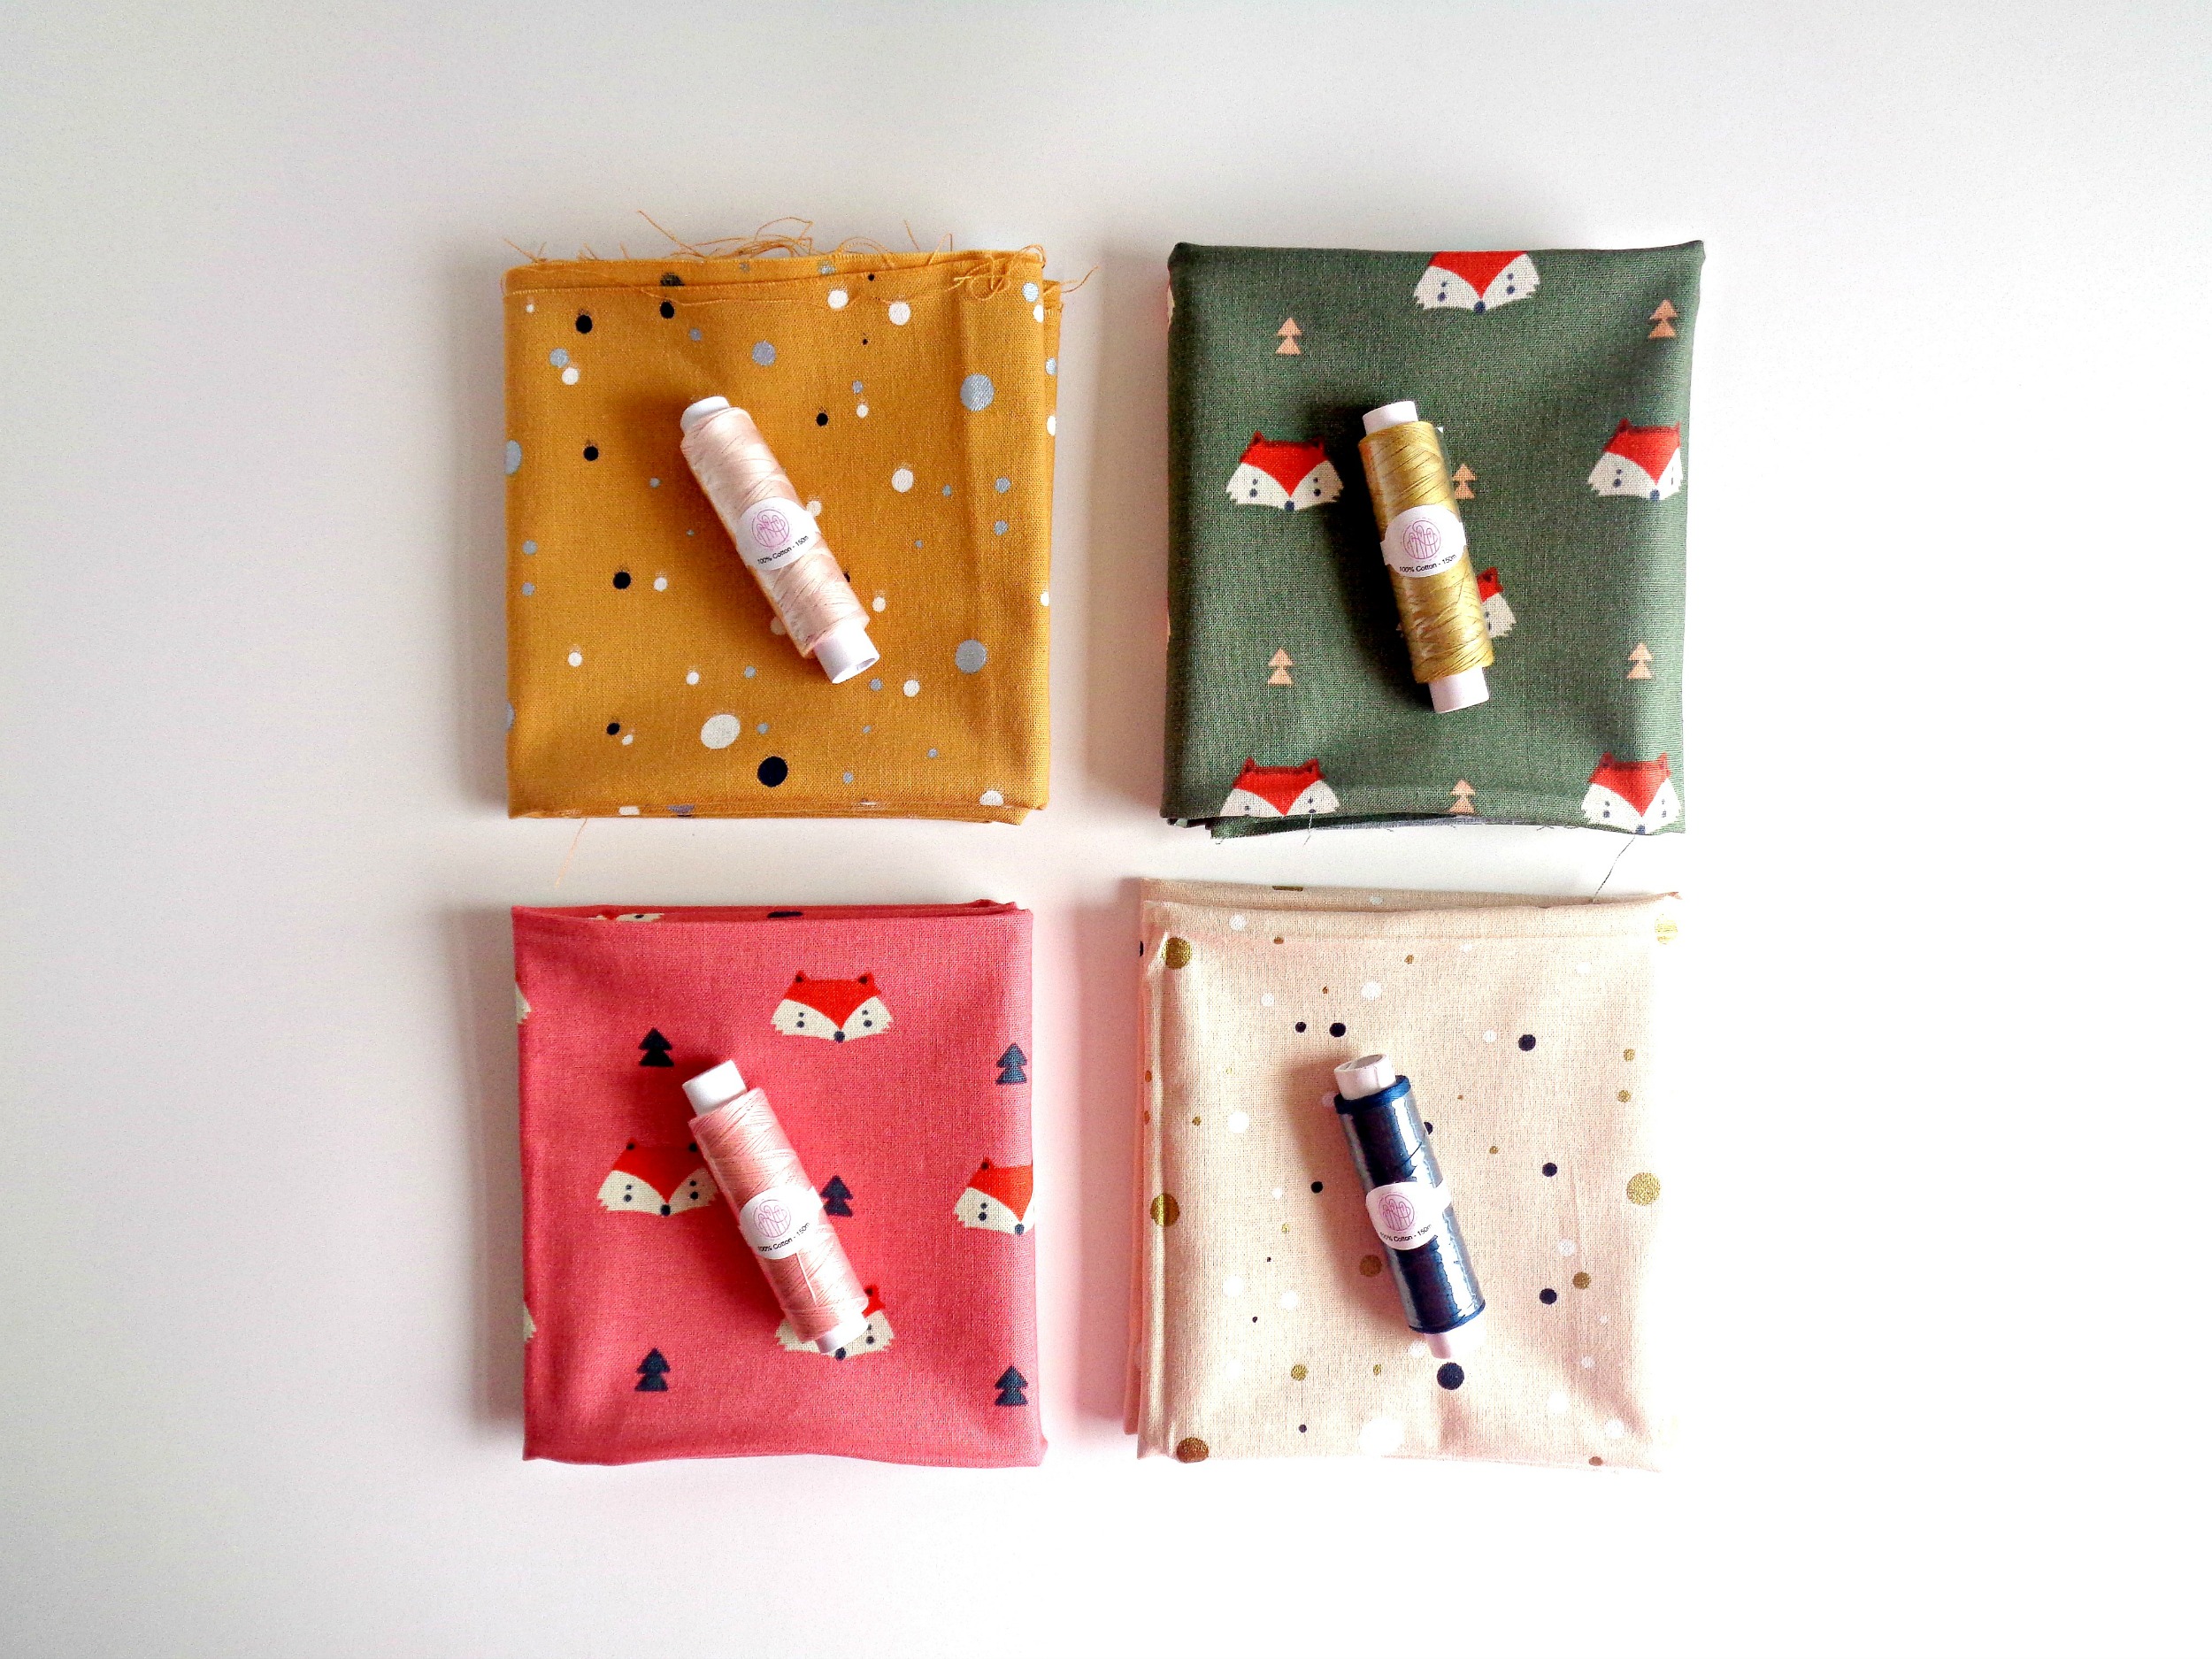
Crafter’s Companion Threaders Fat Quarter Bundle – Fox in the Woods
Crafter’s Companion Threader’s 6-pack Thread Box – Cottage Garden
Felt Fleece
Sewing Needle + Sewing Pins
Button
Elastic Cording
Scissors
Instructions
1. For this project, you will need to measure your tablet. When doing this, make sure (if your tablet has a keyboard) that you measure your tablet with the keyboard attached. Once you have your measurements, add 2 inches to the height and to the width of your tablet.
For example, my tablet is 10 inches by 6 ½ inches. So, after adding 2 inches, it would be 12 inches by 8 ½ inches.
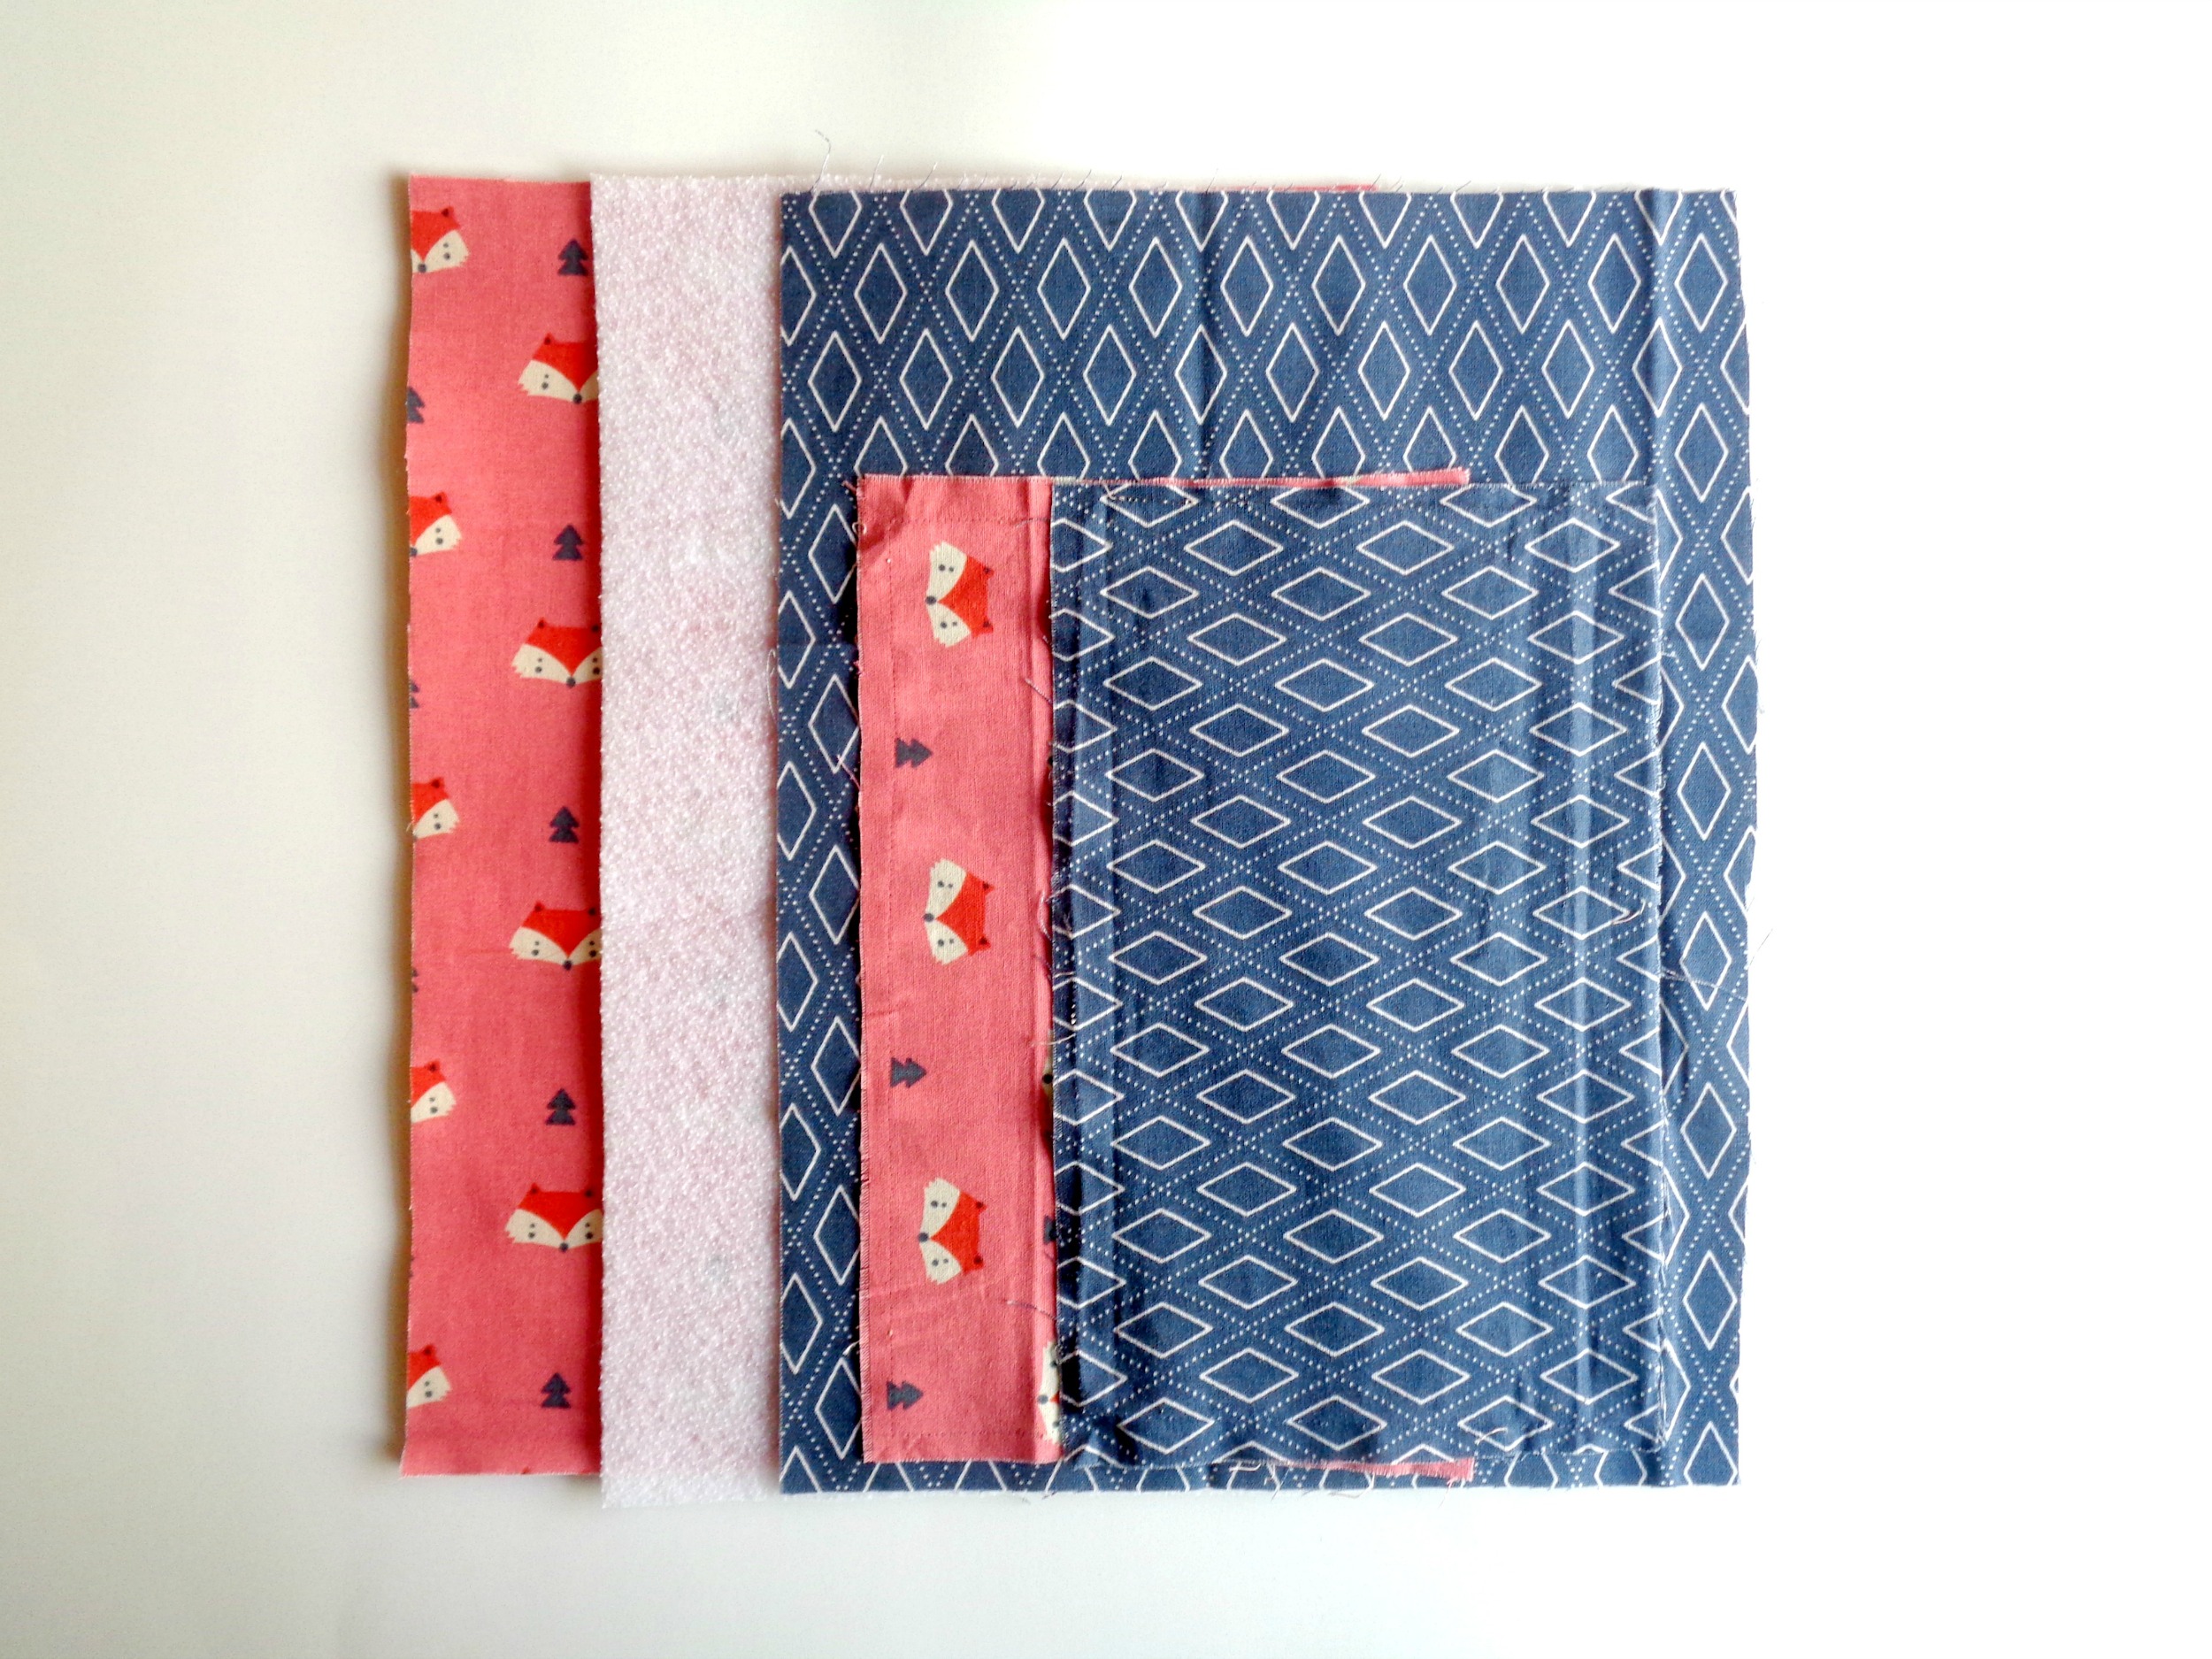
When you have your tablet’s measurements, cut out the following:
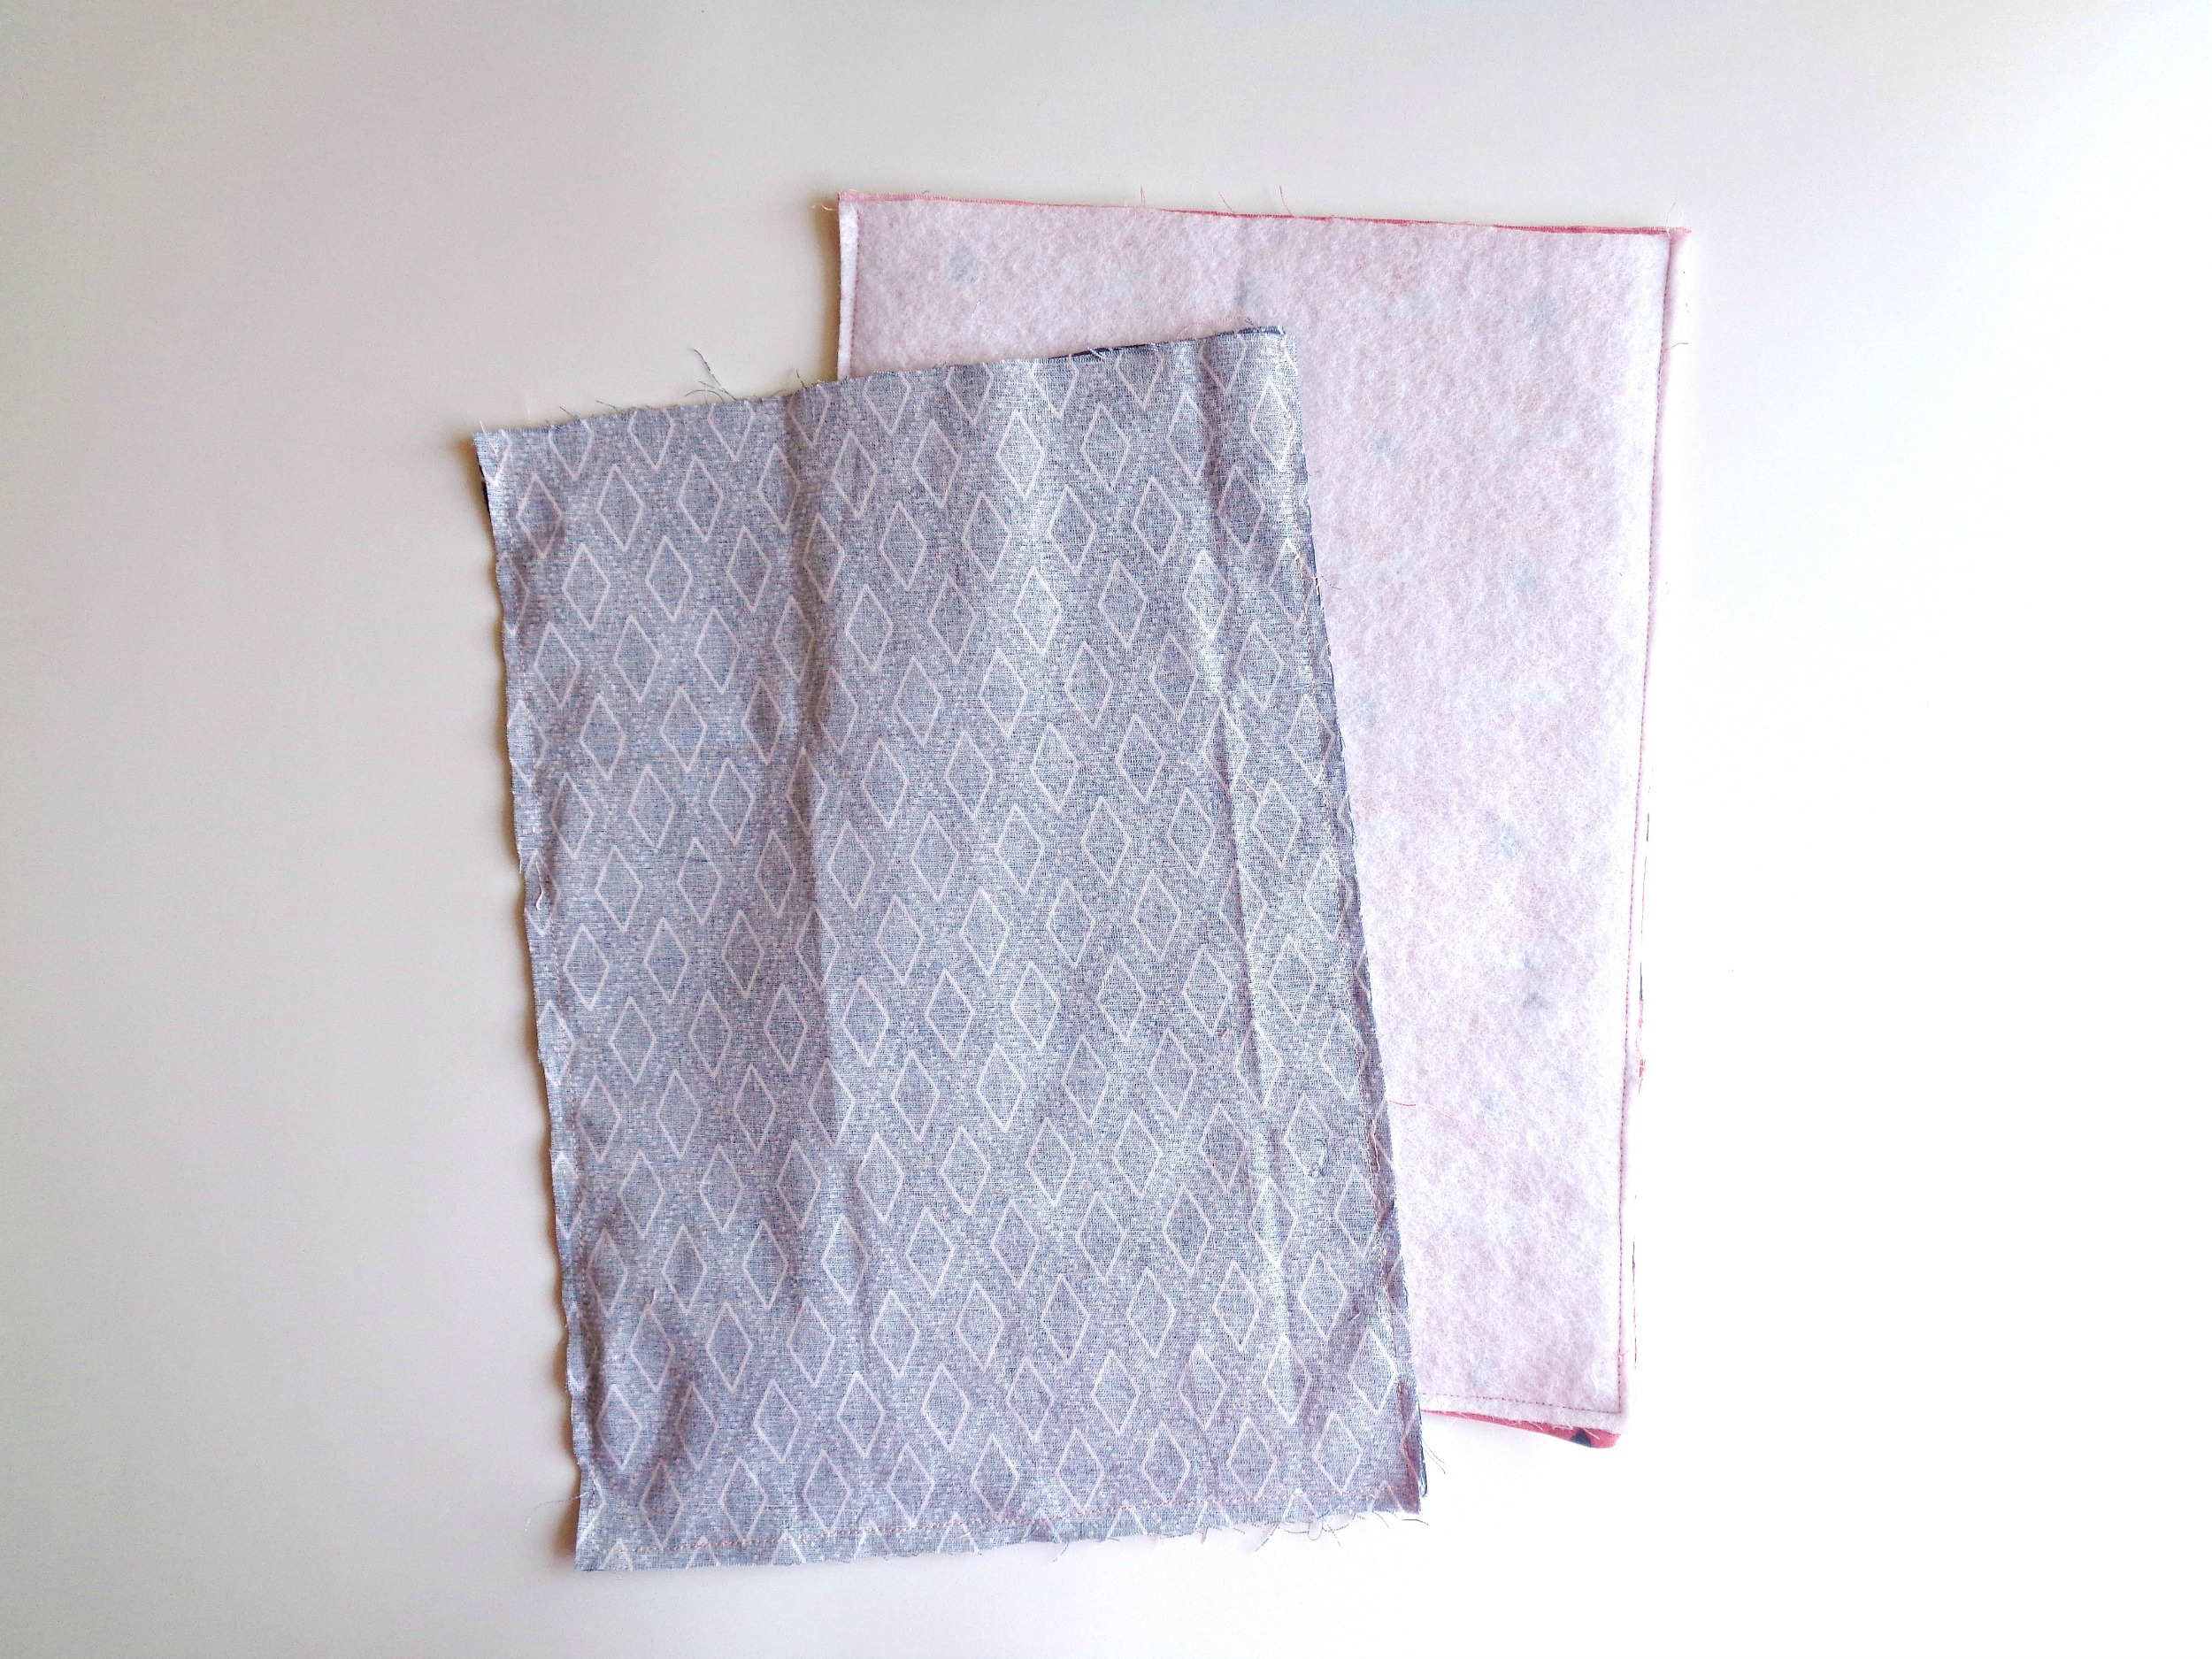
- 2 pieces of outer fabric (I’m using Crafter’s Companion Threaders Fat Quarter Bundle – Fox in the Woods in the pink foxes)
- 2 pieces of lining fabric (I’m using Crafter’s Companion Threaders Fat Quarter Bundle – Fox in the Woods in the navy blue)
- 2 pieces of felt fleece
- 1 piece of outer fabric for your pocket
- 1 piece of lining fabric for your pocket.
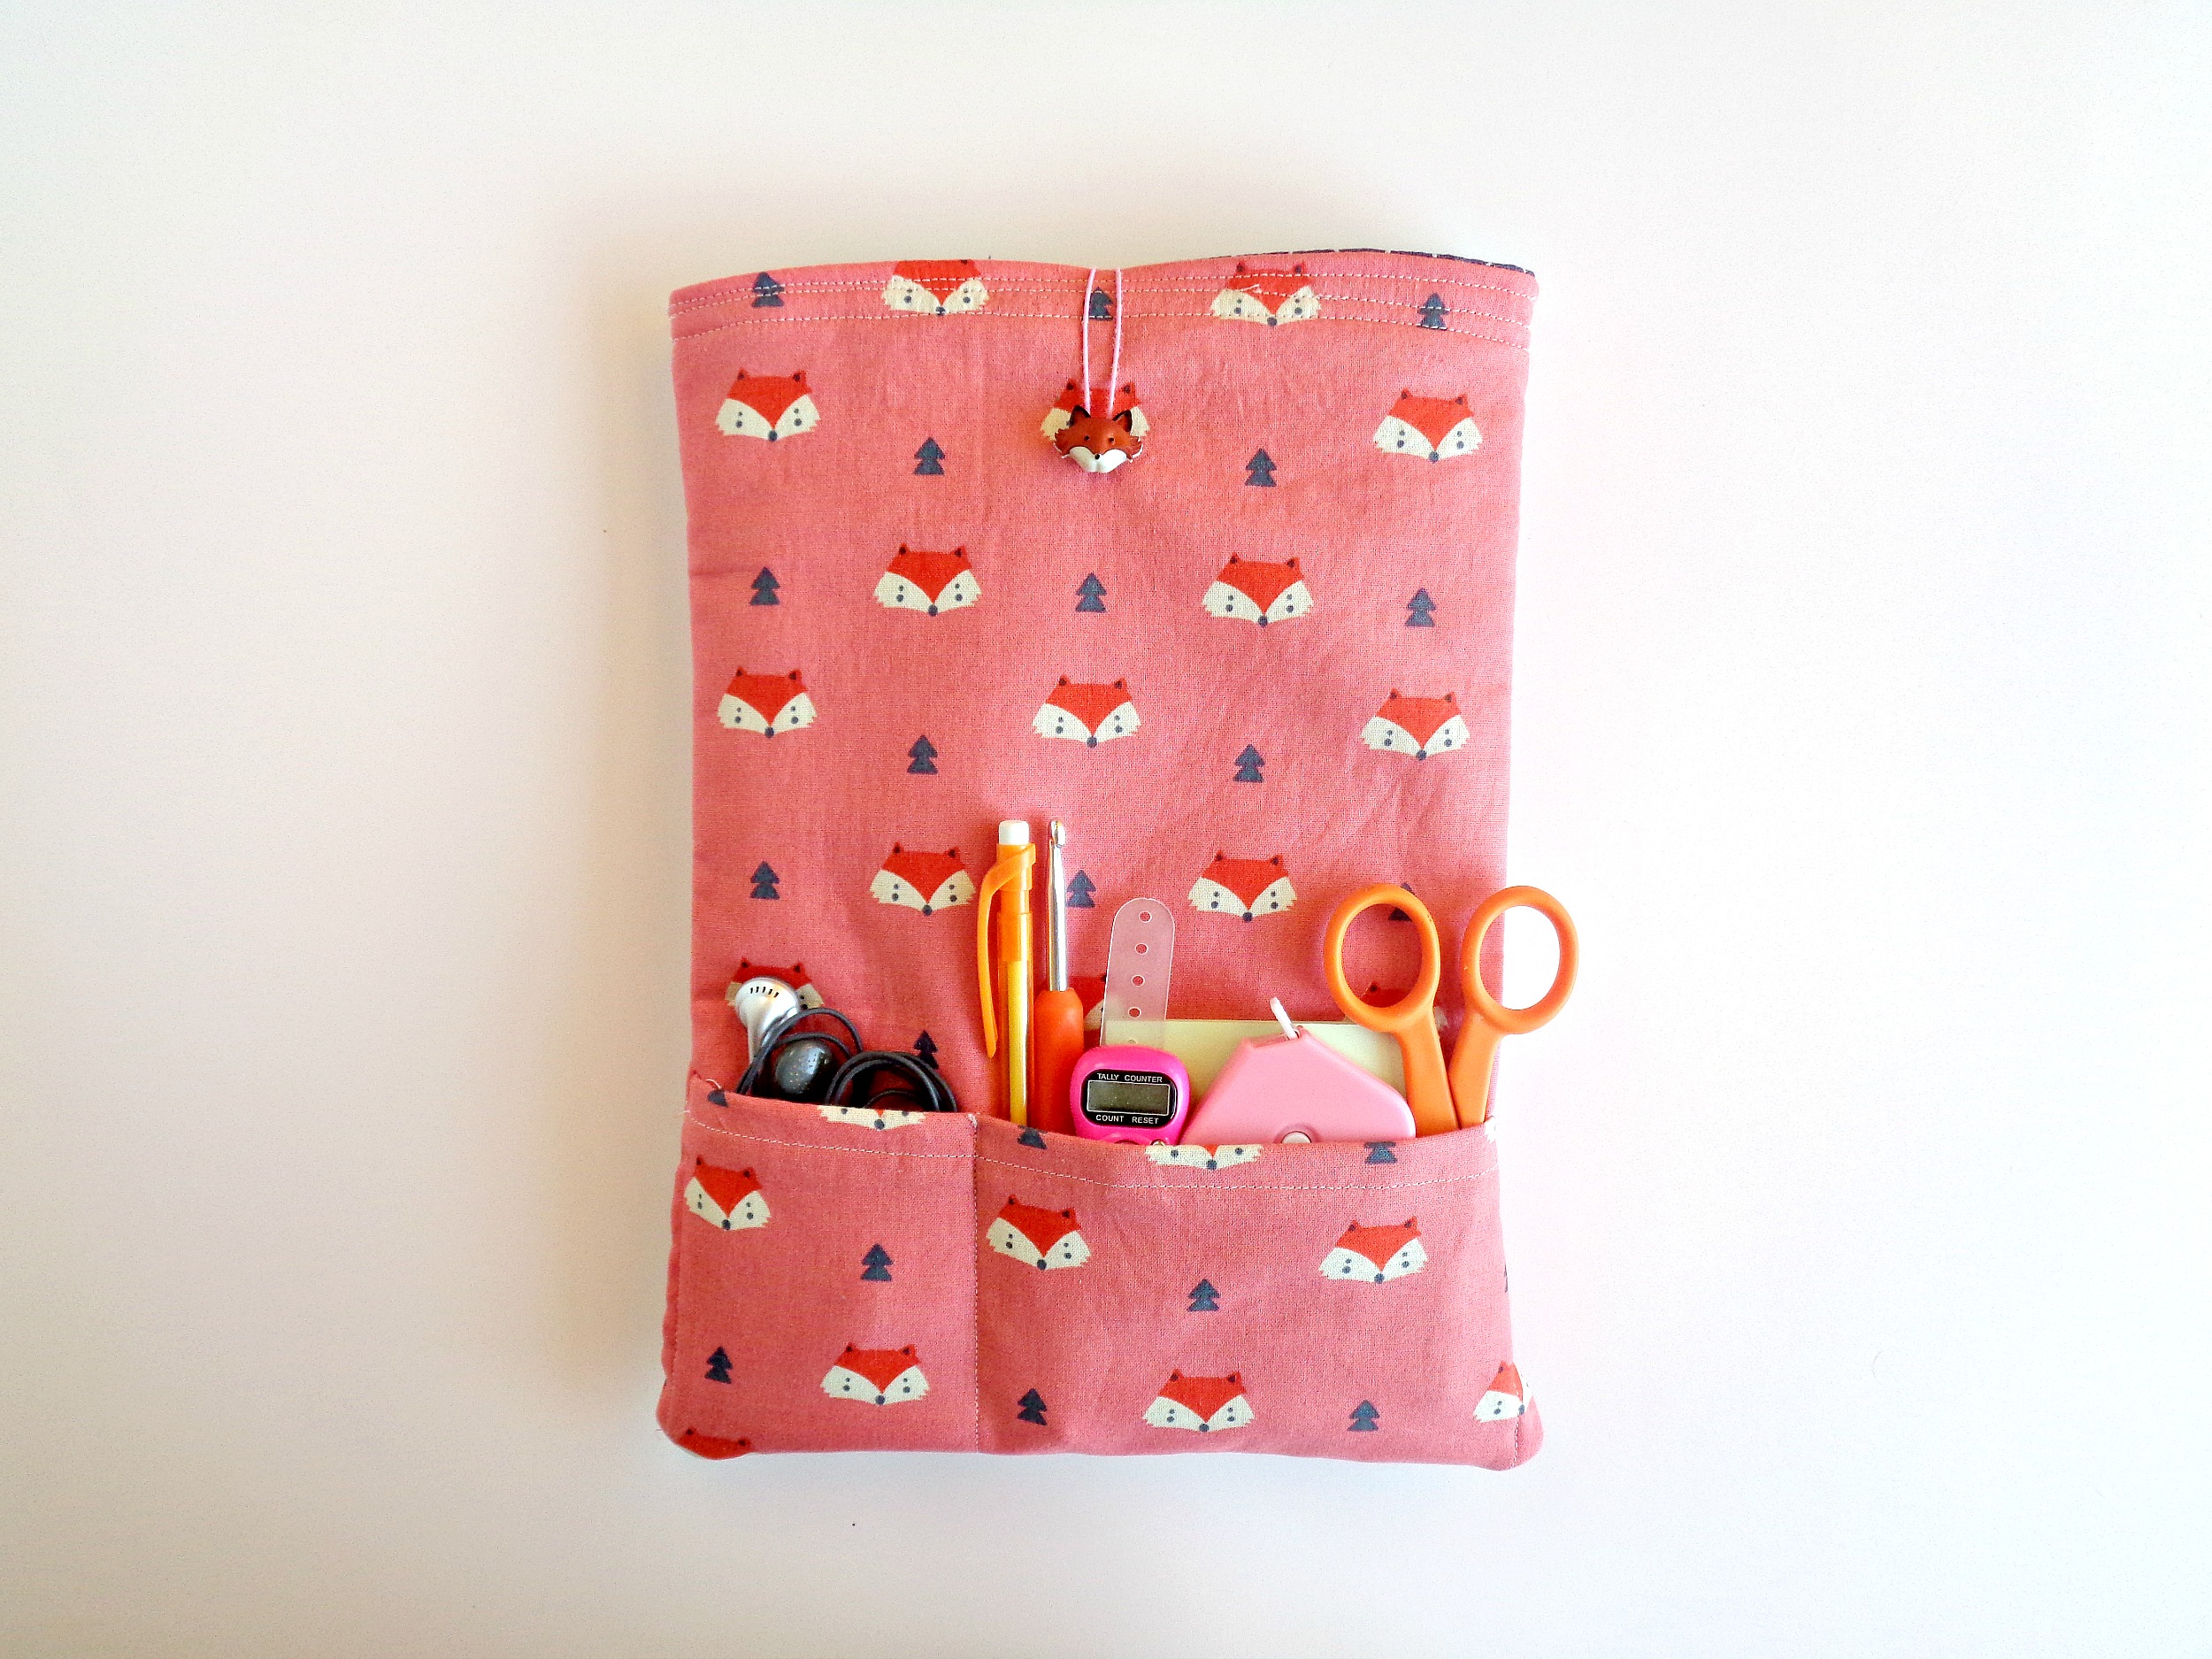
Your pocket needs to be the same width as your tablet, however, it can be any height. My pocket was 8 ½ inches by 5 inches.
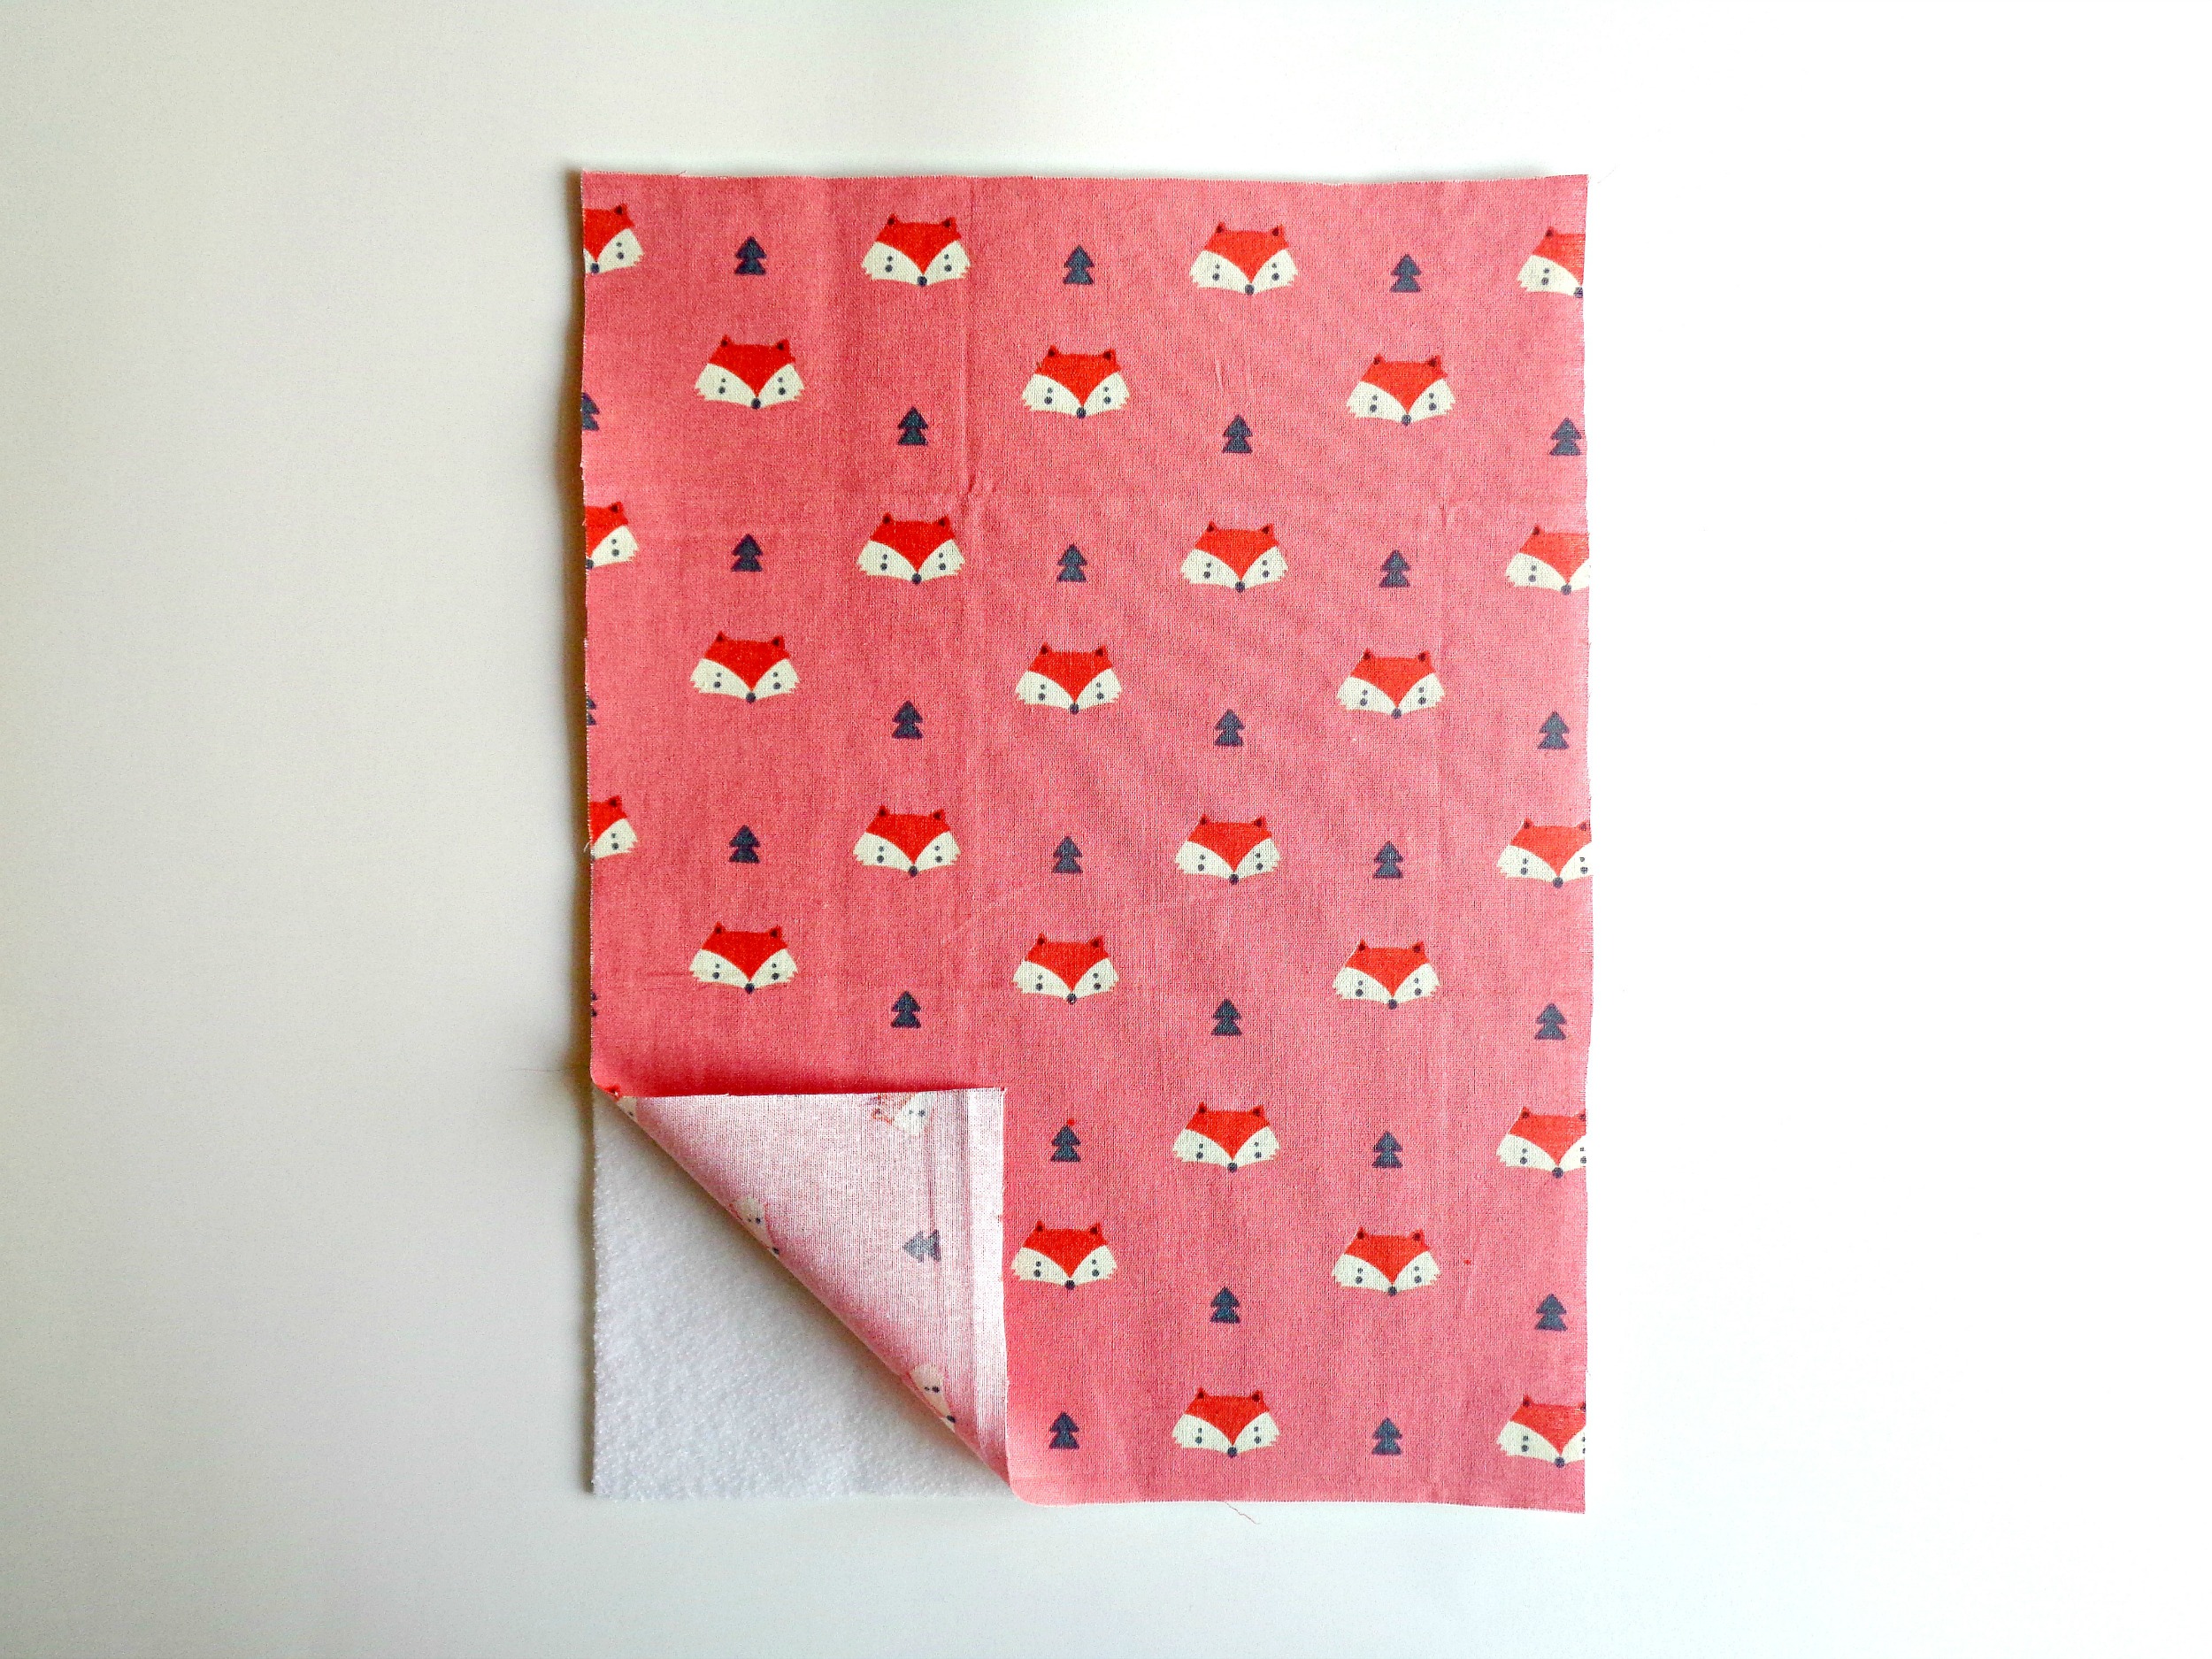
2. Follow the directions on your felt fleece and iron it onto your main outer pieces of fabric. The felt fleece will help give your tablet case more cushion and more structure.
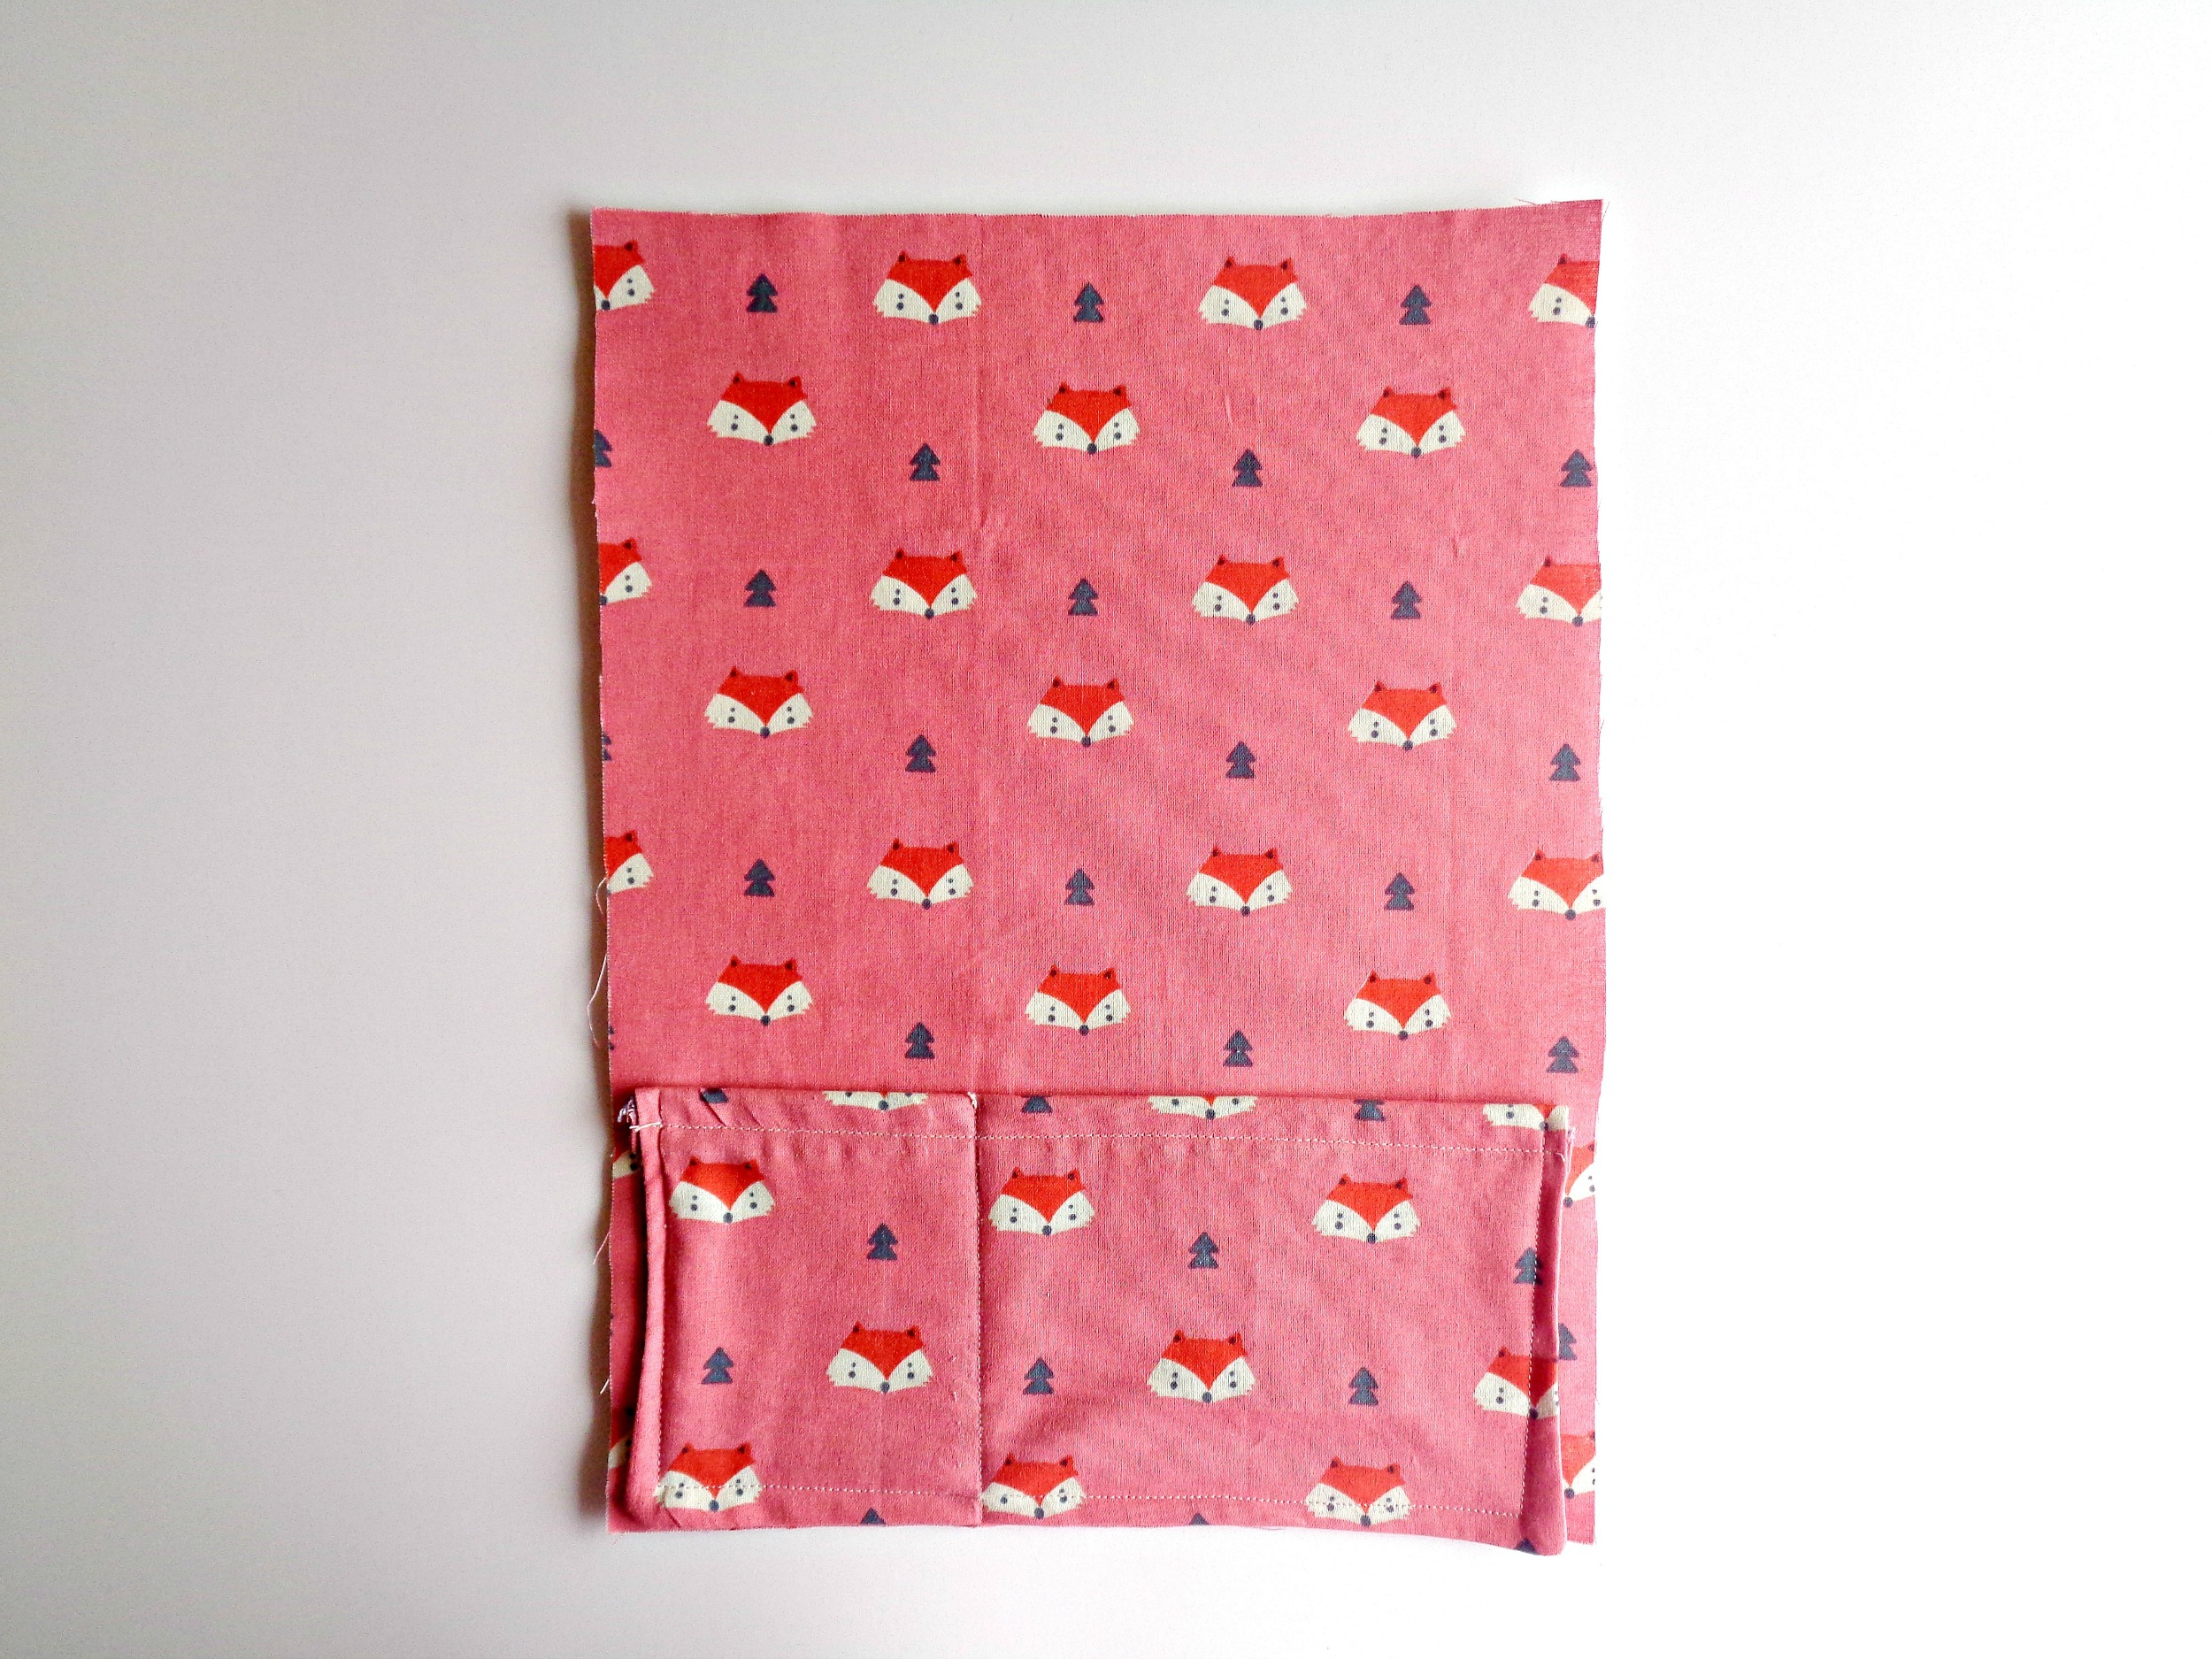
3. Grab your pocket pieces, place them right sides together and sew around three of the sides. Then flip your pocket right side out (like in the photo above).
4. With your pocket flipped right side out, fold the edge down twice (about a quarter of an inch) and sew across the edge. Then pin your pocket to one of your outer pieces of fabric and sew around the three sides of your pocket. Finally, if you want to create different sections within your pocket, sew a line down your pocket.
5. Now take both pieces of your outer fabric, pinned them right sides together, and sew around three sides, leaving the top open. Repeat this with your lining. Once you are done, you should have your outer fabric sew together and your lining sew together.
During this step, grab your outer fabric and make a mark on the side which does not have the pocket (we will come back to this later).
6. Flip your lining right side out and slide it into your outer fabric (which is not flipped right side out). Then pin both pieces together around the edges.
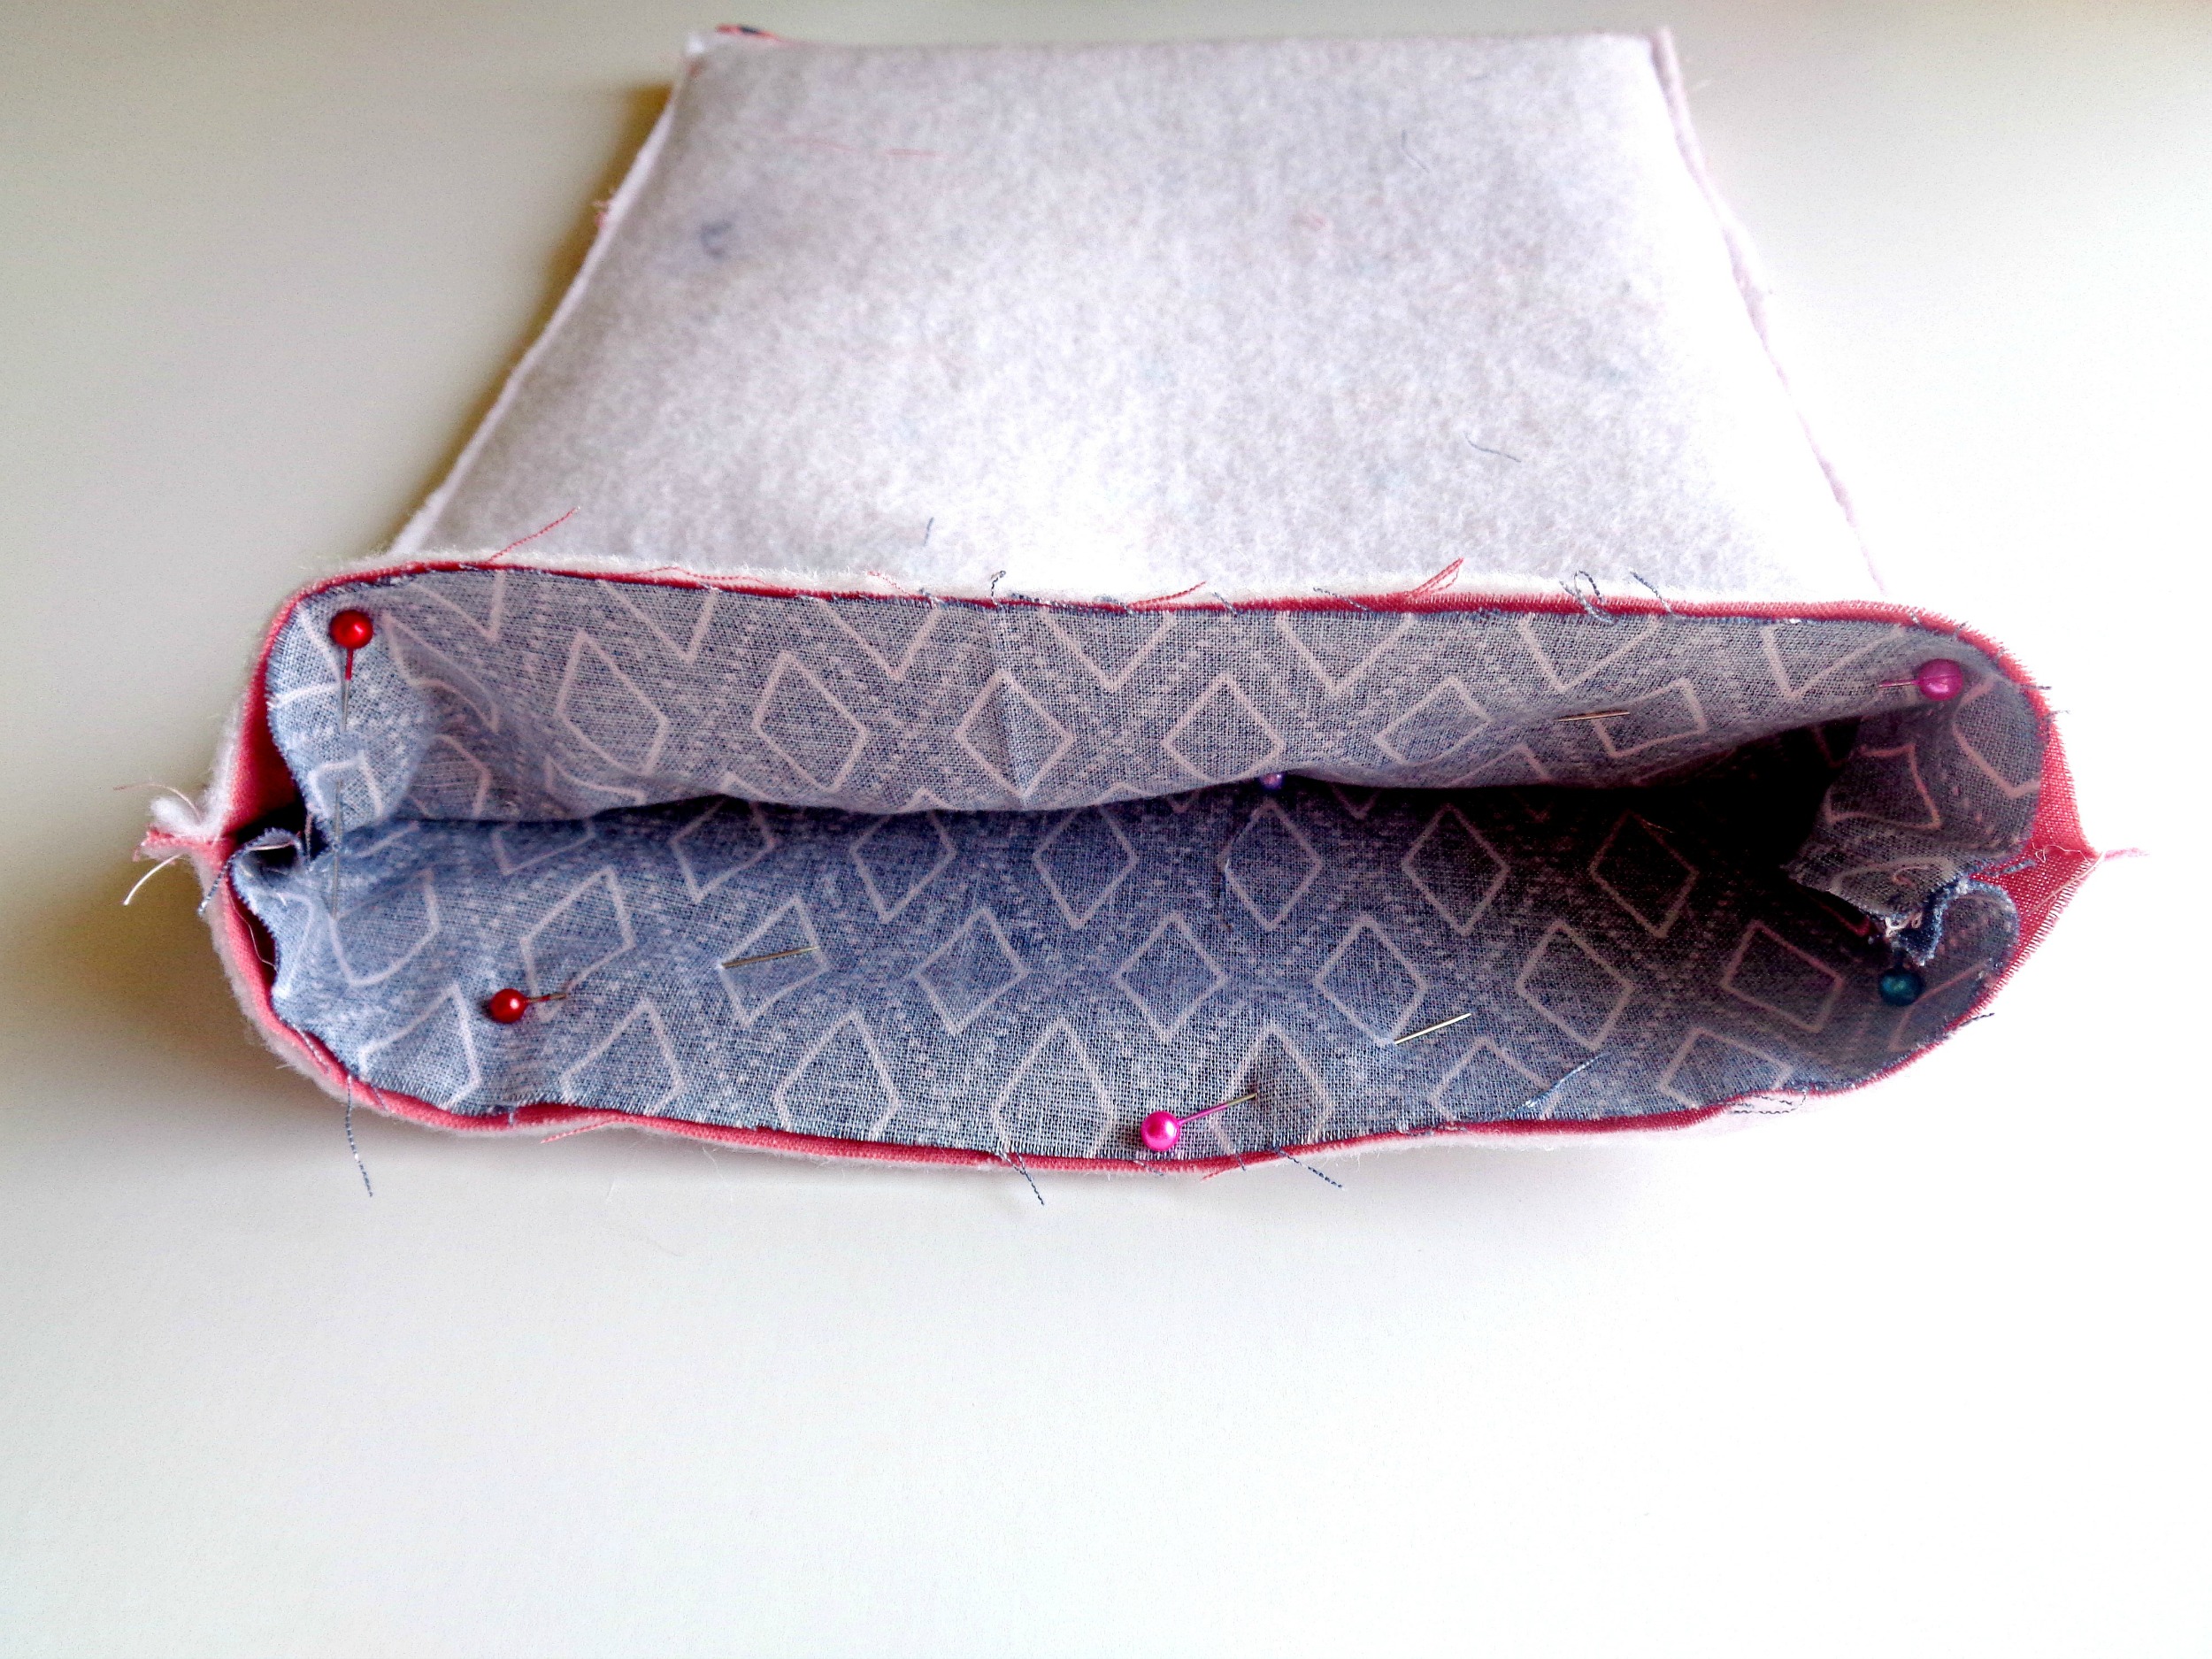
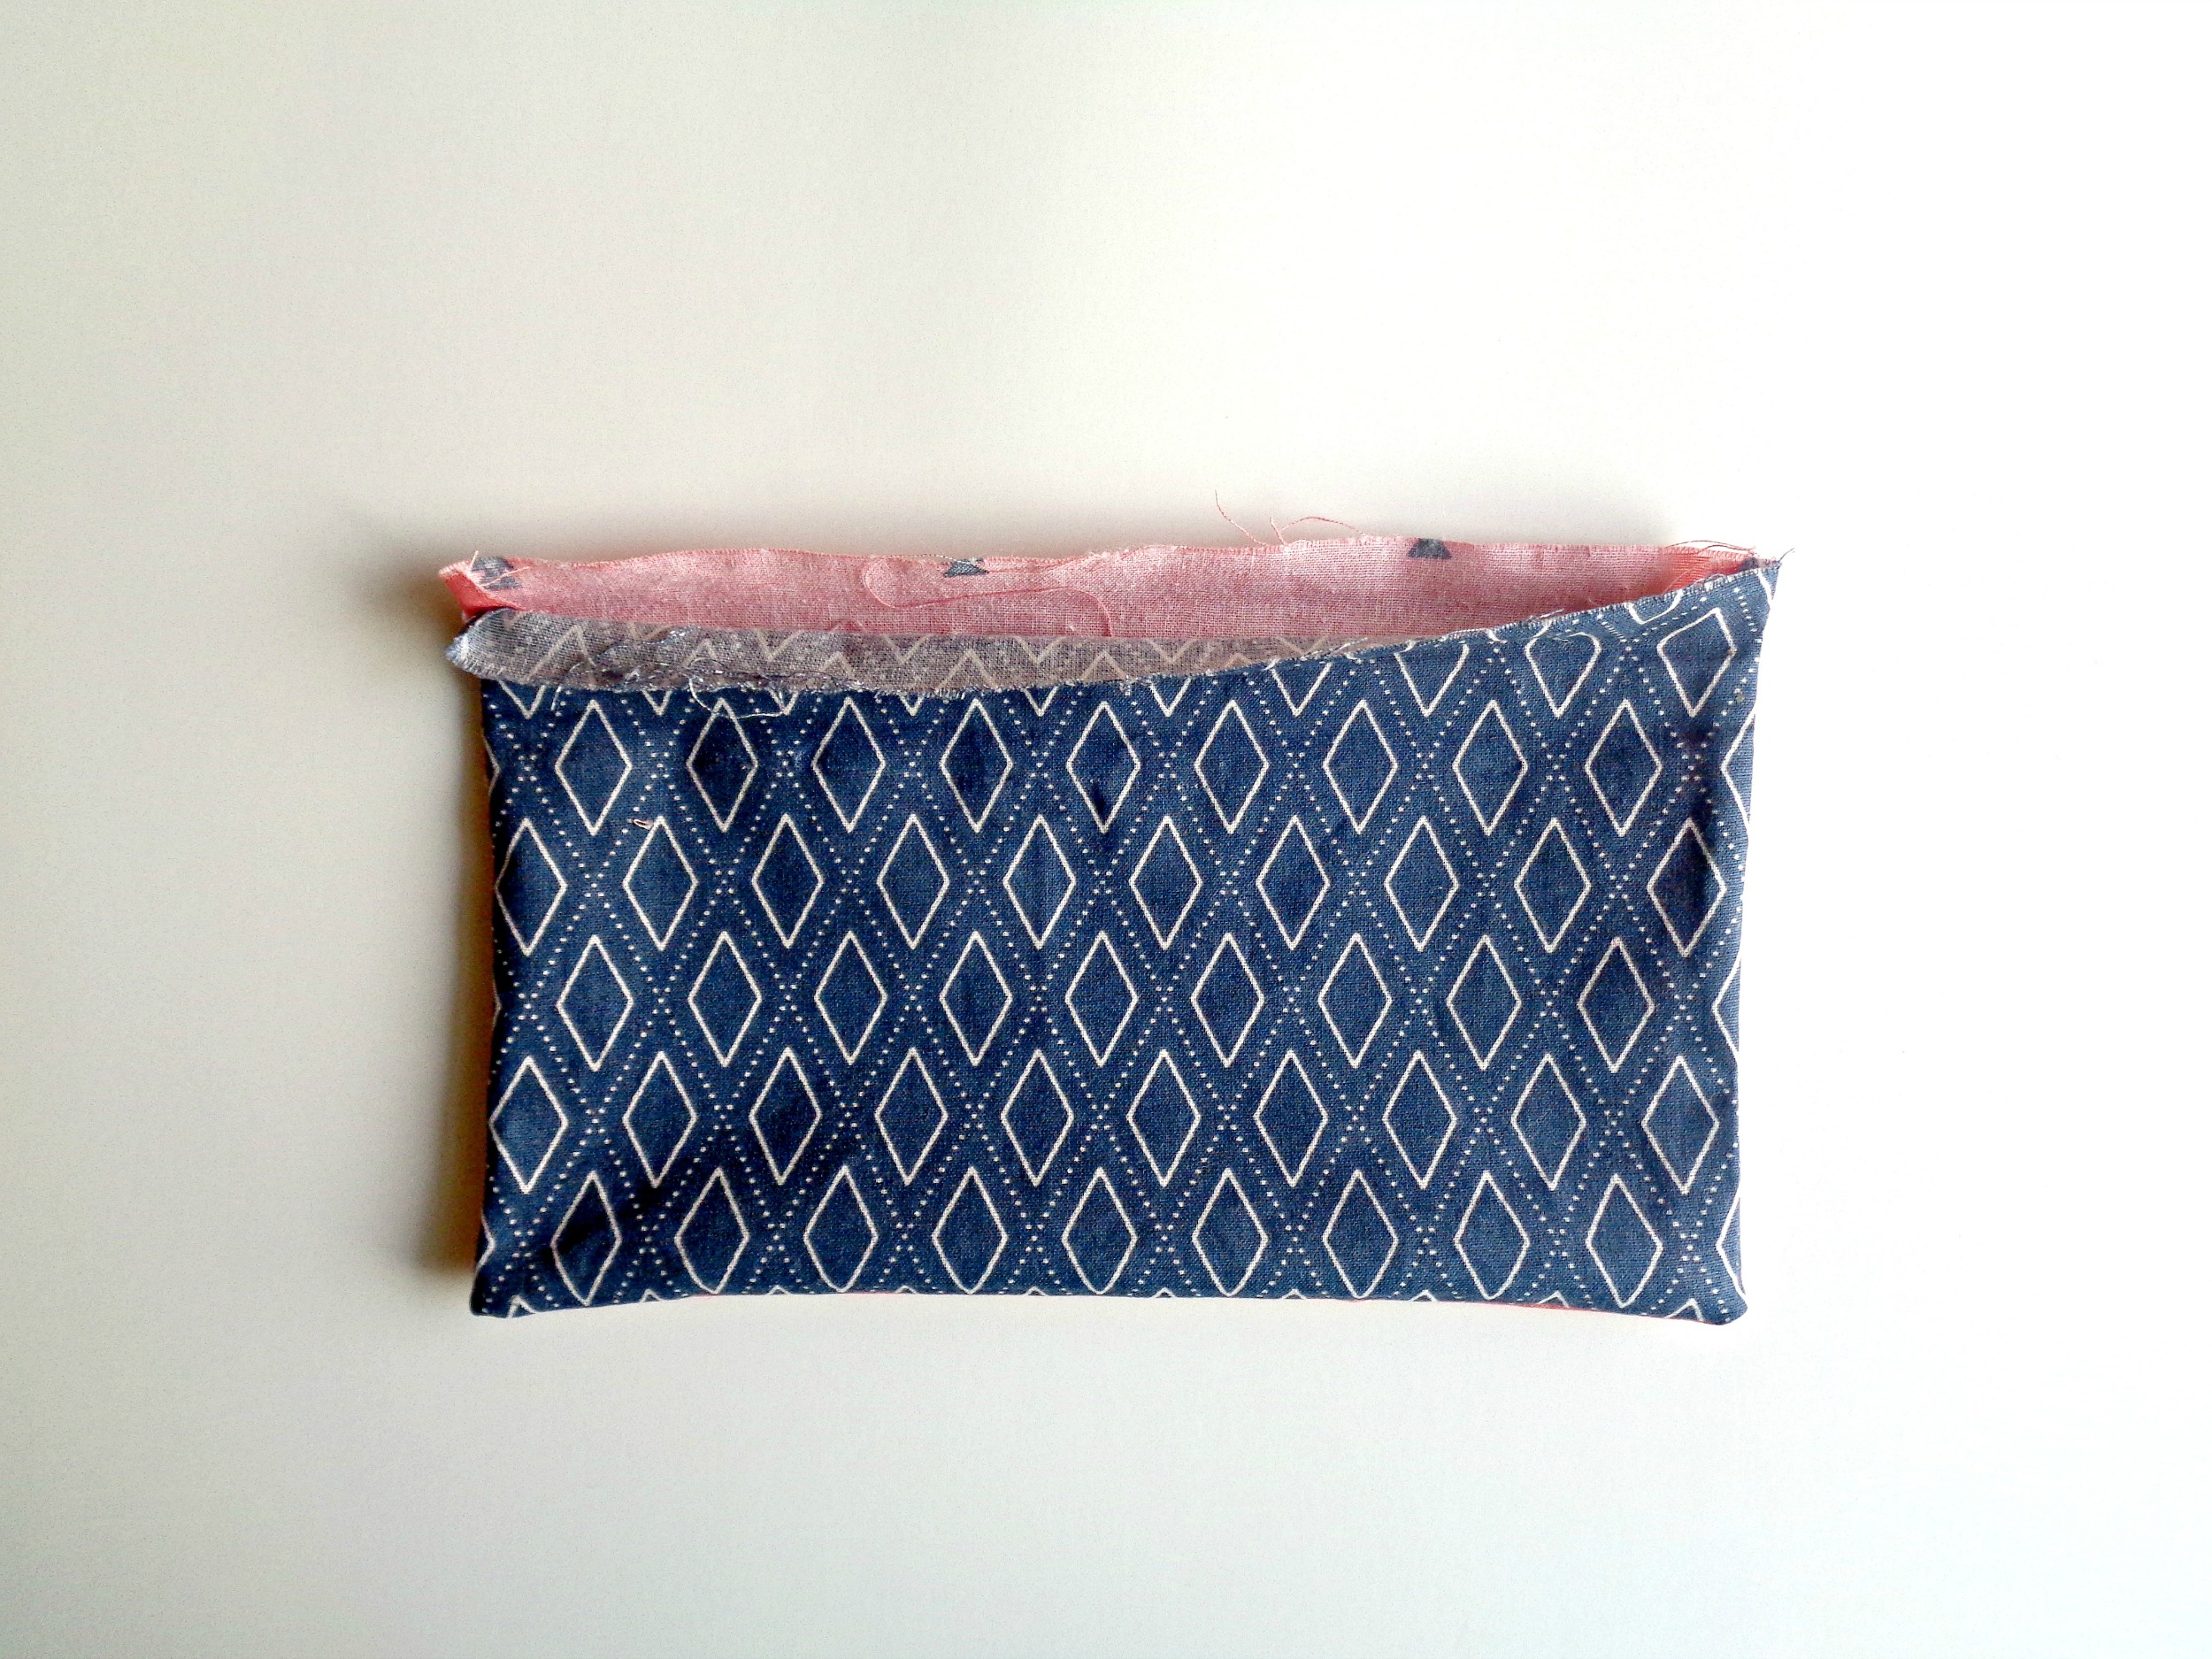
7. Remember that mark we made in step 5? Flip your piece over so that the mark is facing you. Then cut a piece of elastic cording that is about 4 inches and fold it in half.
Place this cording in between your lining and outer fabric, with the ends sticking out (like in the above photo). Make sure your elastic cording is place in the middle, is on the side where you made your mark, and is pinned into place.
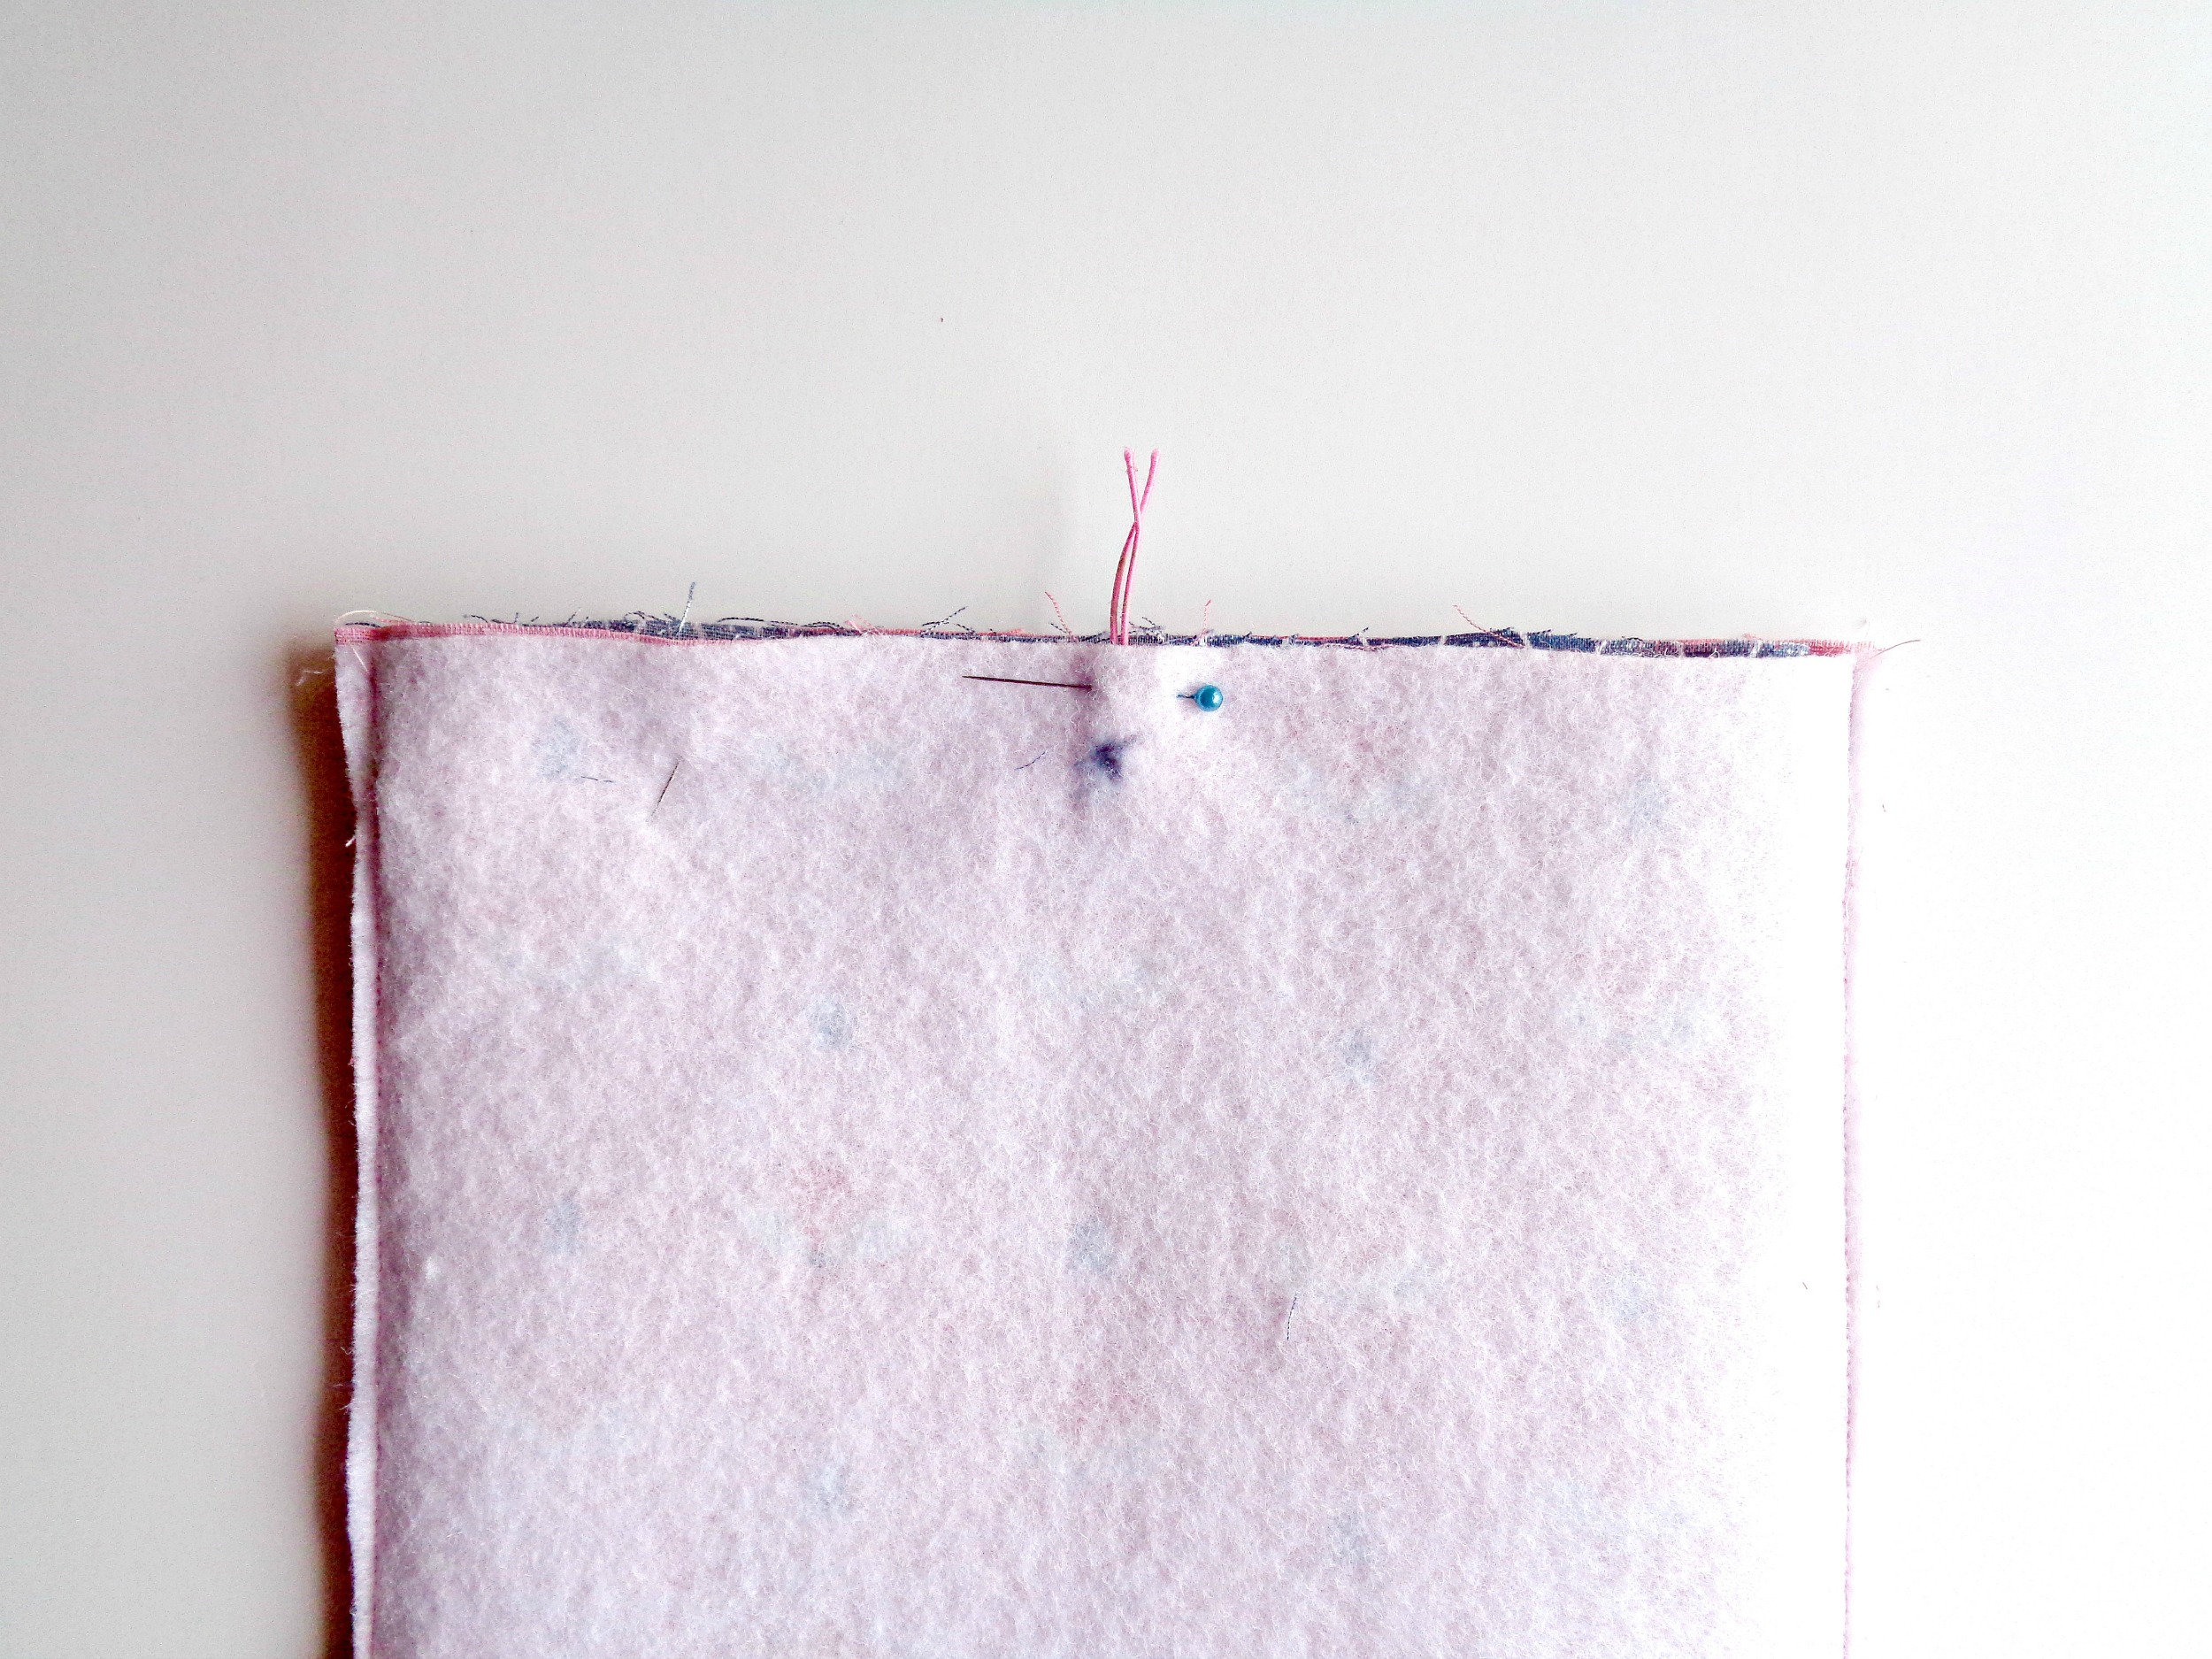
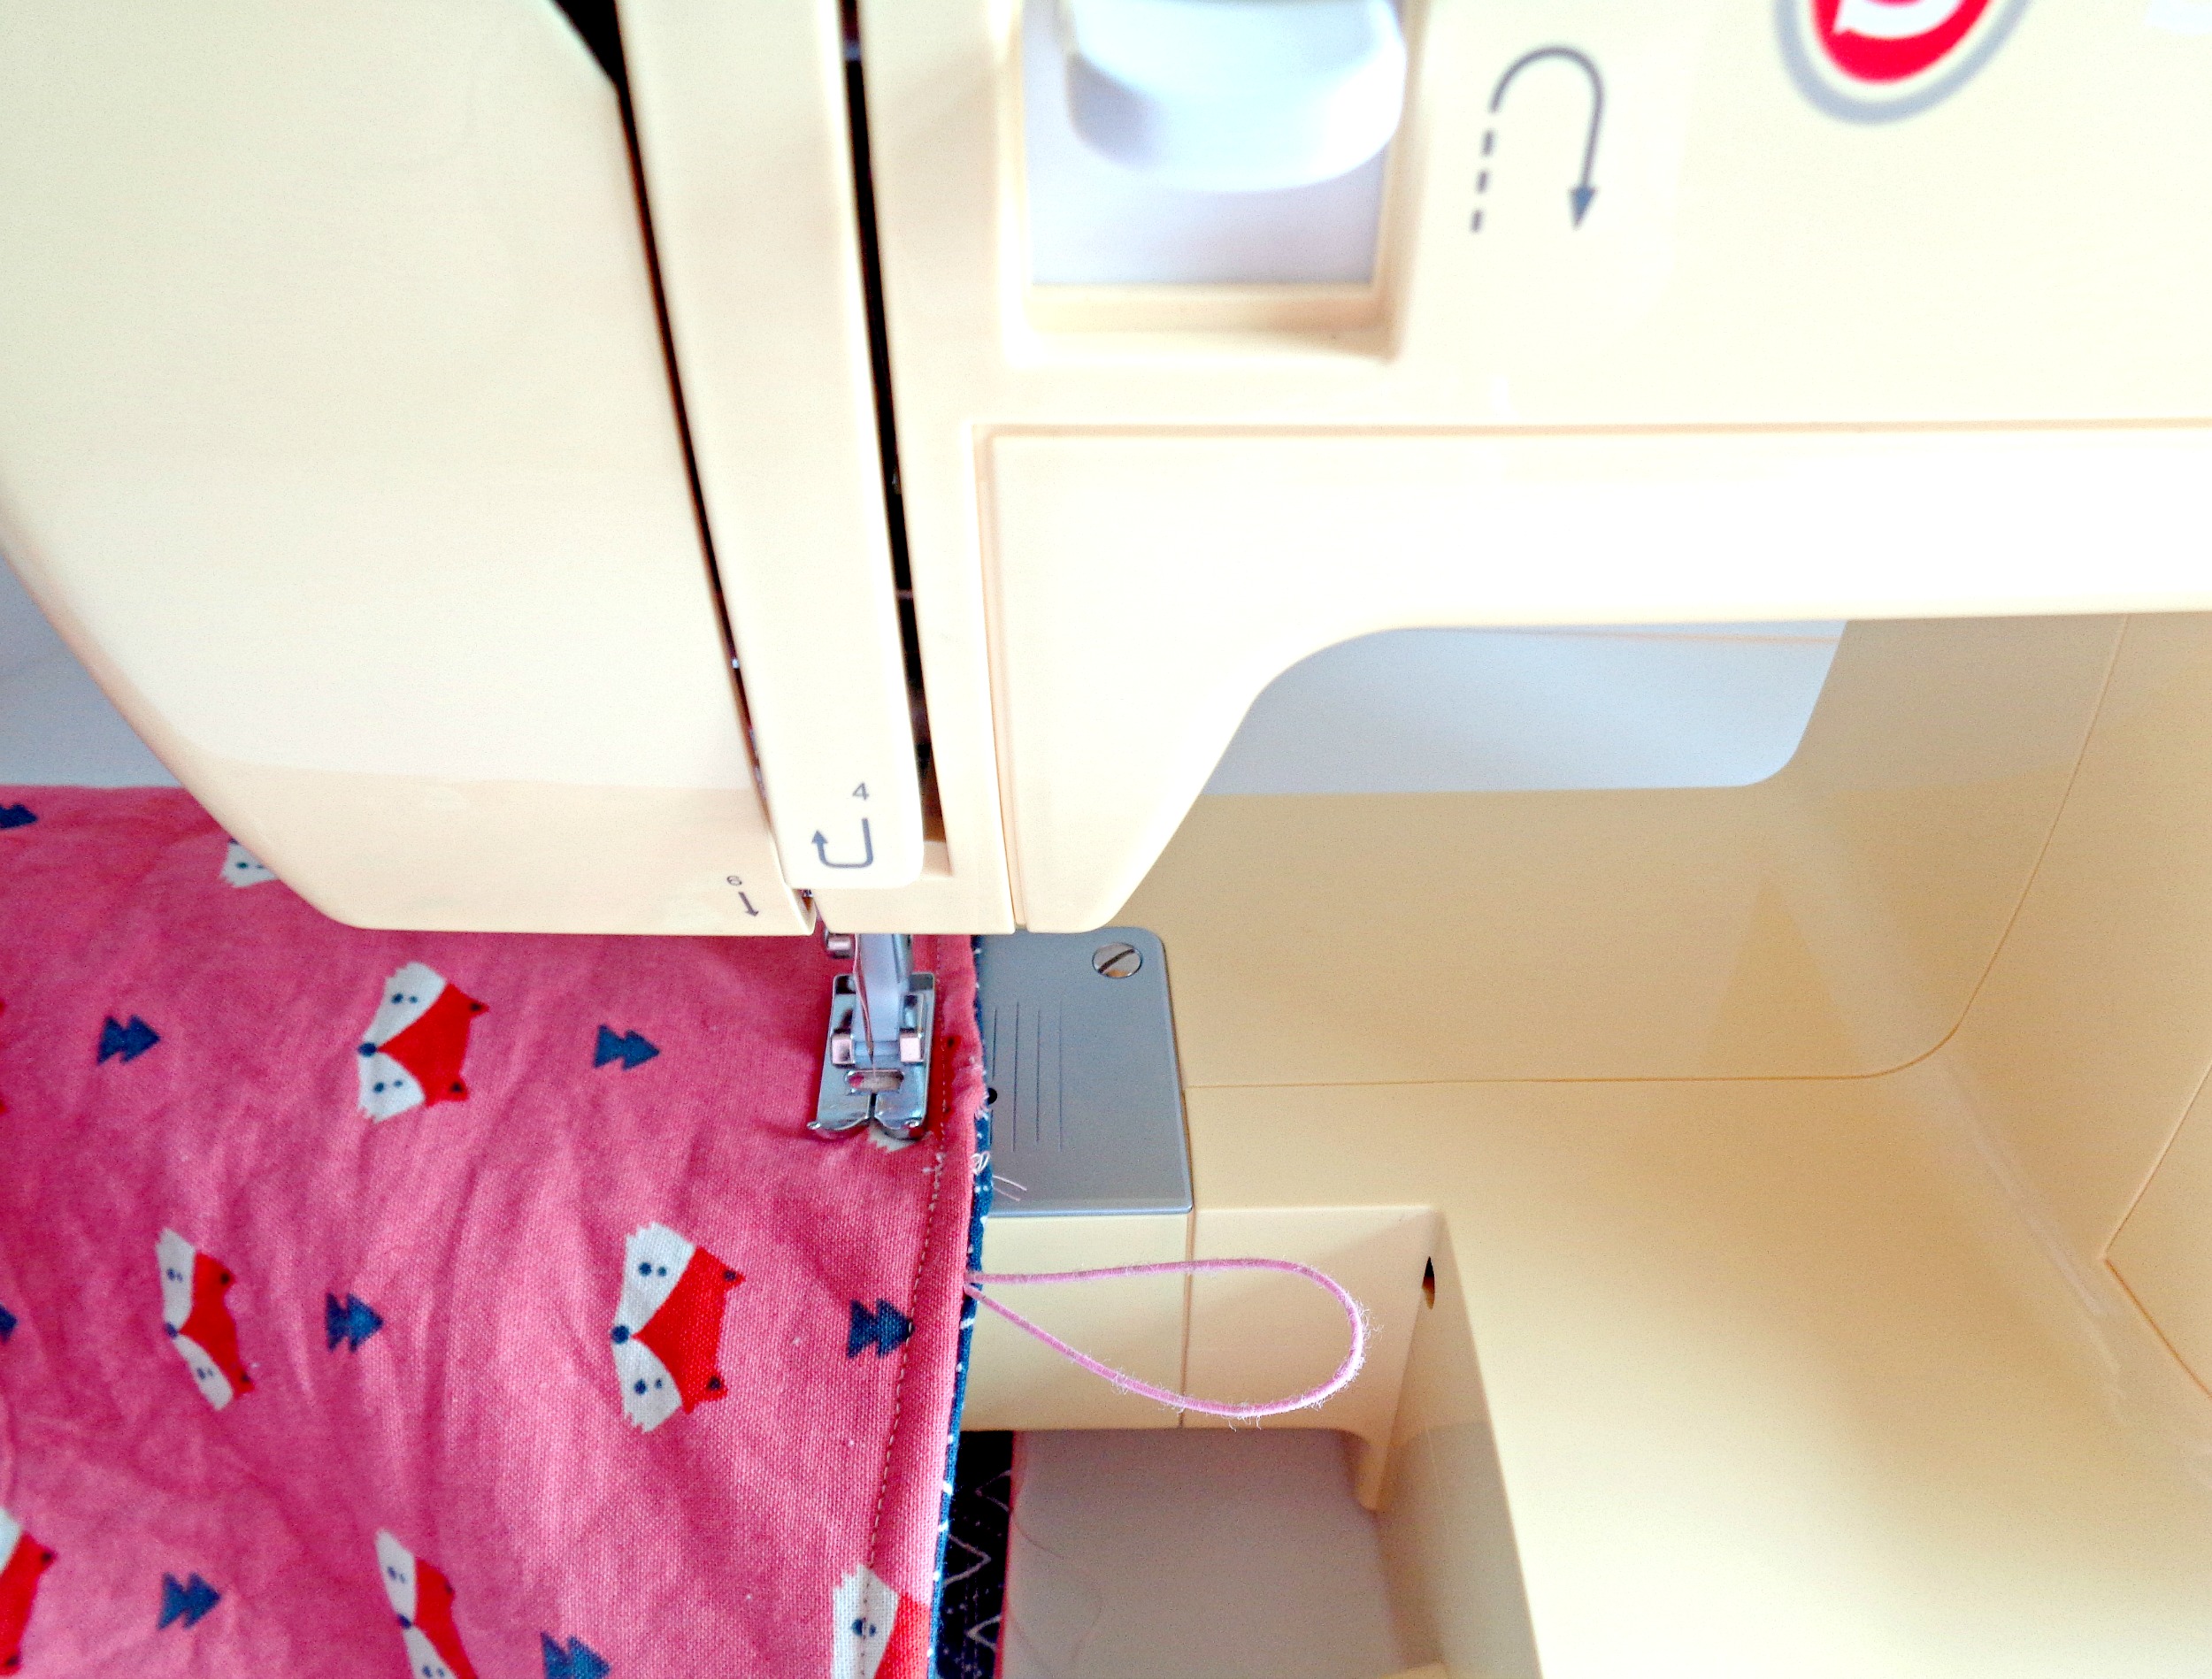
8. At this point, we have not done any sewing since step 5. Now, take your pinned piece to the sewing machine and sew around the top edge, leaving an opening so you can flip your piece right side out. I recommend leaving a 4-inch opening.
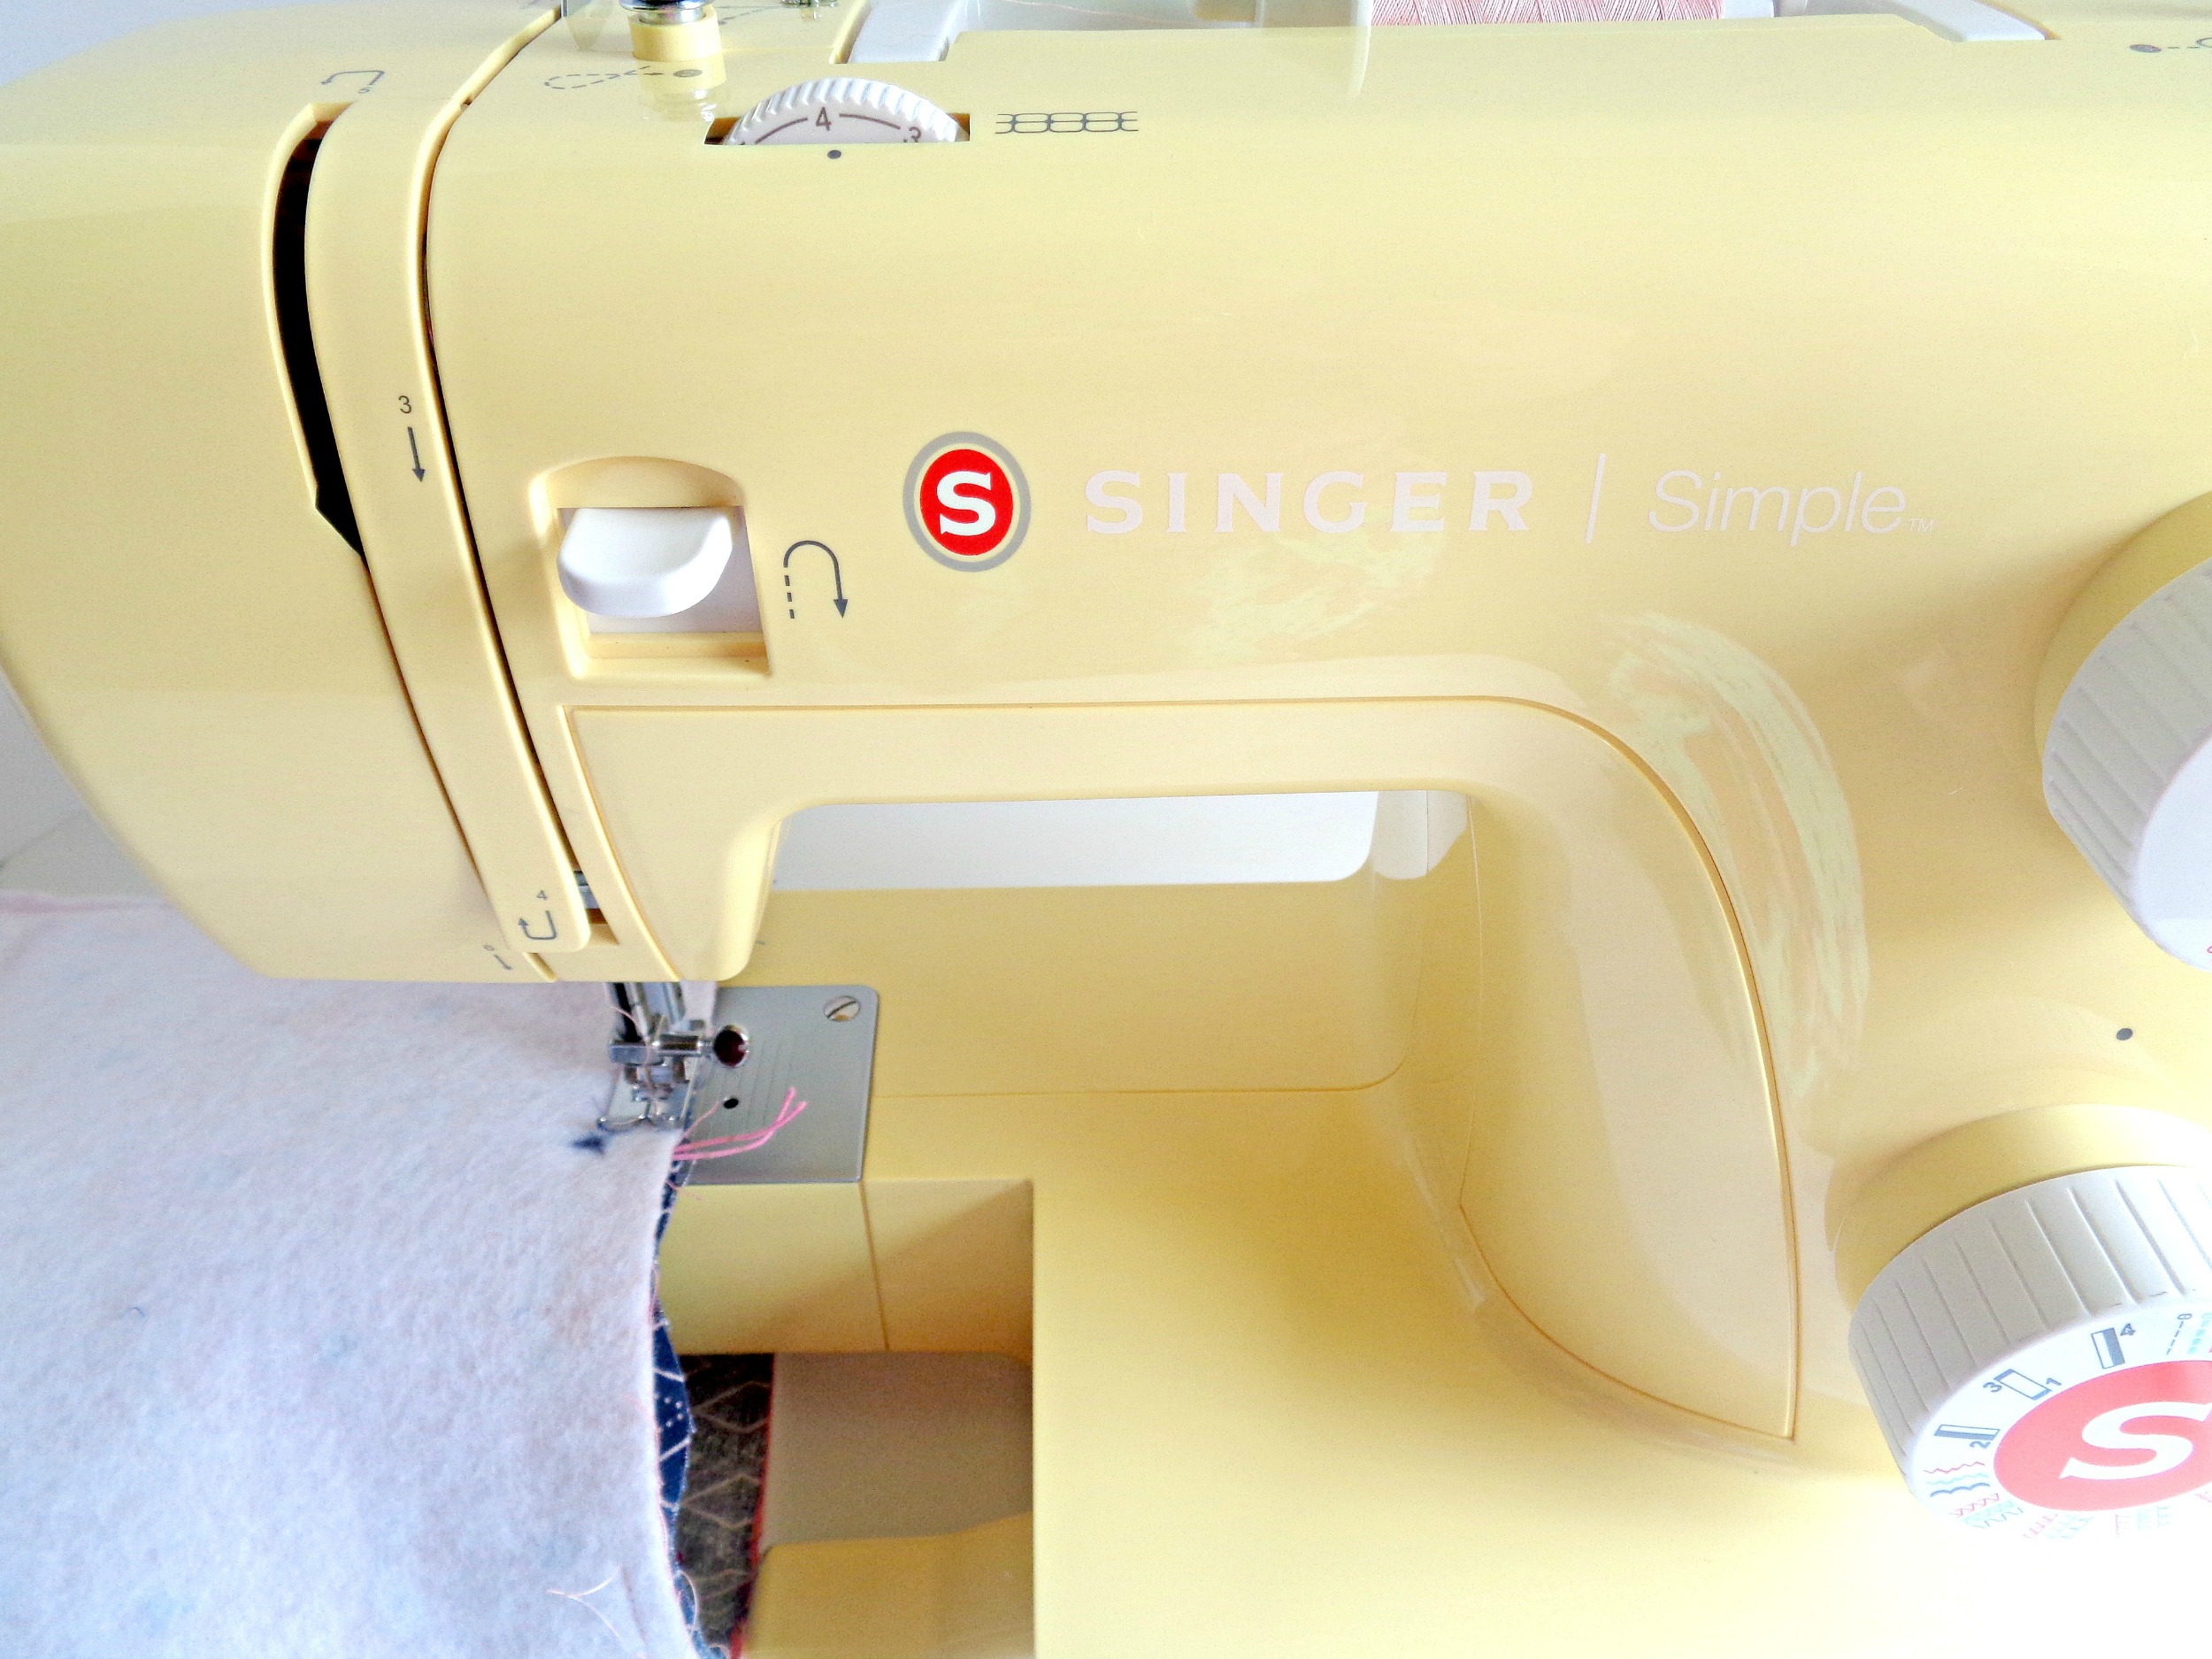
9. Flip your piece right side out and tuck the lining back into your bag. Then, fold your edges together where you left an opening, and sew all the way around the entire top edge. Once you are done sewing, iron your tablet case.
Crafty Tip: If sewing around your fabric in a ‘’straight line’’ is difficult for you, don’t worry! Simply sew around your piece a few more times and it will give your sewing lines a more ‘’artsy look’’.
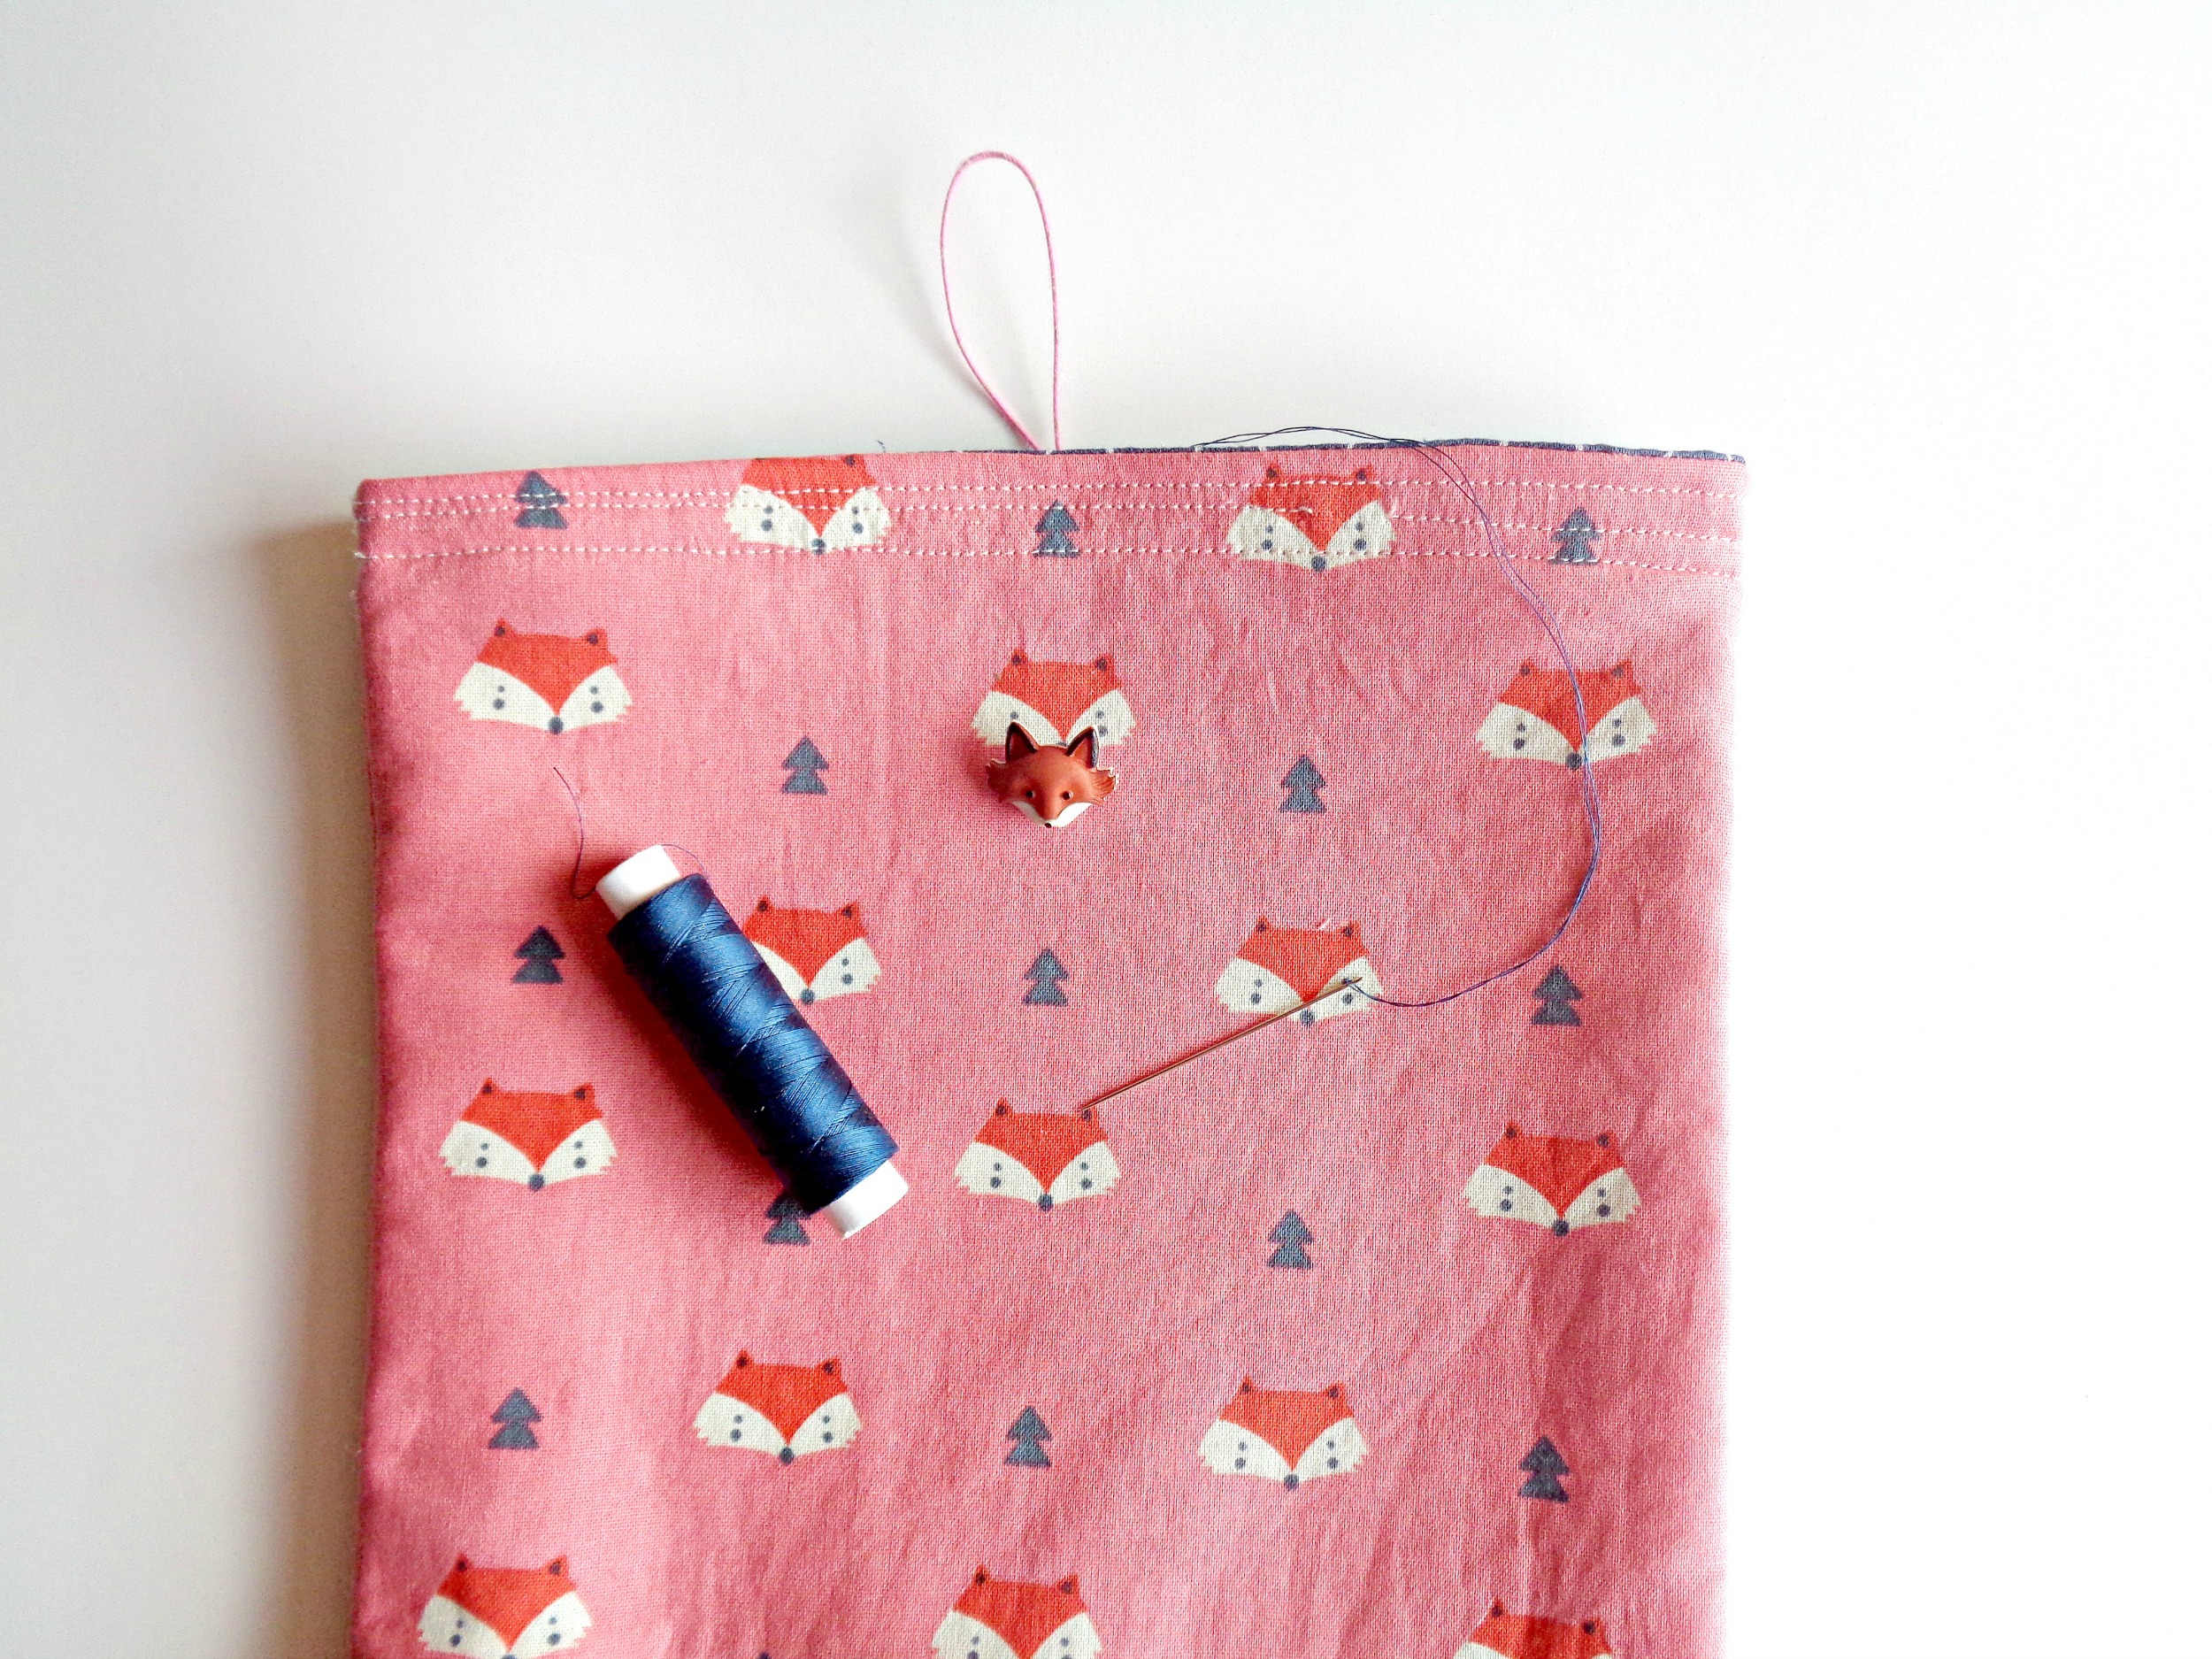
10. Grab a fun button and hand sew it onto the upper portion of your tablet case. Once the button has been sewed on, you now have a functional but adorable tablet case!