


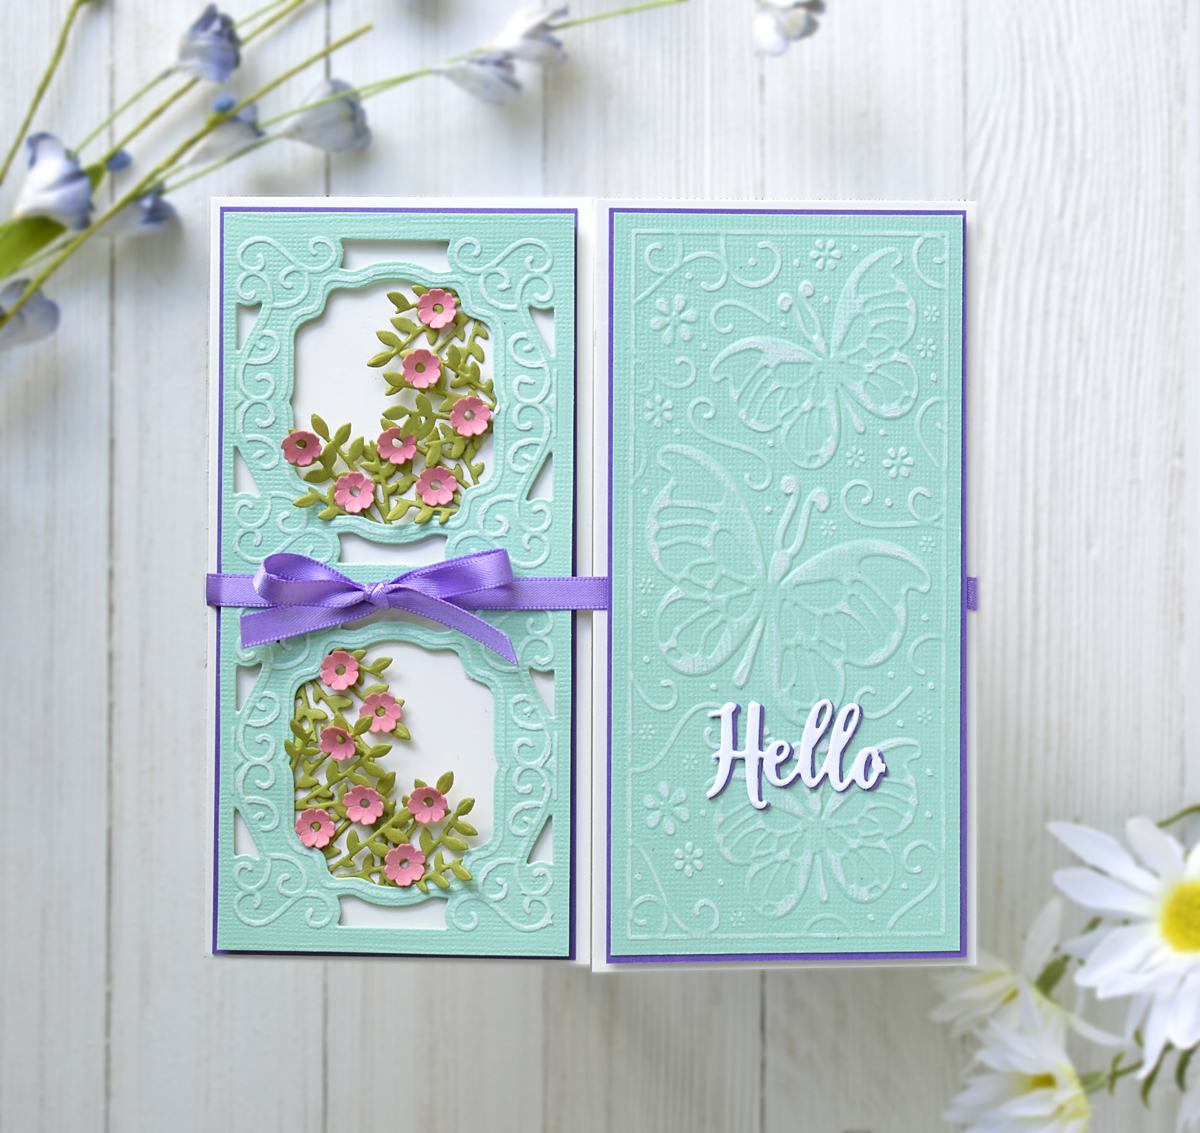
As new seasons approach, I like to use the opportunity to remind friends and family how much I appreciate them. This DIY floral windows gatefold card is the perfect way to let loved ones know how much they mean to me, and I love that I can make it with my Gemini Go. Whether you’re a member of a crafting club or just a travelling crafter, the Gemini Go is the perfect crafting tool for those that are on-the-go!
Supplies:
- “Butterfly Dreams” 3D Embossing Folder
- “Delicate Frame” Cut & Emboss Folder
- “Floral Bouquet” die set
- “Garden of Seasons” die set
- “Seasonal Frames” die set
-Scoremaster
-Crafter’s Companion Construction Cardstock
-Crafter’s Companion Tape Runner
Instructions:
1. Start by trimming a piece of Crafter’s Companion Construction Cardstock to 6” x 12”. Score the cardstock at 3” and 9” and fold the two ends inward to form a gatefold card base.

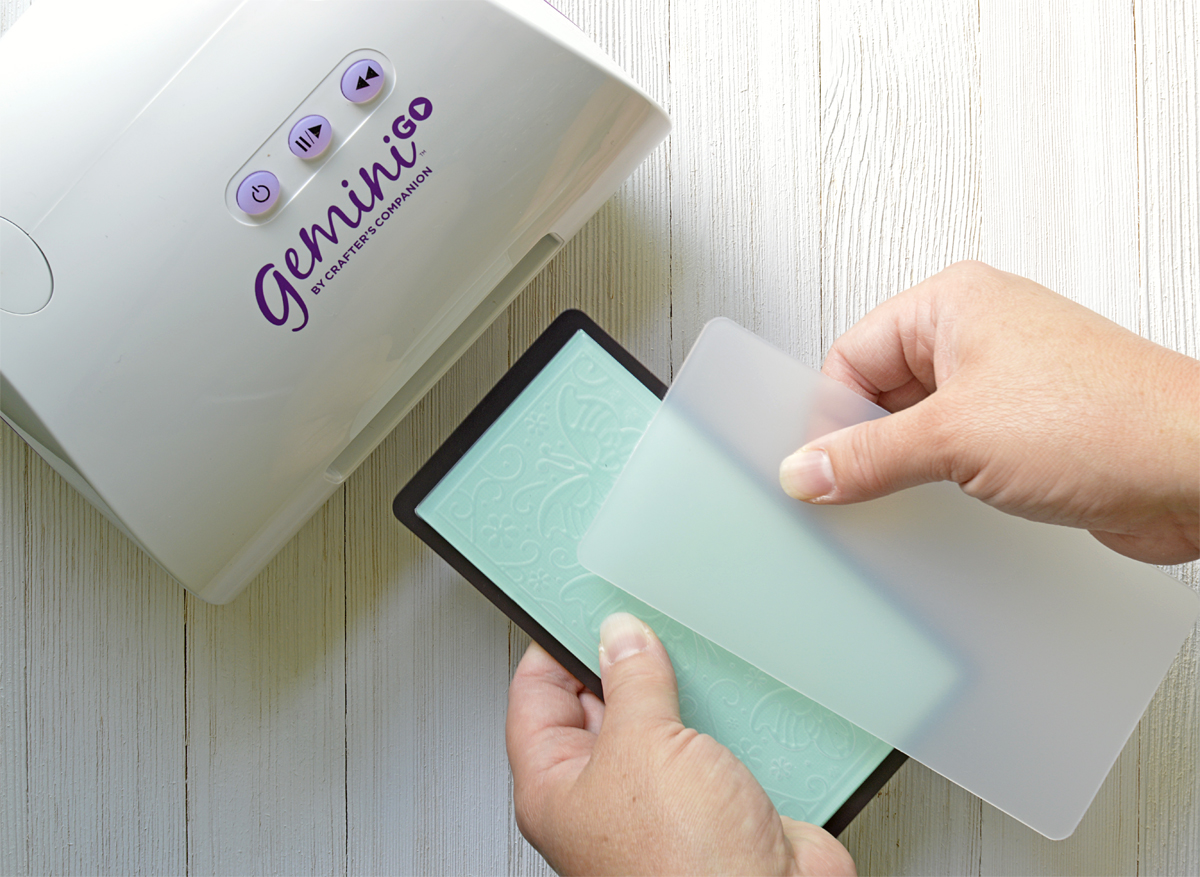
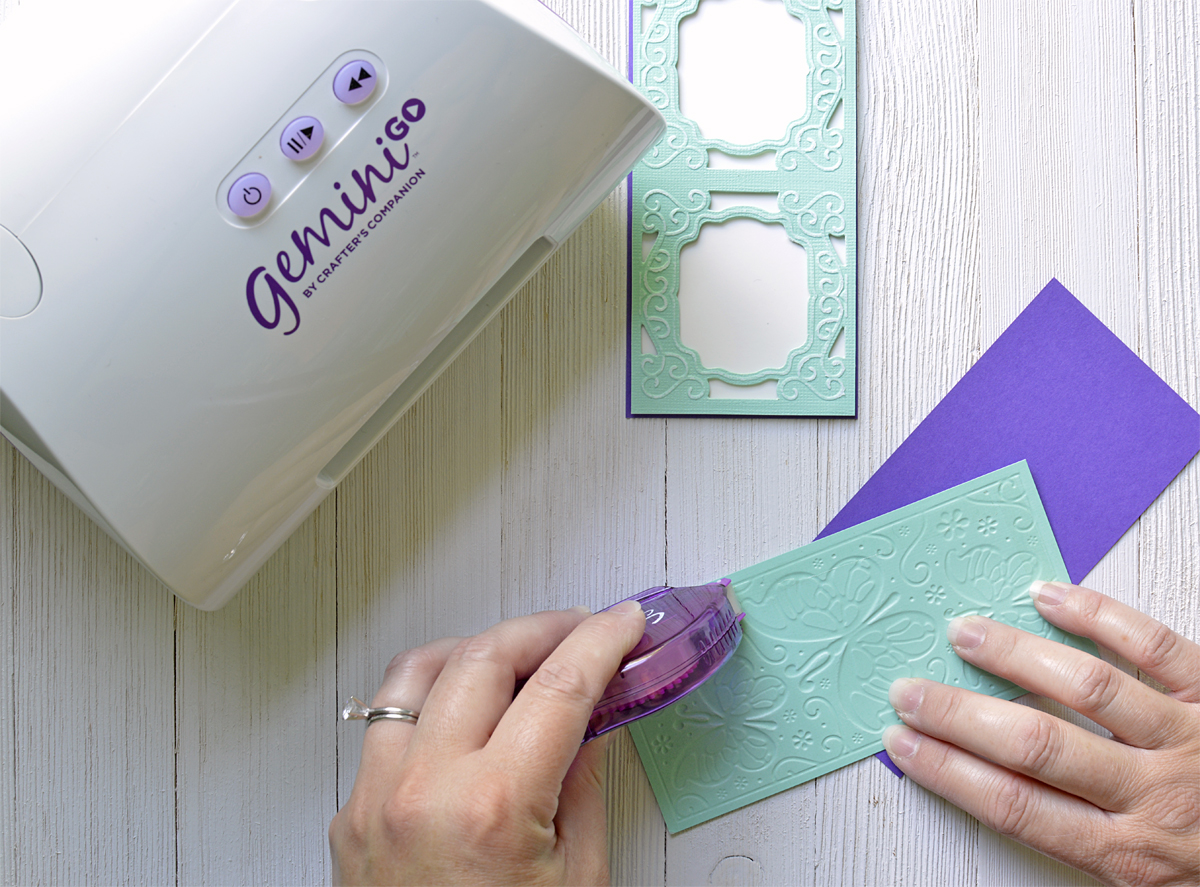
2. Trim two panels of teal white-core cardstock to 2.75” x 5.75”. Insert one of the panels into the Butterfly Dreams 3D Embossing Folder and run it through the Gemini Go using the sandwich for 3D embossing folders (top to bottom: plastic shim, embossing folder with material, magnetic shim, clear cutting plate).
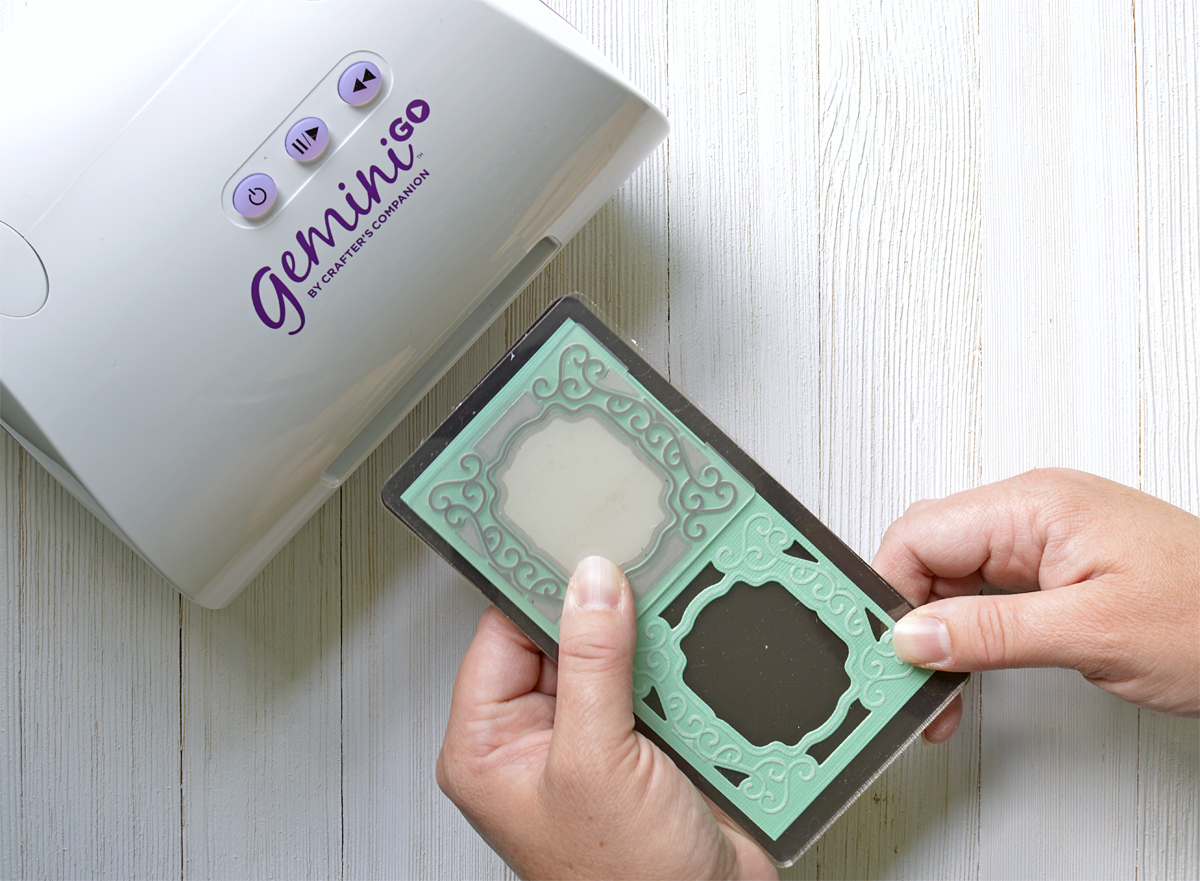
3. Cut two windows into the second panel as shown using the Delicate Frame Cut & Emboss folder and the sandwich for Cut & Emboss folders (top to bottom: clear cutting plate, magnetic shim, embossing folder with material, clear cutting plate).
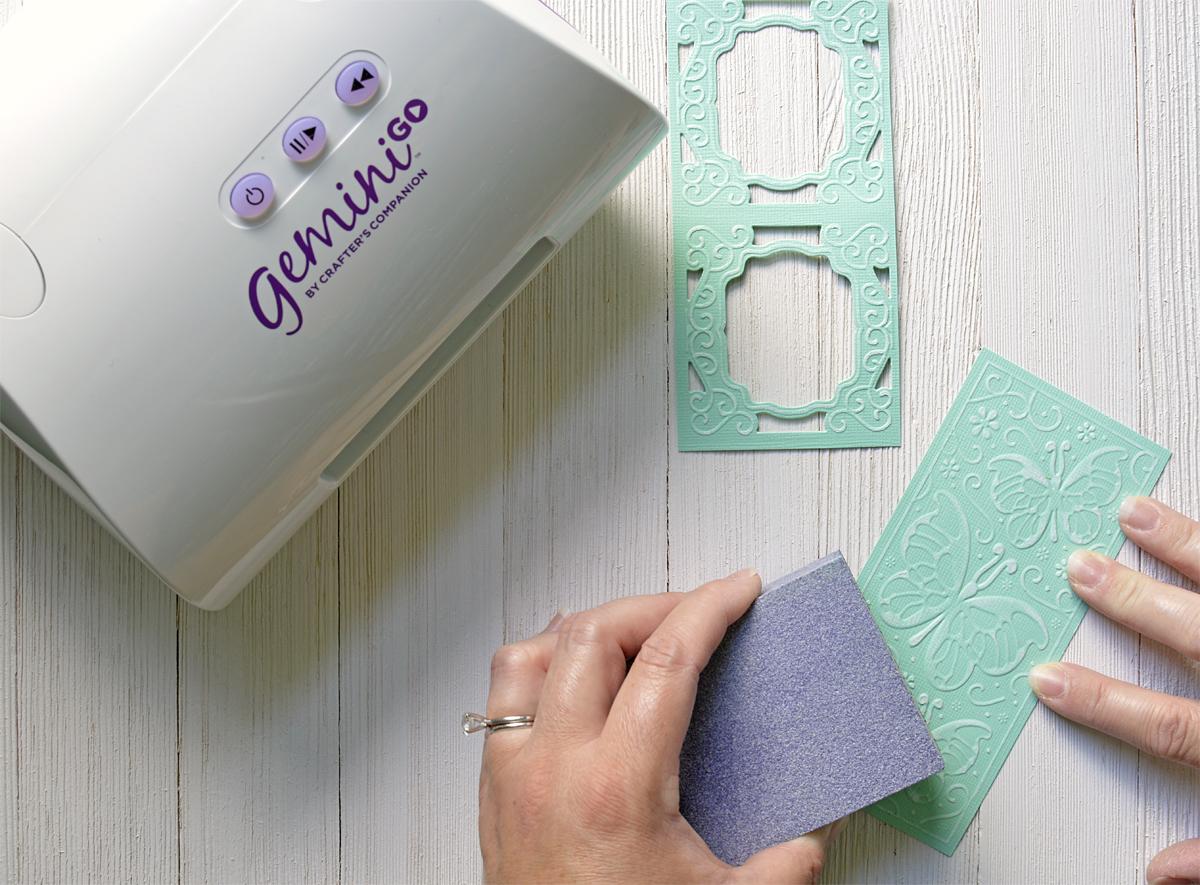
4. Sand the panels lightly with a sanding block or tool to enhance the embossed designs.
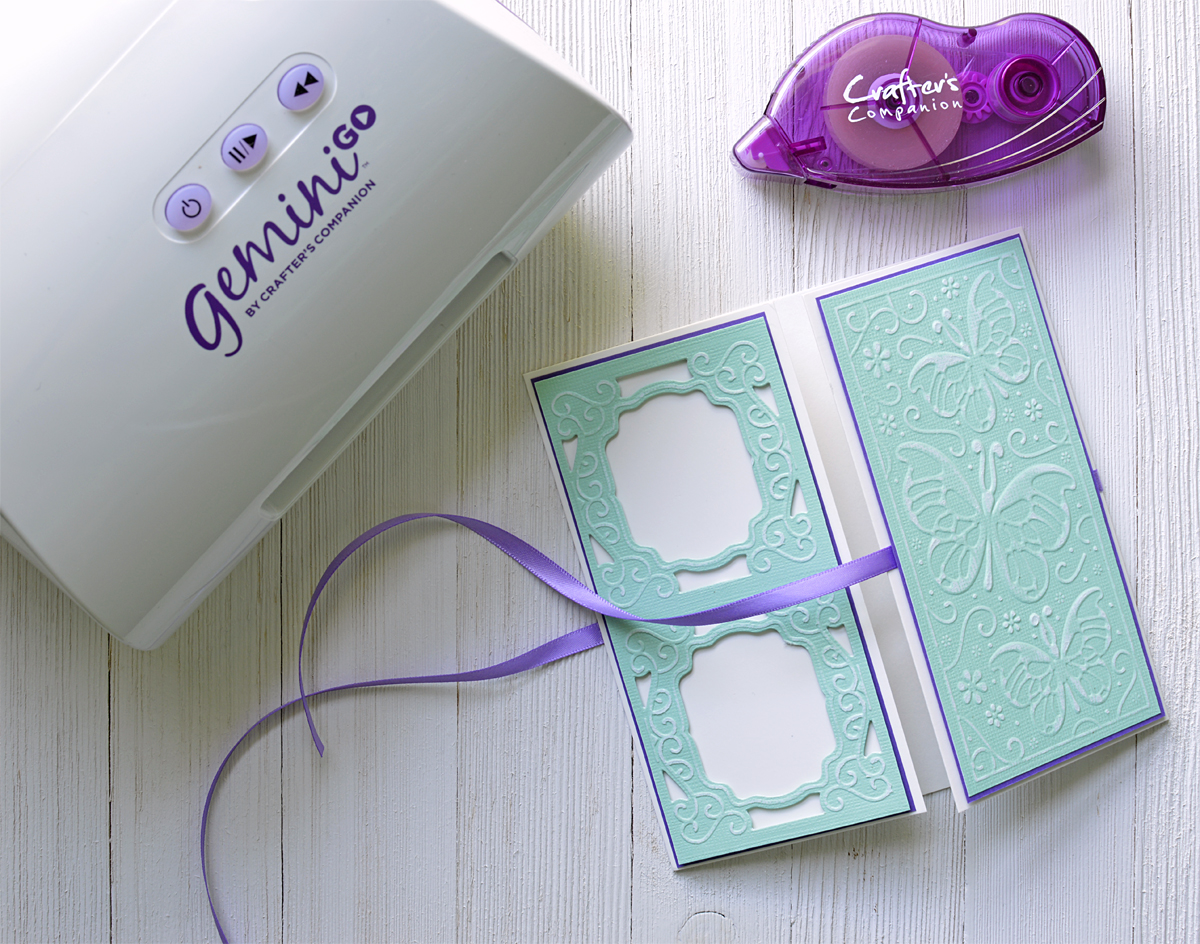
5. Trim a piece of white cardstock to 2.75” x 5.75” and two pieces of purple cardstock to 2.875” x 5.875”. Adhere the butterfly plane to the purple mat with tape runner. Use dimensional foam adhesive to adhere the white cardstock to the back of the window panel before adding the purple mat with tape runner.
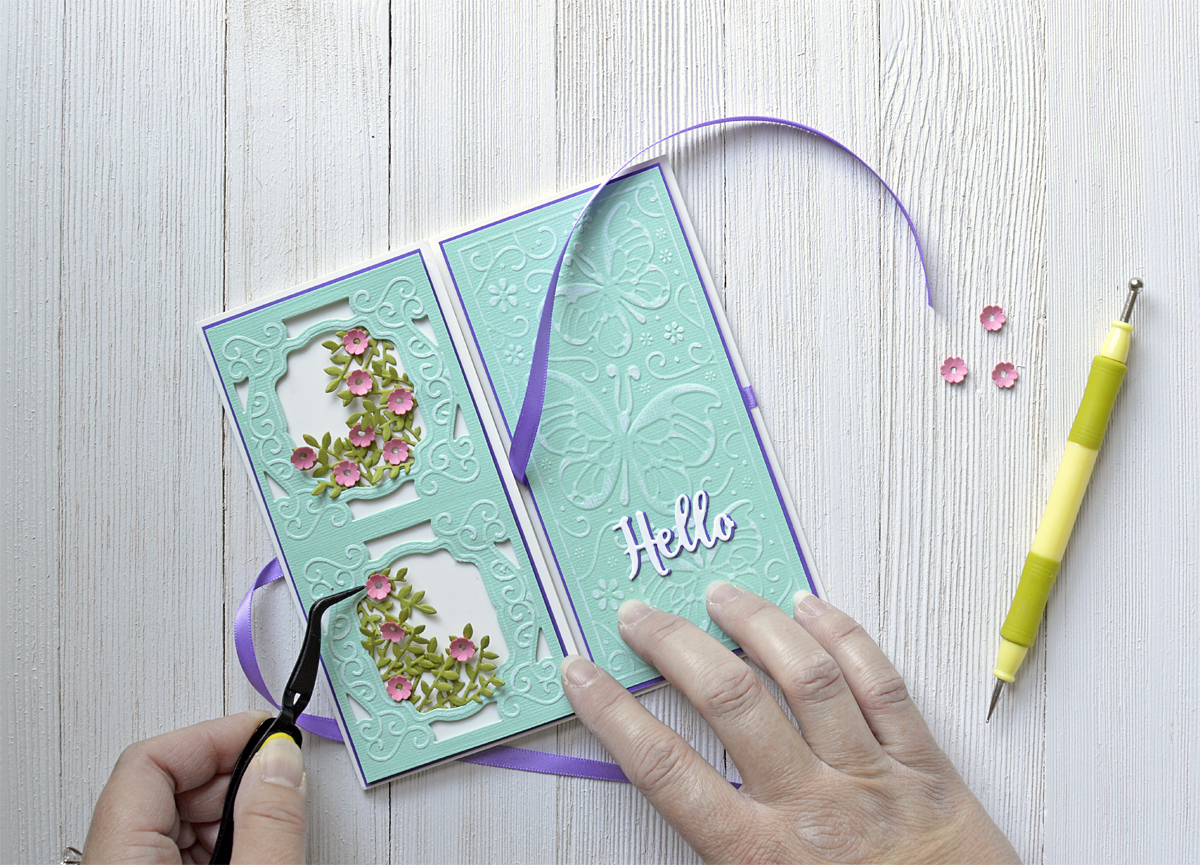
6. Adhere the matted window panel to the left side of the gatefold card base with tape runner. Wrap thin satin ribbon around the center of the entire card and then adhere the embossed butterfly panel to the right side of the card base with dimensional foam adhesive on top to hold it in place.
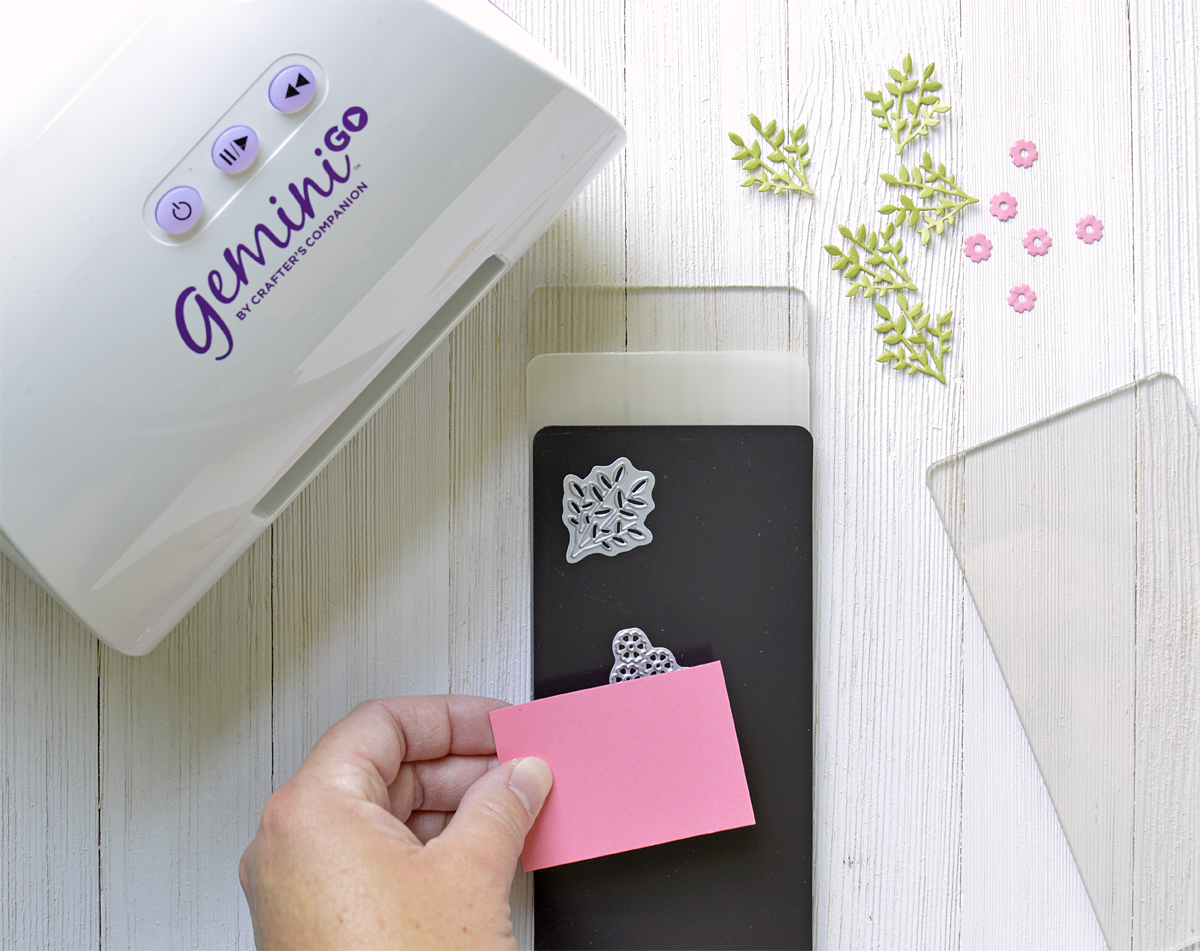
7. Die cut 8 sets of leaves and 14 flowers from pink and green cardstock using the Floral Bouquet and Garden of Seasons die sets and the sandwich for thin metal dies in the Gemini Go (top to bottom: clear cutting plate, material, die facing up, magnetic shim, plastic shim, clear cutting plate).
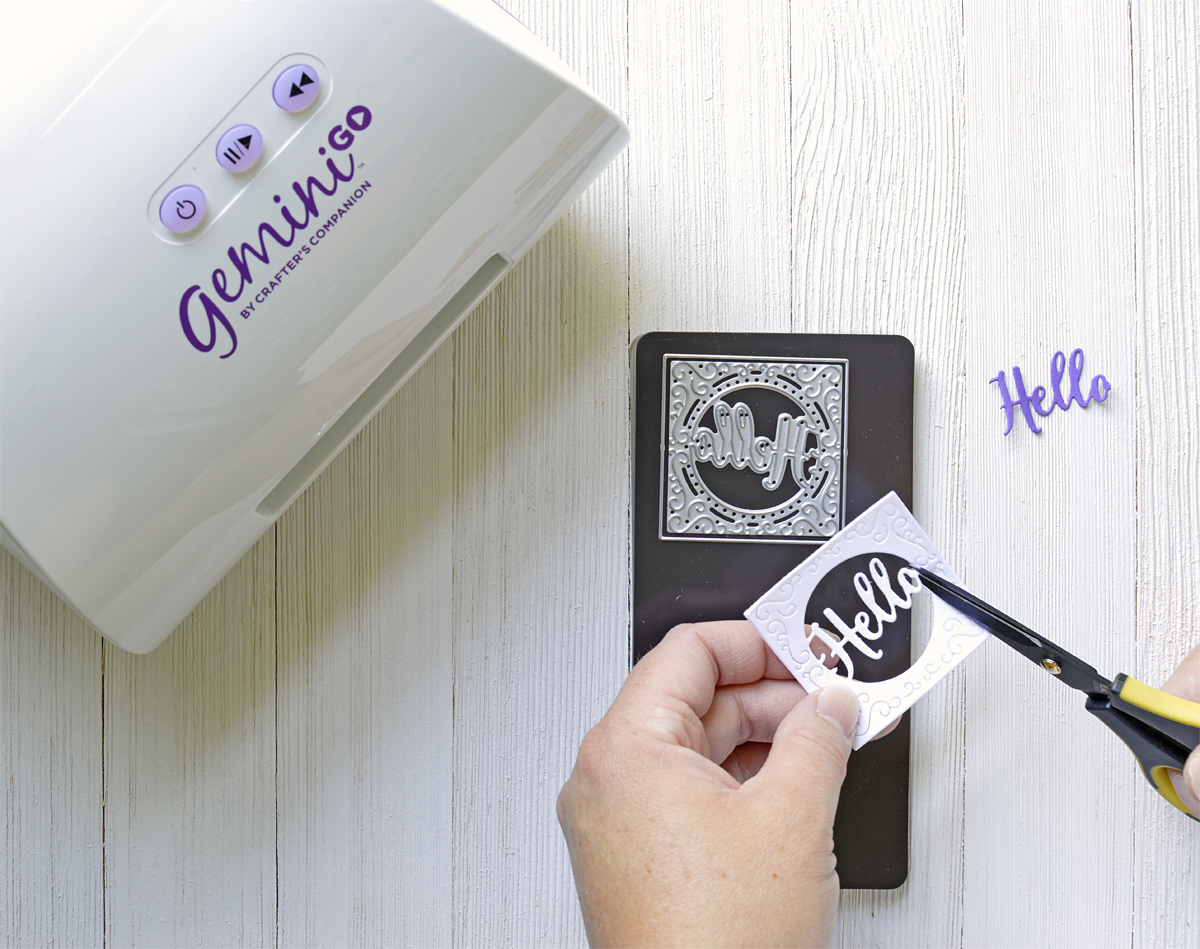
8. Die cut the hello frame from the Seasonal Frames die set in both white and purple cardstock. Trim the sentiment out using scissors and adhere the white layer on top of the purple layer (slightly offset) using liquid glue.
9. Shape the die-cut flowers with a ball stylus. Adhere the sentiment to the embossed panel and the leaves and flowers to the window panel with liquid glue. (Tweezers can help with placing tiny intricate die-cuts like these.)
10. Write your message inside and tie the card shut with the ribbon.

Love this project? Check out the video below for a special holiday DIY!
Great ideas, thank you!
I have purchased both Gemini the large and Junior one. I have not used them much. i have many plates for machine can’t used them. i have called many times, but no luck with talking with a person about my problem. I have email but no response concerning my problem. I want to repair the machines or replace them. Please contact me about this problem. fayth53@aol.com or 989 7907437