


One of my favorite things about Easter is the chance to open my home and host and gather all my friends and family for a time of togetherness. Ever since I was a preteen, I have always loved taking on the role of hostess. There is something about organizing a meal, coming up with a theme or games, and of course choosing the decor that ticks off all of my “make momma happy” boxes.
When planning a get together, I like to sit down and map out how I want the evening to go, what I want it to look like, the atmosphere I want to create. I basically make a mini vision board full of recipe ideas, DIY’s, games, decor, etc. Basically… my first step is to have a creative brain dump, I find getting it all out and in front of me helps me to really hone in on my vision.
Once I’ve got a plan in place my next step is to write my lists. There are usually a few lists; I have a cleaning/organizing list to get the house in order before guests arrive, I have a “day of” check list to help keep things on track, I have a grocery list for ingredients needed for the meal, a shopping list for any missing decor items and of course the art supplies list for whatever DIY I have planned.
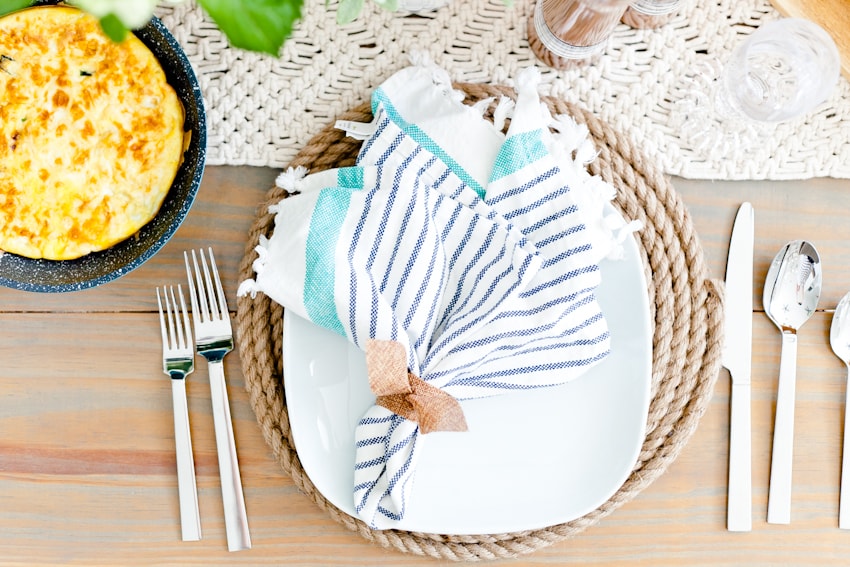
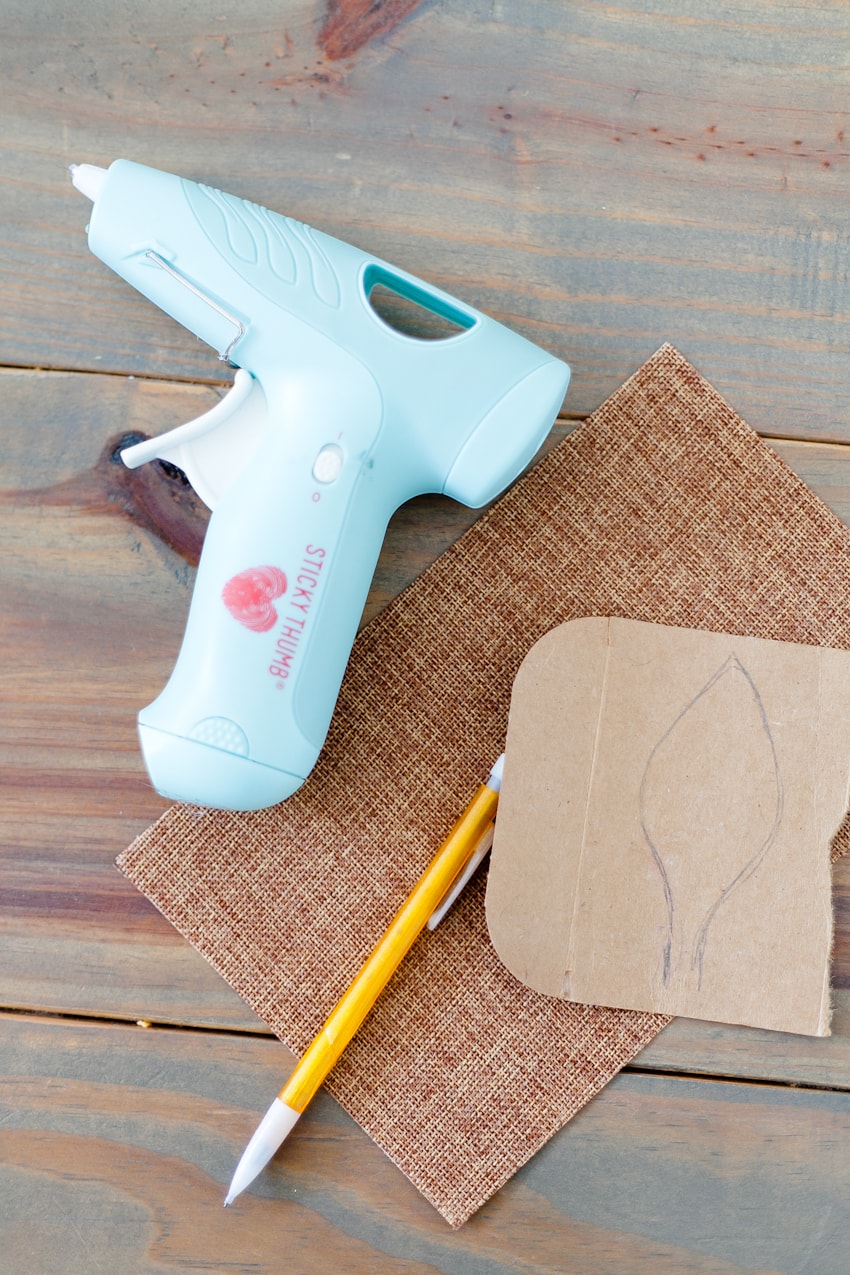
Speaking of DIY’s, I have a super cute and simple one that you can make for your tablescape this Easter.
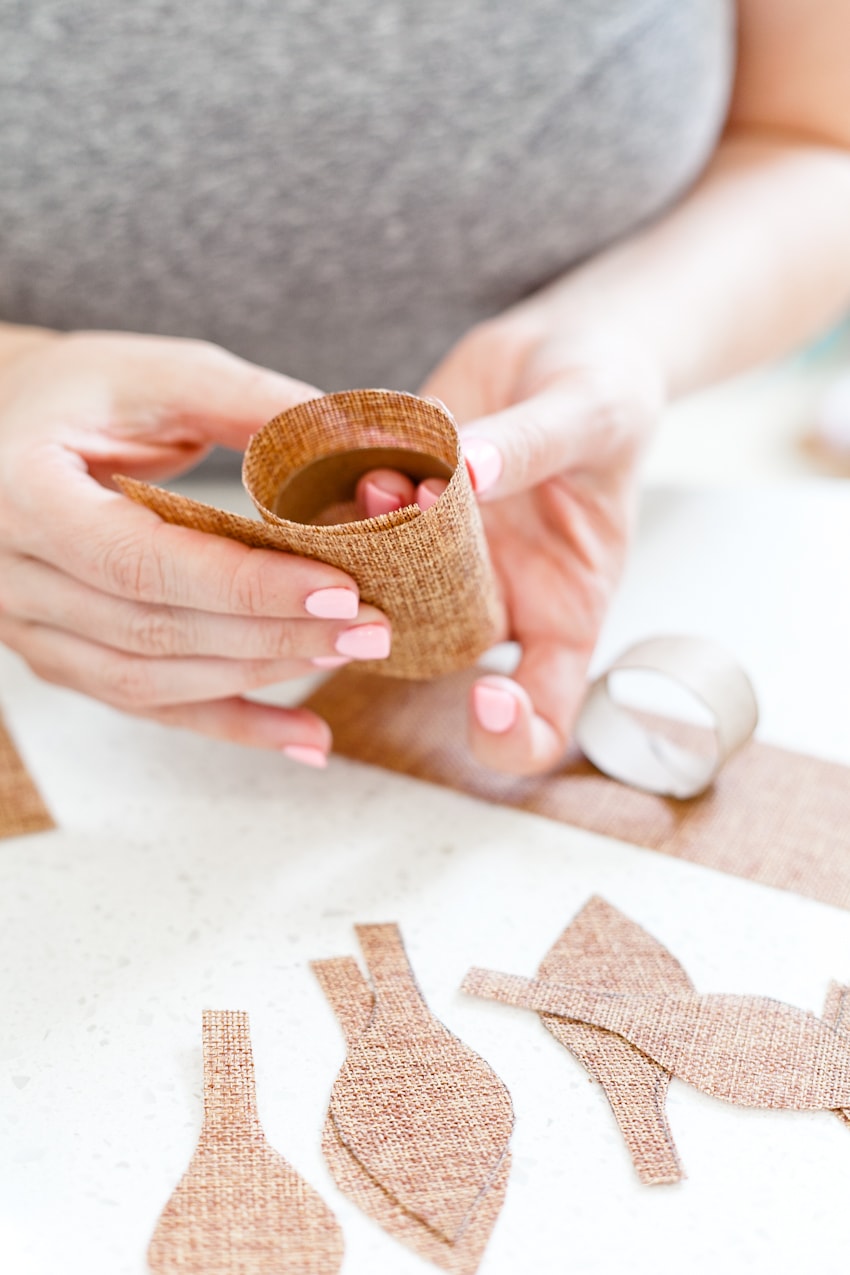
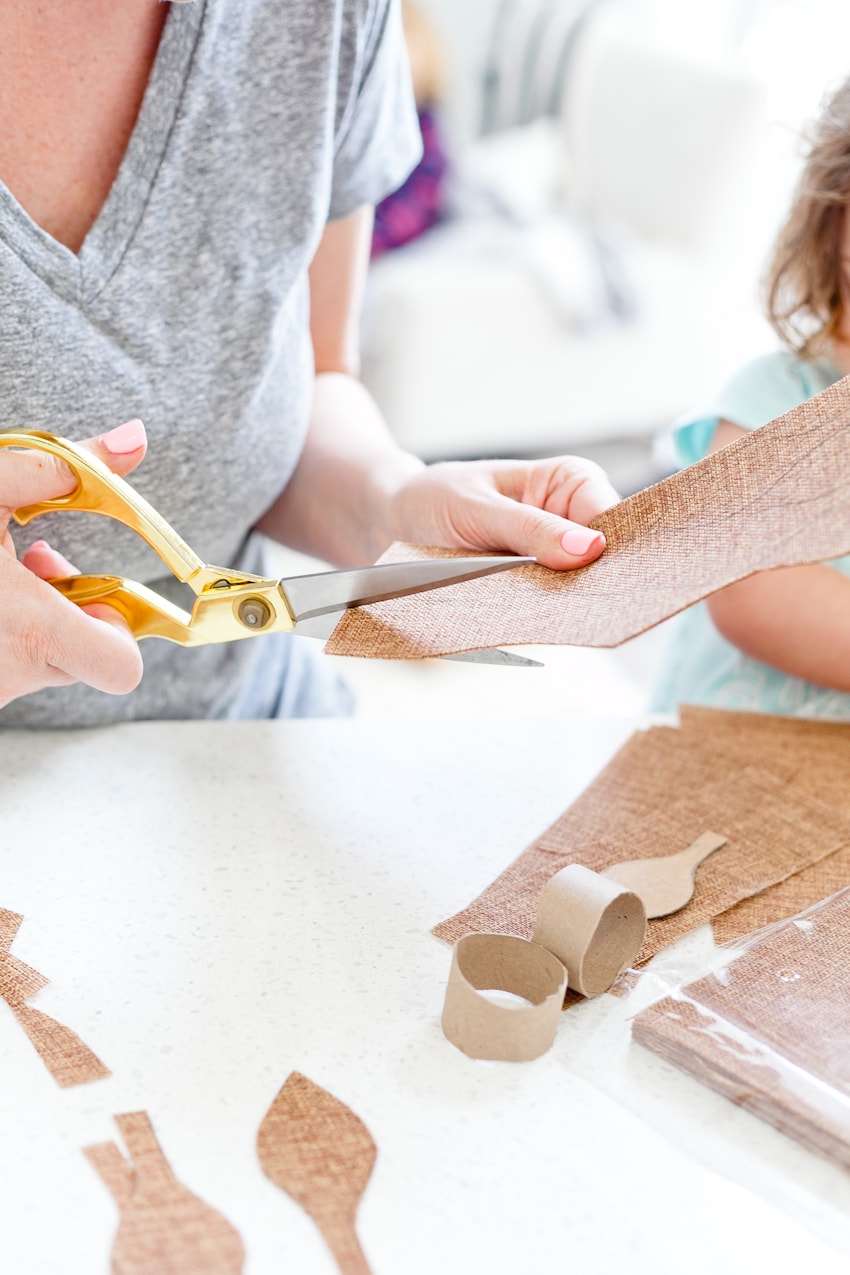
1. Cut the toilet paper roll into four even pieces (this will create four napkin rings
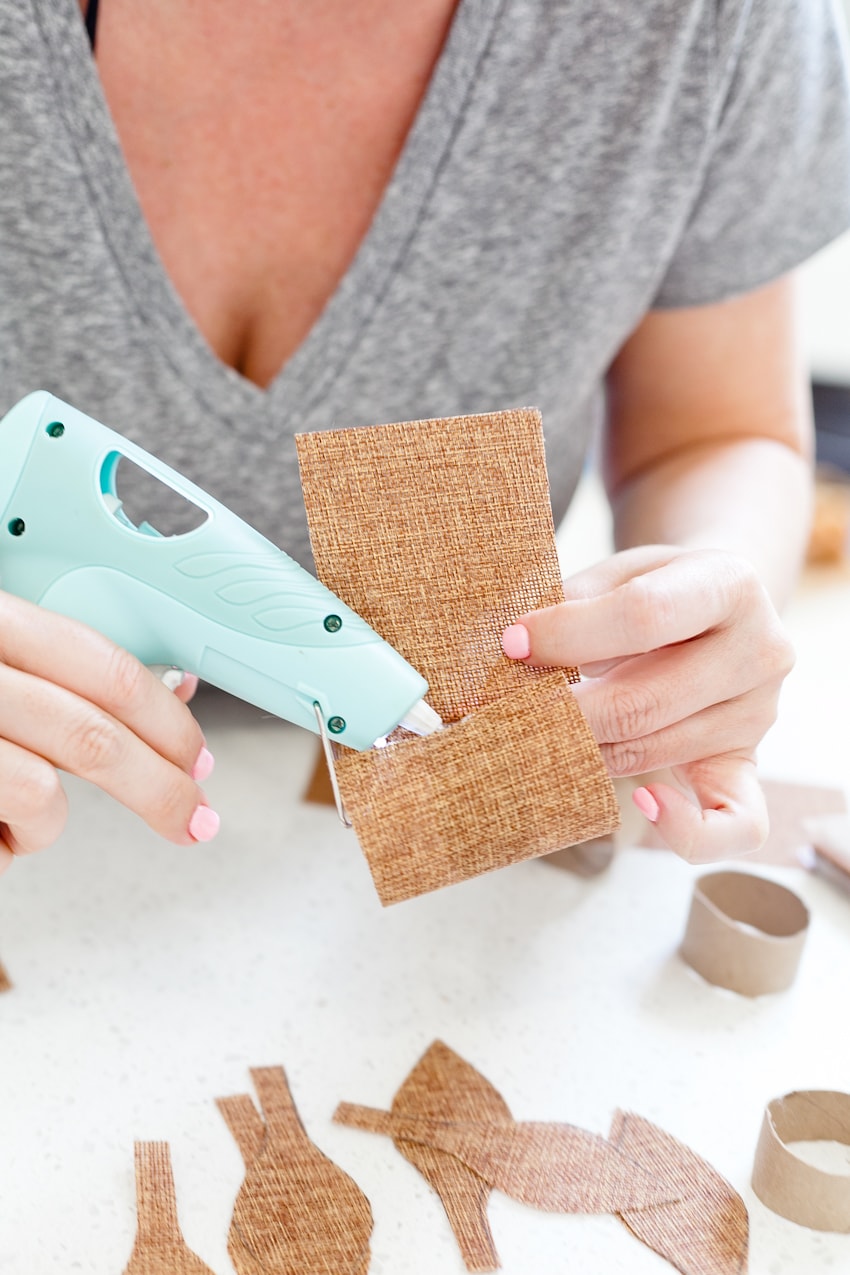
2. Cut the burlap sheets into strips that will cover the rolls entirely. Wrap the burlap all the way around the outside circumference of the roll and use hot glue to hold securely. Once the ends are secured, continue to wrap the burlap around the inside of the ring and, again, use the glue to hold it securely.
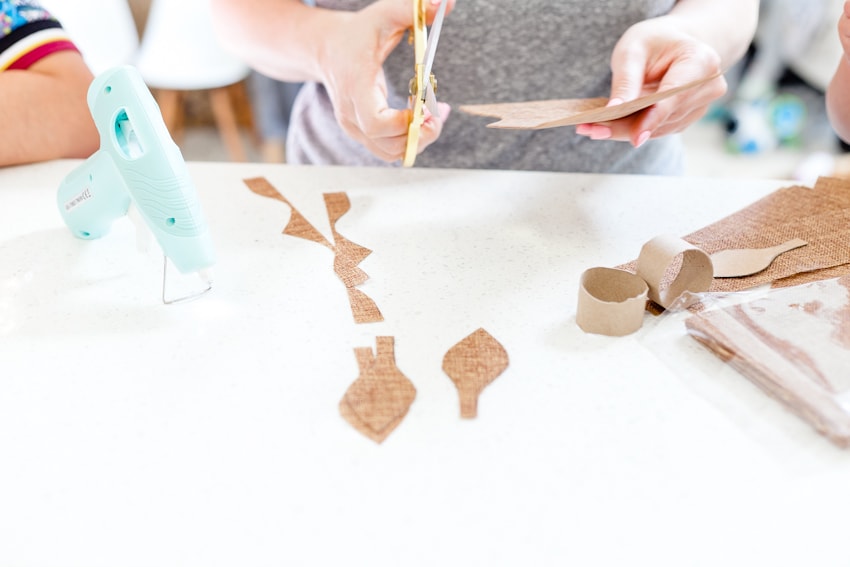
3. Using scissors or a knife, cut out two “bunny ear” shapes from burlap sheets for each roll you’ve created, leaving a longer stem or “tail” at the end.
4. Using scissors or a knife again, cut a small slit into the burlap on the ring.
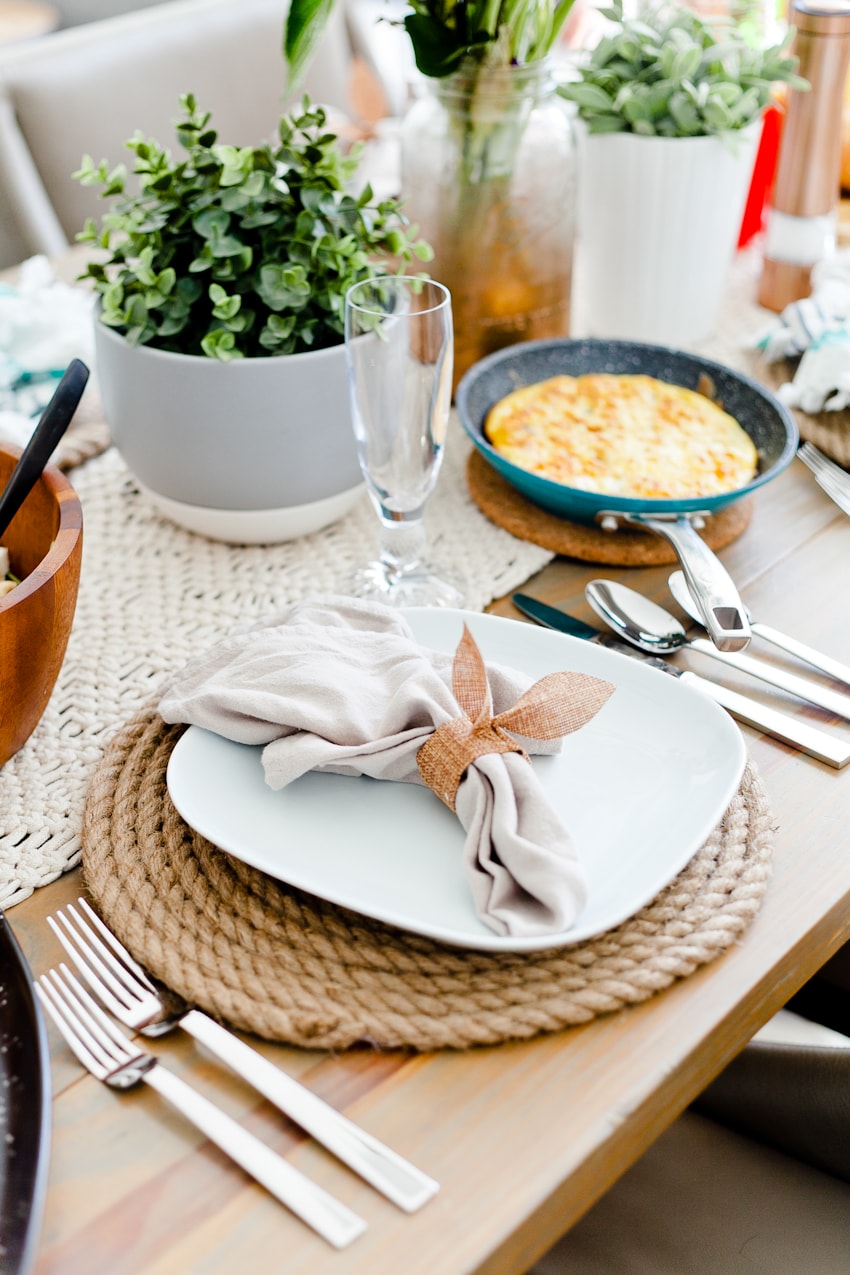
5. We’re going to use the stem to secure the ears to each ring. Tuck that long end inside the slit, and then going in the opposite direction, tuck the second stem in the slit until both ears are sticking up.
6. If needed, add a bit of hot glue to the base of the ears, I like how it helps to hold them up a bit and give them some perkiness.
7. Add embellishments if you’d like or add straightaway to your table!
Once I’ve got my lists and my DIY projects ready to go… I get to work. I like to prep and do as much as possible a few days before the big day; that way when it comes I can enjoy myself in fellowship and time spent with my family.