


With the every popular “farmhouse” look taking over our Instagram feeds, Pinterest and design shows (and I don’t mind it a bit!!), we decided it was high time we add a little farmhouse style to our own DIY decor! Creating a wood farmhouse sign was so much easier than one might think… and definitely easier than it looks. It just takes a little time to go through the steps, but once you get started, you’re really on a roll.
Once we figured out some measurements to make a square wood sign from start to finish, I headed to my local home store for the wood (and to have them make the cuts for me!). If you already have a wood sign or surface to work with, then you can just move on to the decor part.
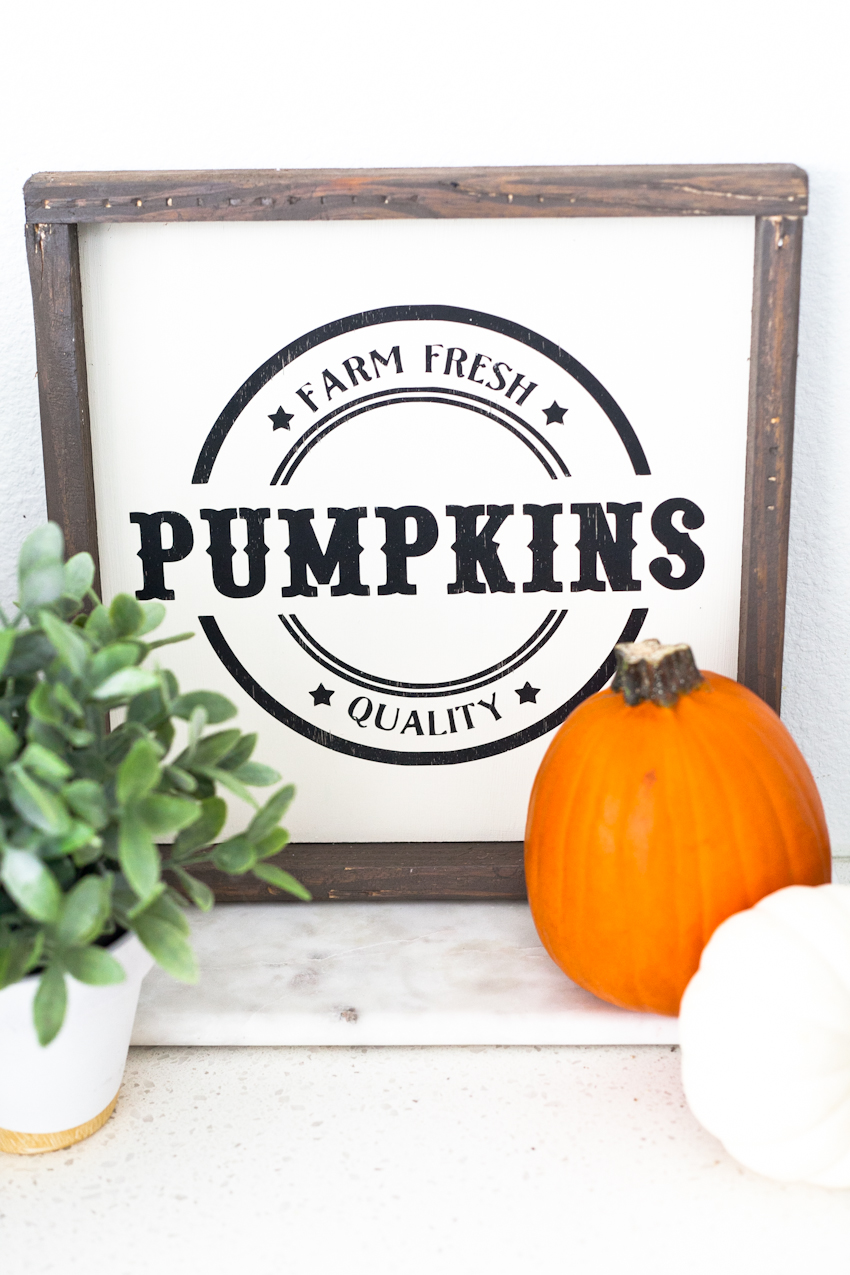
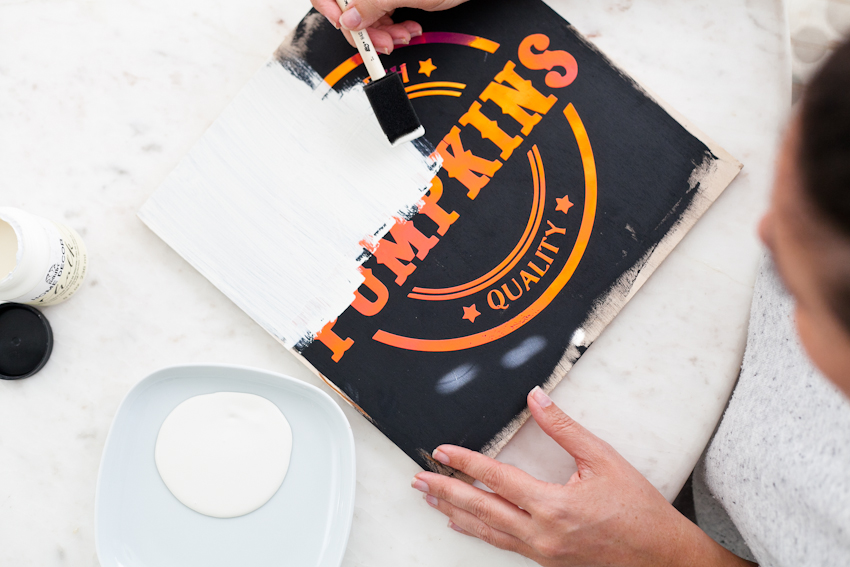
We’re still in the season of pumpkin loving, so I decided to go with a pumpkin sign, but you can find or create just about anything in the Cricut design space! Once you’ve got your design created, just have the Cricut print it out on sticky vinyl for you in the size you need for your sign.
Ready to get creating? Our DIY Wood Farmhouse Sign instructions are below!
DIY Wood Farmhouse Sign
Materials needed:
- 1/2” plywood (birch) cut down to 12”x 12”
- 1 1/4” inch Brad nails
- 1×2 furring strip
- Finish nail gun
- Chop saw
- Wood glue
- Cricut machine
- Vinyl sticker
- Transfer sheets
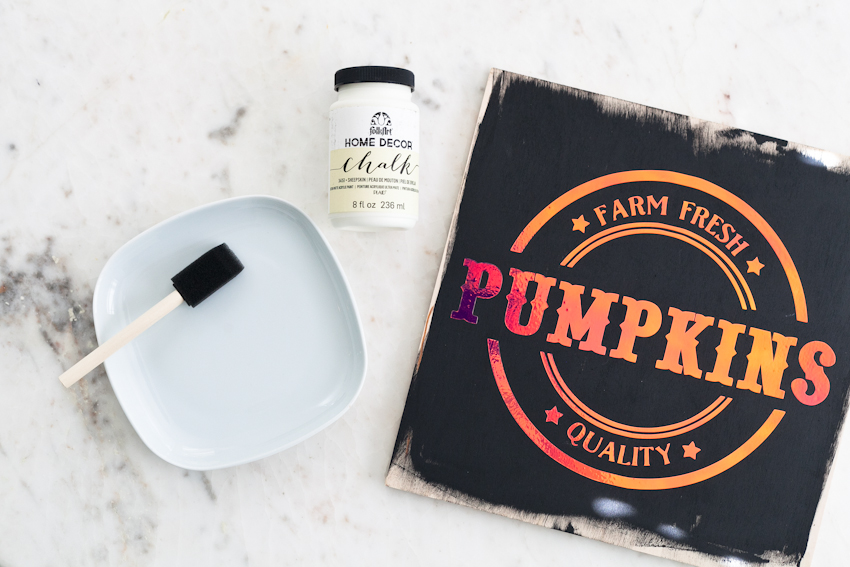
- Paint (2 colors)
- Foam brushes
Instructions:
- Cut (2) 1 x 2 furring strips to 12” length.
- Cut (2) 1×2 furring strips to 13 1/2” length.
- Dry fit frame around 12”x12” plywood.
- Apply wood glue to joints then use finish nails to attach frame together at the corners.
- Ensure snug fit of plywood into finished frame.
- Remove plywood and allow frame to rest 24 hours to ensure good hold on joints.
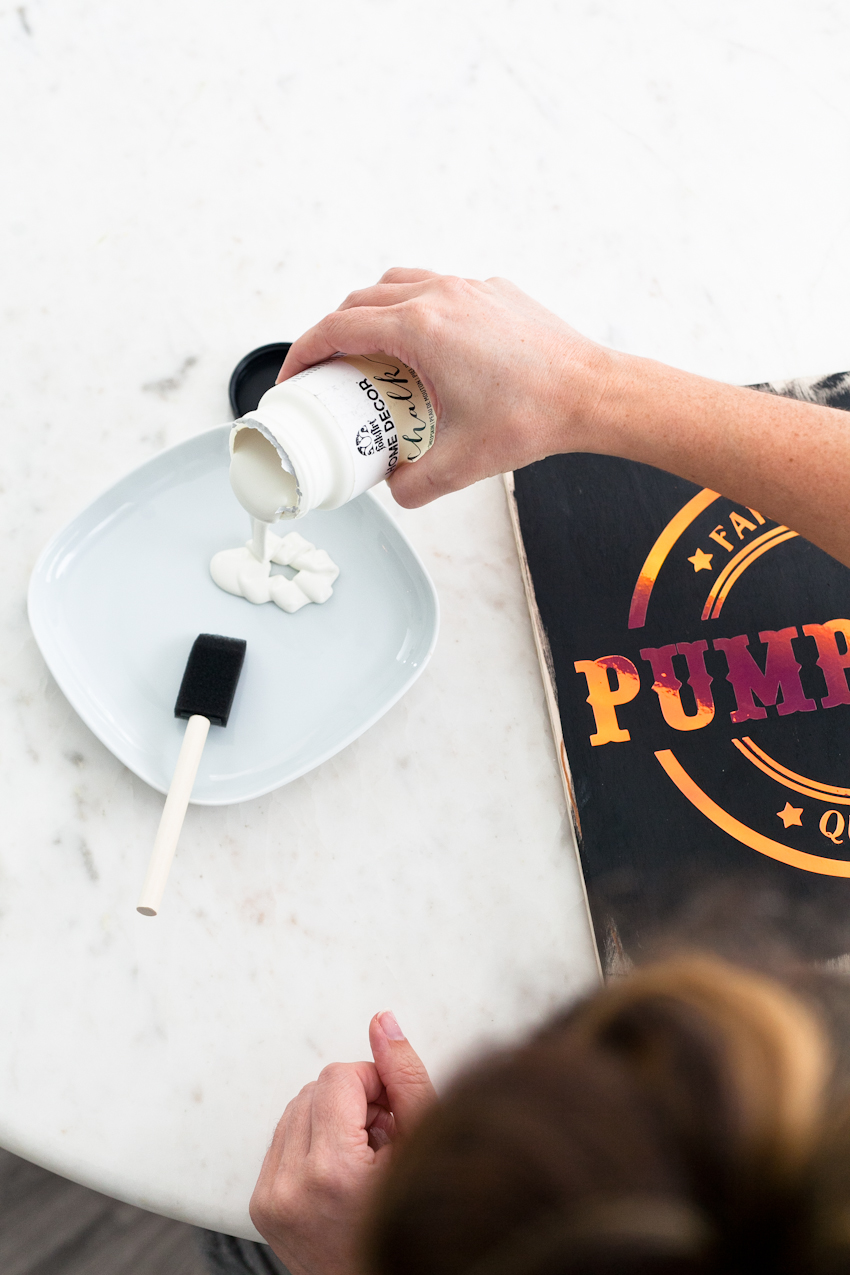
- Apply light coat (if desired) of paint to plywood that you would like your letters to appear on final project. We are painting in a reverse method, so the color you paint the board first, will be the color of the design you printed on the vinyl.
- Allow 10-15 minutes to dry
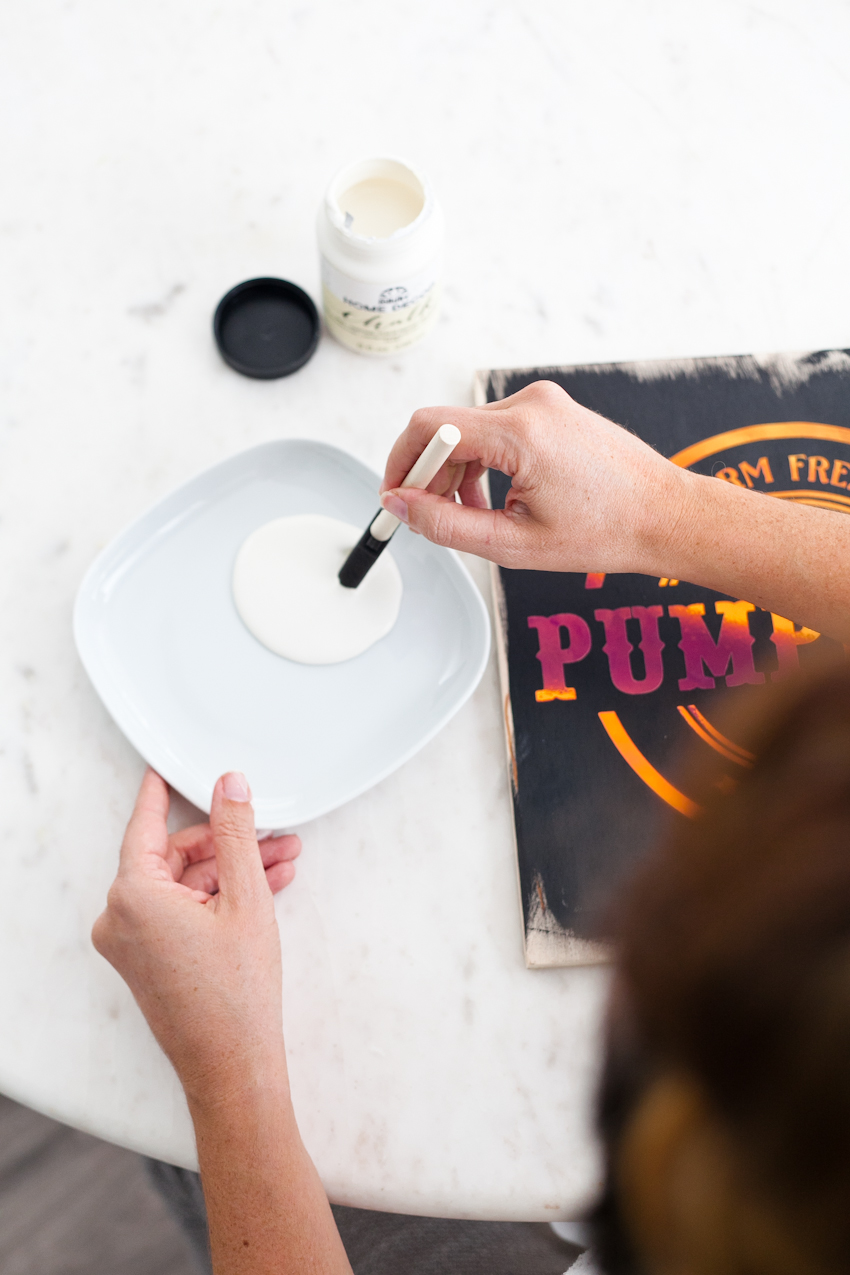
- Place the vinyl that you designed and cut with the Cricut on the painted board with transfer tape. Make sure it’s pressed down firmly and paint entire board with your second color (this will be color you want the background to appear).
- Apply very light layers of paint and allow 10-15 minutes to dry between each coat.
- Remove vinyl.
- Place plywood into finished frame and use finish nail to hold if desired.
- Proudly display your very own farmhouse sign in your home!
