


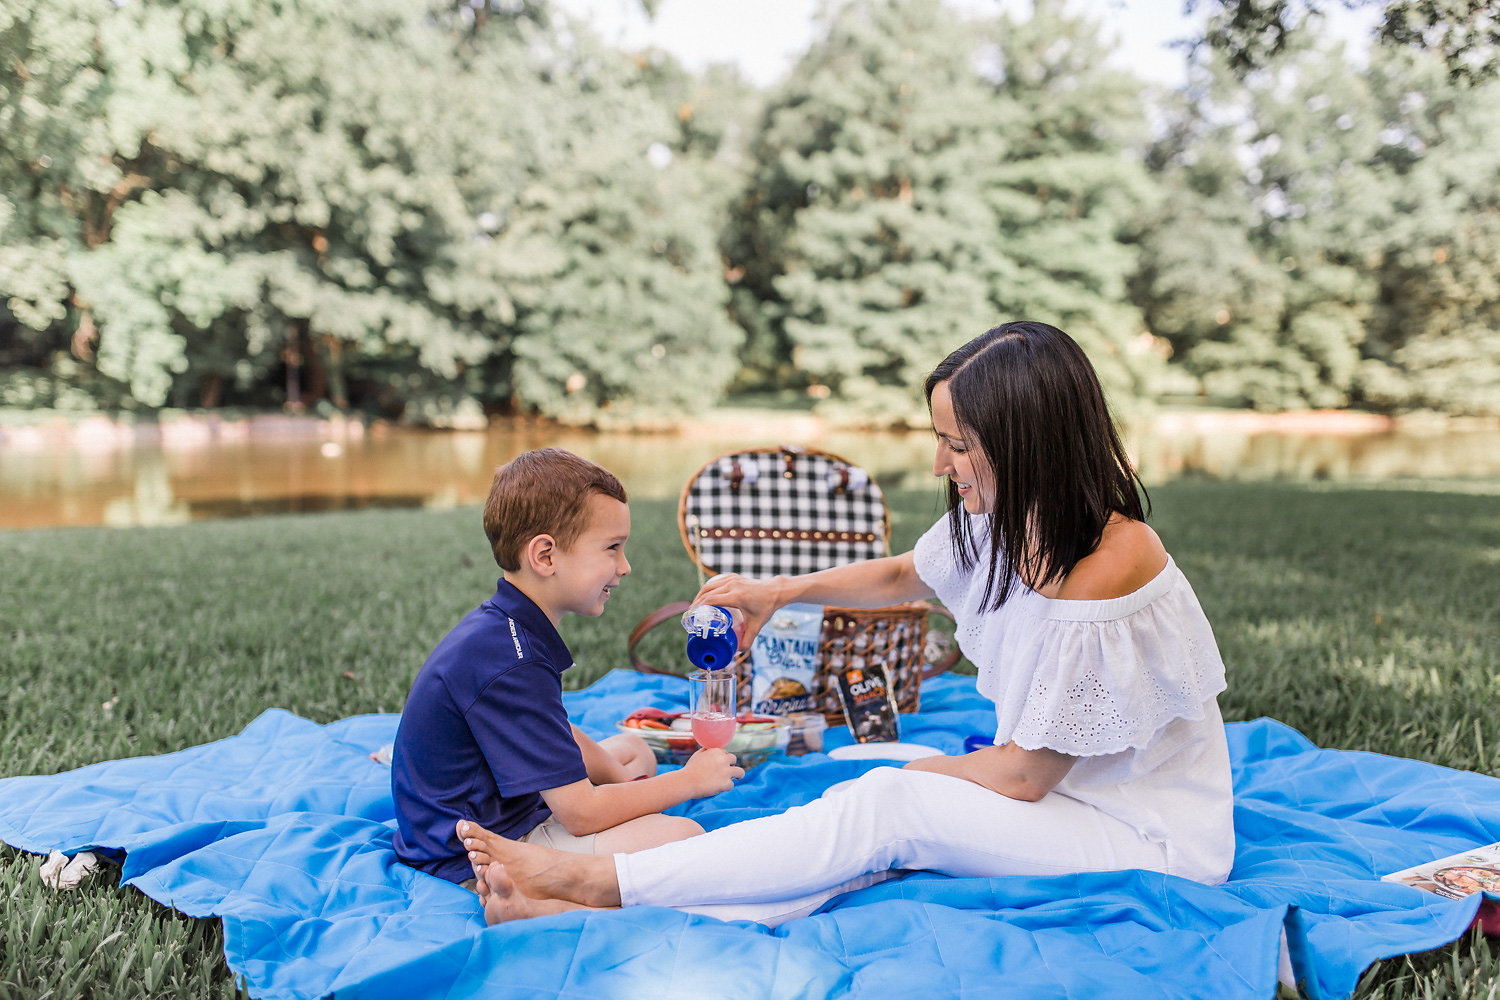
Enjoying a picnic outdoors is a fun way to spend quality time with friends and family! And, it’s easier to prepare a healthy basket than you might think. All you need is a little recipe inspiration, a plan, and an adorable picnic basket to carry everything in!
Today, I’m sharing what I pack in my (paleo-friendly, kid-friendly) picnic basket!
The paleo lifestyle helps our family focus on consuming fresh, minimally processed foods. It provides us with long-lasting energy to fuel our daily activities and keeps us feeling great in general!
In addition to the health benefits, this lifestyle has helped us become more skilled and resourceful in the kitchen!
These days, I’m more likely to make things from a recipe instead of purchasing store bought prepared items. Not that store bought is bad, but you can actually save a lot of time and money by making some items on your own. And, they usually taste better, too! However, even if you don’t follow a paleo lifestyle, there’s something for everyone in our basket!
Speaking of recipes, I’m featuring three from the Make It Paleo II cookbook, perfect for a summertime picnic. This cookbook is available at HSN and is filled with wonderful recipes from Hayley Mason and Bill Staley of Primal Palate!
The recipes I chose are simple to prepare, family friendly, and delicious!
Once these recipes were selected, I planned the rest of the picnic around them. I like to provide a variety of choices, to encourage my kids to create their own plate with their favorites (and maybe a couple of new fruits/veggies they want to try). The full recipes are included at the end of the post!
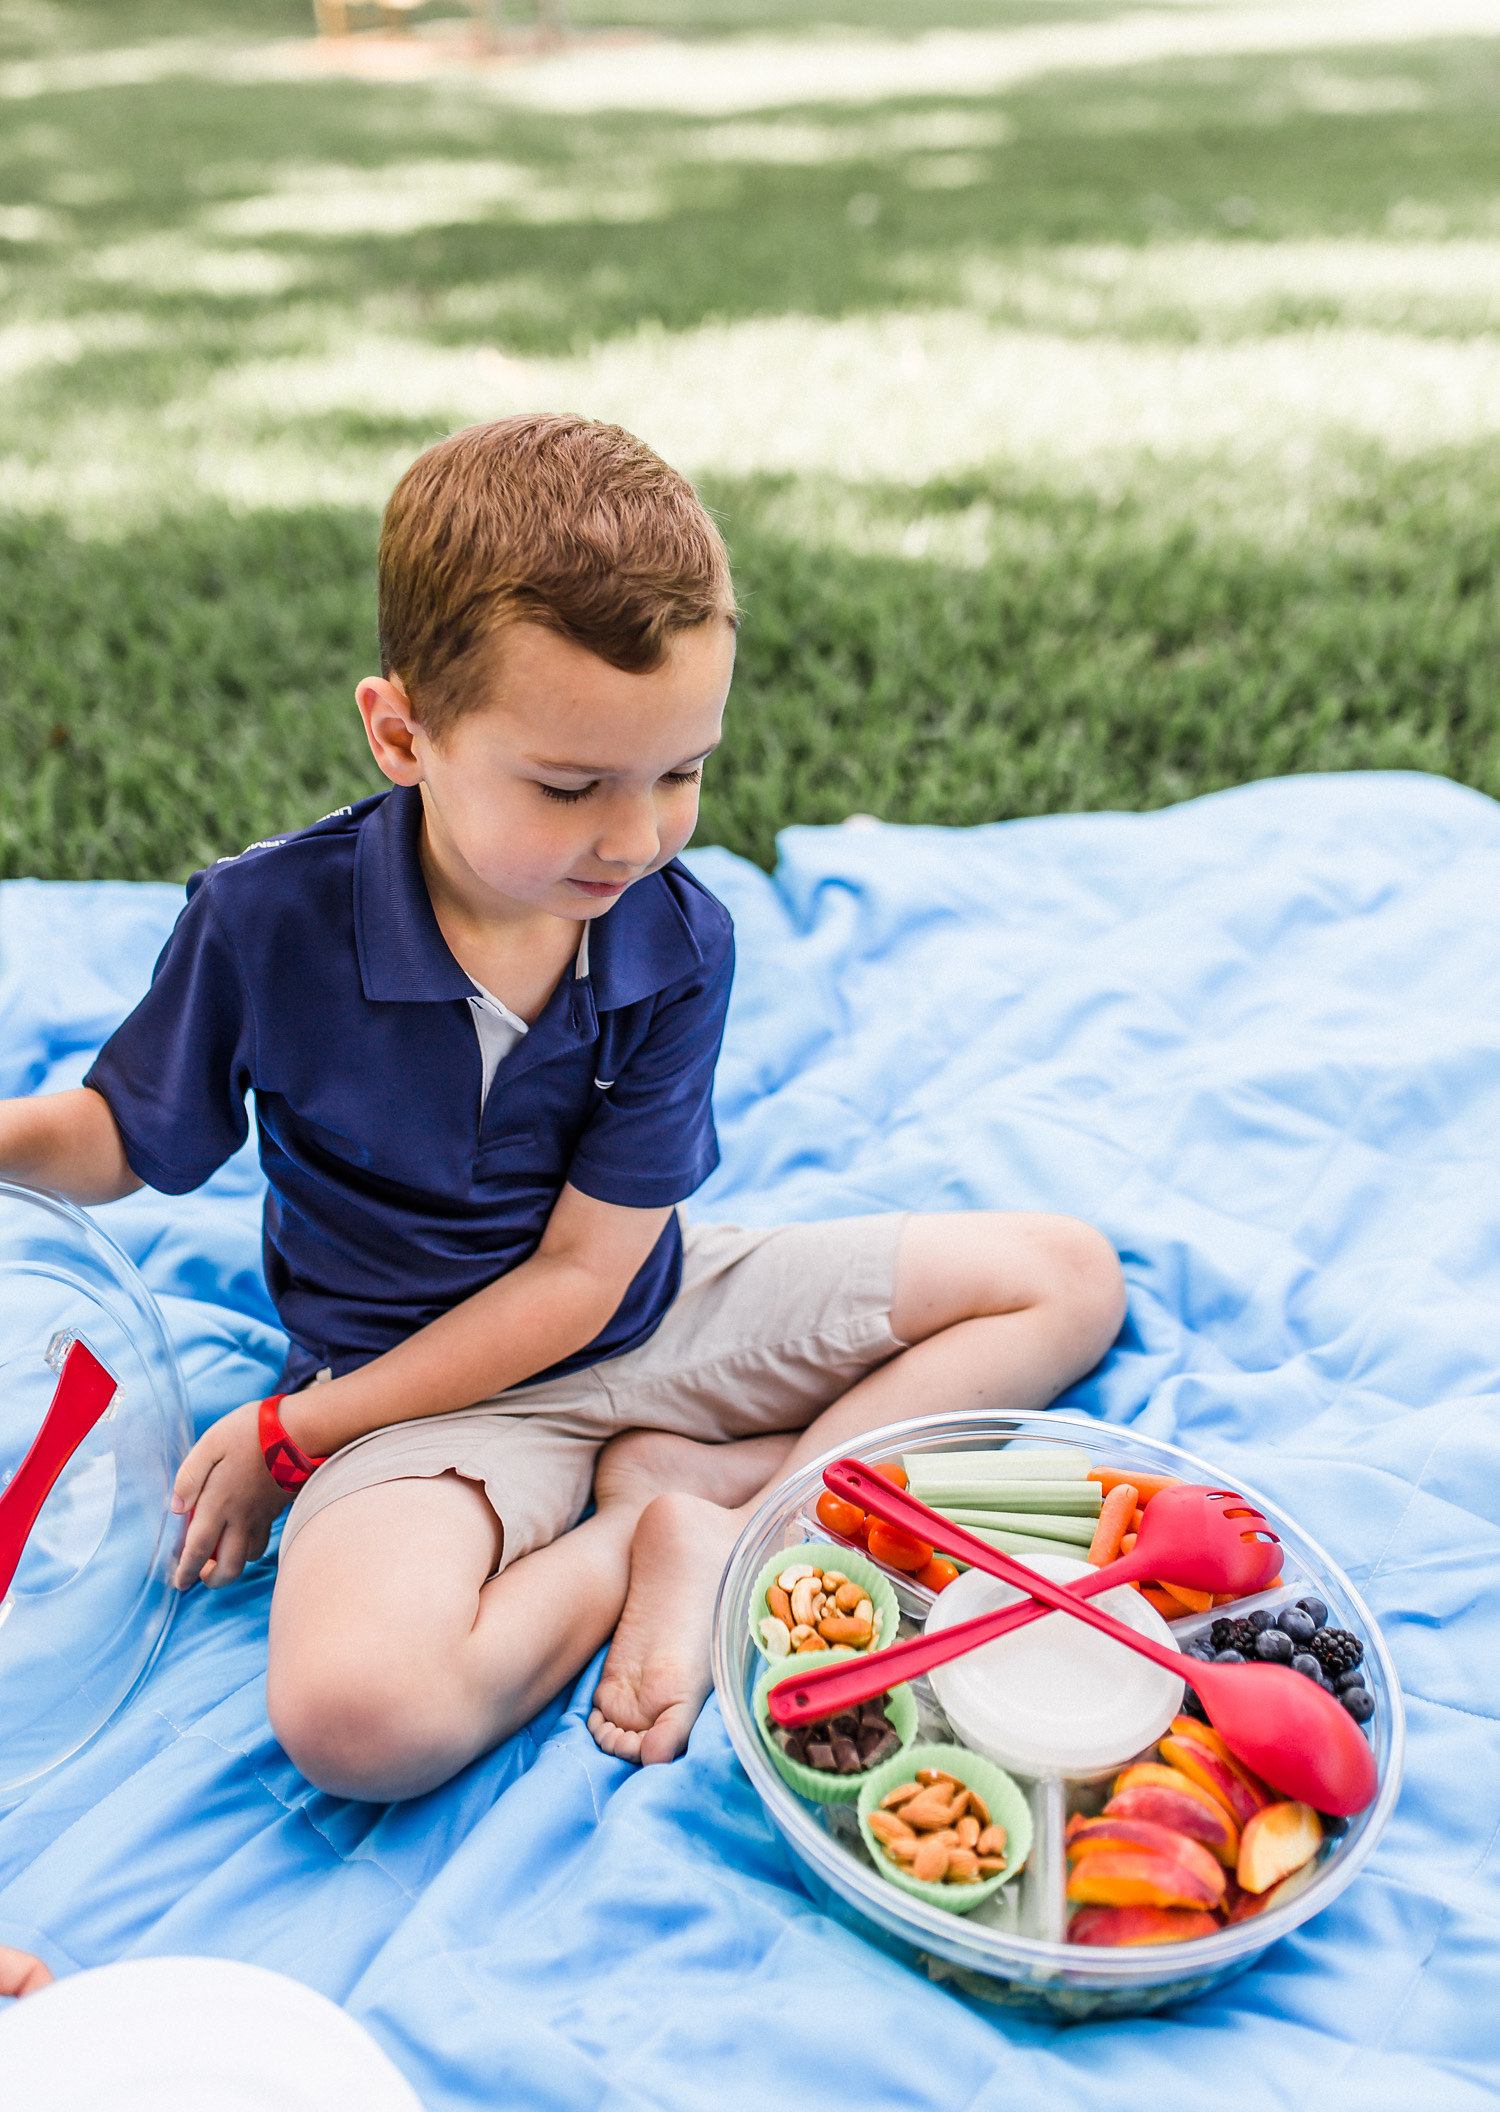
I’m always looking for creative and useful food storage, so when I saw this Dash Salad Bowl, I knew I needed it!
It’s perfect for taking favorite salads on the go. And, there are several other ways you can use it, too! It keeps everything separated and fresh until you are ready to serve.
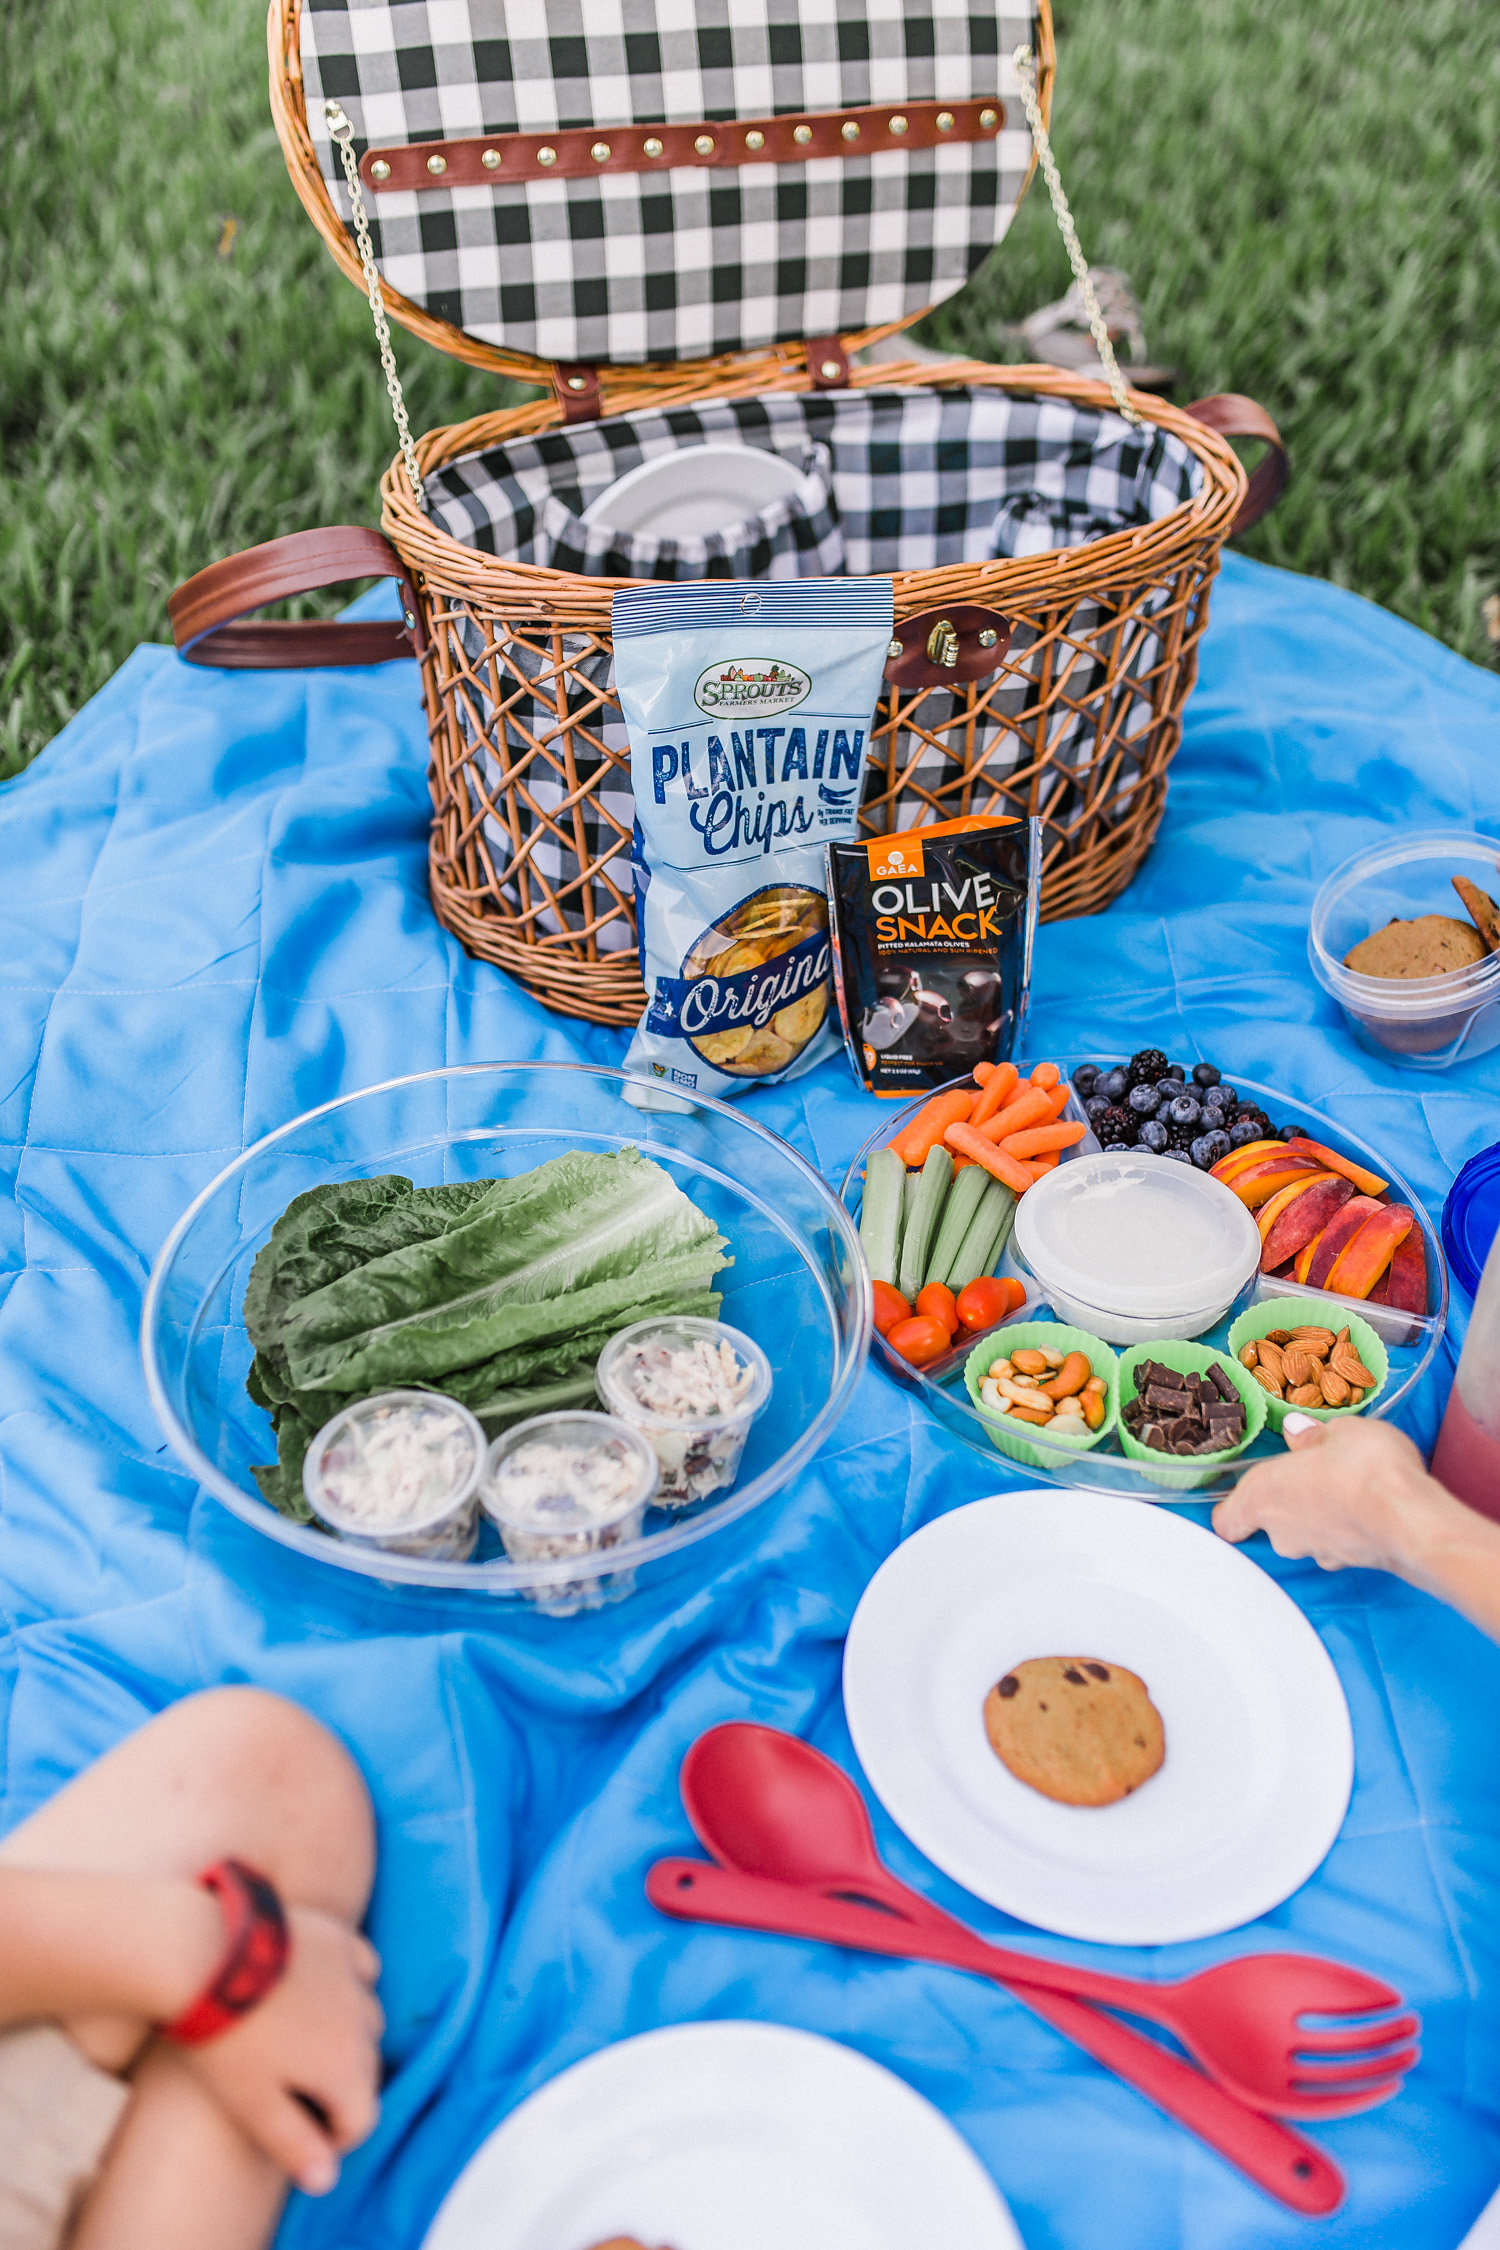
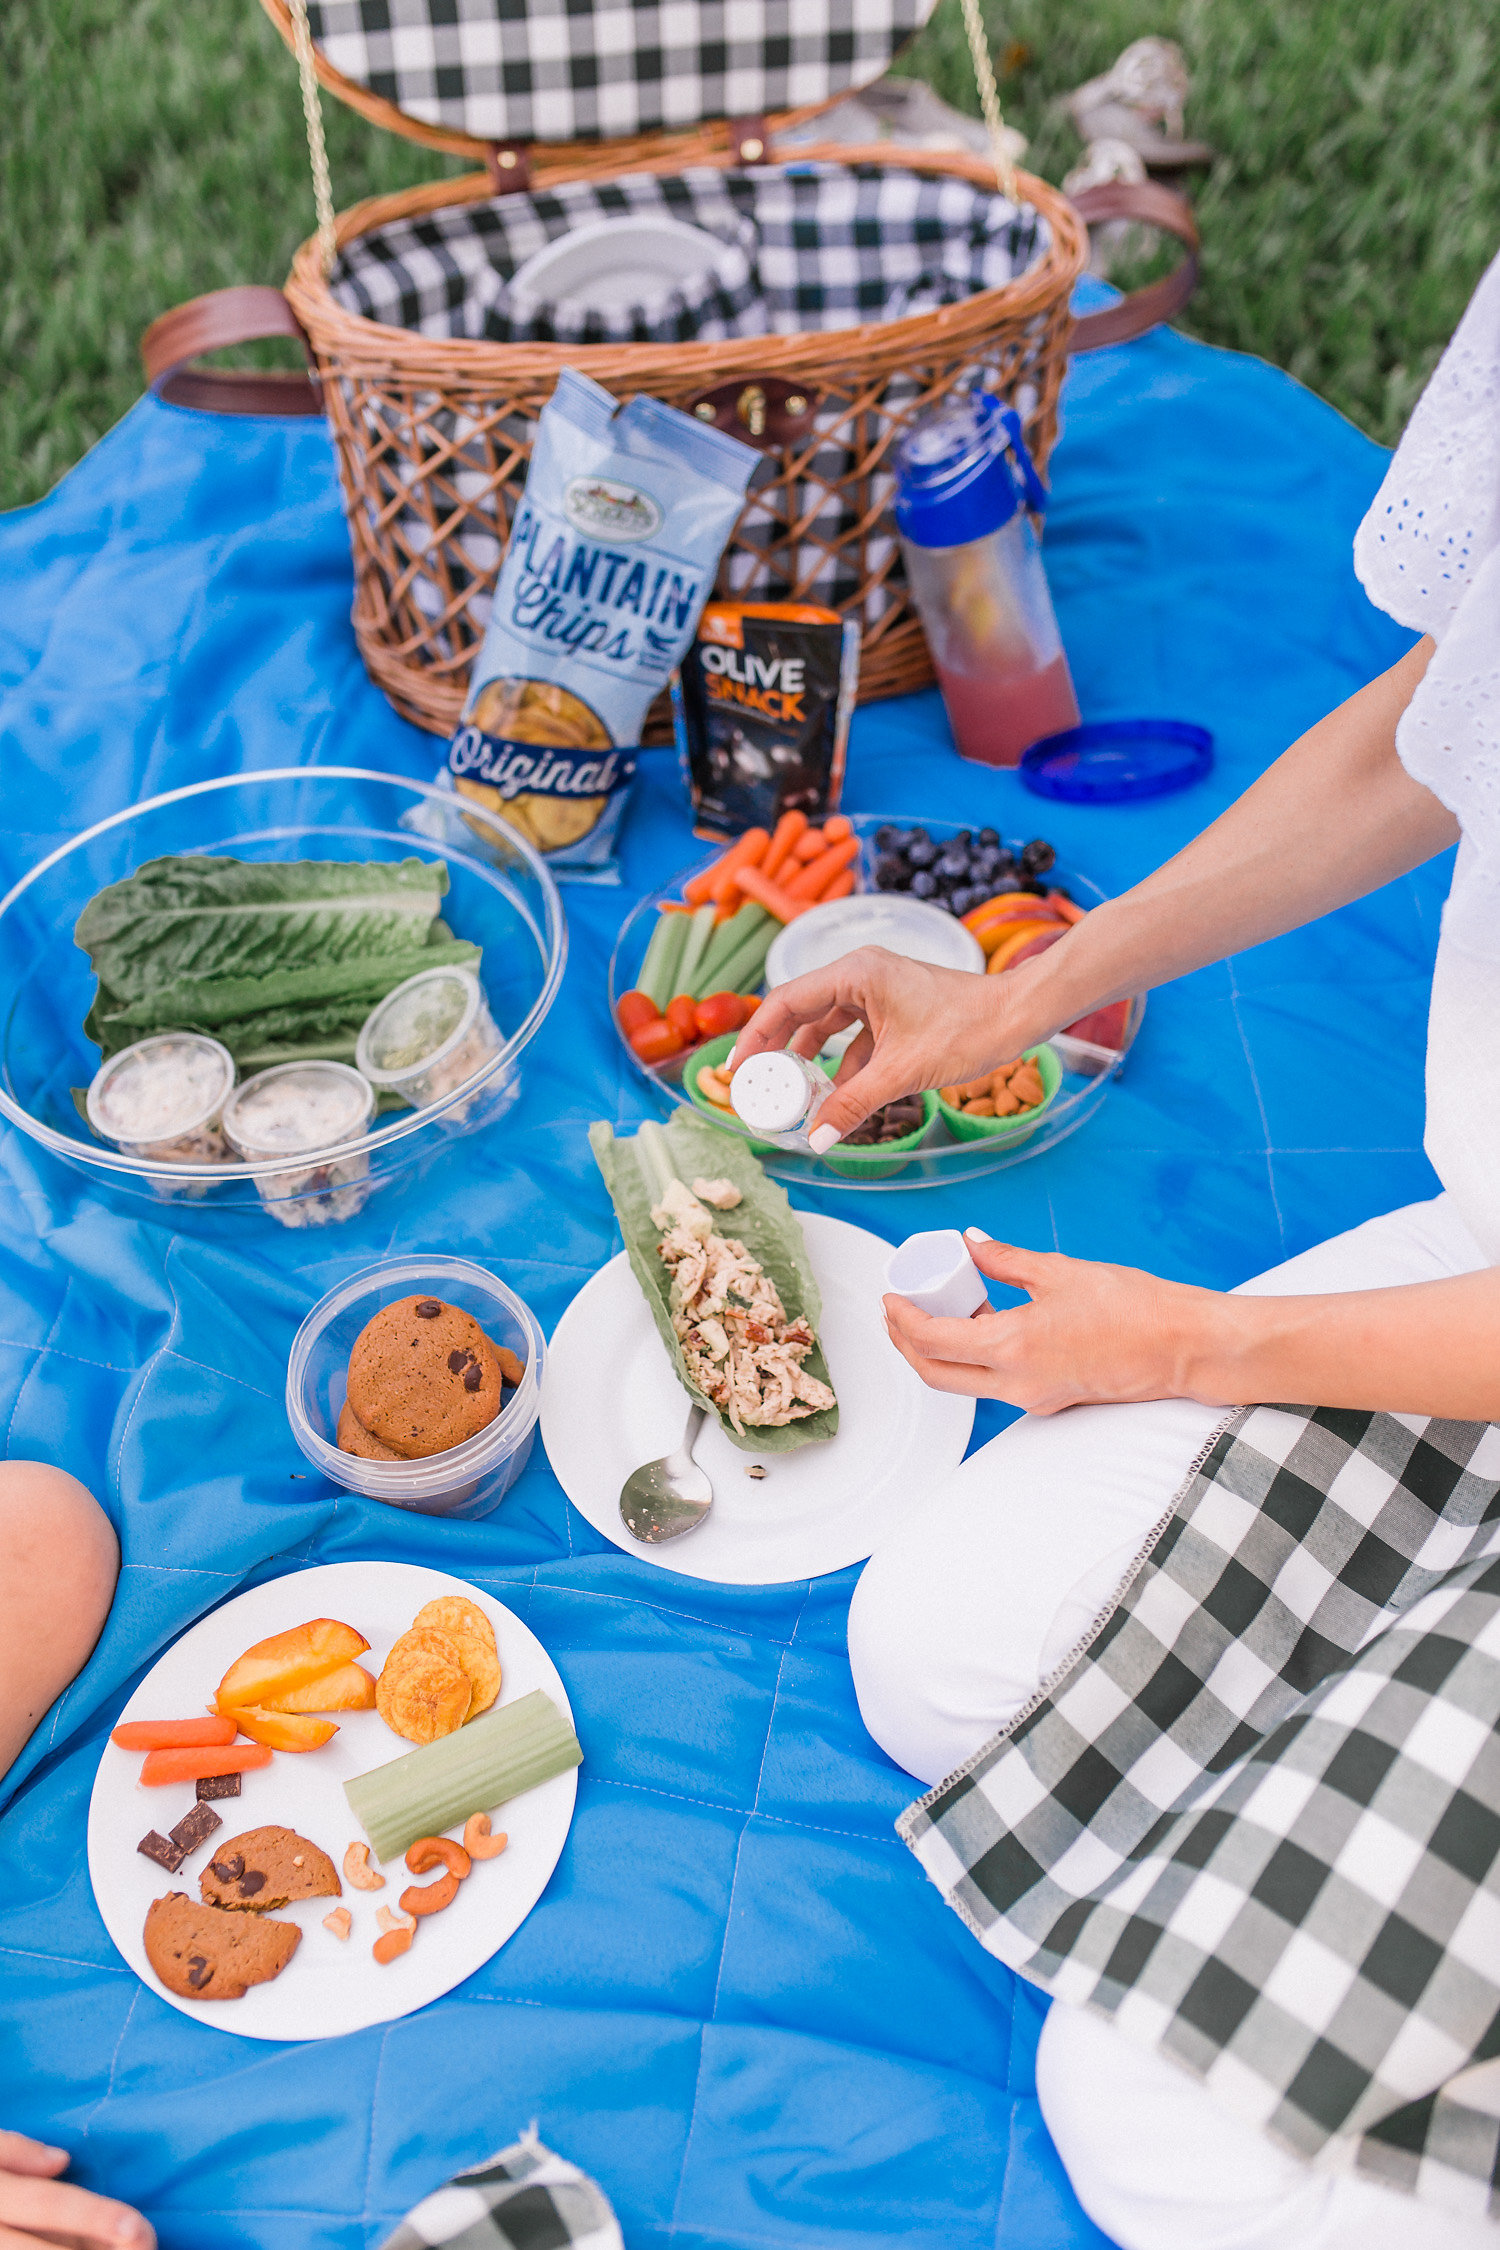
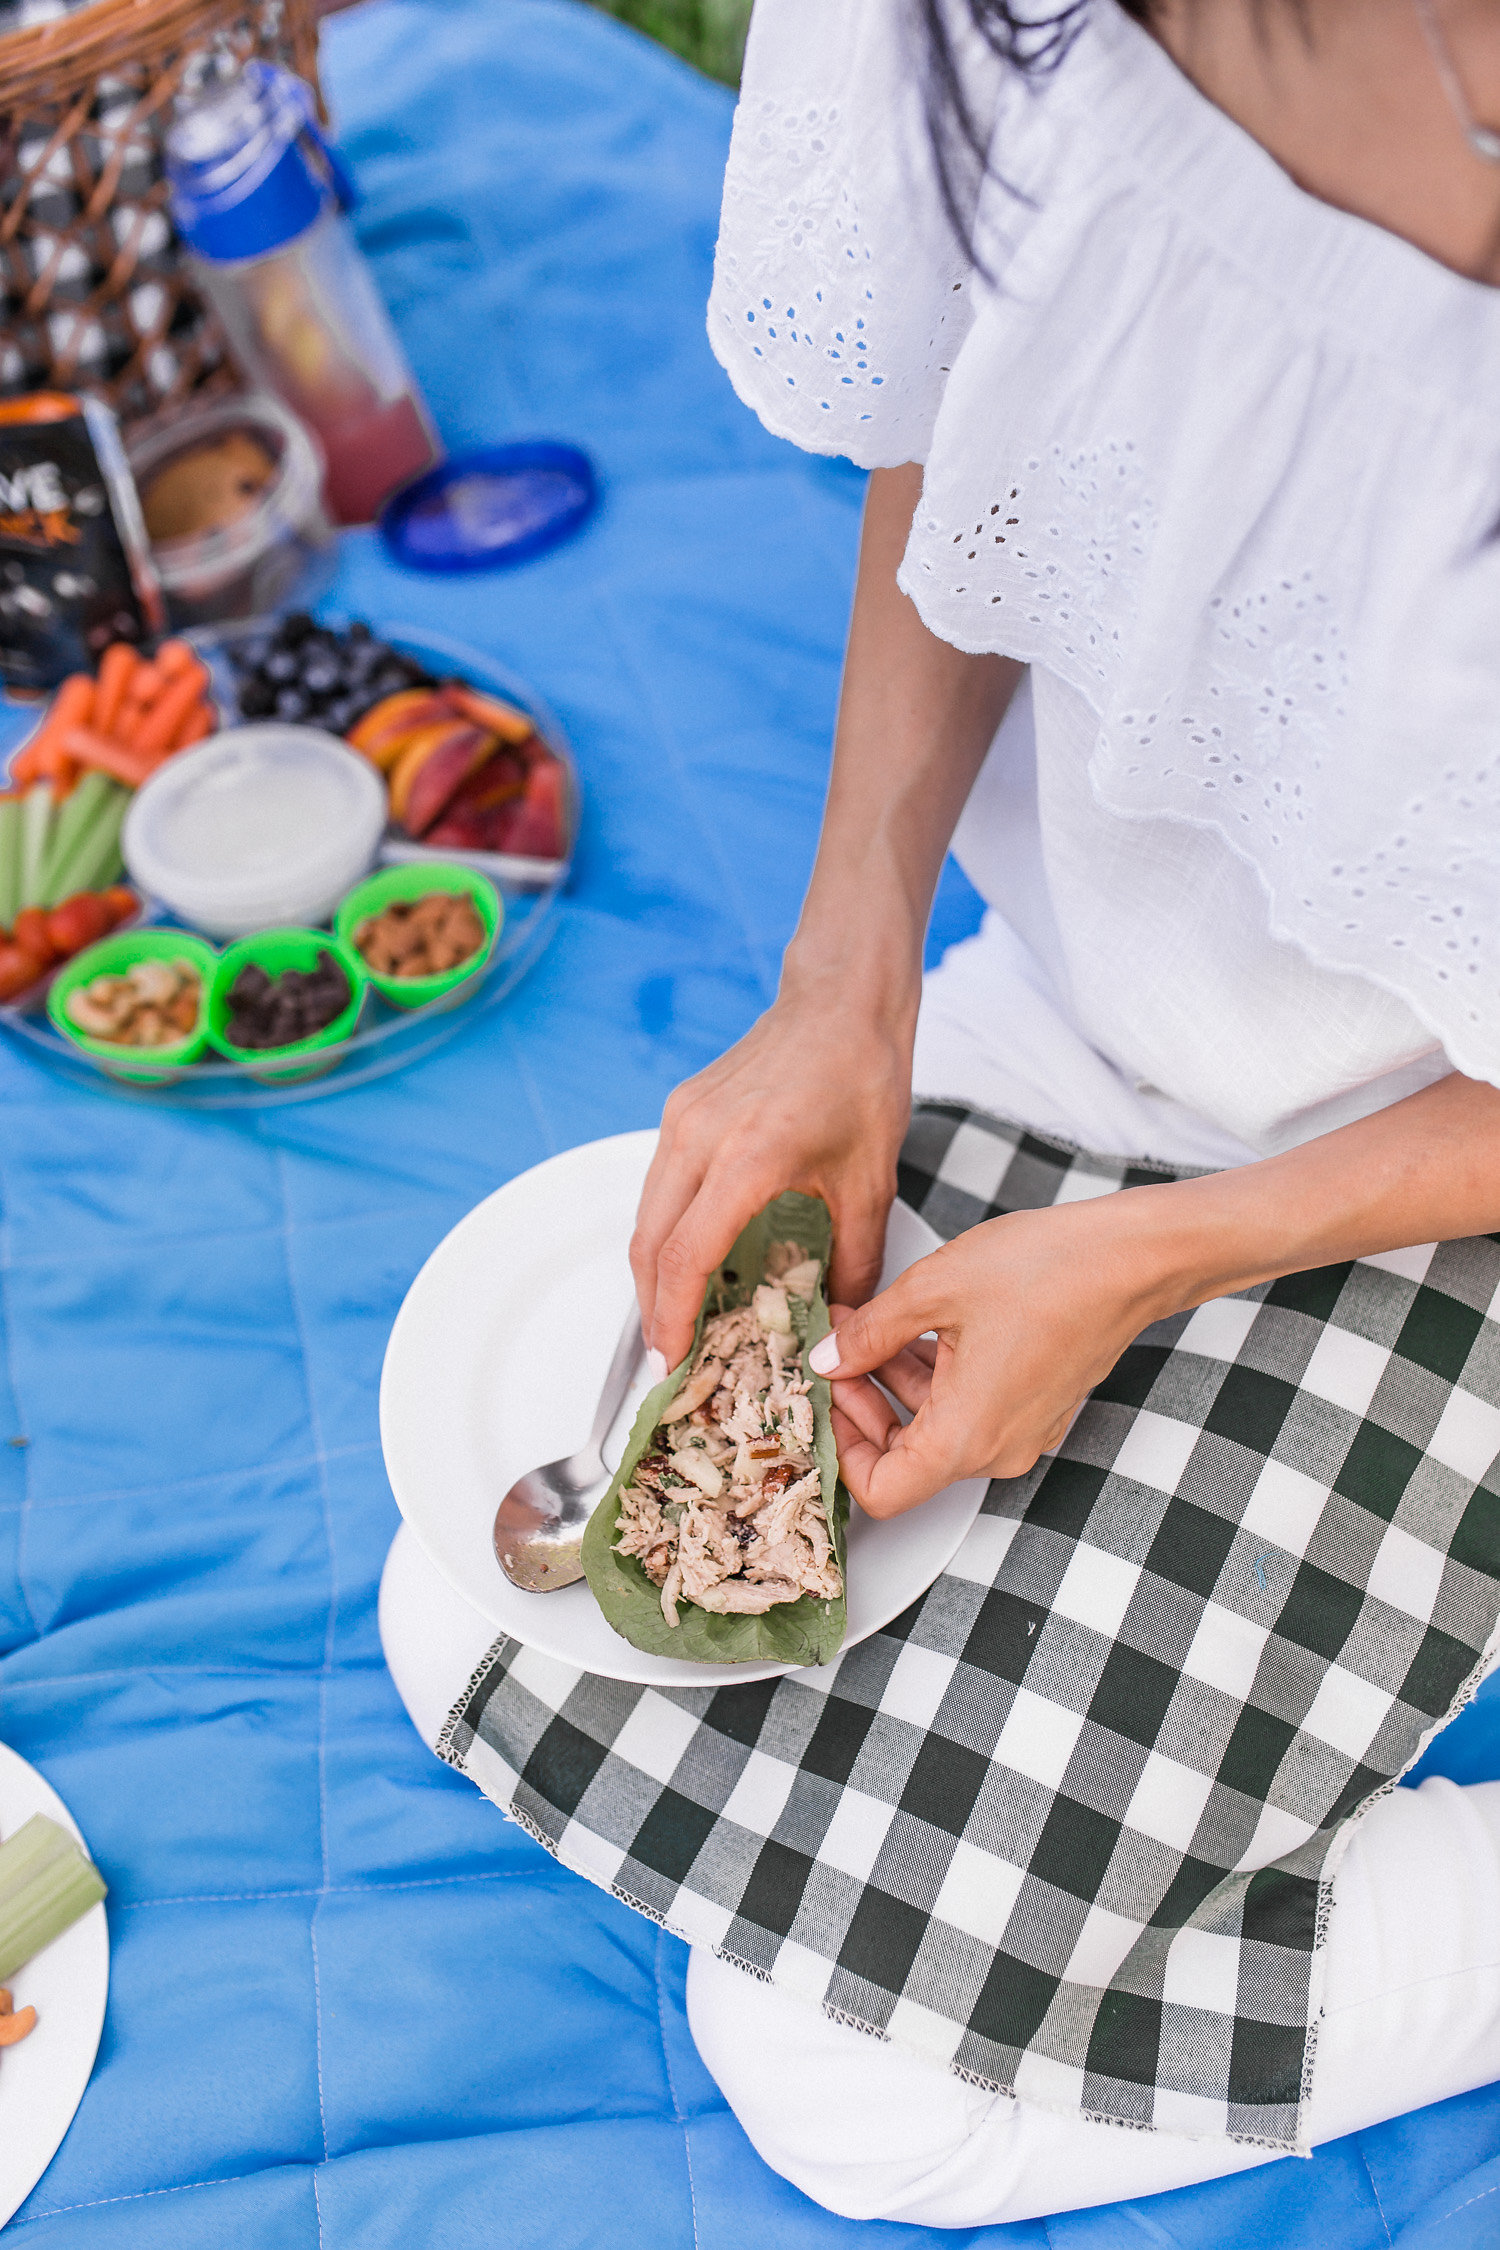
For picnic purposes, I filled the top portion with fruit and vegetables, our favorite homemade ranch dressing for dipping, cashews, almonds, and dairy-free chocolate chunks. On bottom, I added individual containers of Currant Chicken Salad along with large romaine lettuce leaves to make wraps!
To round out our picnic, I brought along travel friendly packages of olives and a bag of plantain chips. These are staples in our household and compliment our menu well!
My top tip for packing a healthy meal is: keep it simple with fresh, flavorful foods. Good food doesn’t have to be complicated!
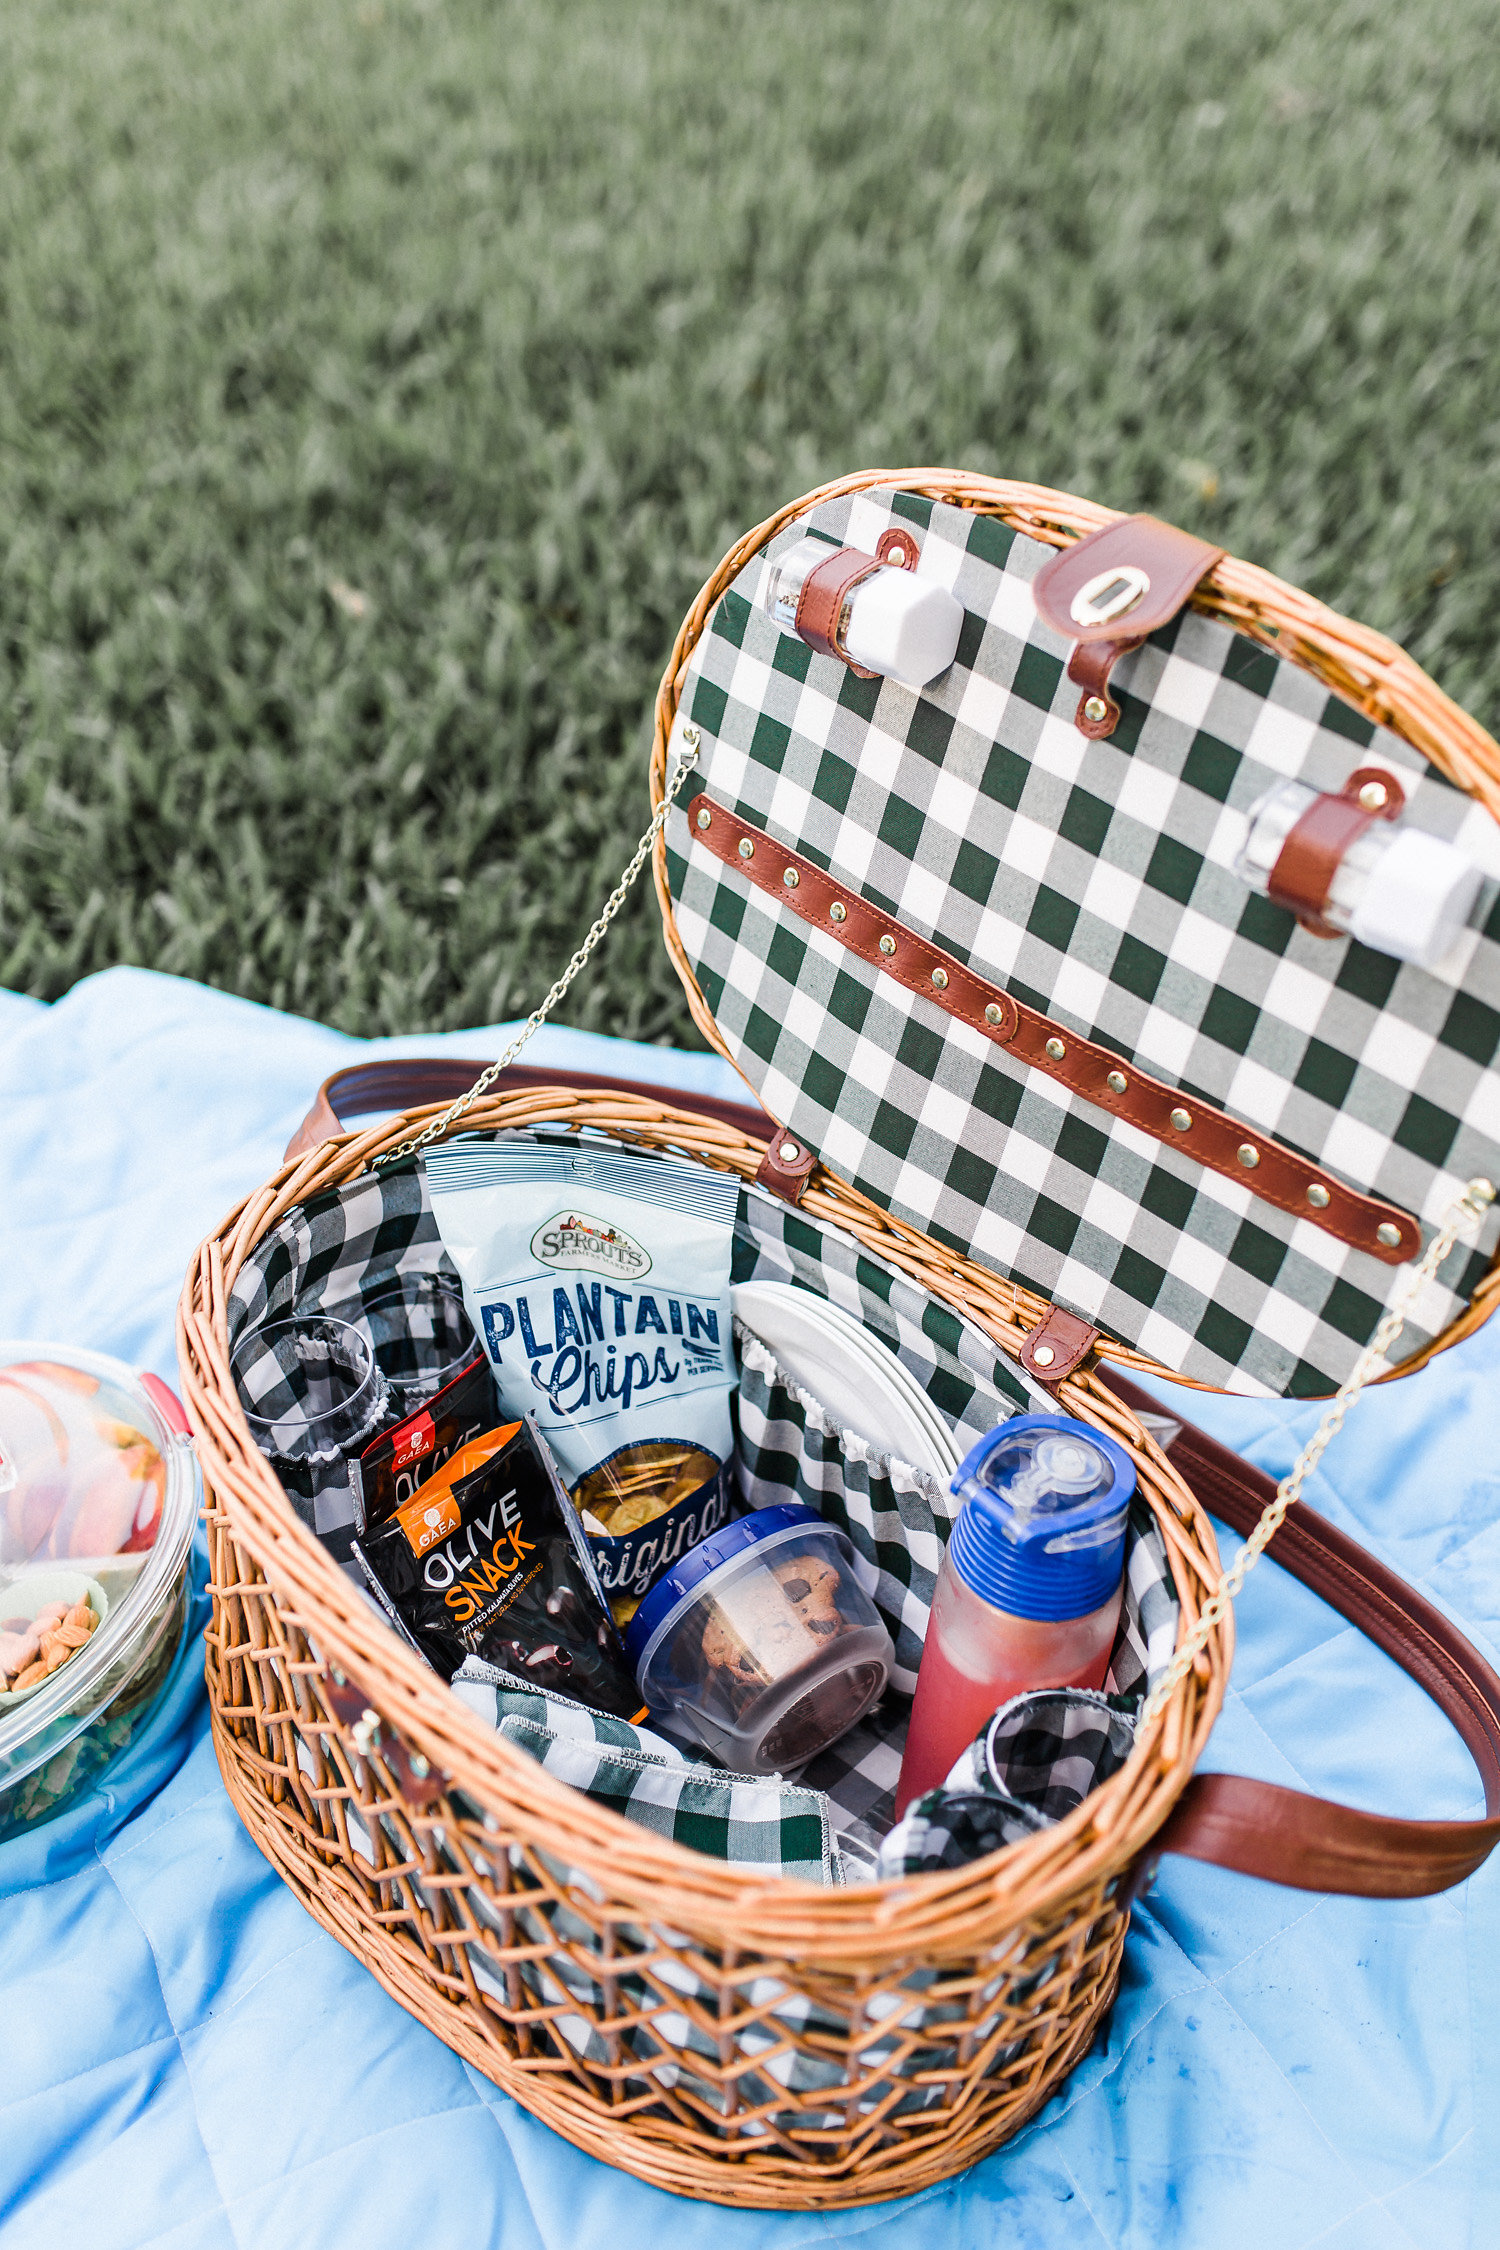
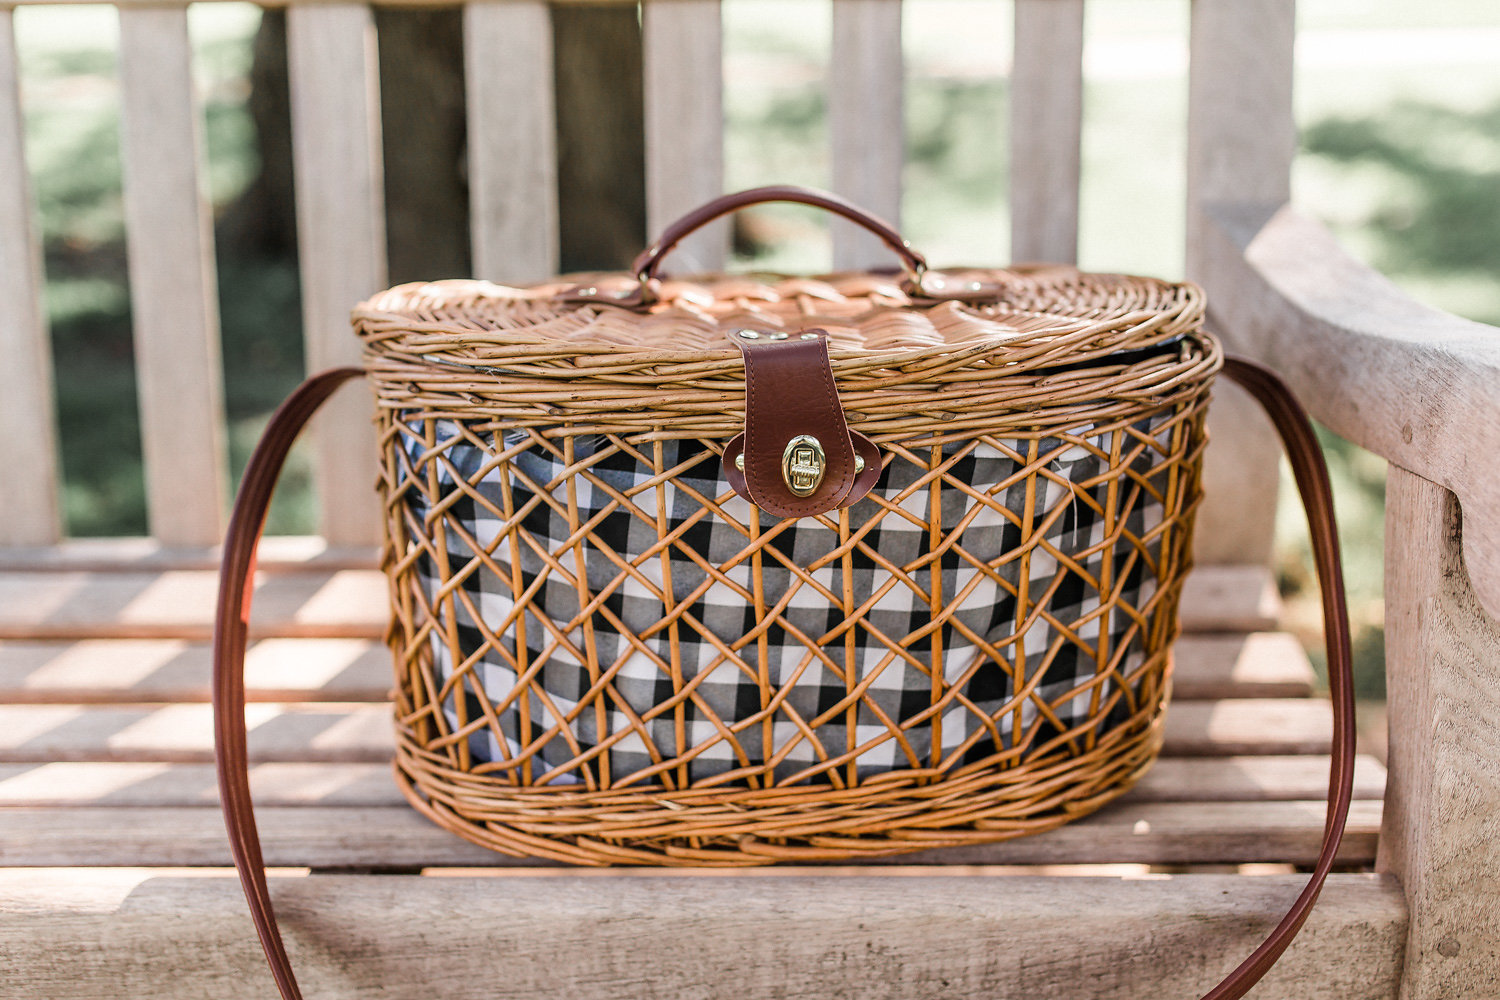
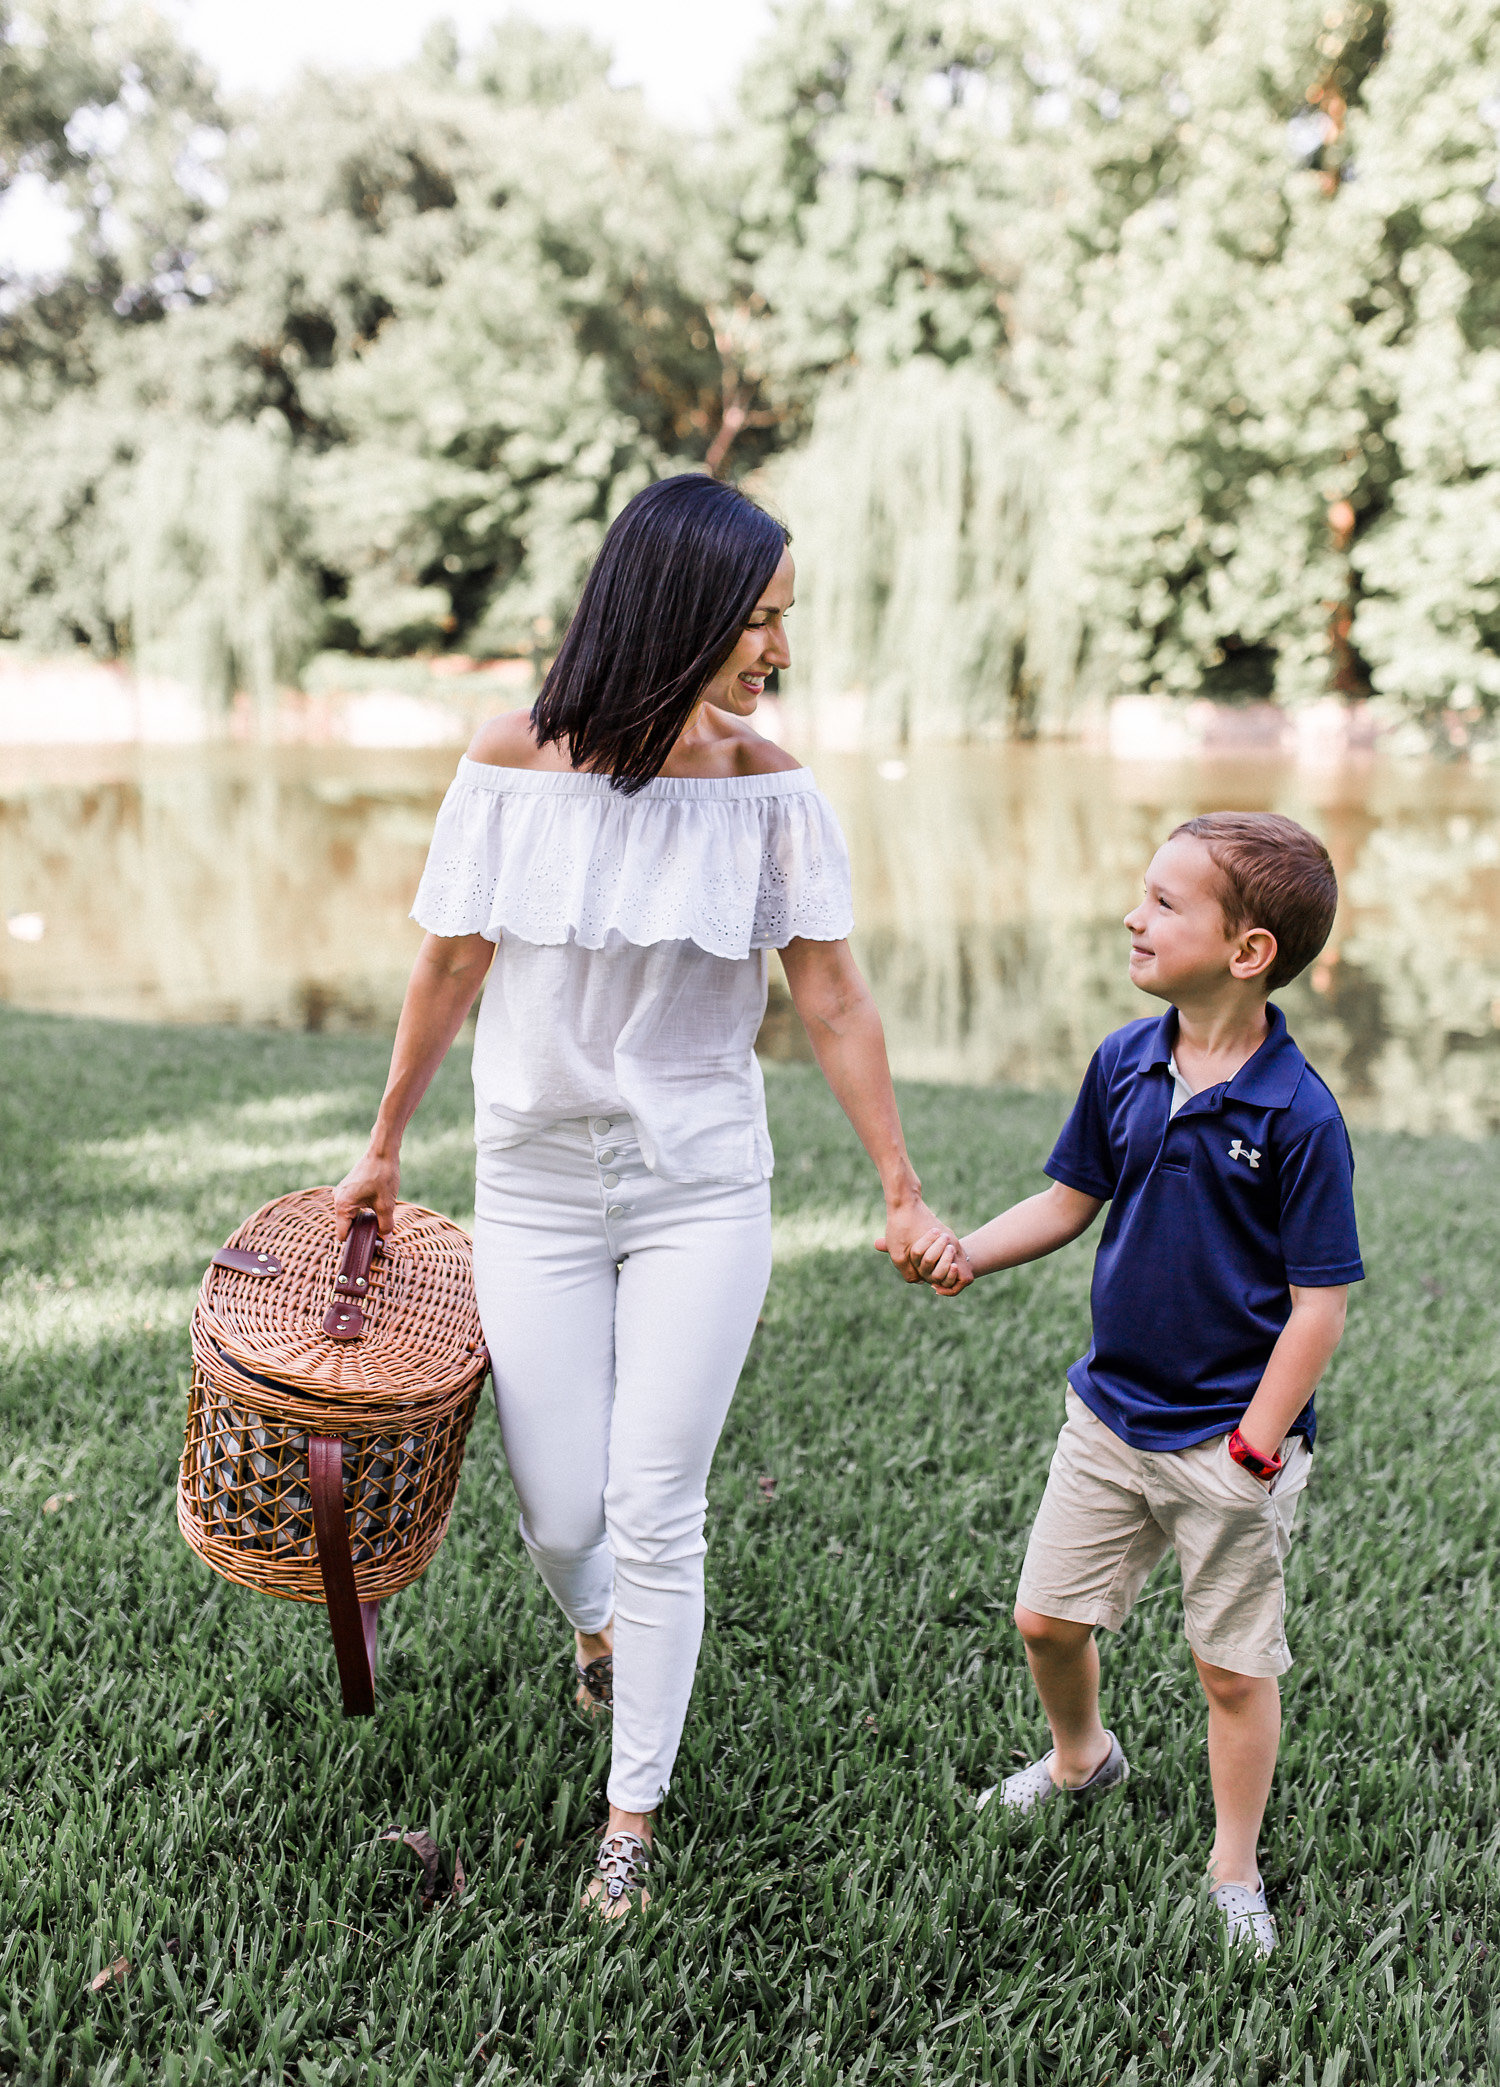
Last but not least, this picnic basket is an essential. It’s useful item to have in your home or to give as a thoughtful gift! It has everything you need for a lovely picnic and will inspire you to take your meals outdoors more often this summer!
Included in the picnic basket are 4 (of each) plastic plates, cups, silverware, and napkins. Inside the basket you’ll also find a tablecloth, salt and pepper shakers, and a corkscrew. This basket is also available in a smaller size, for two people!
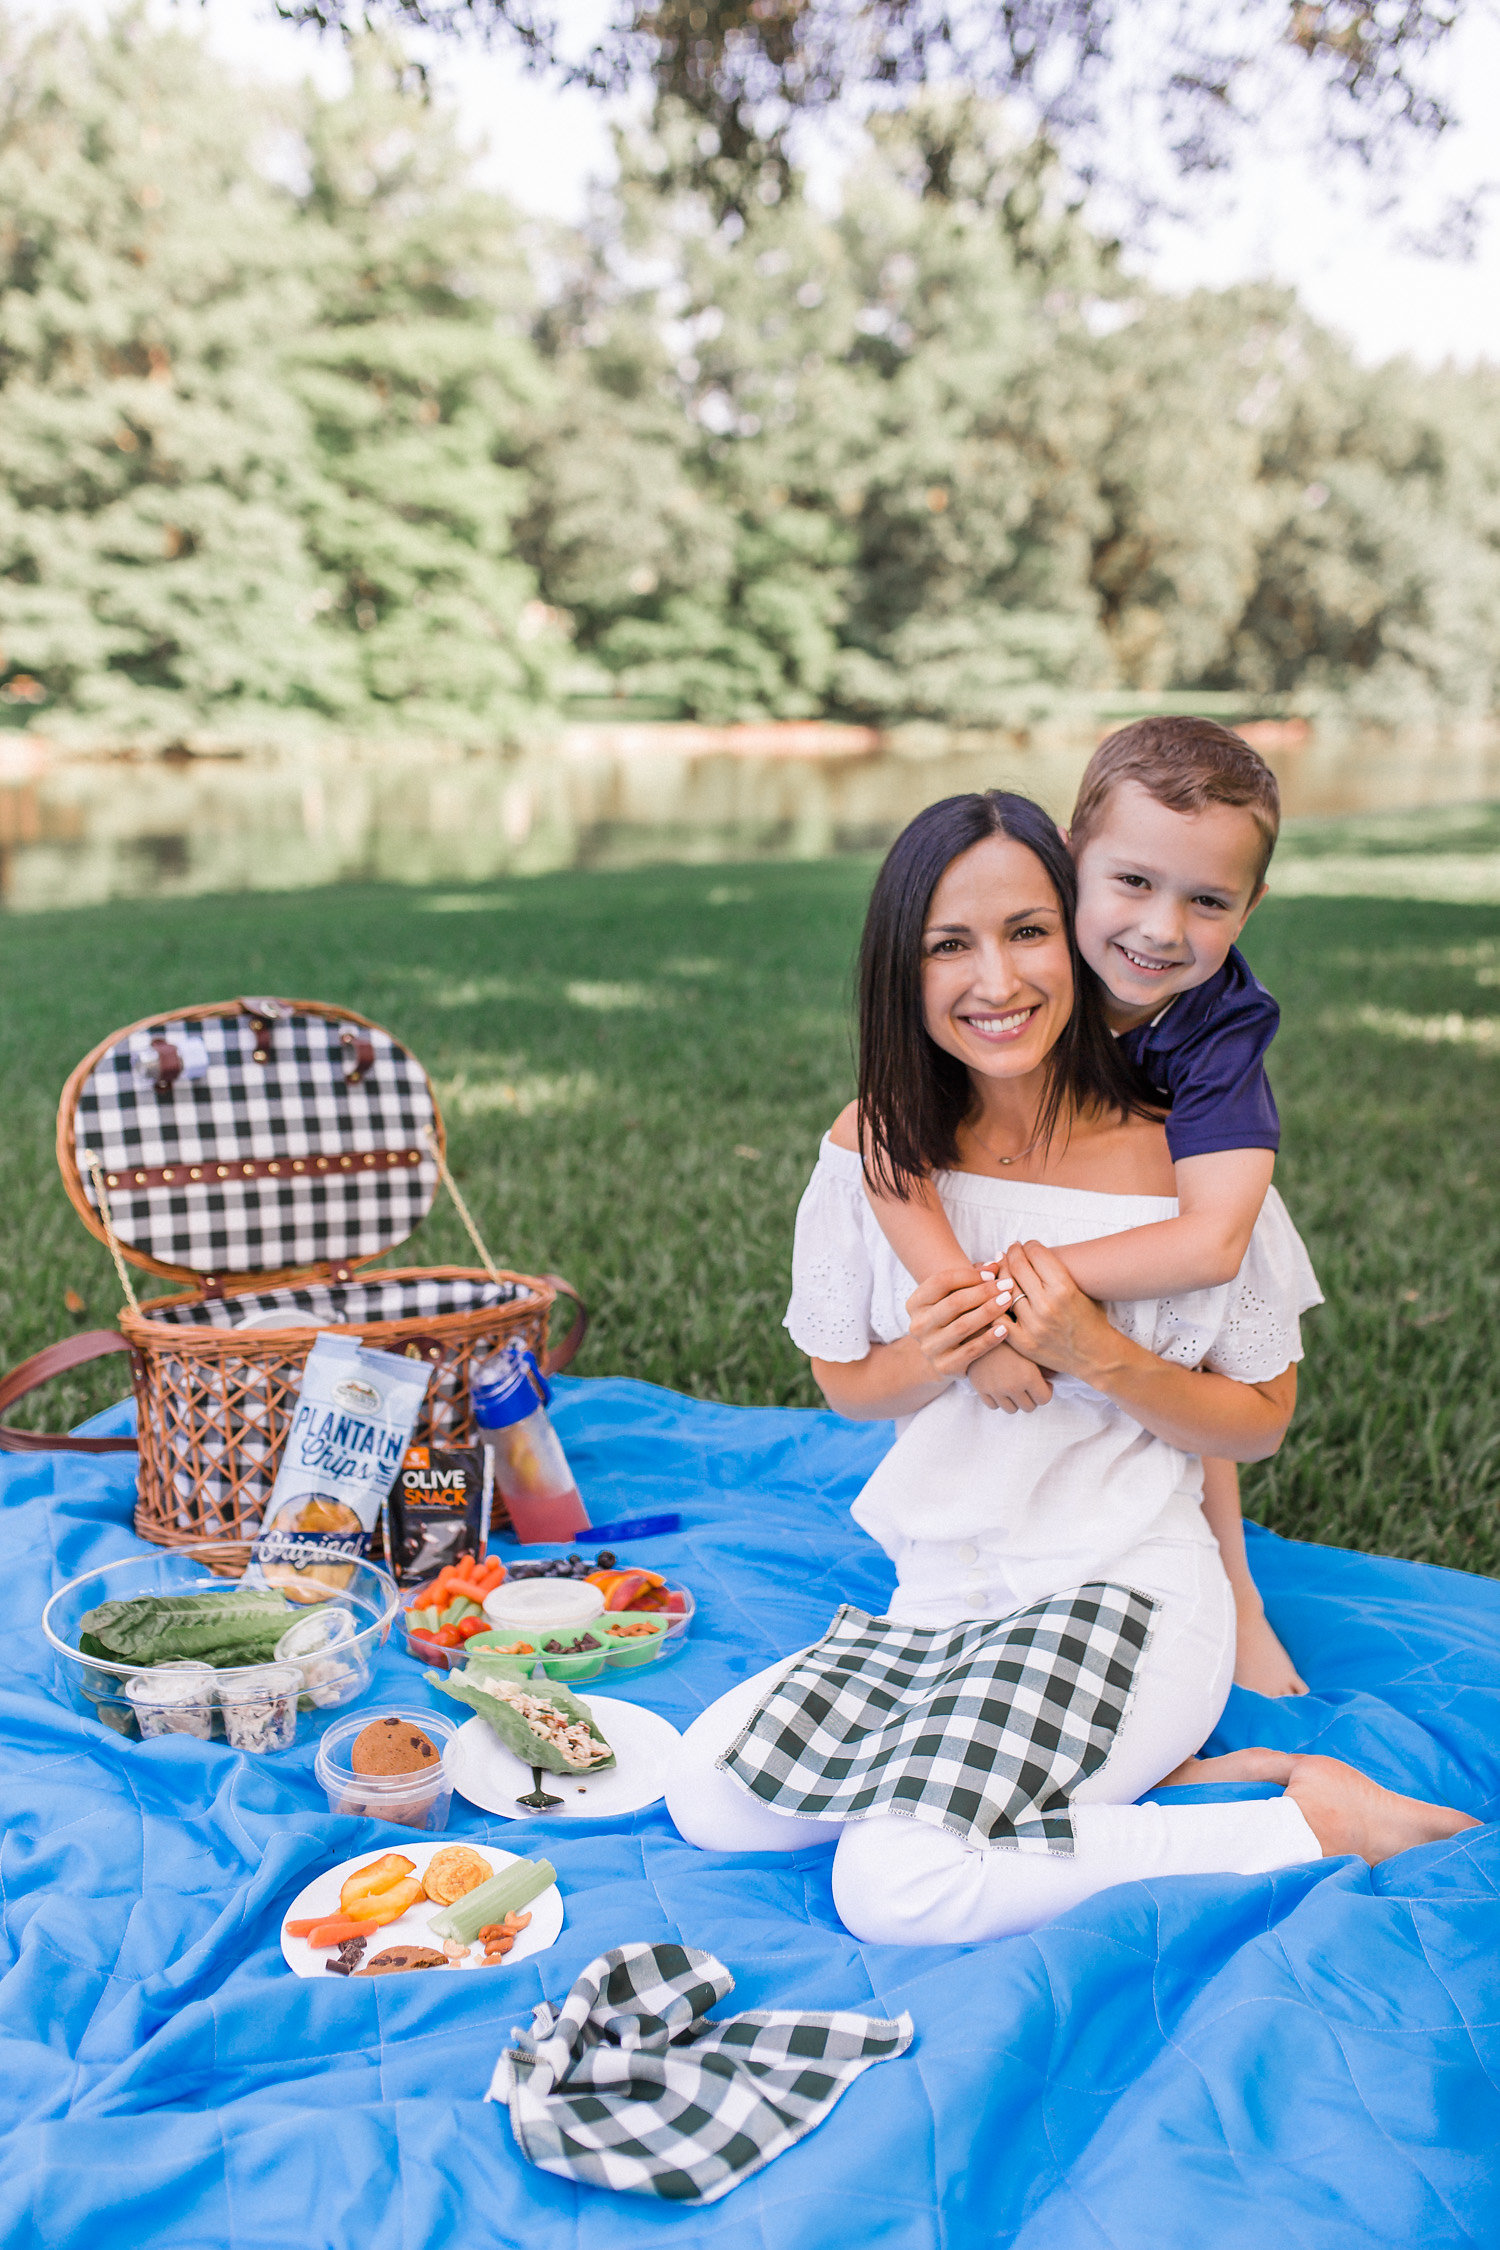
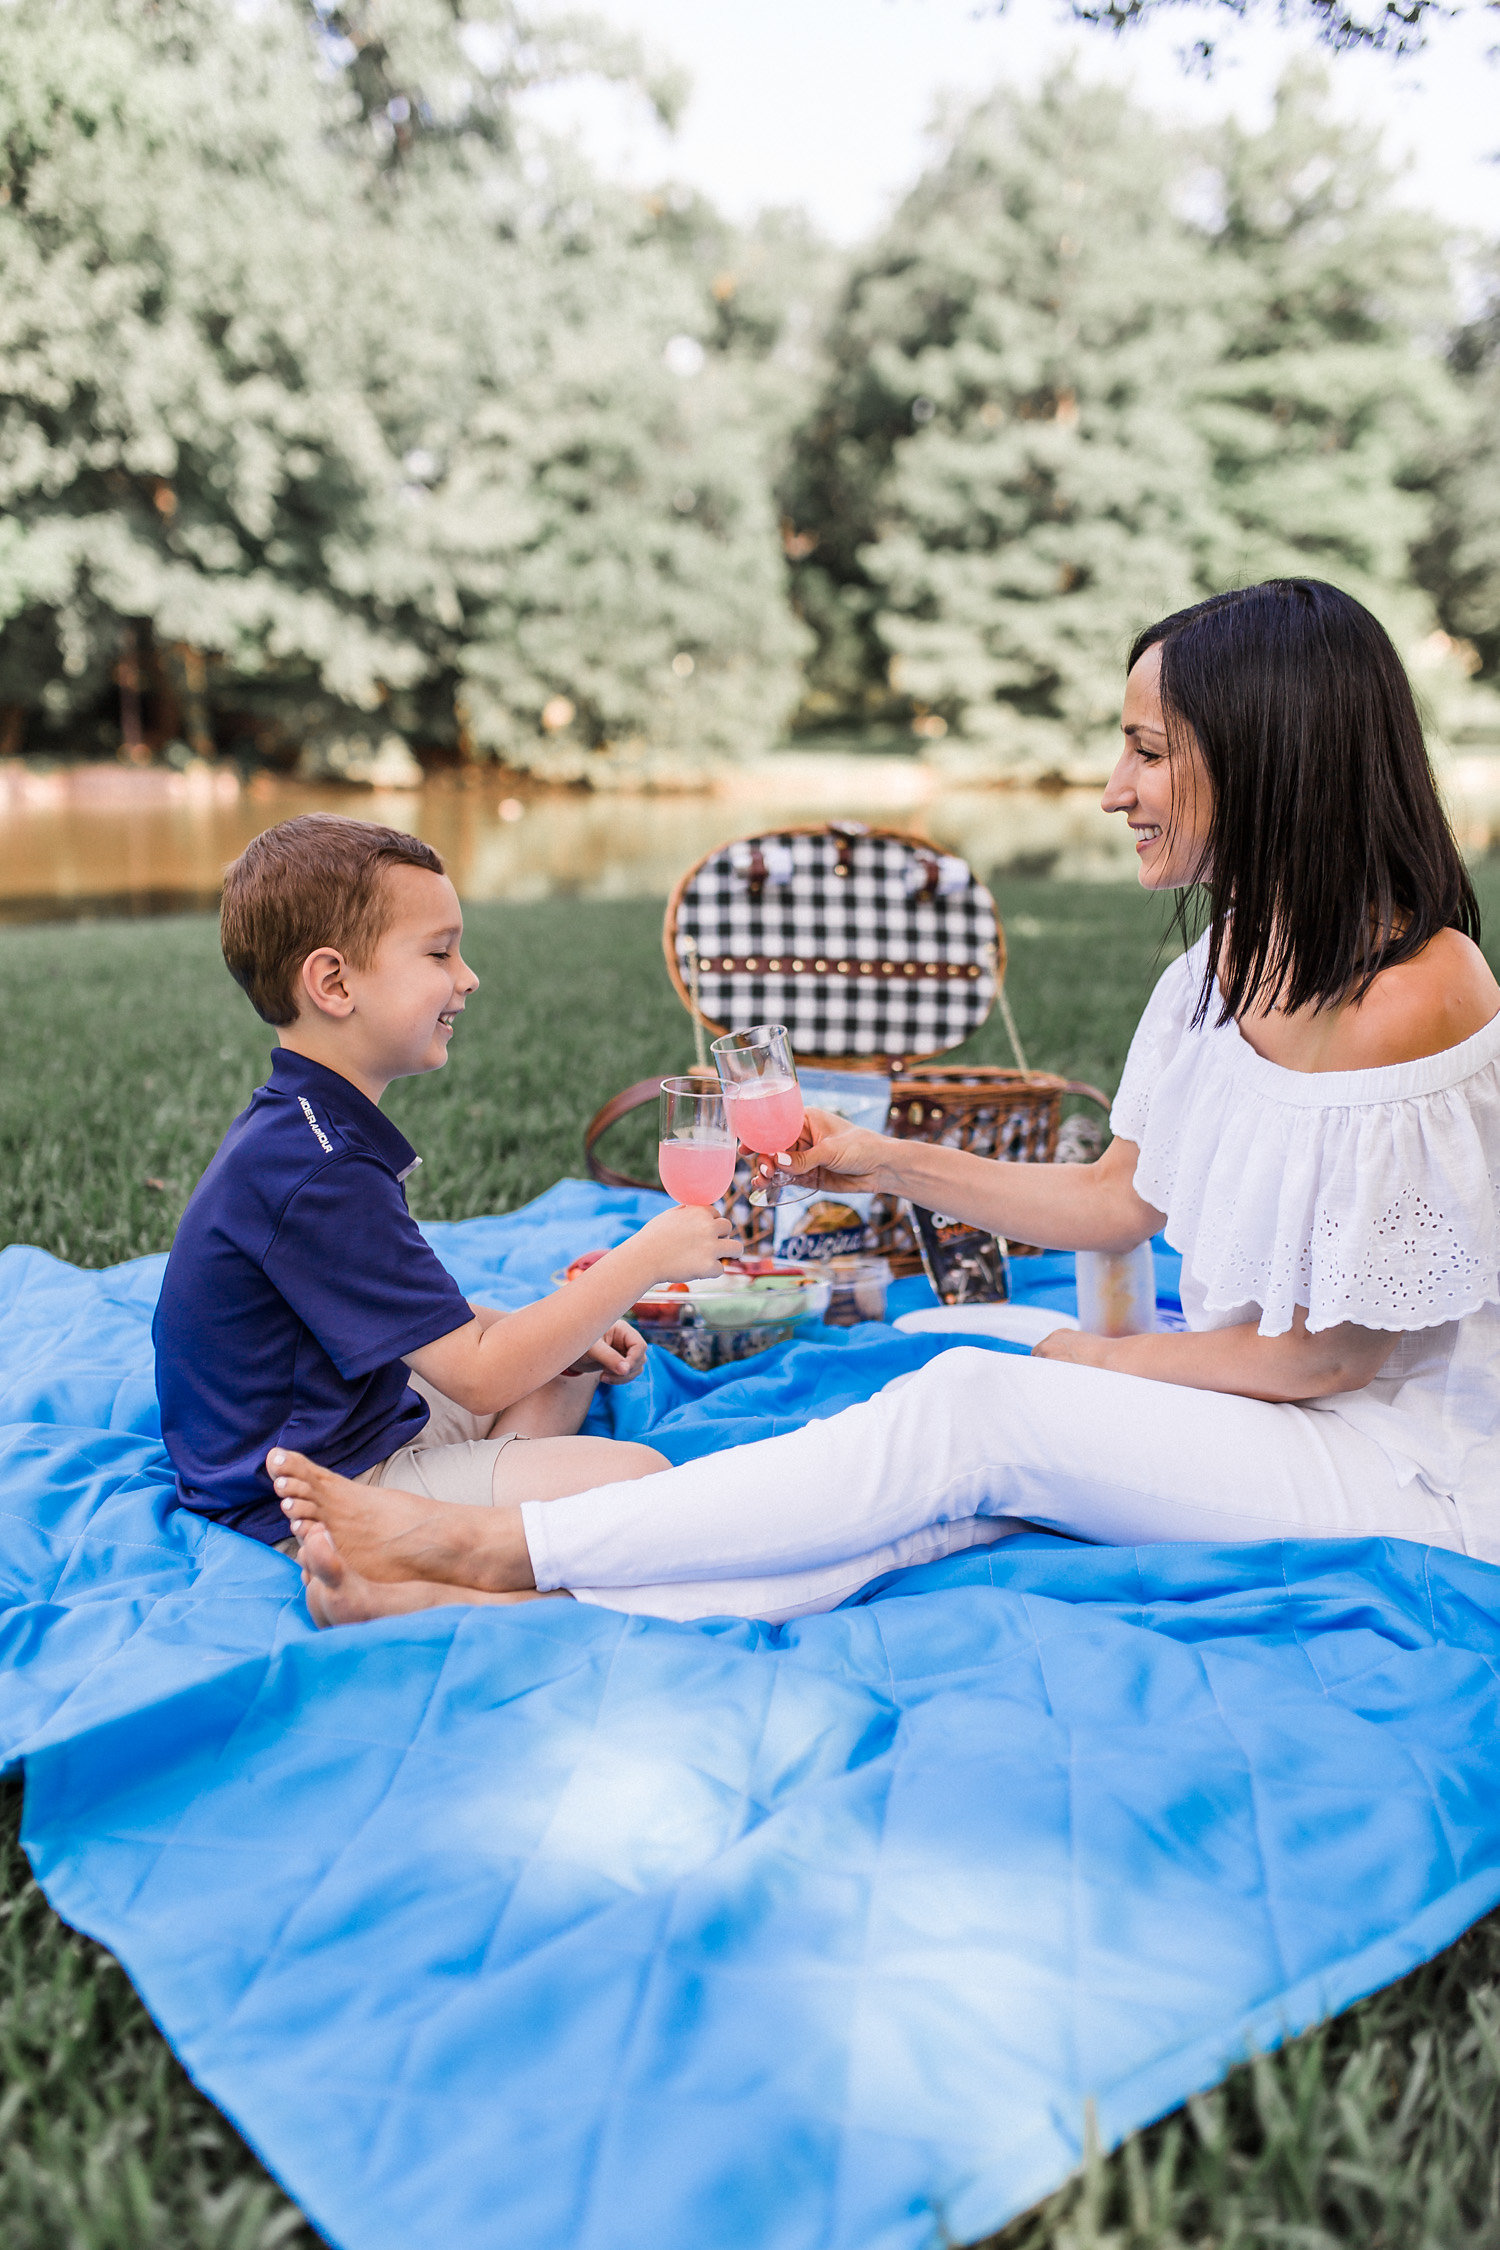
I hope this inspires you to pack a picnic for your loved one(s) and spend some time outdoors together! After ours, my son was asking if we could do another one soon…he loved it! Be sure to explore these products that make healthy eating a breeze this summer, and in any season!
Three Recipes from Make It Paleo II, (by Hayley Mason and Bill Staley):
Chicken Salad with Currants
Ingredients:
- 4 bone in skin on chicken thighs
- 3 heaping Tbsp Homemade Mayonnaise (also in the cookbook or here)
- 1 heaping Tbsp dried currants
- ½ cup raw pecans, chopped
- 3 Tbsp thinly sliced scallions, plus more for garnish
- Sea salt and ground black pepper
- Lettuce leaves for making wraps – I used romaine lettuce
Directions:
- Rinse the chicken thighs under cold water and pat dry with a paper towel.
- Preheat the oven to 400 degrees F. Place the chicken, skin side up, in a rimmed baking dish. Bake for 45 minutes, then allow to cool completely. (Don’t add the mayo to the chicken until it has been completely cooled or it will cause the oils in the mayo to melt.)
- Remove the skin from the chicken and shred the meat with 2 forks. Place the shredded chicken in a small mixing bowl. Add the mayo and mix to coat the chicken evenly.
- Add the currants, pecans, and scallions to the chicken mixture and season with salt and pepper. Stir again to make sure the ingredients are evenly combined. Cover and place the salad in the fridge to keep it cool until ready to serve.
- When you’re ready to eat, scoop a few spoonfuls into a lettuce wrap or serve over a bed of greens! Yum!
*Another option: the cookbook showed the chicken salad served stuffed into vine-ripened tomatoes…
Quick tip: You can also use rotisserie or leftover cooked chicken breast to make this recipe even faster…
Raspberry Lemonade
Ingredients:
- Juice of 8 lemons (1 ½ cups)
- 1- 10 oz package frozen raspberries
- 4 cups filtered water
- Liquid stevia extract or sweetener of choice
- Fresh raspberries for garnish (optional)
- Fresh mint or basil sprigs for garnish (optional)
Directions:
- Pour the lemon juice into a mixing bowl. Add the raspberries and let stand for 1-2 hours, stirring every so often, until the raspberries have thawed and combined with the lemon juice.
- Pass the fruit mixture through a very fine mesh strainer, discarding pulp and seeds
- Add the fruit juice to a large pitcher and mix with the filtered water. Add liquid stevia extract to taste.
- Serve over ice, garnished with fresh raspberries and a sprig of basil or mint, if desired.
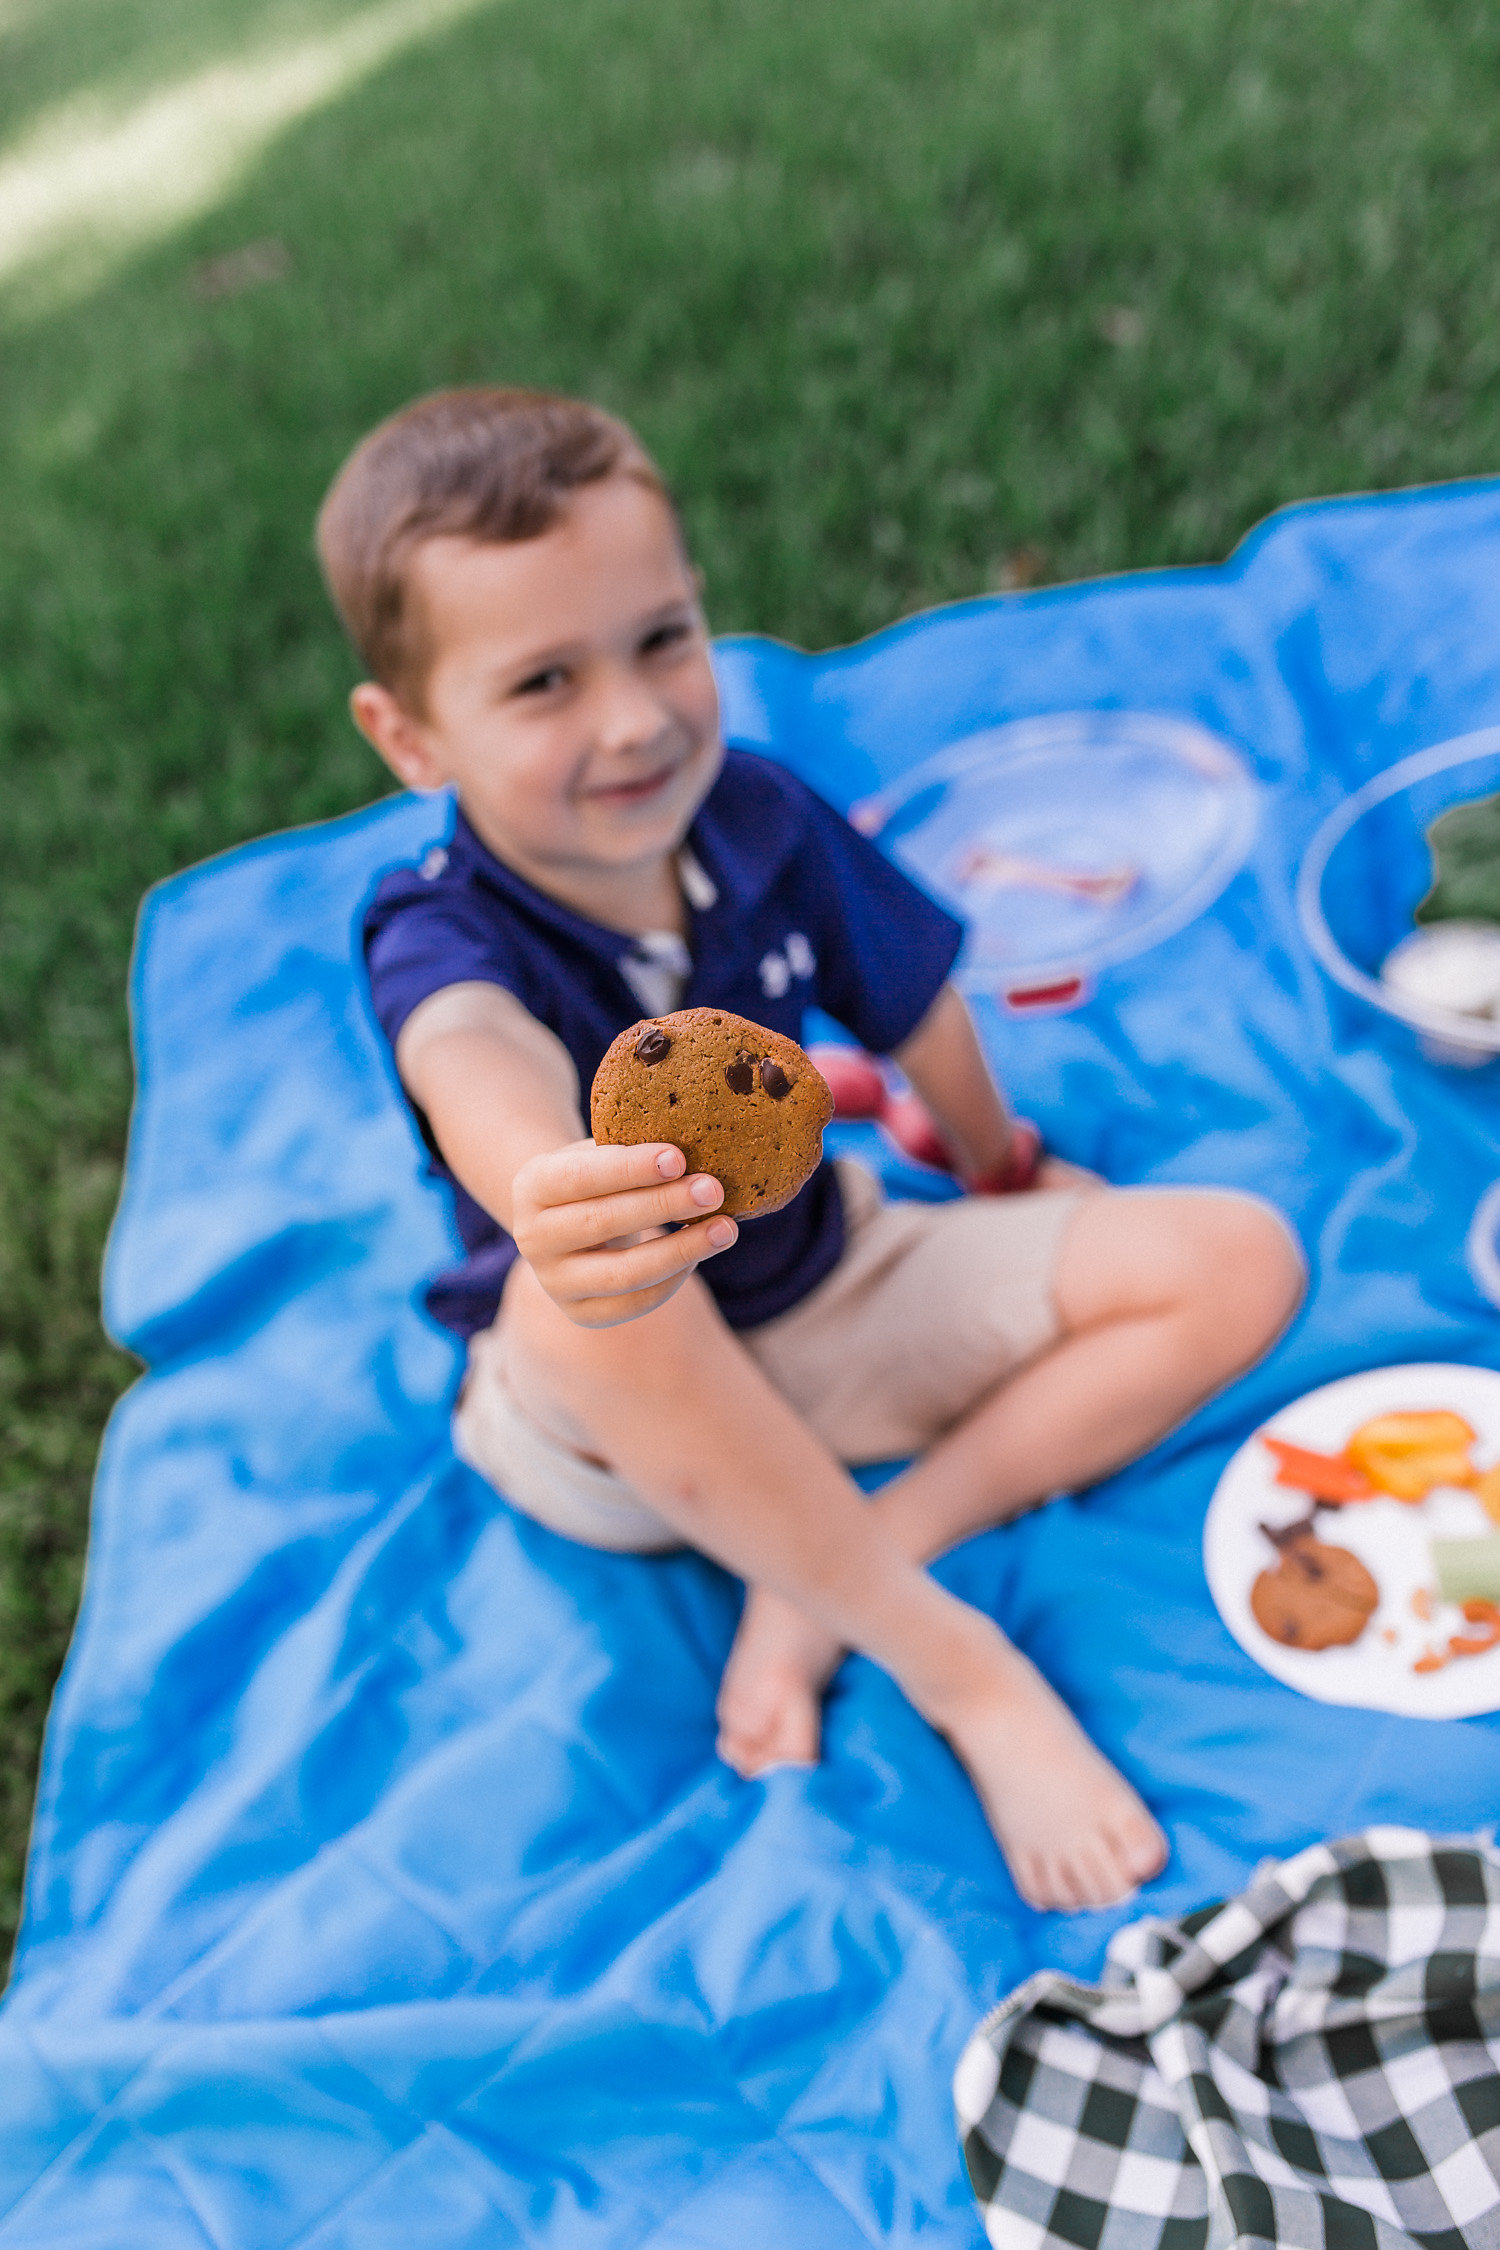
Chocolate Chip Sunbutter Cookies
Ingredients:
- 1 cup sunflower seed butter
- 2 large eggs
- 1 tsp pure vanilla extract
- ¼ tsp sea salt
- 2/3 cup granulated maple sugar
- 1 ½ Tbsp coconut flour
- ½ tsp Baking Powder
- 1 Tbsp palm shortening, gently melted
- 1/3 cup allergen free dark chocolate chips
Directions:
- Preheat the oven to 350 F. Line two baking sheets with parchment paper.
- In a medium sized mixing bowl, combine the sunflower seed butter, eggs, vanilla extract, and salt. Blend with an electric hand mixer until smooth.
- Sift in the maple sugar, coconut flour, and baking powder and blend until smooth. Add the melted palm shortening and blend again until smooth.
- Stir in the chocolate chips. Using a #50 cookie scoop or two spoons, scoop 1 ¼ Tbsp sized portions of the dough onto the lined baking sheets, keeping in mind that the cookies will spread about ½ inch. Lightly press down on the cookies with your hand to flatten them slightly.
- Bake each sheet of cookies on the center rack of the oven for 15 minutes, until they are cooked through with golden edges. Let cool on a wire rack before serving.
*The cookies will keep for up to 1 week in a tightly sealed container in the refrigerator.
This cookbook has so many amazing recipes! Be sure to order your copy!