A card made with an opulent edge is one of my go-to techniques when making a card from scratch. The pretty tassels on this project are suitable for all occasion greetings.
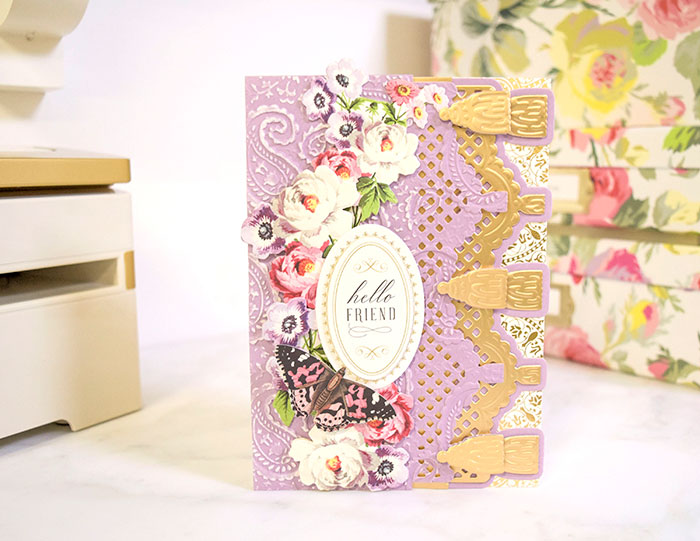
Finished Size: 5×7 card
Materials:
- Anna GriffinÒ Empress Die Cutting and Embossing Machine
- Anna GriffinÒ Tool ‘n One
- Anna GriffinÒ Tassel and Fringe Cut and Emboss Dies
- Anna GriffinÒ Bohemian 3D Embossing Folders, Bohemian Paisley
- Anna GriffinÒ Elegant Easels Card Kit (flowers, butterfly and sentiment)
- (1) 4 ¼”x 7” piece Anna GriffinÒ Everyday Perfect Palette II (lavender)
- (1) 2 ¼”x 7” piece Anna GriffinÒ Everyday Perfect Palette II (lavender)
- (1) 5”x 7” piece Anna GriffinÒ Foil Cardstock Bundle (gold)
- (1) 2”x 3” piece Anna GriffinÒ Foil Cardstock Bundle (gold)
- (1) 5”x 7” Anna GriffinÒ Pretty Patterns Card Base (gold medallion)
- Double-sided adhesive
- Foam square adhesive
- Sanding block
Instructions:
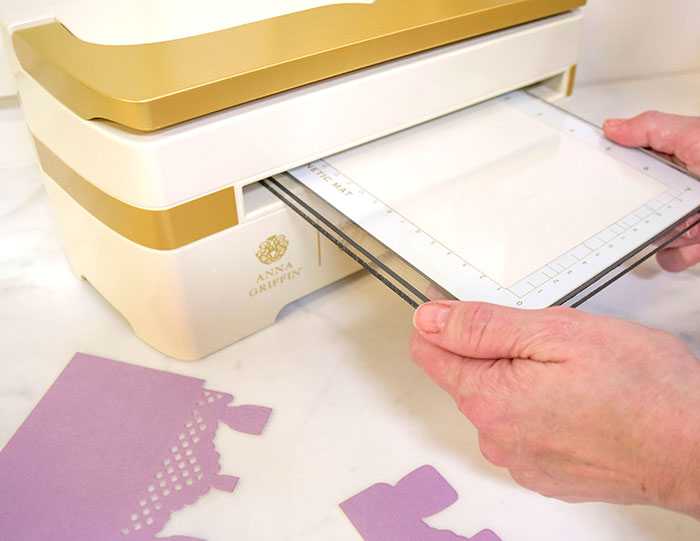
- Using the Empress, die cut the following:
- (1) 4 ½”x 7” piece of lavender cardstock using the inner tassel border die
- (1) 2 ¼”x 7” piece of lavender cardstock using the outer tassel border die
- (1) 5”x 7” piece of gold foil cardstock using the inner tassel border die
- (1) 2”x3” piece of gold foil cardstock using the matching medium sized inner tassel. Use three times to make three tassels.
- Using the Empress, emboss the gold foil 5”x 7” die-cut layer and 3 die cut tassels using the dies, foam mat and metal shim.
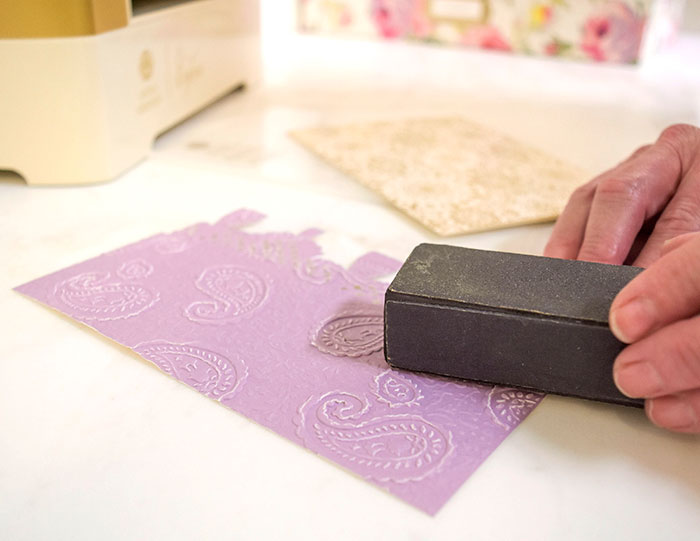
- Emboss the 4 ¼”x 7” lavender layer using the Bohemian Paisley embossing folder by sandwiching the embossing folder between the two “A” plates.
- With the sanding block, sand the 4 ¼”x 7” lavender embossed tassel layer. Do not sand the tassels.
Assembly:
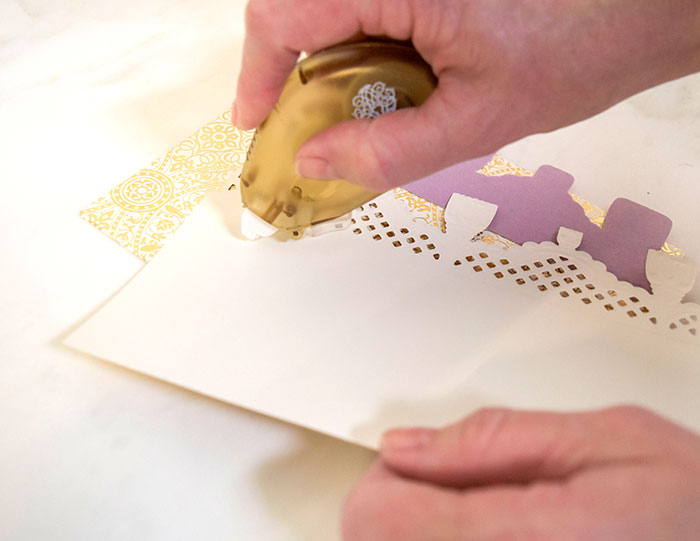
- Using double-sided adhesive, attach the purple shadow die cut piece to the open edge of the card base, with the tassels overlapping the edge slightly.
- Adhere the embossed 5”x 7” gold tassel layer using double sided adhesive. Be sure to align the tassel layer evenly over the tassel shadow layer.
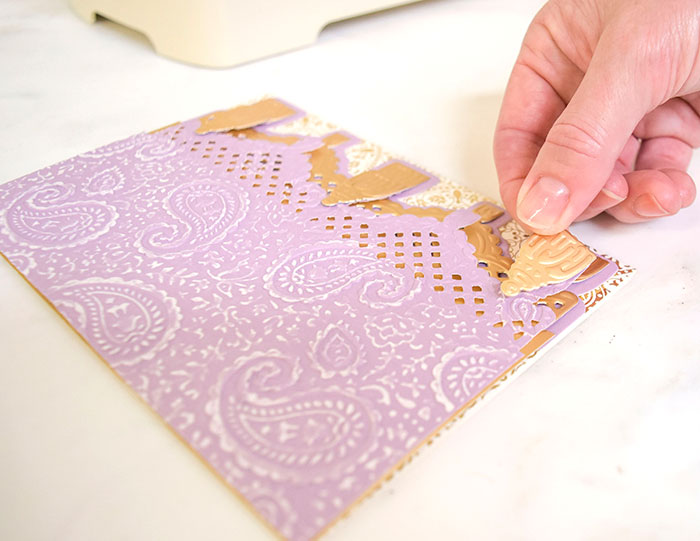
- Attach the lavender sanded and embossed layer using foam squares, making sure to align it to the edge of the card near the crease.
- Using foam squares, attach the gold tassels on top of the lavender embossed layer.
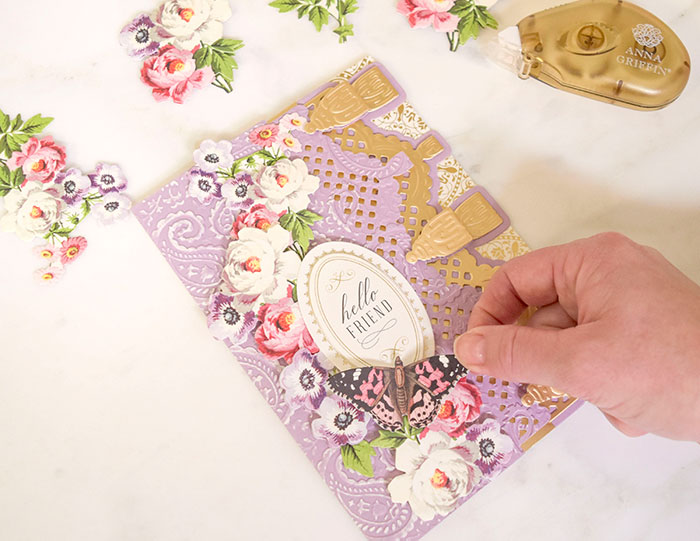
- Adhere the flower stickers to the left side of the card.
- Attach the sentiment sticker near the center of the card. Place foam squares on the back of the right side of the sentiment so that it will lay evenly on the card base.
- Using foam squares, attach the butterfly to the bottom left of the sentiment.


Thanks for the demo on Tassels. It is a beautiful card.
Wonderful! Just found this today! Where was I?