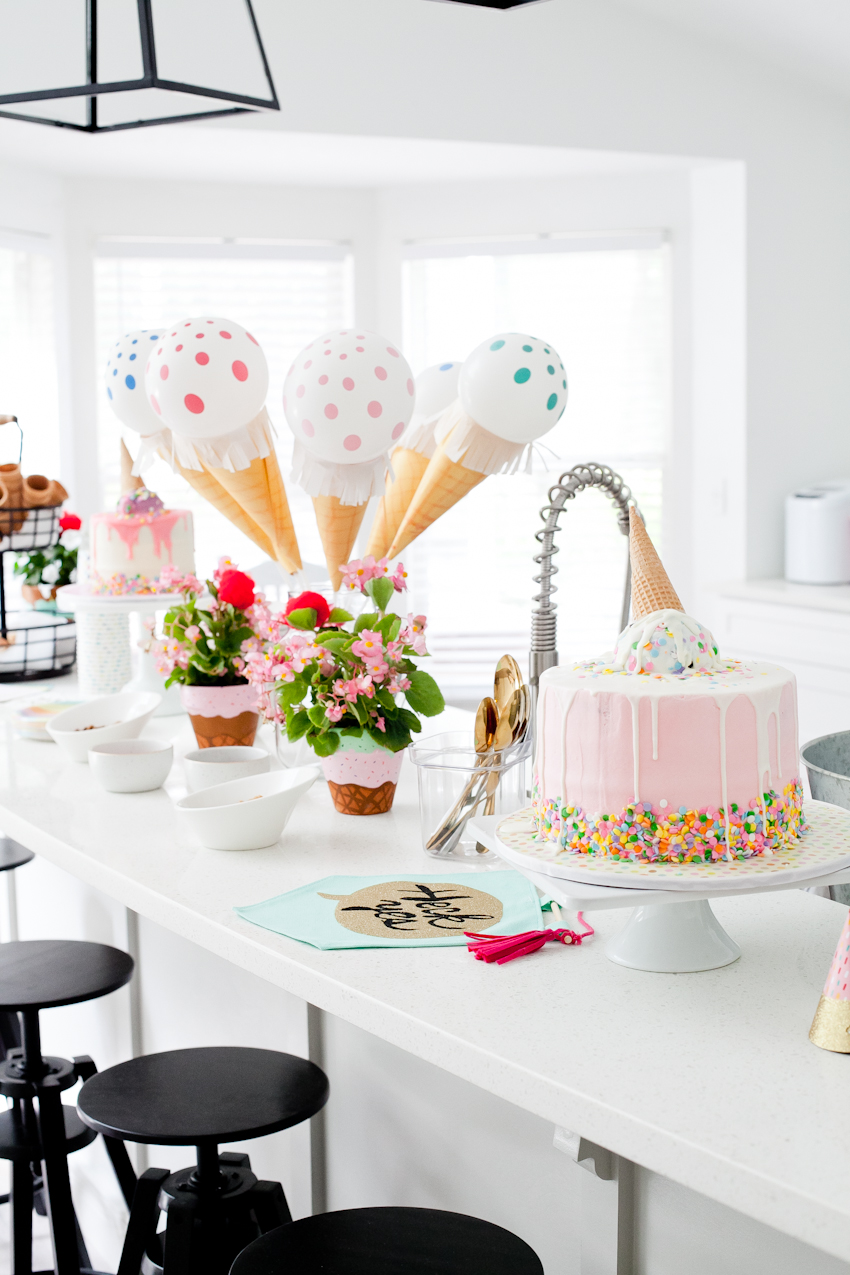
It’s so easy to get lost in a Pinterest gallery full of DIY projects. So many to try and so little time. As much as I love a DIY, I love it even more when they are simple!. When planning my littlest one’s 1st birthday… which just happened to be an Ice Cream Social, I wanted to incorporate some fun DIY decor that would add a little extra “flavor” to the occasion without adding a bunch of extra stress.
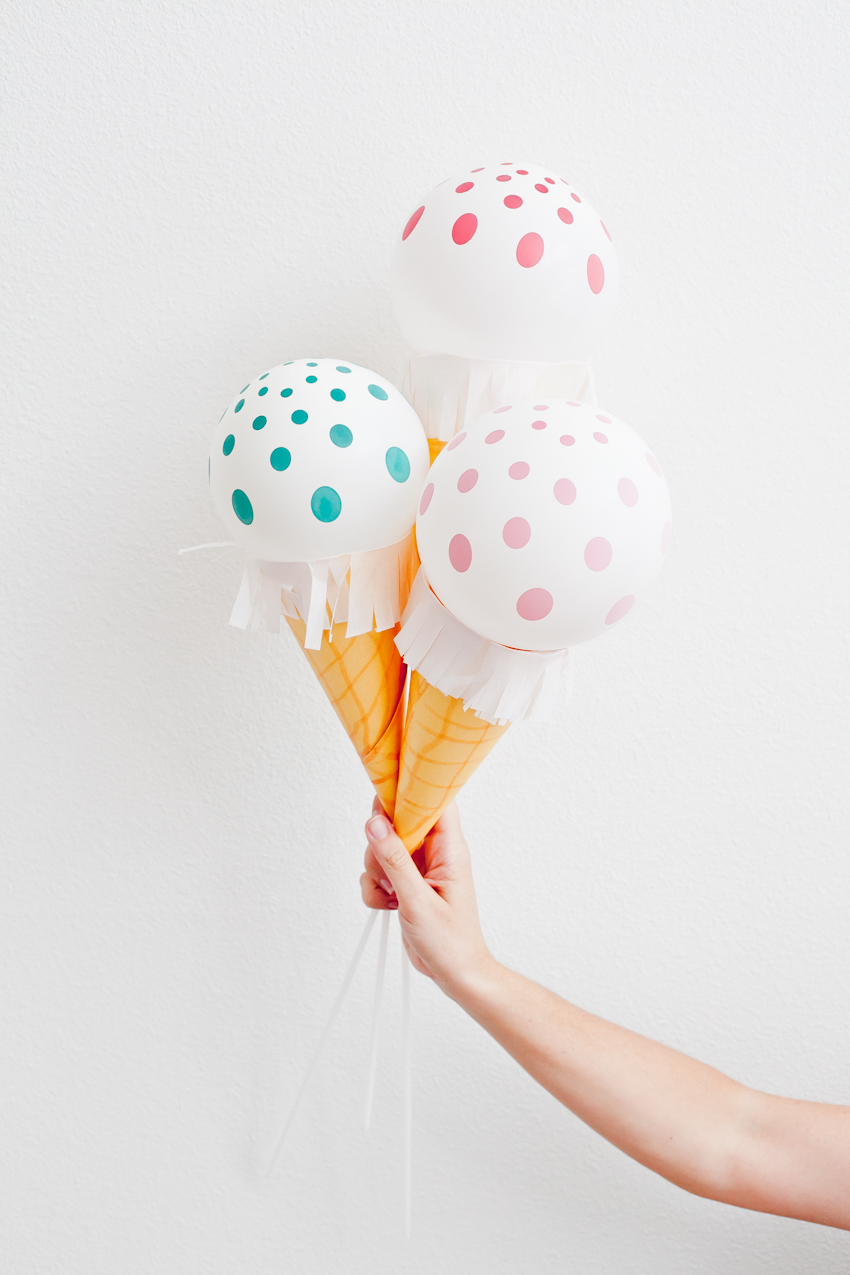
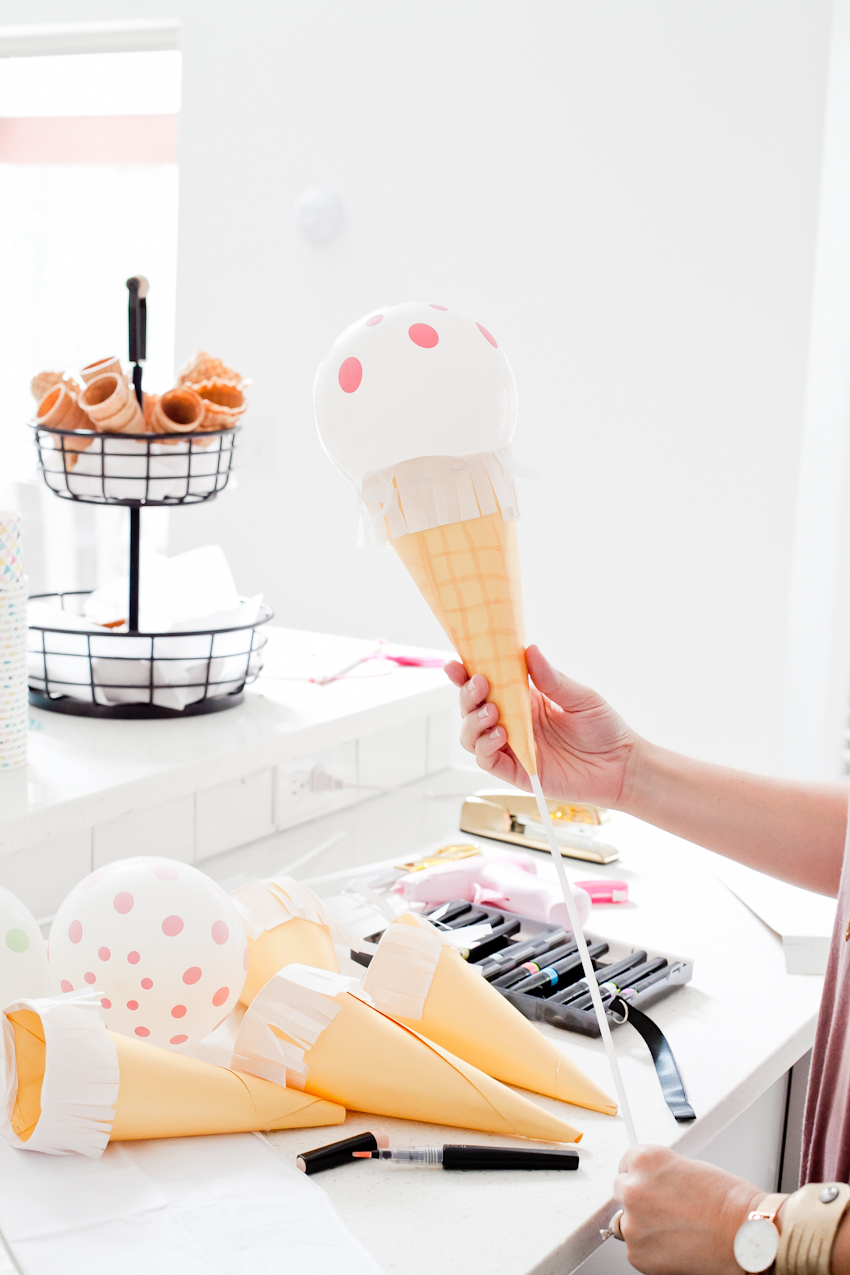
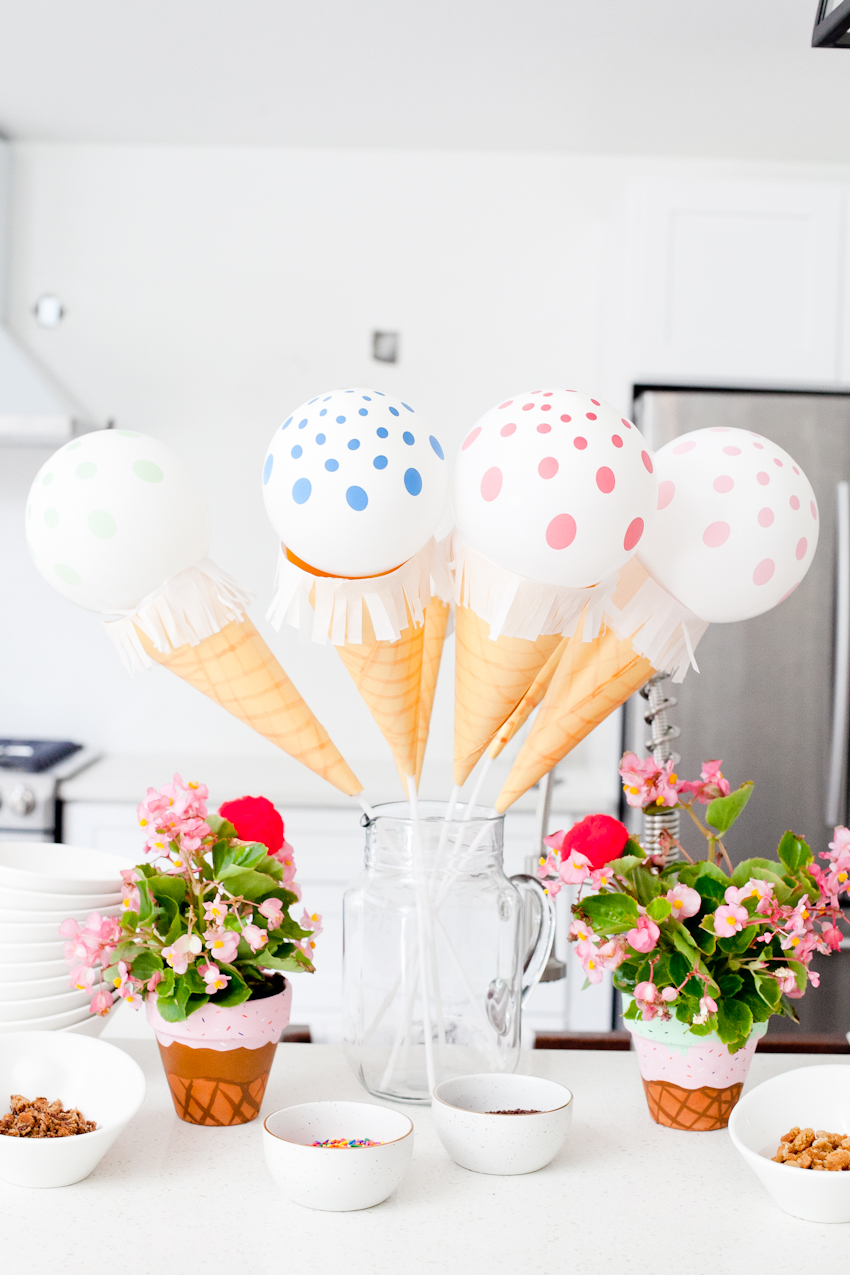
These super cute Ice Cream Cone Balloons were a simple project to pull off and they made a big impact in the overall decor. And another plus? They were uber popular with the littles!! What could have been just another balloon became the centerpiece of the day and a fun little gift for our mini attendees!
DIY Ice Cream Cone Balloons
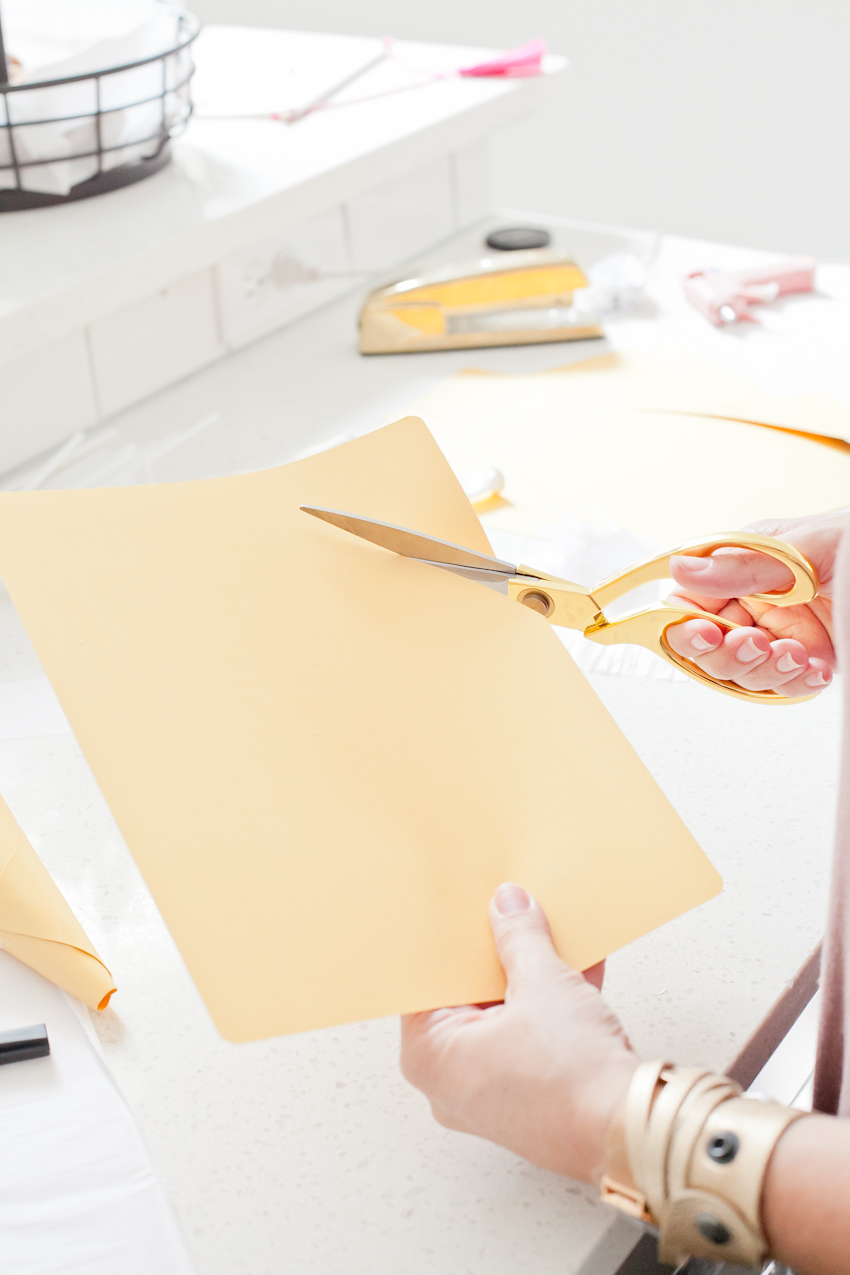
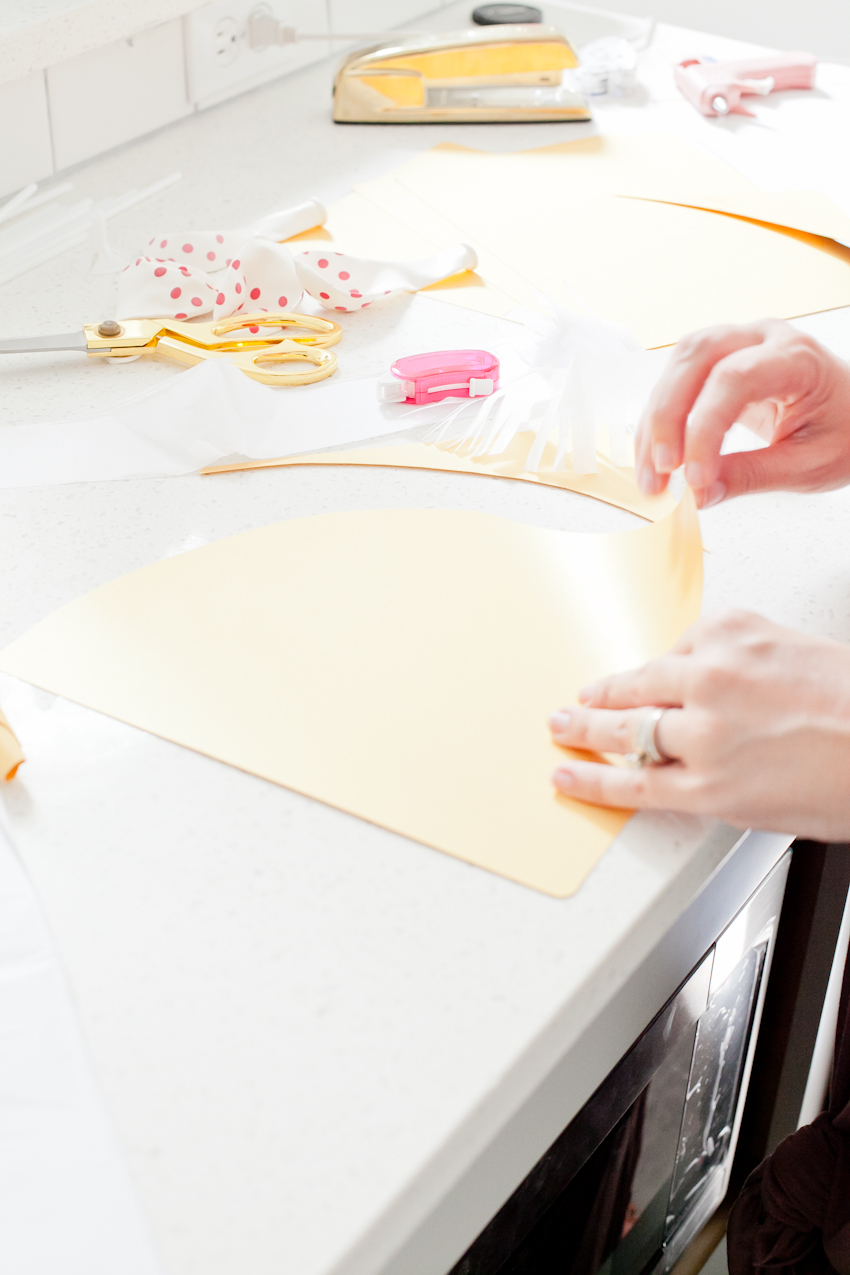
Step 1 – First cut a piece of paper to have an arch on one side, creating a slight semi circle shape.
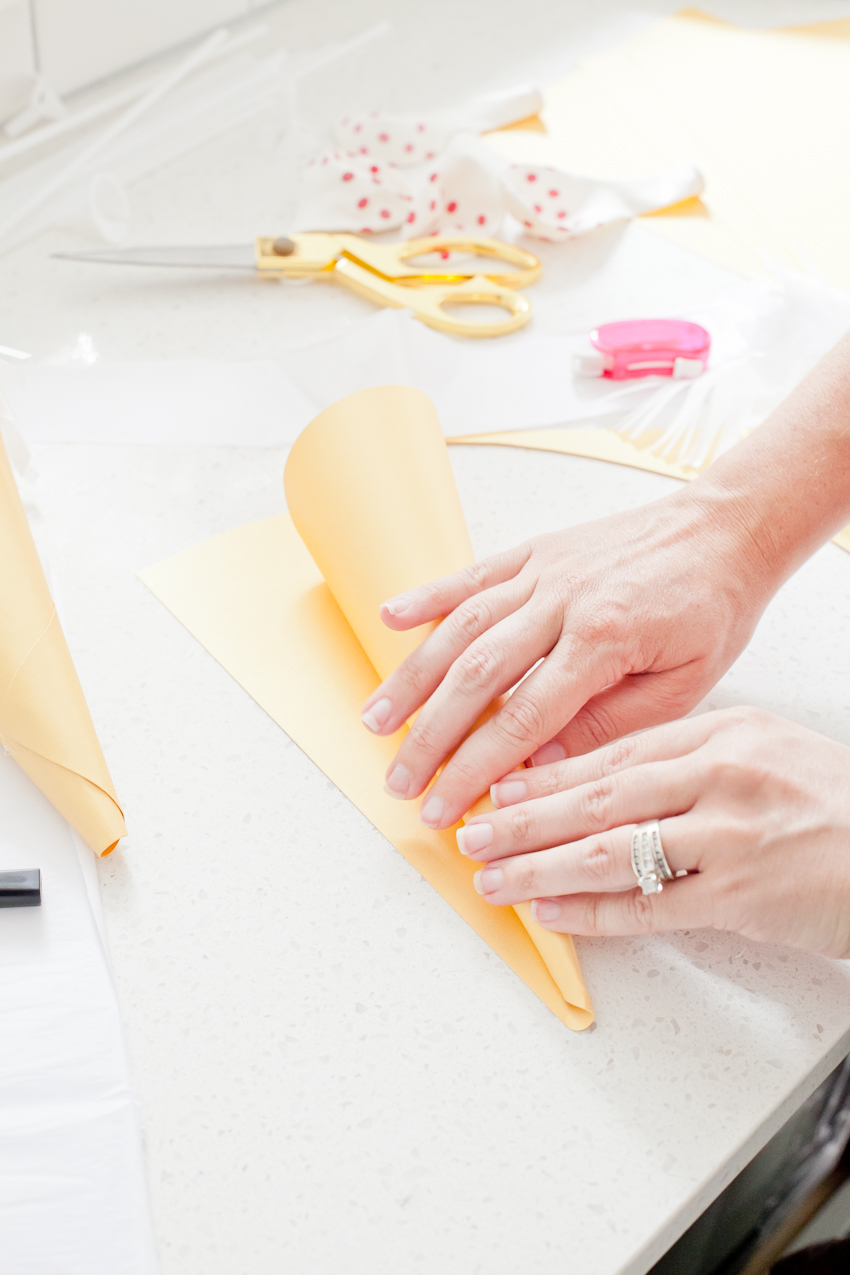
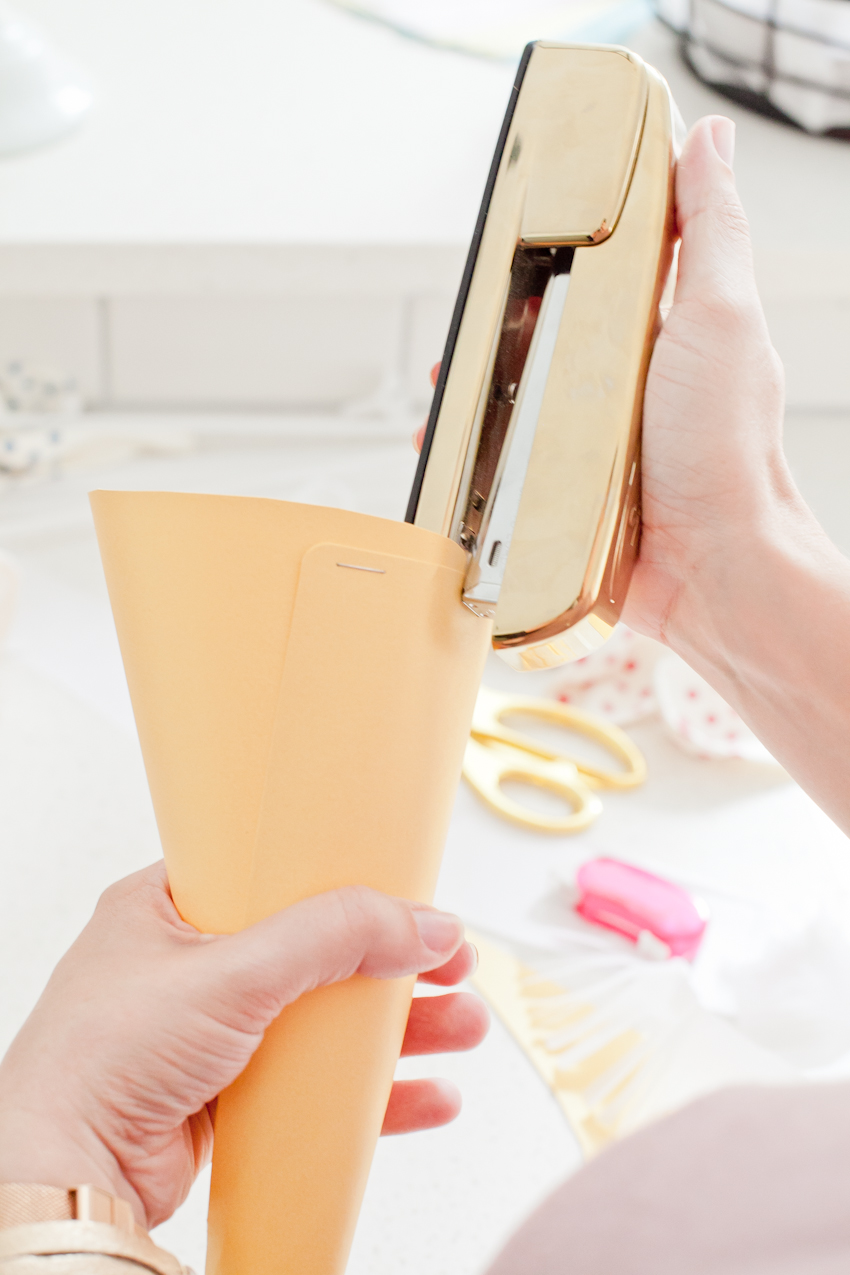
Step 2 – Start rolling the construction paper in on itself until you get a cone shape. You will want to make sure the top opening is big enough and proportionate to the size of your balloons and you will want to leave a small hole on the bottom of the cone, which is where your balloon stick will fit through.
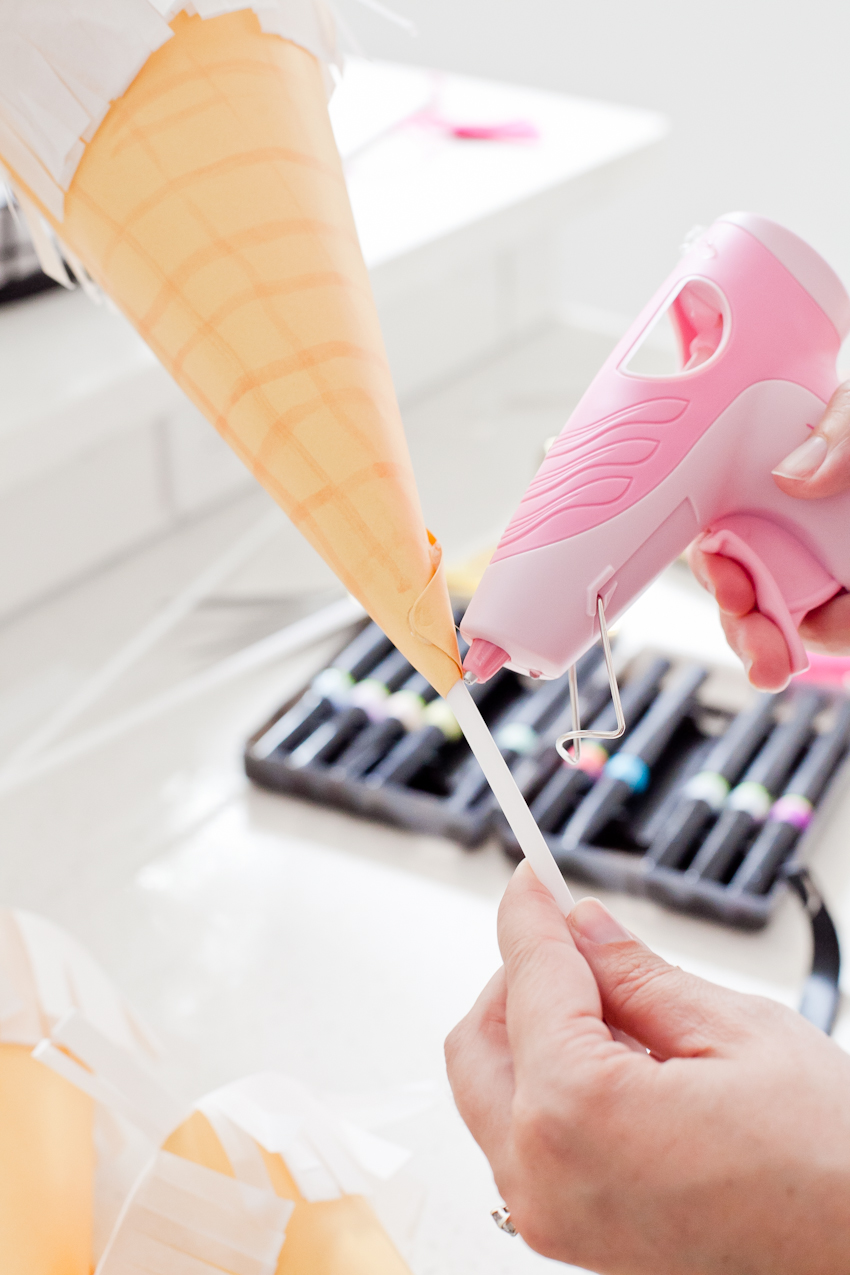
Step 3 – Once your cone is perfect, place one staple in the top to hold it in place and with a hot glue gun, run the glue down the seam to seal it.
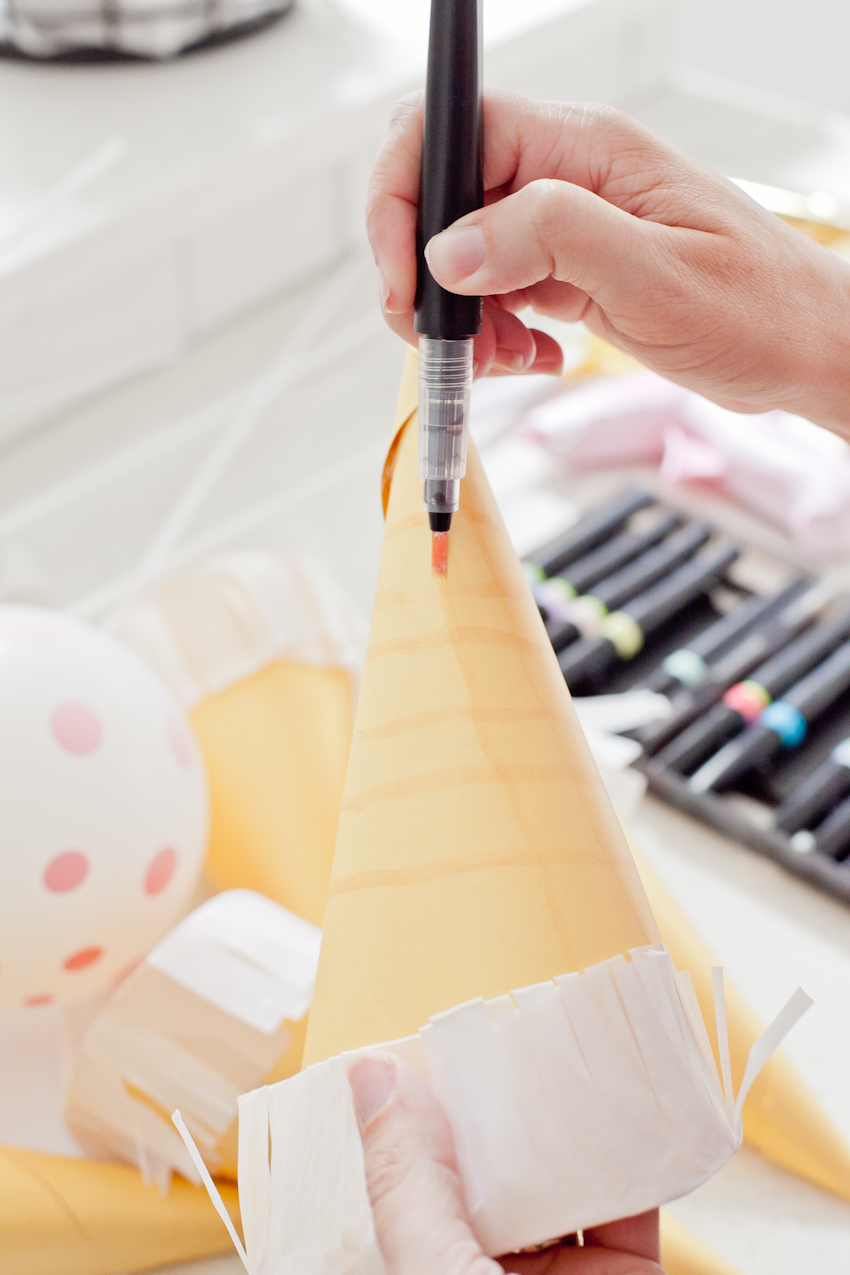
Step 4 – Make your paper cone look more like a waffle cone by drawing on some abstract lines.
Step 5 – Next we are going to add fringe. Fold and cut your tissue paper into four long strips, about an inch wide. Once your pieces are cut, create the fringe by cutting a line of small strips down each of them, cutting about half way up. Once you have your fringe cut, you are going to be layering two of these pieces around the rim of each cone.
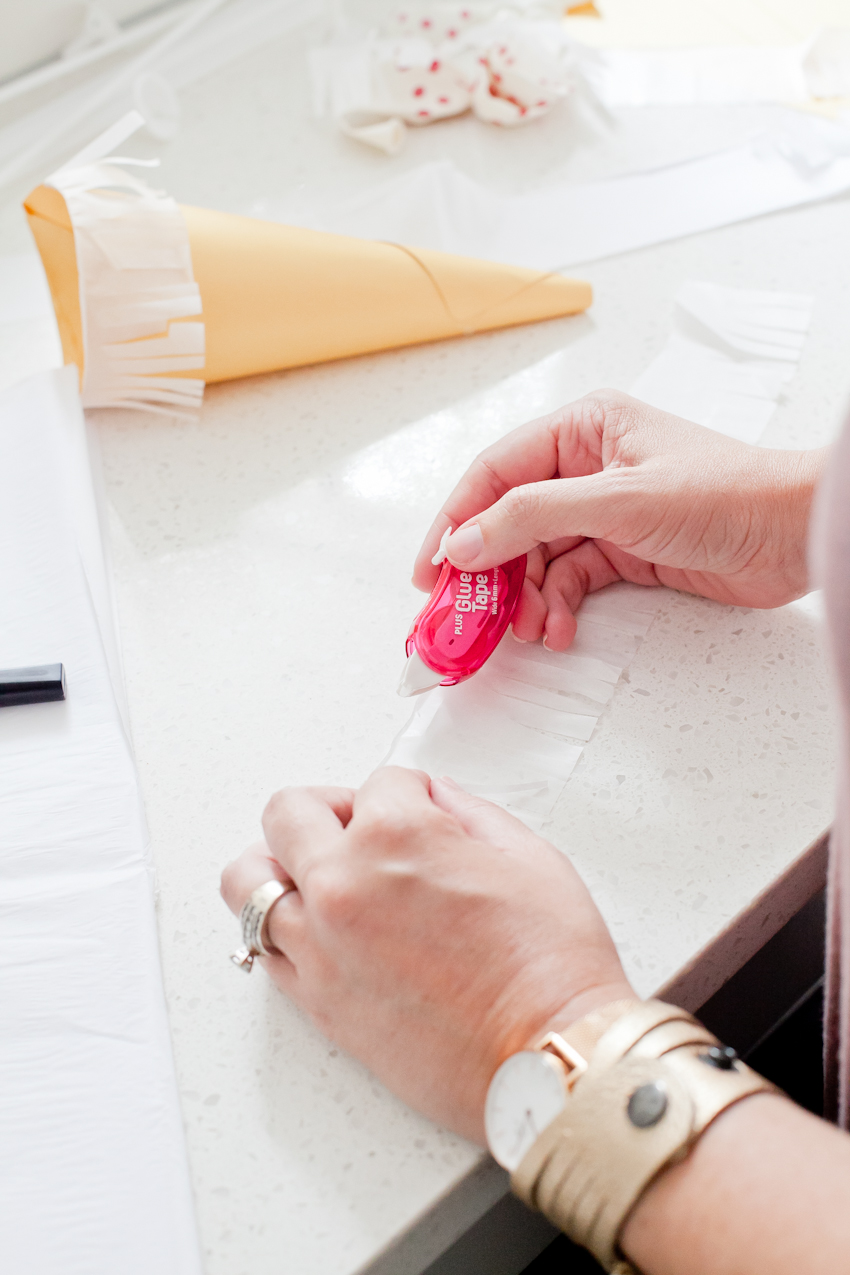
Step 6 – The first layer of fringe will initially be held down with one staple to hold it in place and then use double sided tape to fold it over the edge and secure it around the cone. Then I applied the double sided tape to the second layer of fringe and placed on top of the first, with the tape on the inside of the cone and the fringe folded out over the side of the cone.

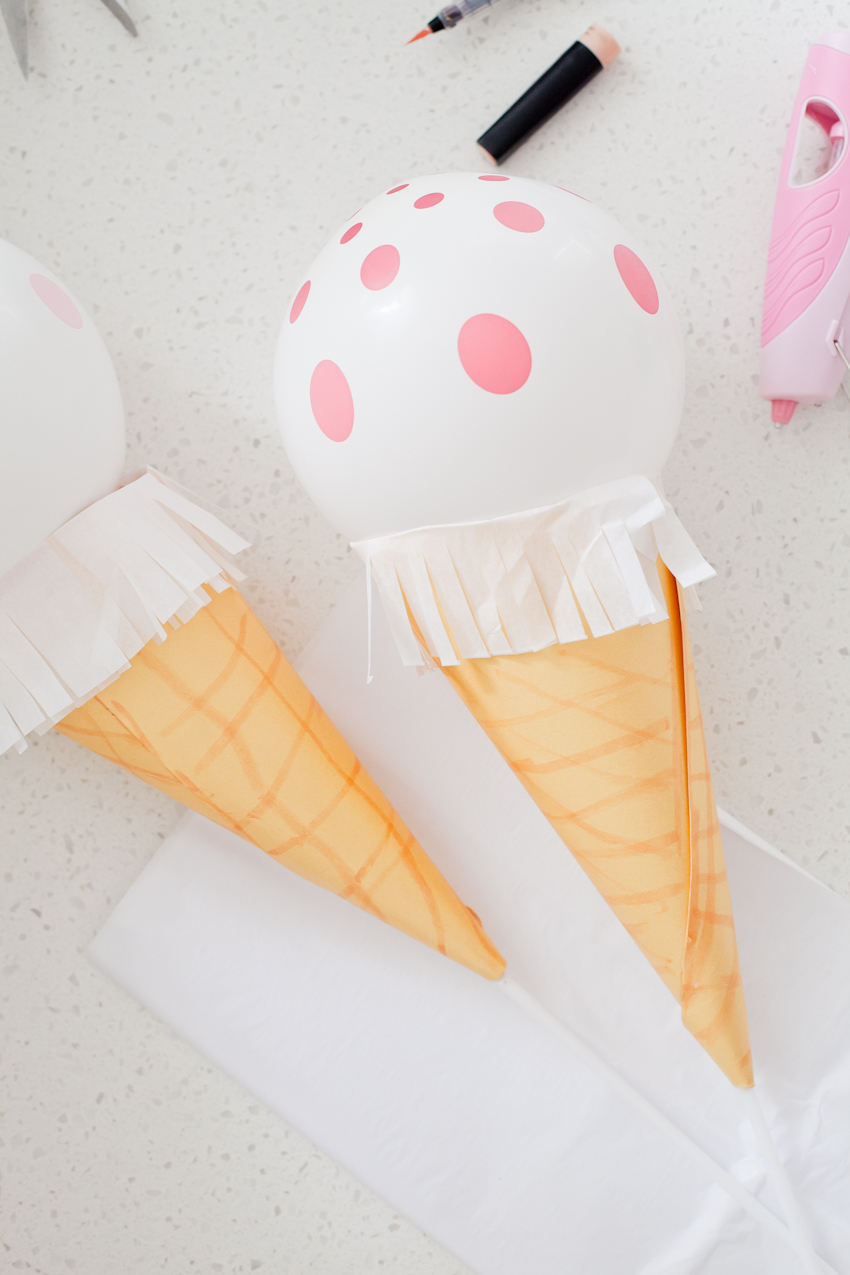
Step 7 – Once your fringe is a attached, it’s time to add your ice cream, aka the balloon! Attach a blown up balloon to a balloon stick and push the stick through the small bottom hole of the cone. Your balloon should rest on the top of the cone. Use the glue gun to secure the stick to the cone by coating the bottom of the cone around the stick and hold until it dries.
Step 8 – Have fun and enjoy!